Intro and flipping the CLC
A lot has happened since the last issue of Chebacco. I’ve finished the armor for the keel, flipped the boat, and am now working on the inside. Pictures and annotations below.
I had the bright idea (I thought) of offering Chebacco plans for sale on this website. I’ve had a couple of “where can I get these from” requests. I know that PCB&F have been burned by this in the past, so I was going to take my lead from Chuck Lienweber and Jim Michalak, and offer only the convenience of purchasing online, for a small fee and the credit card costs. I would take an order with Paypal, and fax something to PCB&F saying “send plans to so-and-so, check is in the mail). I faxed PCB&F with the idea.
Susanne called me and discussed, at length, this subject. “Why can’t they just send us a check?” seemed to be the gist of it. I did mention that JM’s plans sales have DOUBLED since Chuck started offering them online, but she didn’t seem interested.
Anyway.
There are now 20 boats in the registry. Wonder what the percentage is that aren’t registered? I think it’s traditional in statistics to use the SWAG method and just make up a number. Therefor, I degree that for every 1 boat registered we have 9 boats not registered, making the total number of Chebaccos something like 200…!
I’m hosting a messabout at the local lake here in the muddy waters of Oklahoma. Link to the left.
Jamie has two article in this issue, and I have two as well. Come on guys (and gals?), send in those articles. And pictures, lots of pictures! I understand that not every boat builder is a writer, but a few words and some pictures would be appreciated by all the readers. (Plus, pretty soon you will get tired of the pictures of me building the CLC!)
In this issue, I also have an article on the electronics for the CLC. I’m selling the LED regulator I made for the LED’s on my boat as a kit, so if you are wanting to play around with these super efficient and almost indestructible lights for you boat, you should buy one!
Also in this issue, I’m putting online an Adobe PDF file compiled by Mike Haskell. This is basically the entire Chebacco website, compiled and searchable! It is a 21mb download, so if you have a slow connection you might consider letting Google do your work for you and doing “site:chebacco.com something to search for” at their website. Or, buying the CD from Chuck . No longer available for download from the Chebacco.com site
Anyway, (again)
Here are the boat pictures


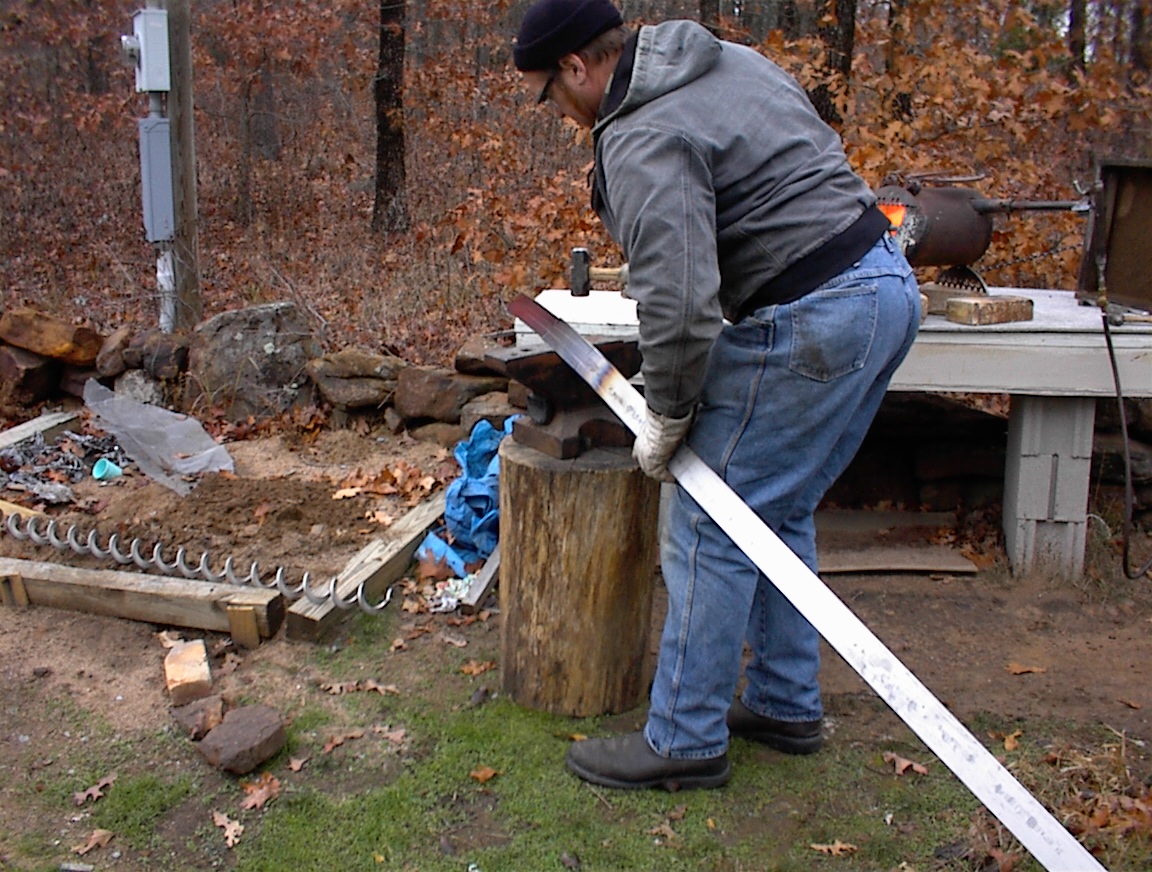
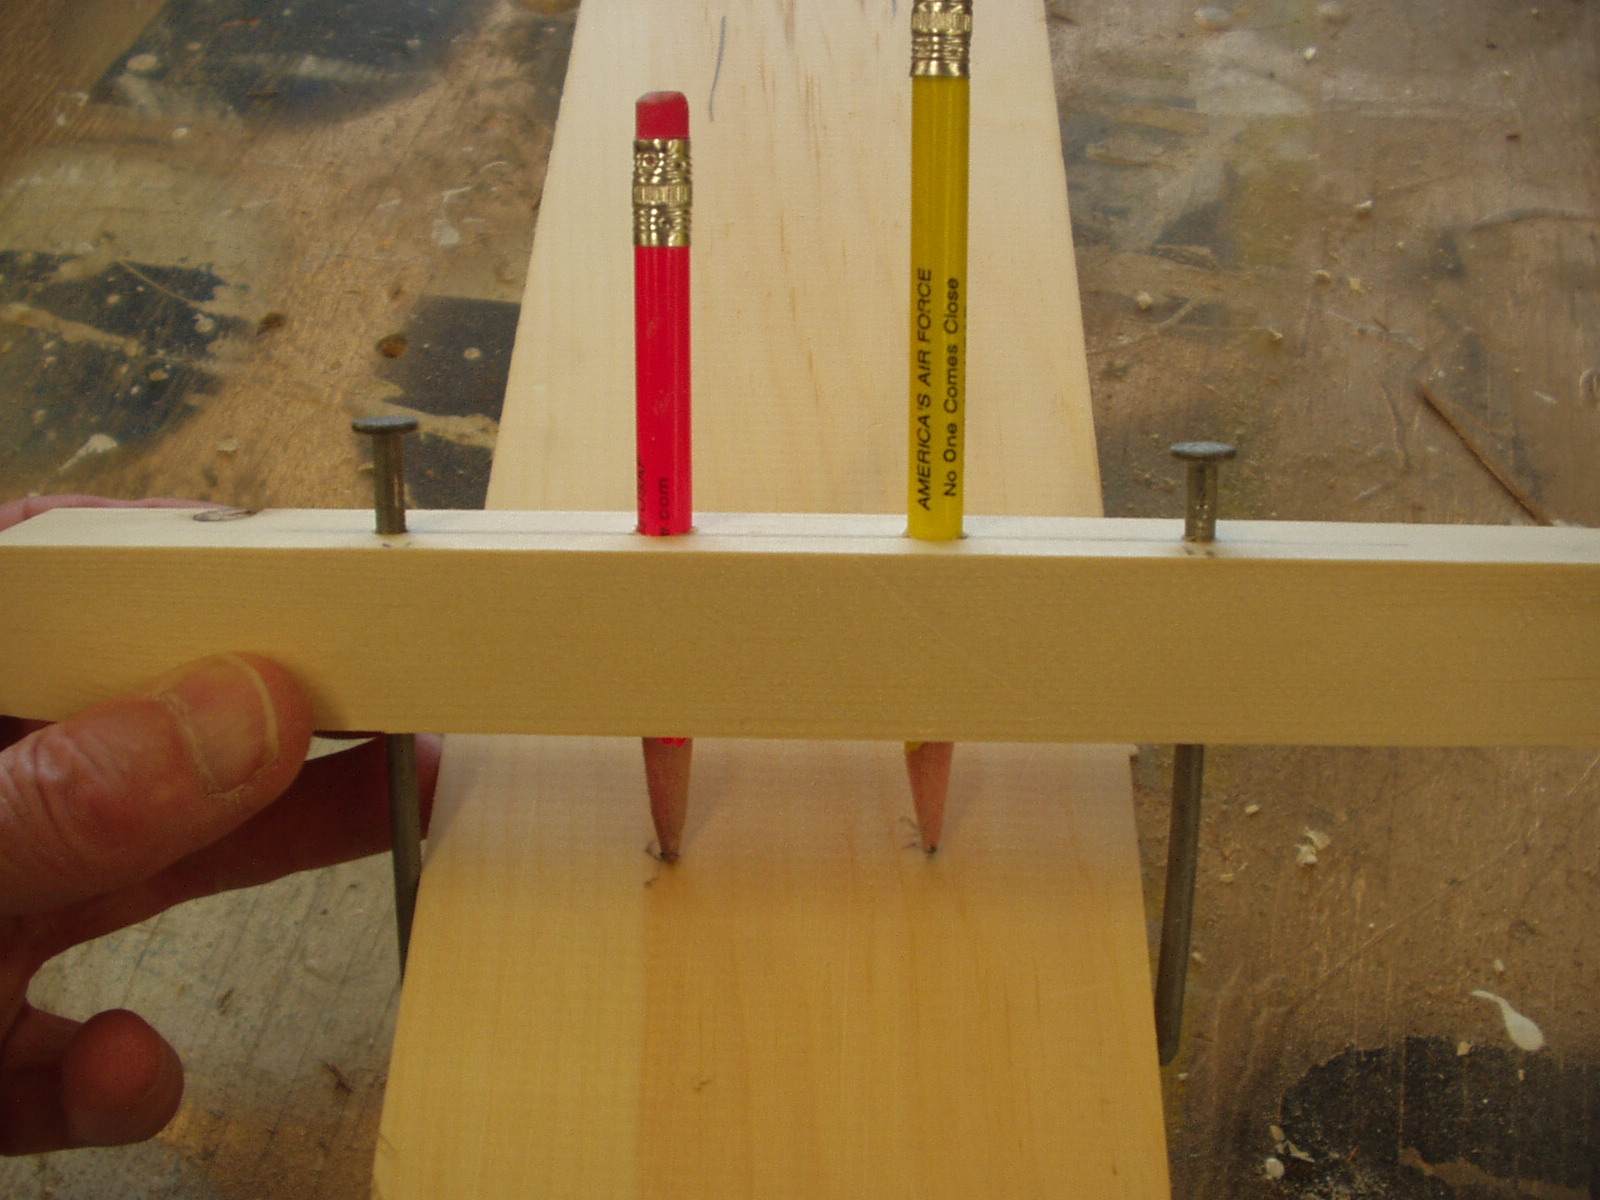
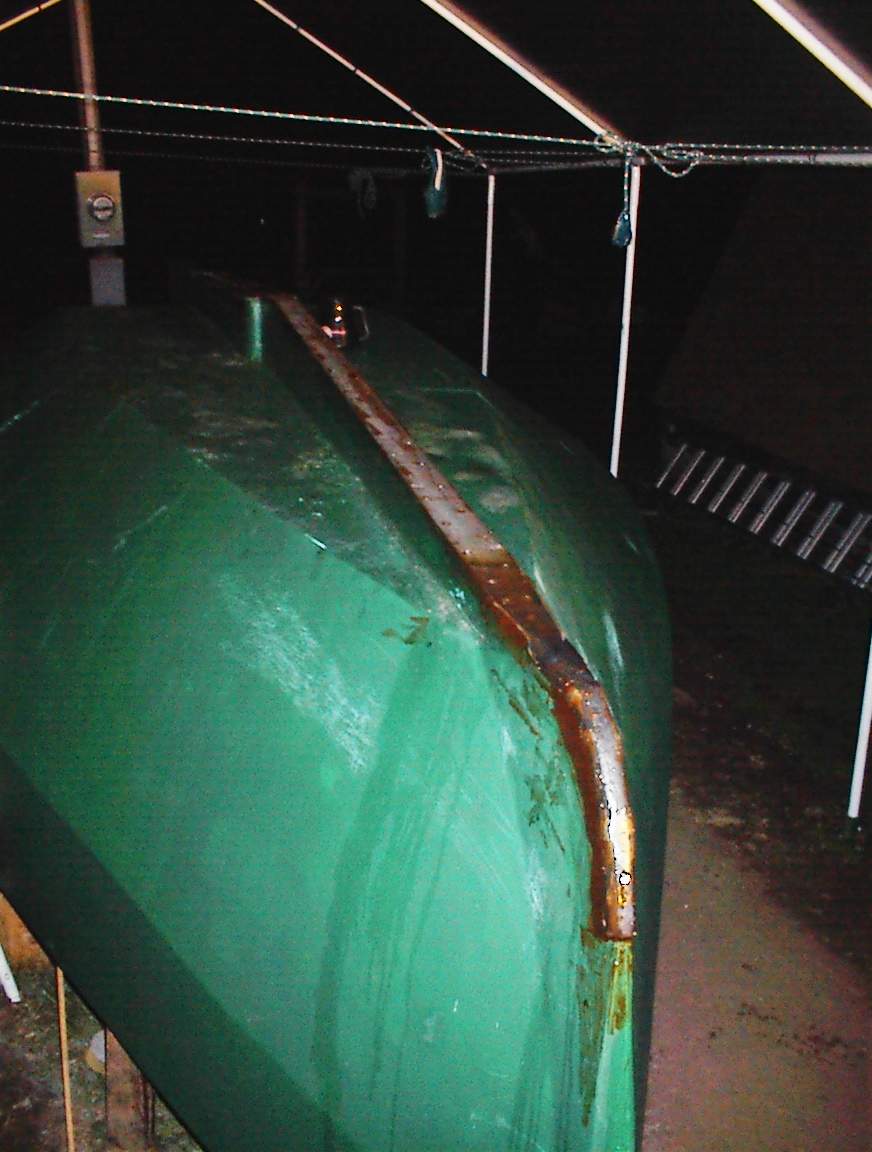
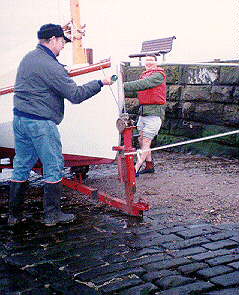
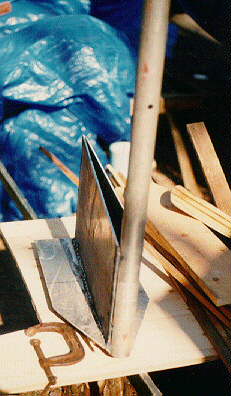
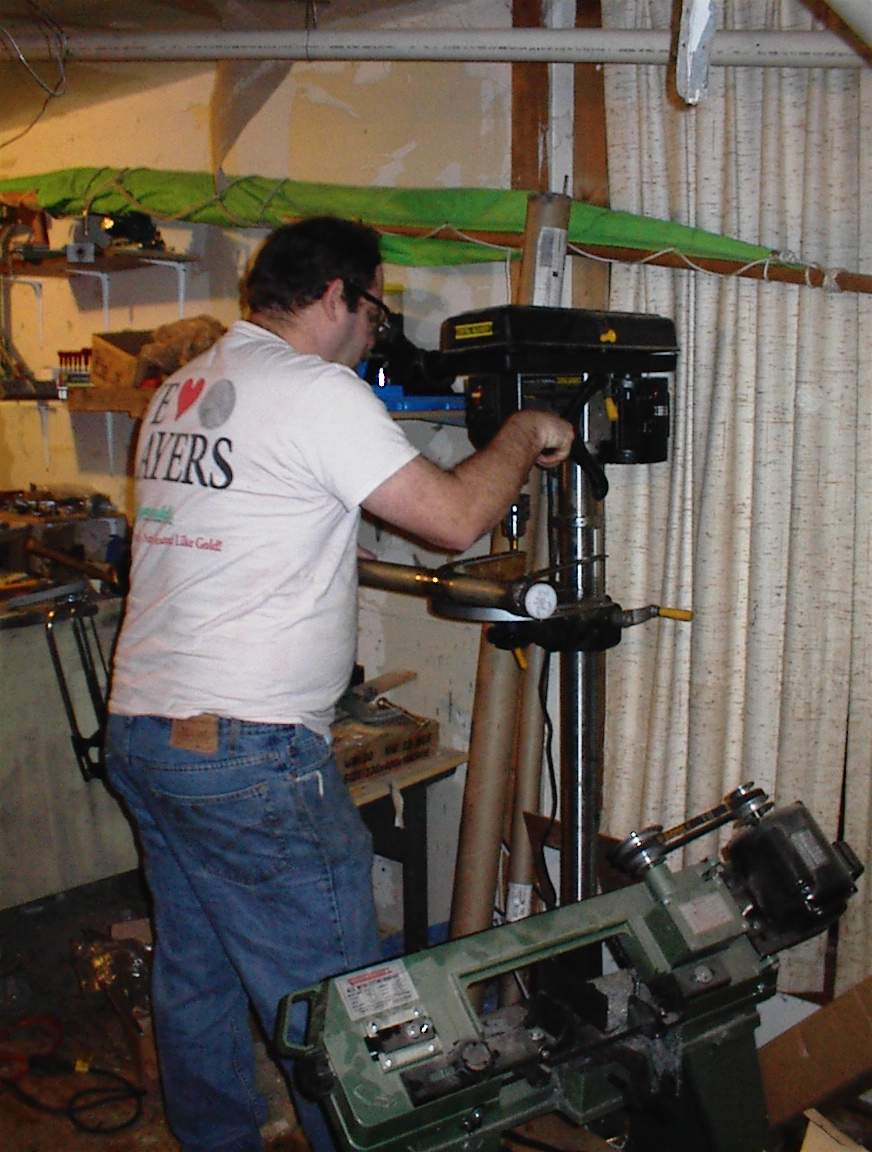
Here is a friend of mine I enlisted to help with the metal work. I wanted the front half of the keel to be armored to take groundings. Mike here has a home forging setup, while I have a home casting setup. Here you see him prepping the 1/8″ stainless steel keel armor for forging.

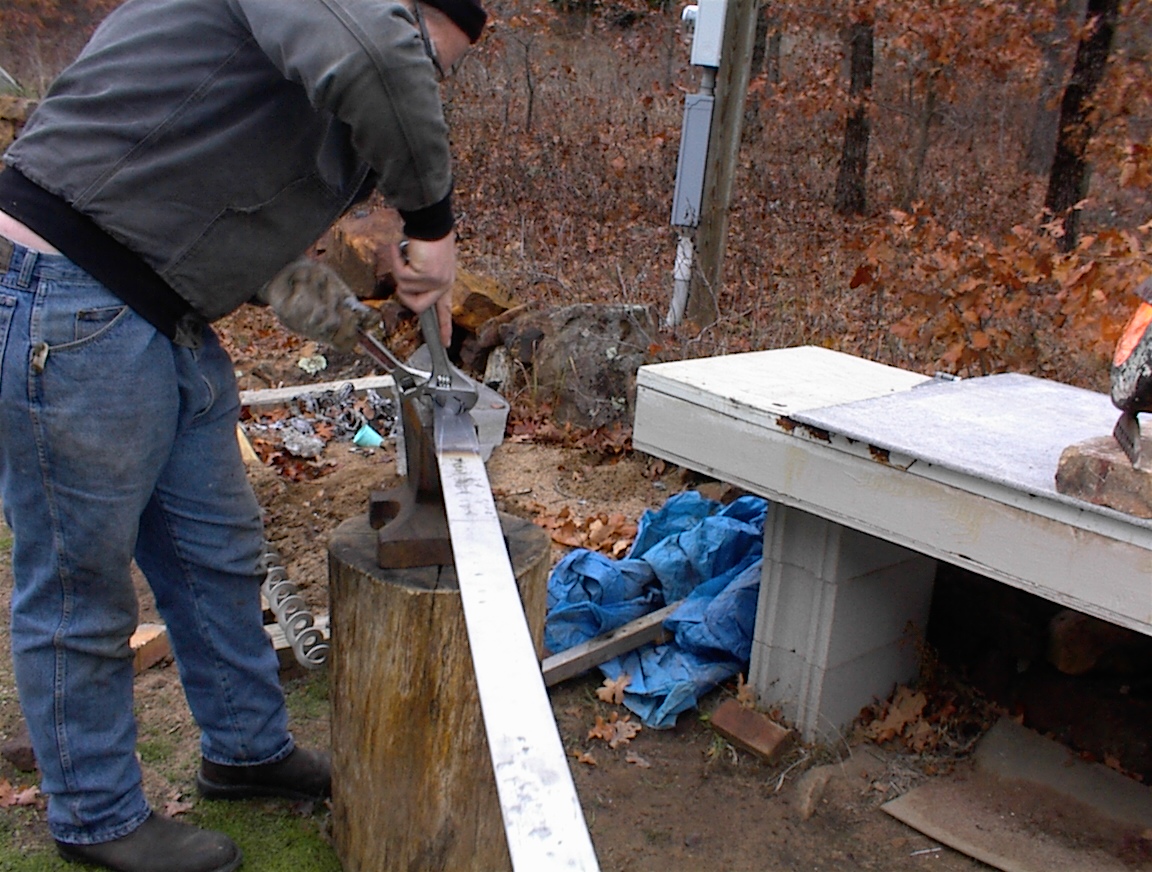

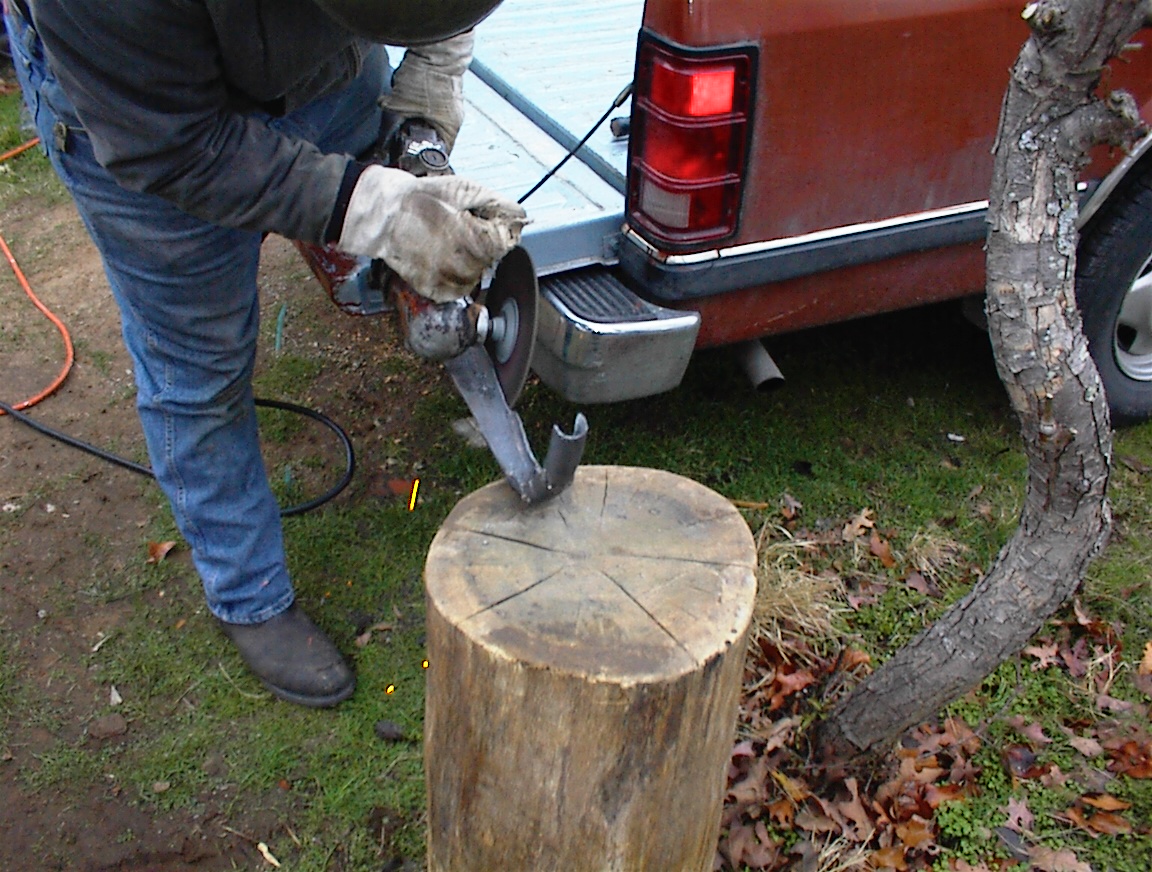
I could have just cut it off, but I wanted it to wrap up and around the cutwater, sort of like an icebreaker keel. Here Mike is forming the part that wraps around the cutwater. Note the forge made from a freon can, sitting on my sandbox.

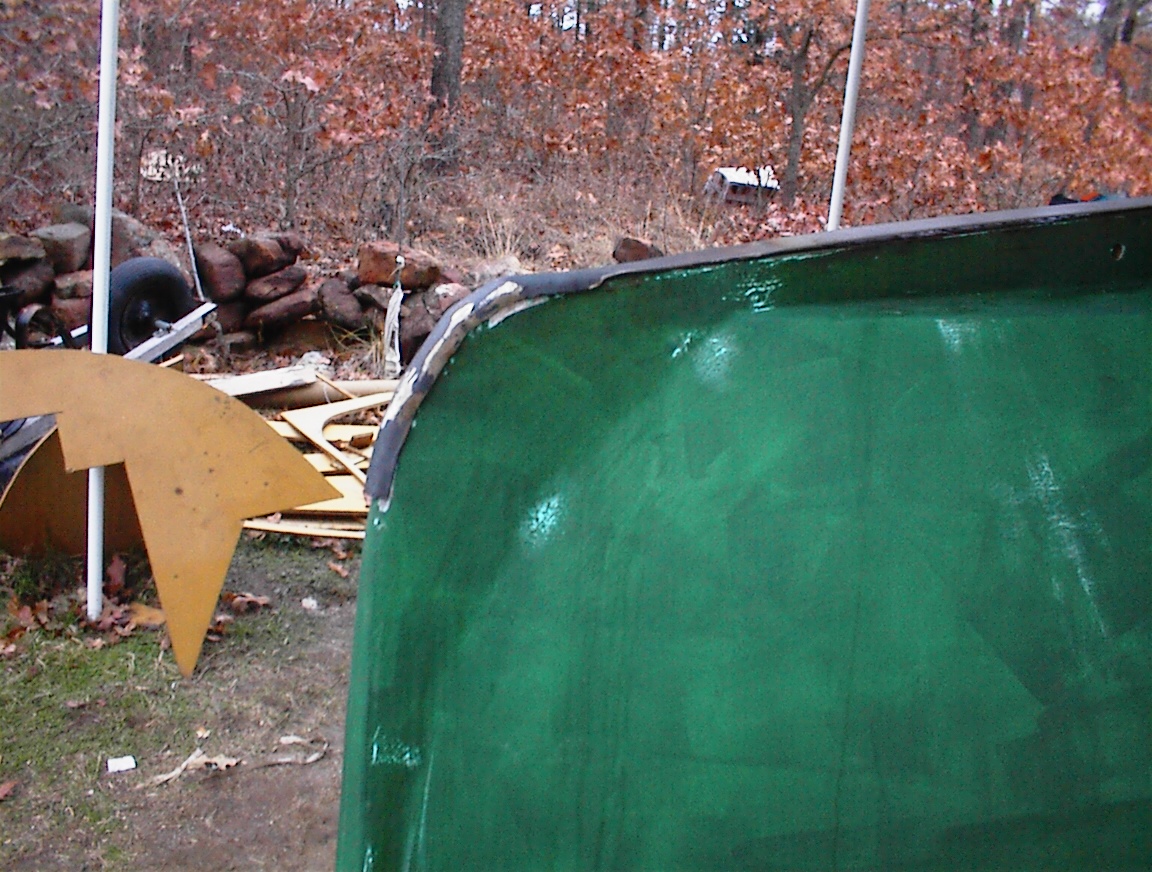
 Almost done, doing some trimming with Mikes heavy duty grinder, and doing the final fitting to the boat. On the right you see where I have attached the keel strip with a bunch of countersunk stainless screws and lots of epoxy.

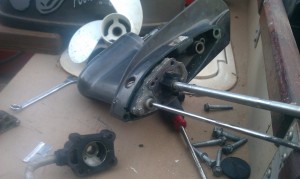
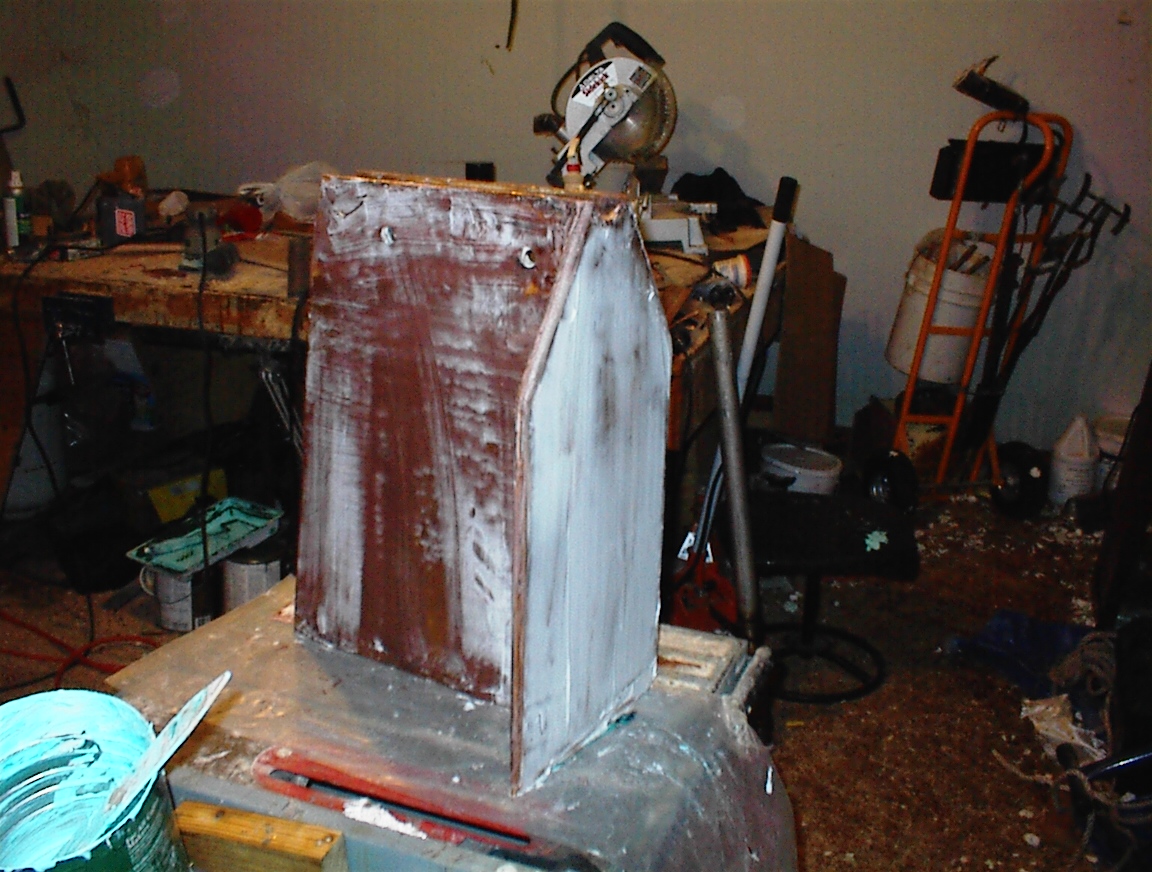
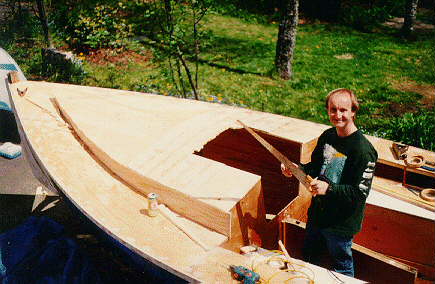
 Here is me working on the rudder, drilling the holes to attach the stainless to the rudder itself. I made the front of the rudder a bit wide, but some trimming with the flap wheel on the grinder and you can barley notice.

 Here the rudder is in the middle of the sanding operations, and to the right it is attached to the boat. On the top of the right photo you can see the UHMW bushing that the rudder turns on. Under the top rudder support I’m going to put another bushing, with a flange fitting on the rudder post. I’m hoping the rudder will bear only on the UHMW poly and no on the wood and glass of the hull.
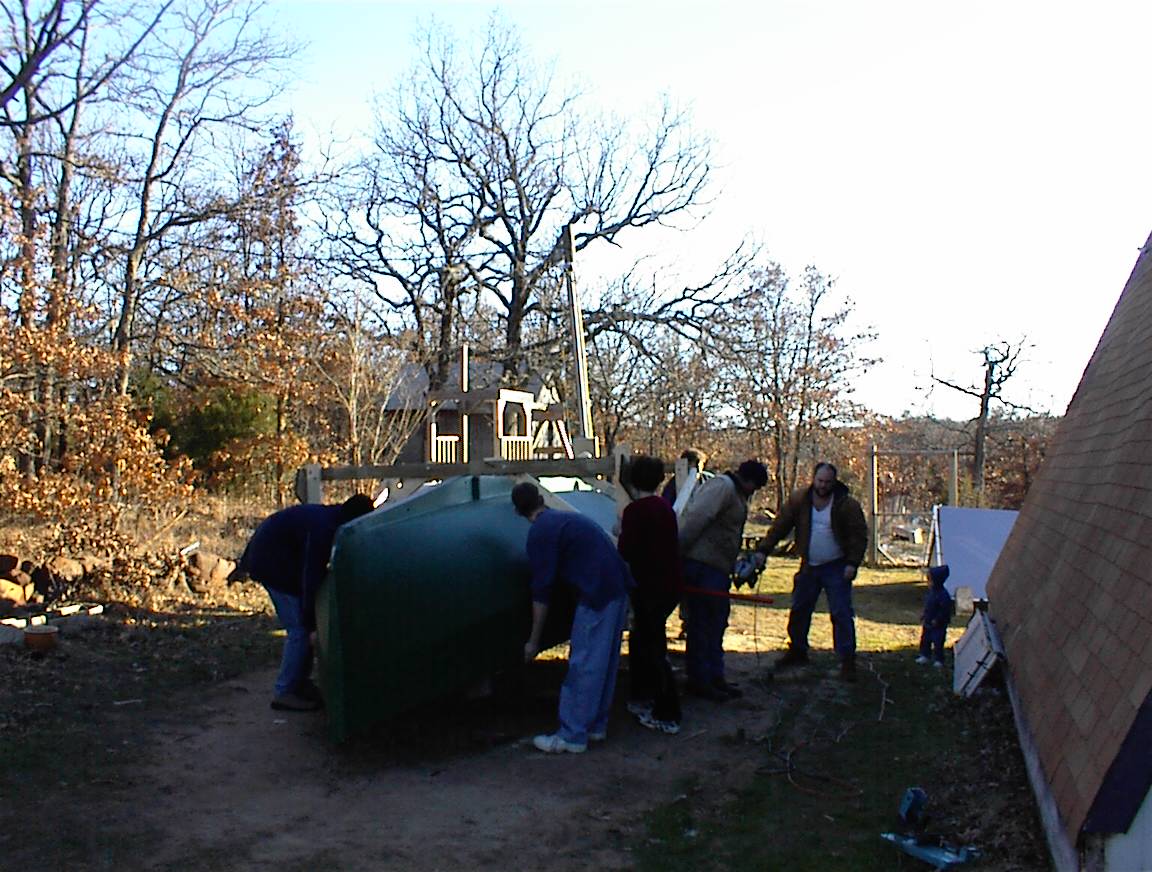
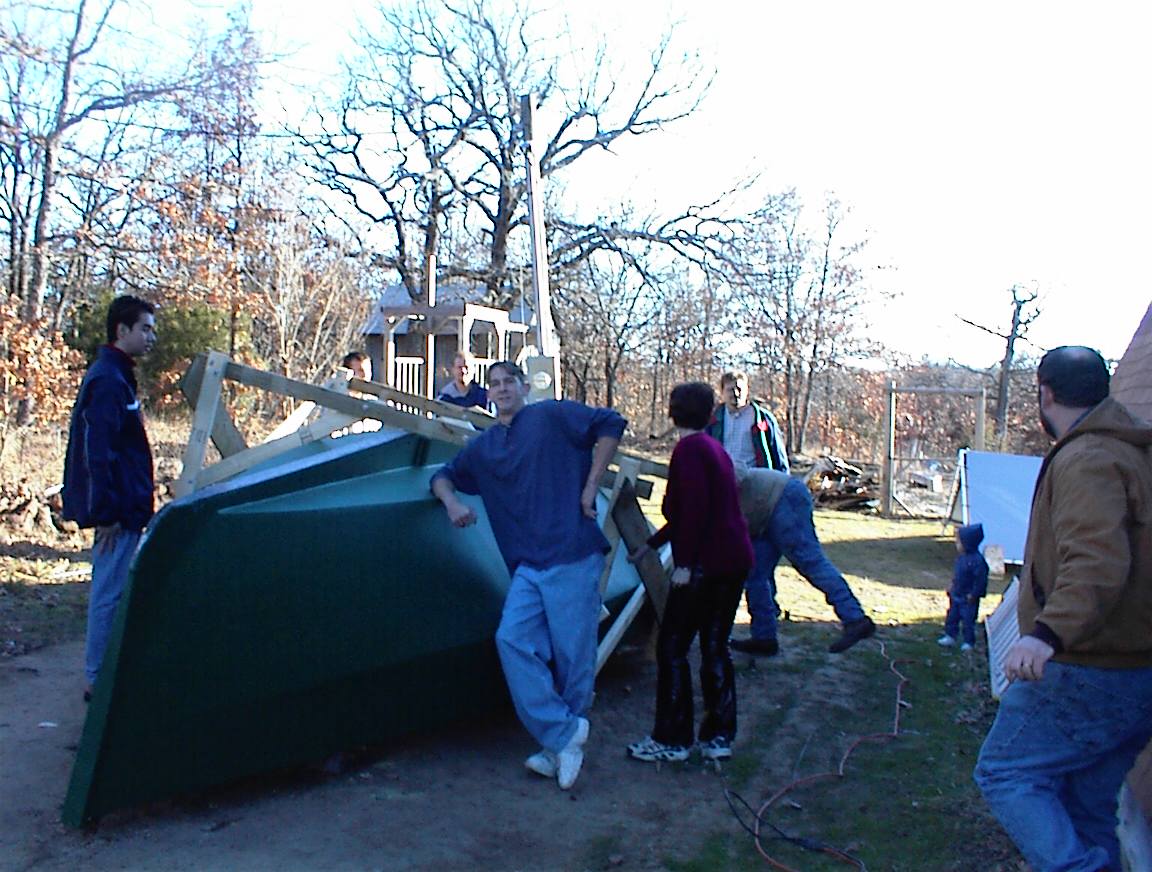
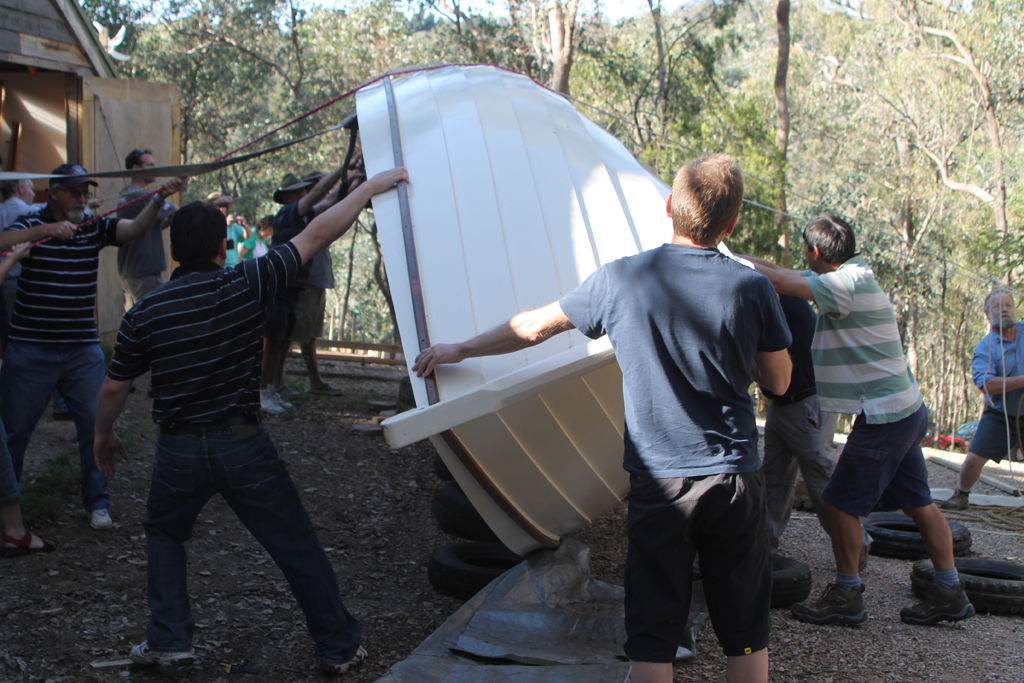
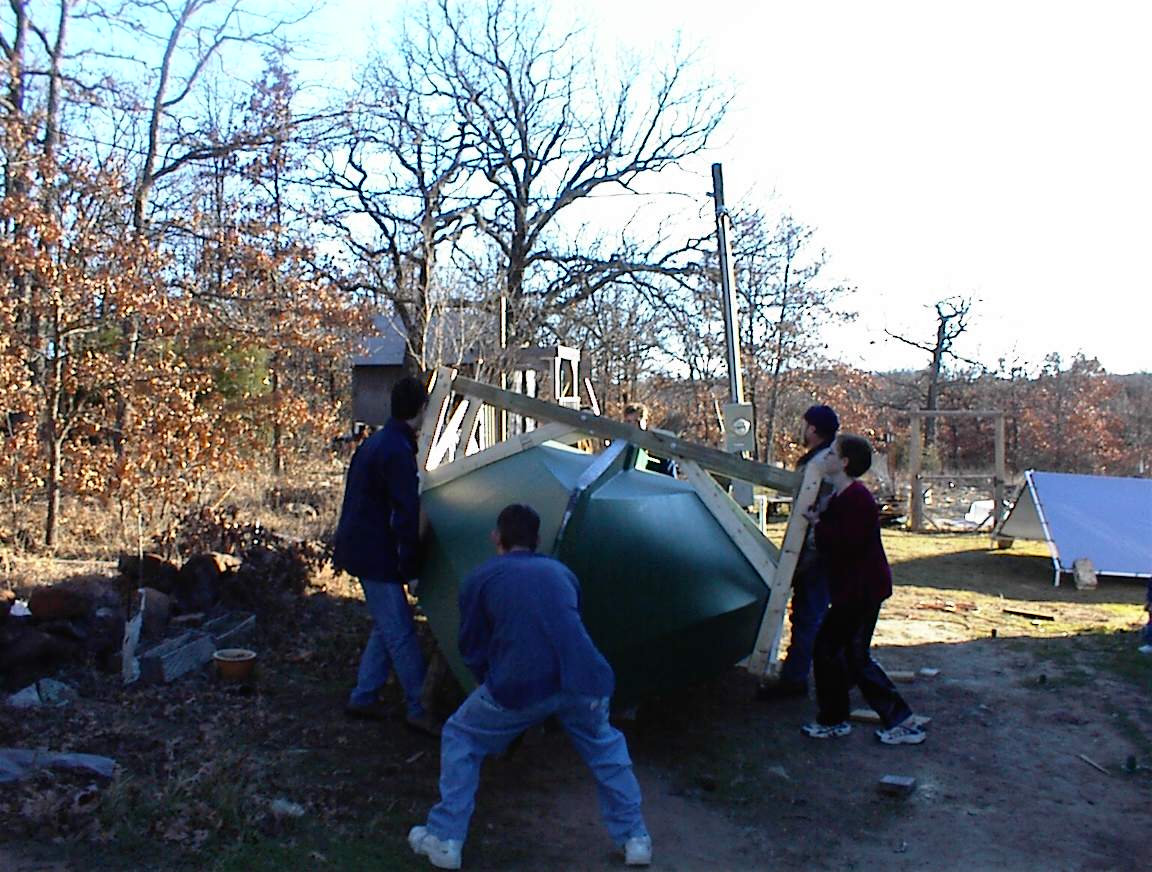
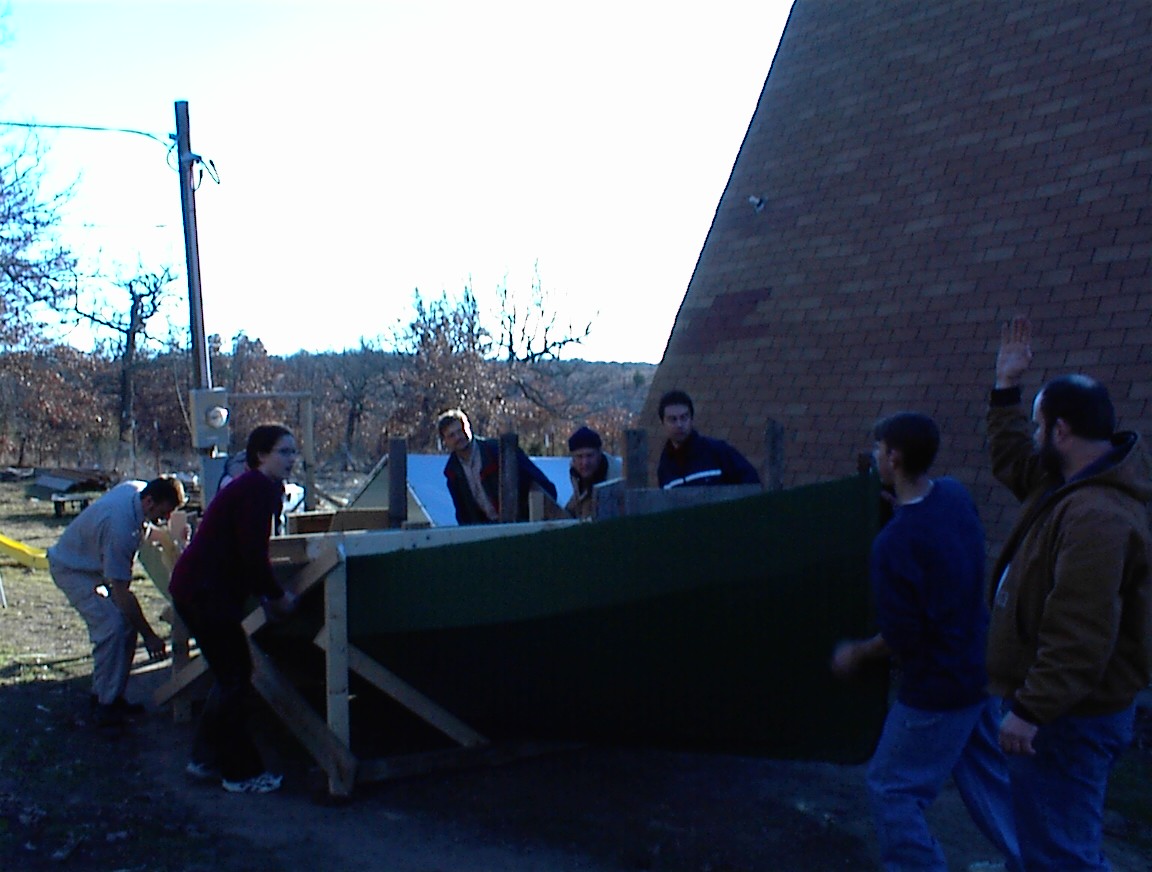
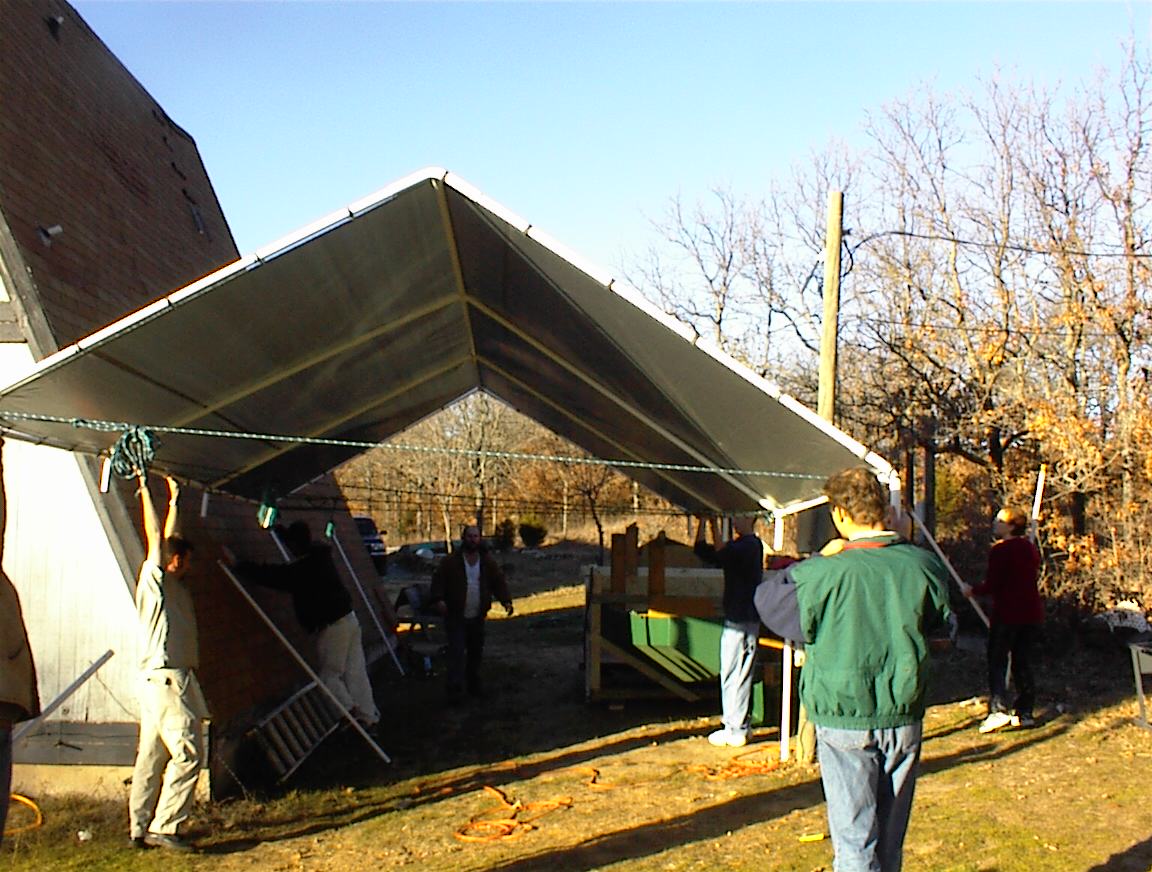
 Lift, scoot, tip, lift, scoot, tip, etc. I learned from my mistake with turning (and dropping) the last boat. I built a frame around this one, lots of handholds, and with the frame it would sit on the side without being held. Made it into a two part operation.Here we are commencing the turning operation. We jacked up one side, and cut the “building legs” off, then let it down. One of the girls wanted to invite a bunch of friends over for barbecue, and I said it would be ok as long as they helped flip the boat. (We didn’t tell them till they got here. hehehehe) The designated camera person was late comming out with the rest of us, so I didn’t get any pictures of the canopy coming down.
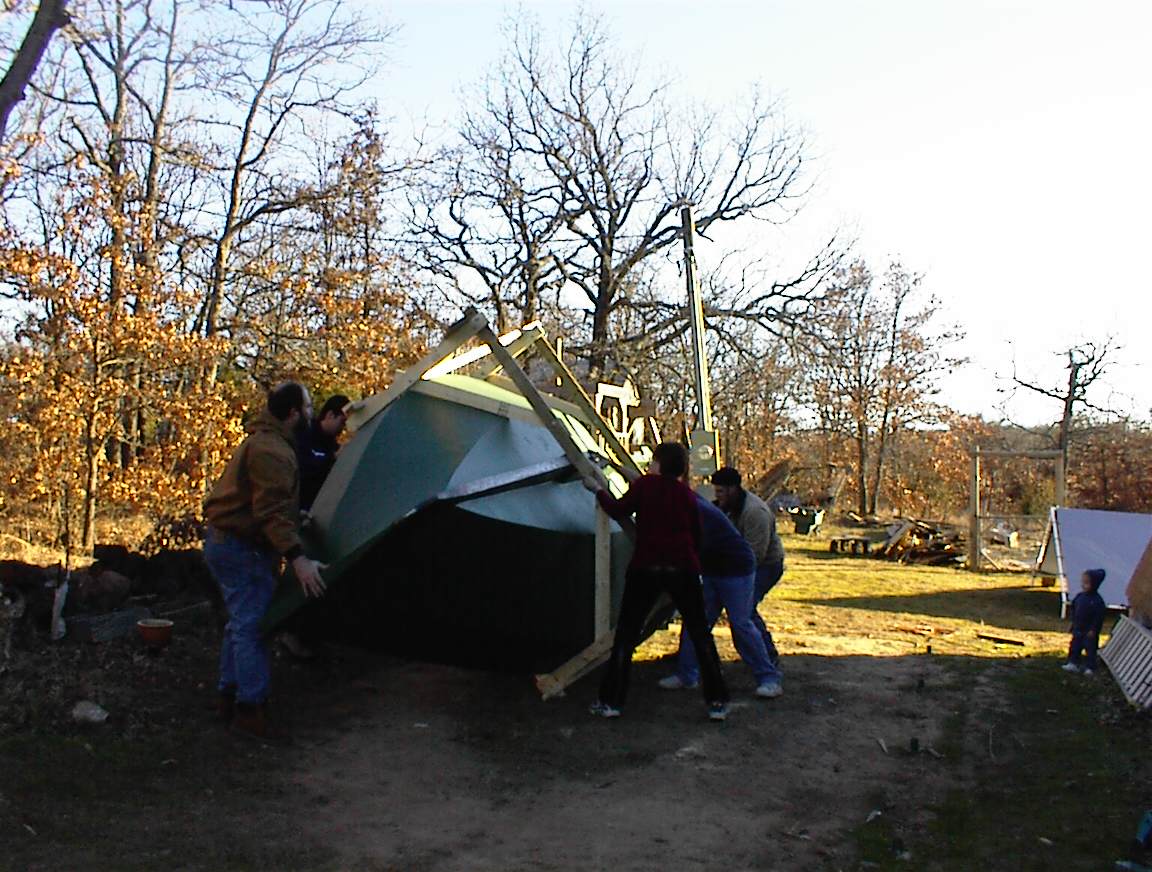

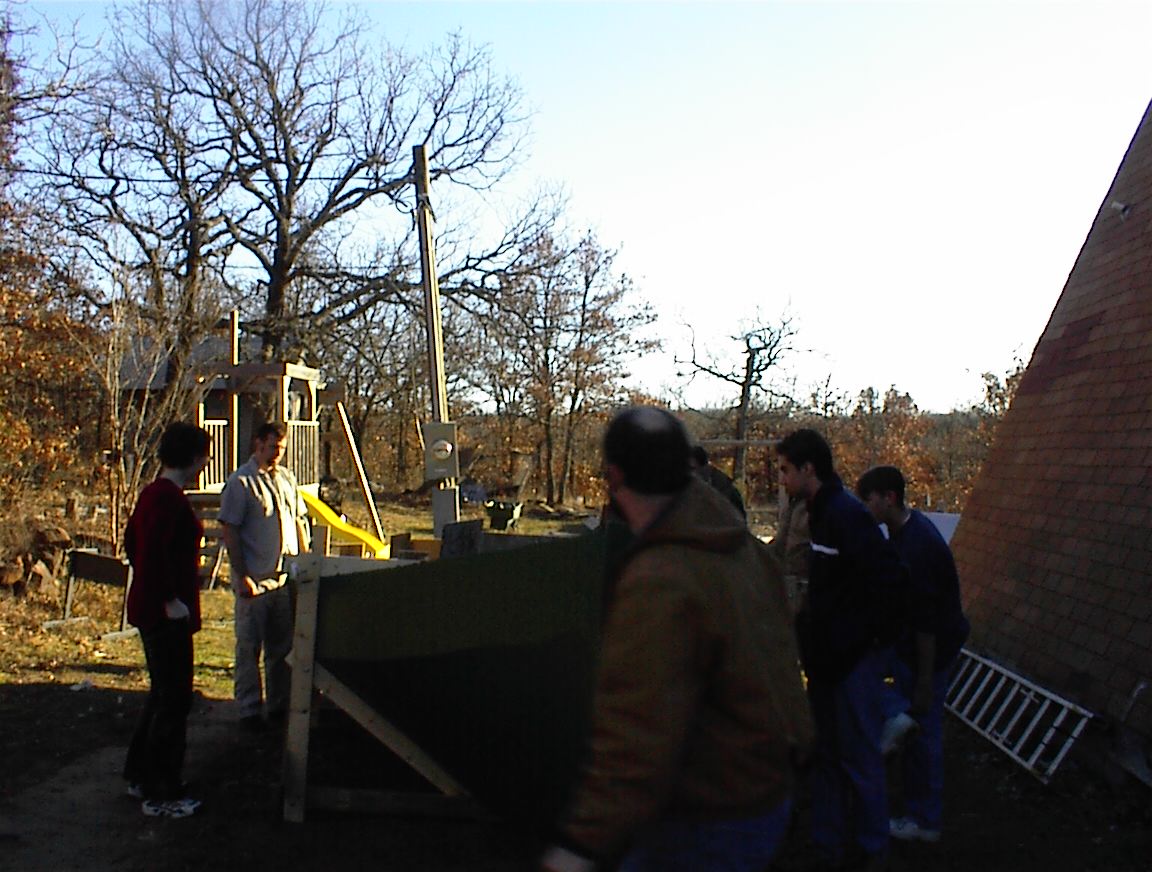
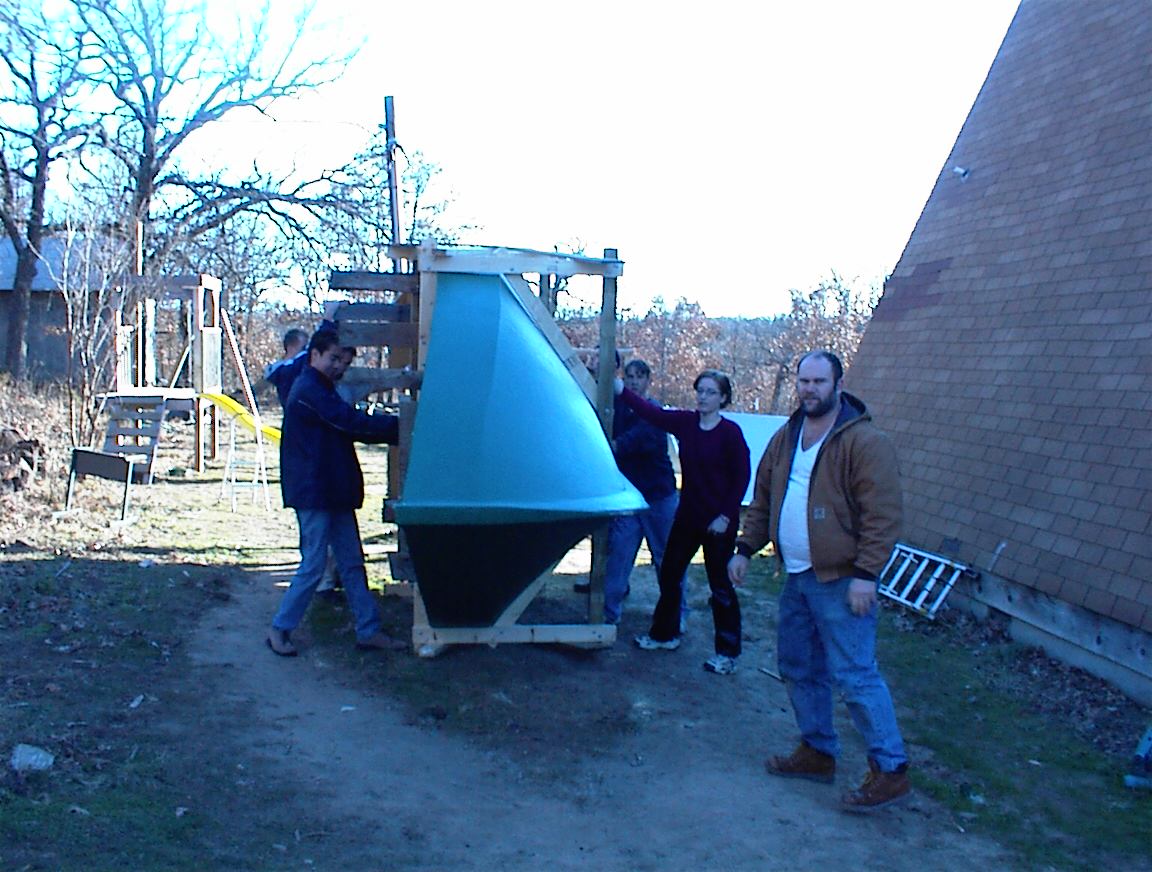
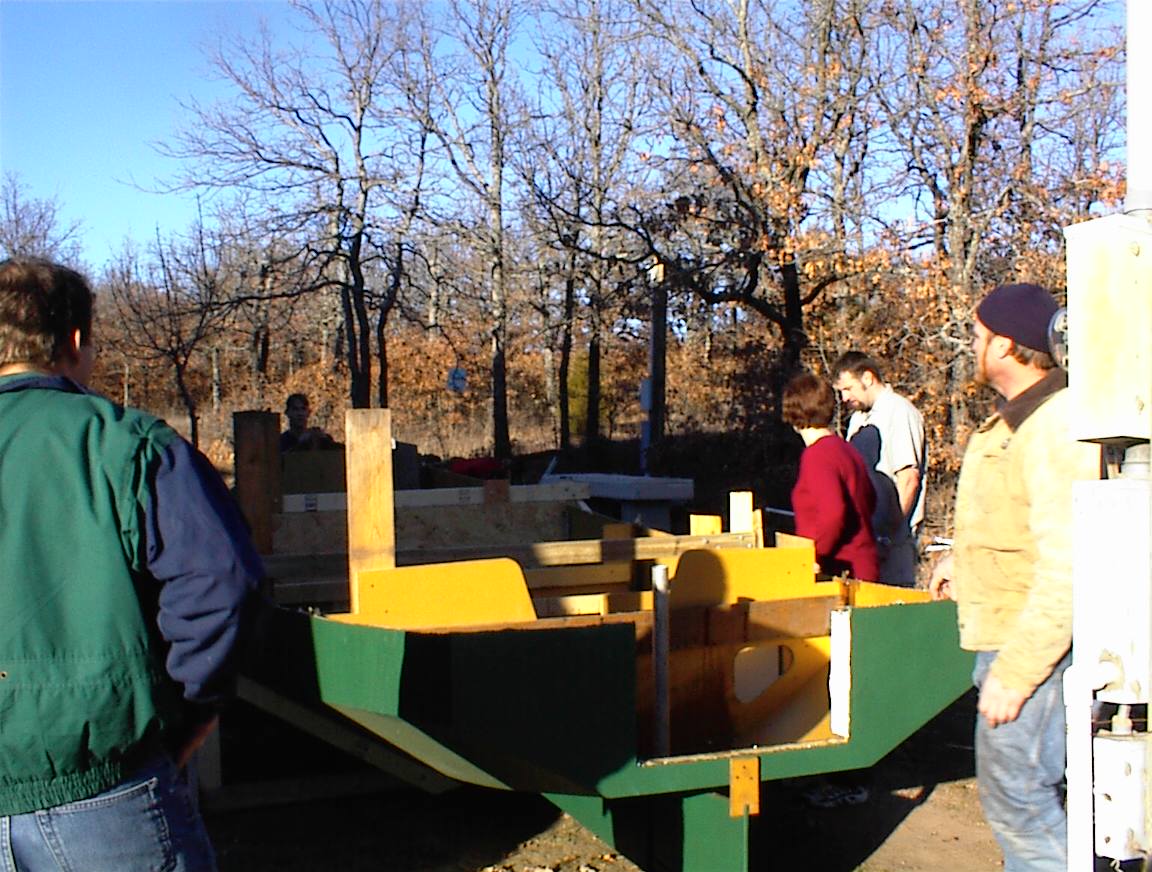
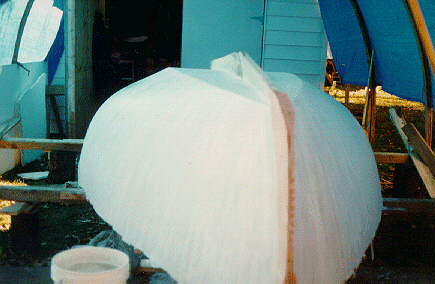
 Over she goes! Didn’t drop this one. We are adjusting it to be centered on the canopy, and level (at least side to side, I made all the panels square with bulkheads, which are canted a bit. It’s not level front to rear, but that doesn’t affect anything) “NO! Don’t put a block under the rudder!”
Final tuning and adjusting.
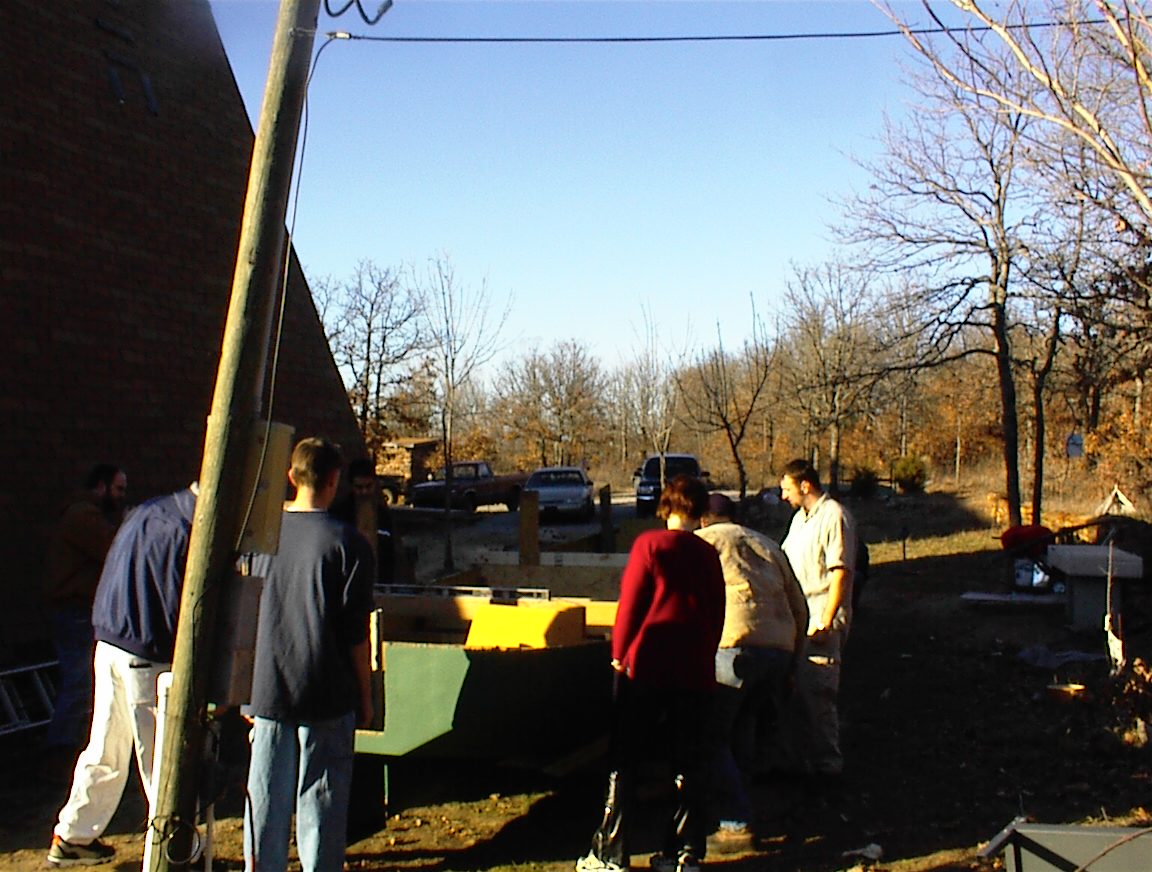
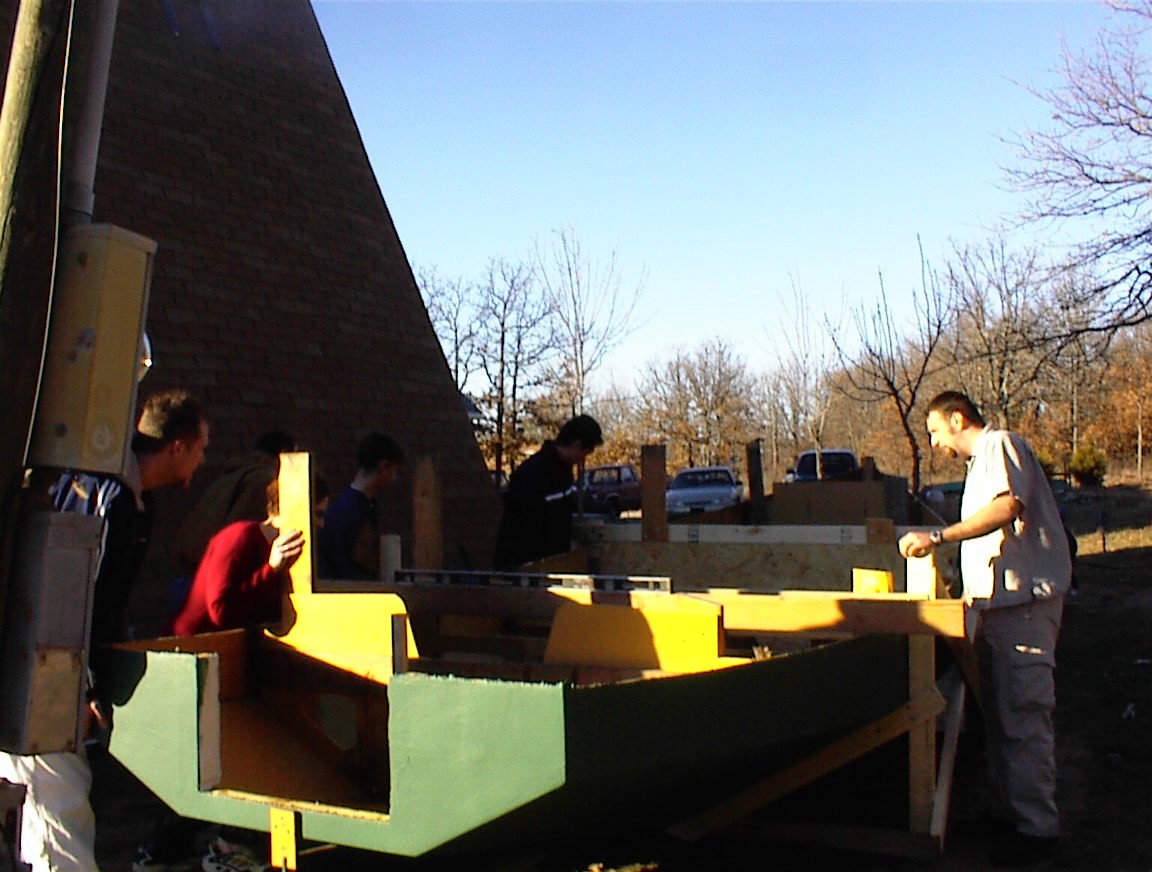
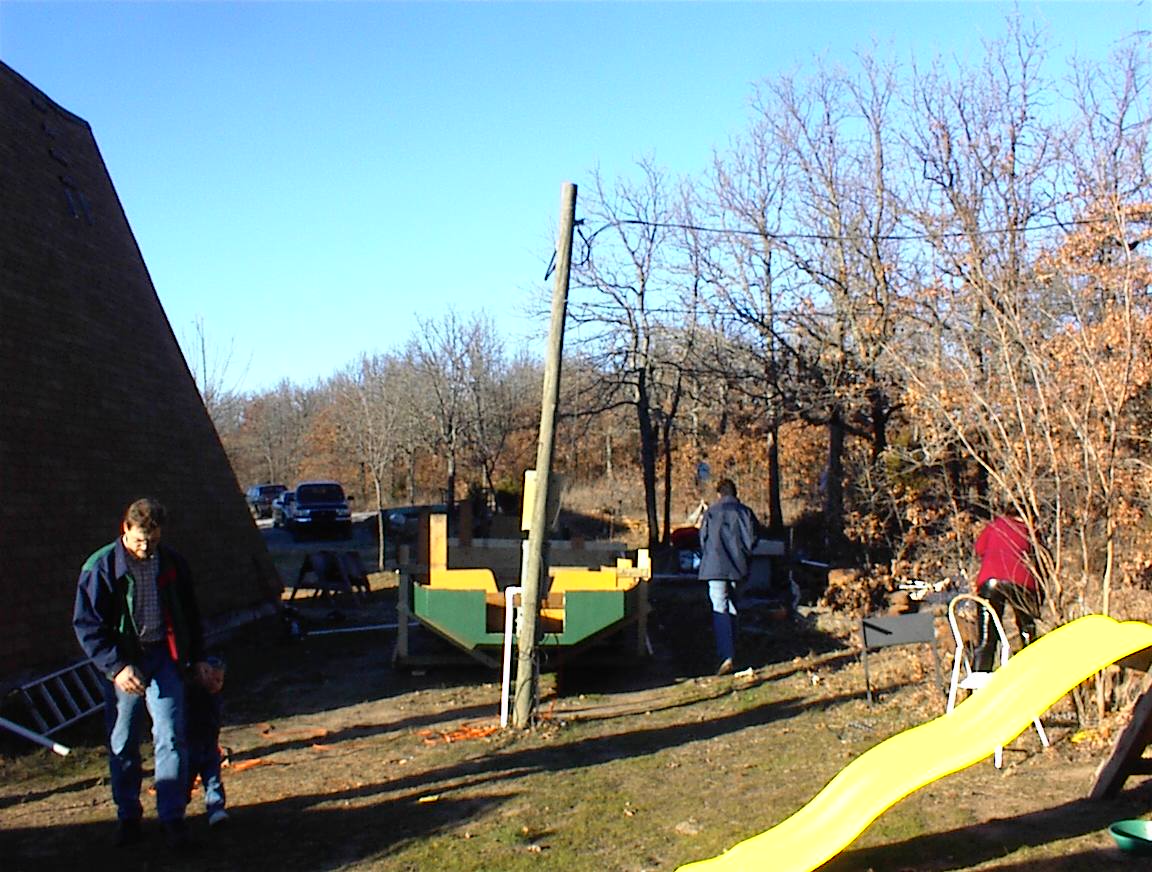
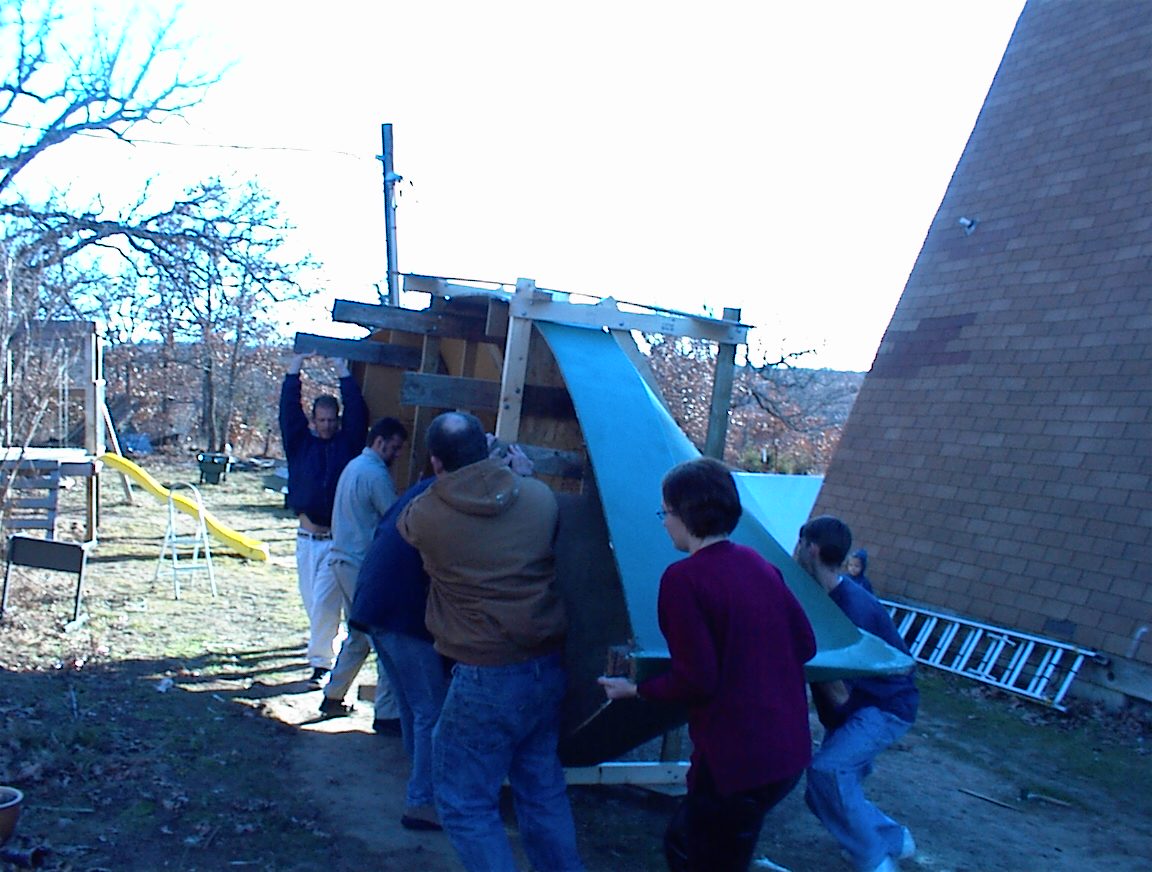
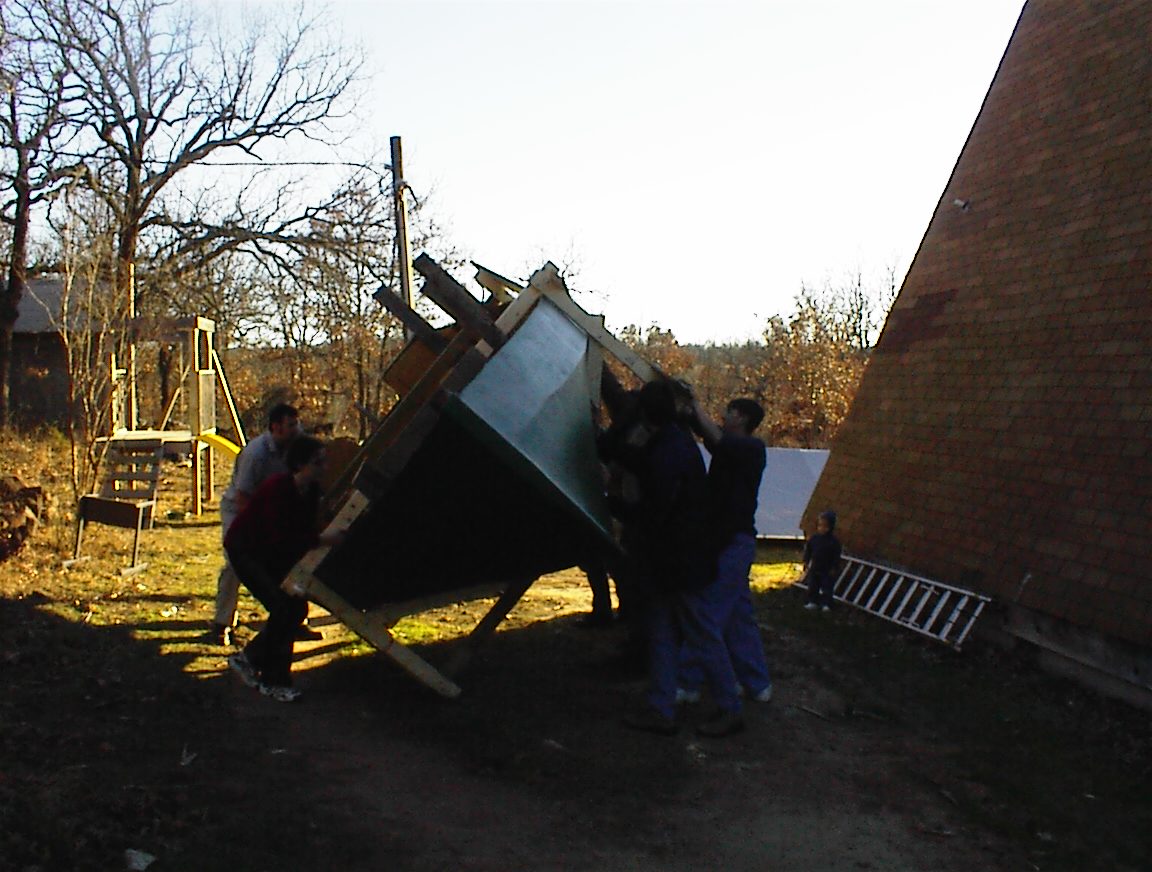
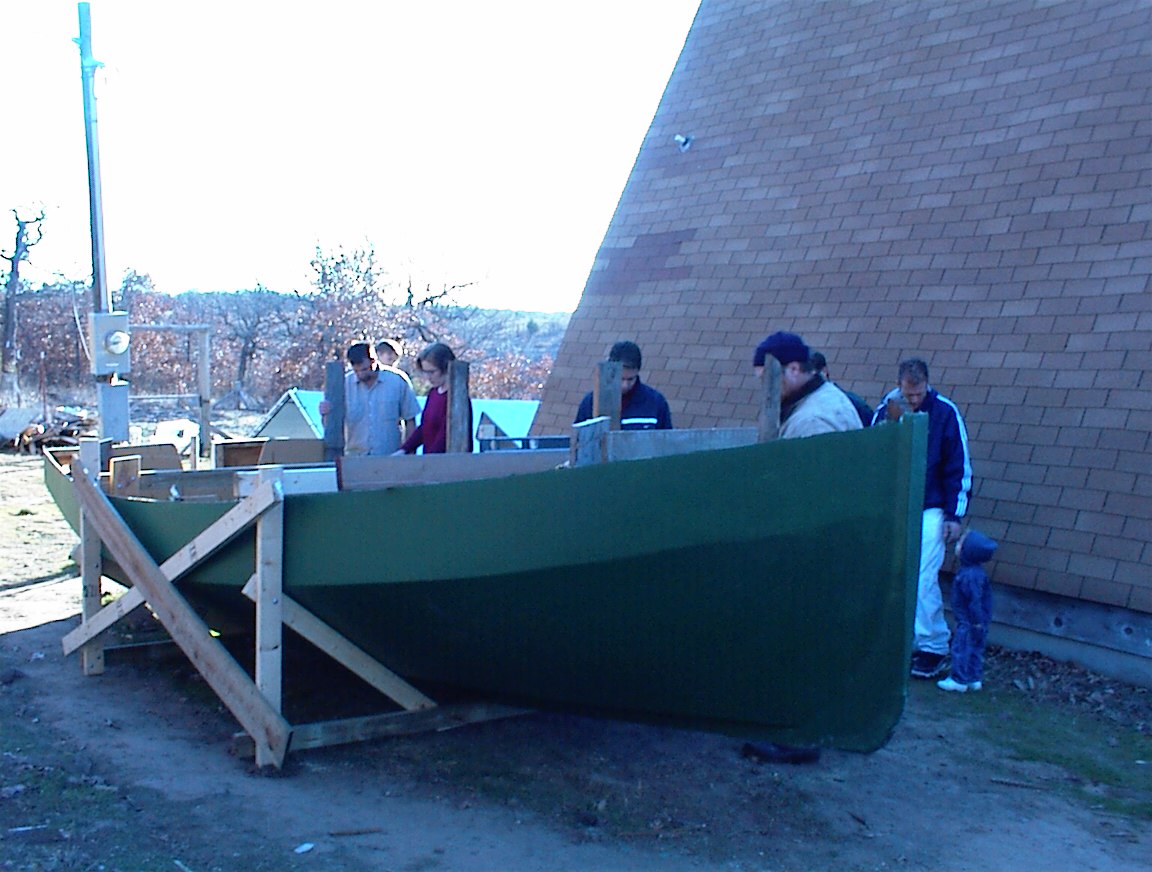
Starting to move the canopy back in. Much to big for one person to carry, but doesn’t weigh much.Turning crew inspecting the boat. Yes, I know the power pole is slanted. It’s been that way as long as I’ve owned the property. Doesn’t seem to cause any problems.

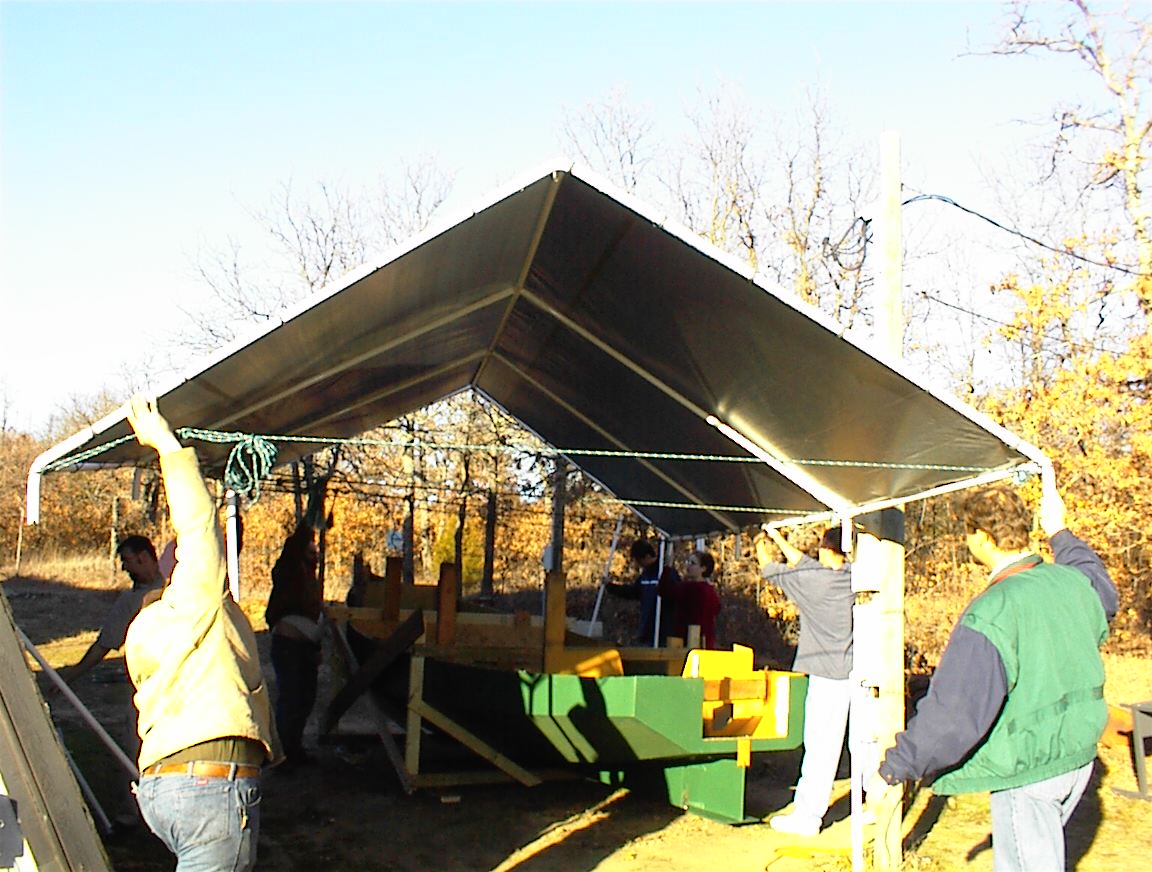
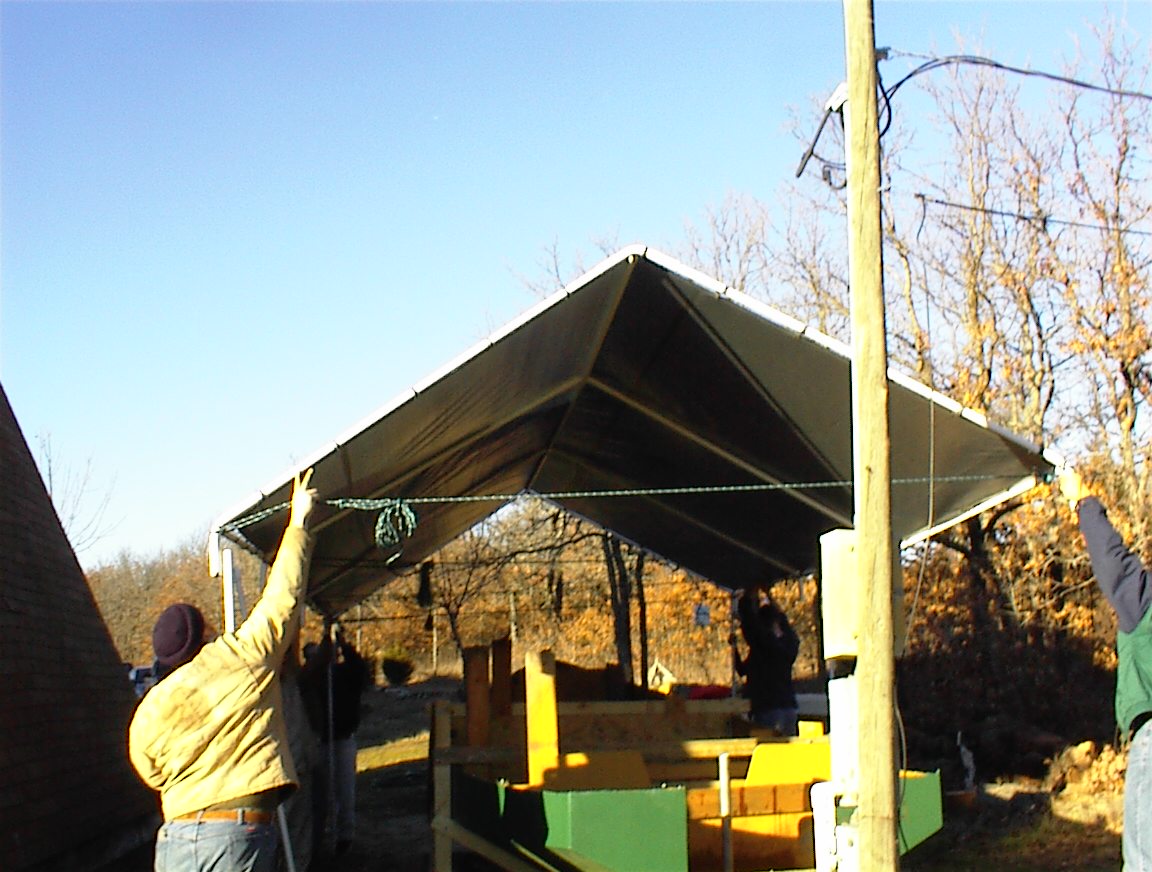
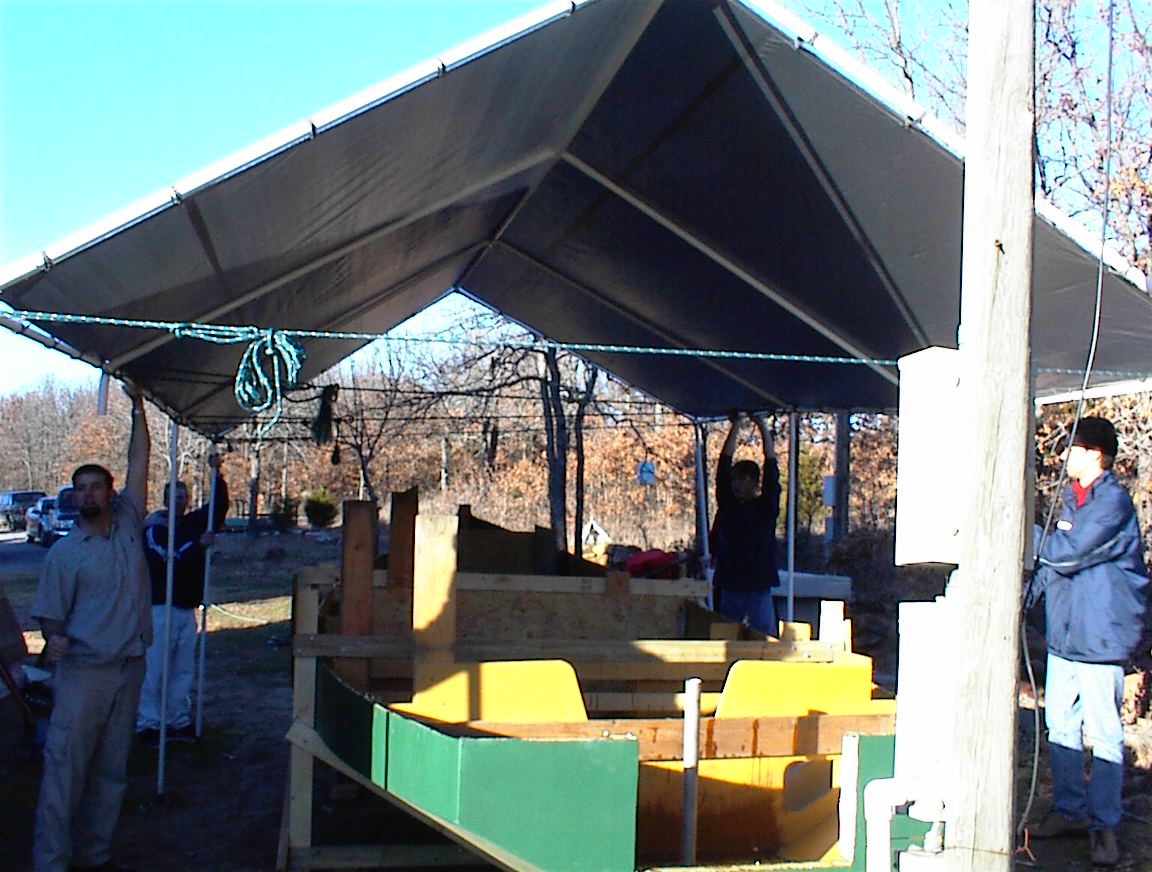
 Six people hold the canopy, six more insert poles. Makes me glad the girls have so many friends!


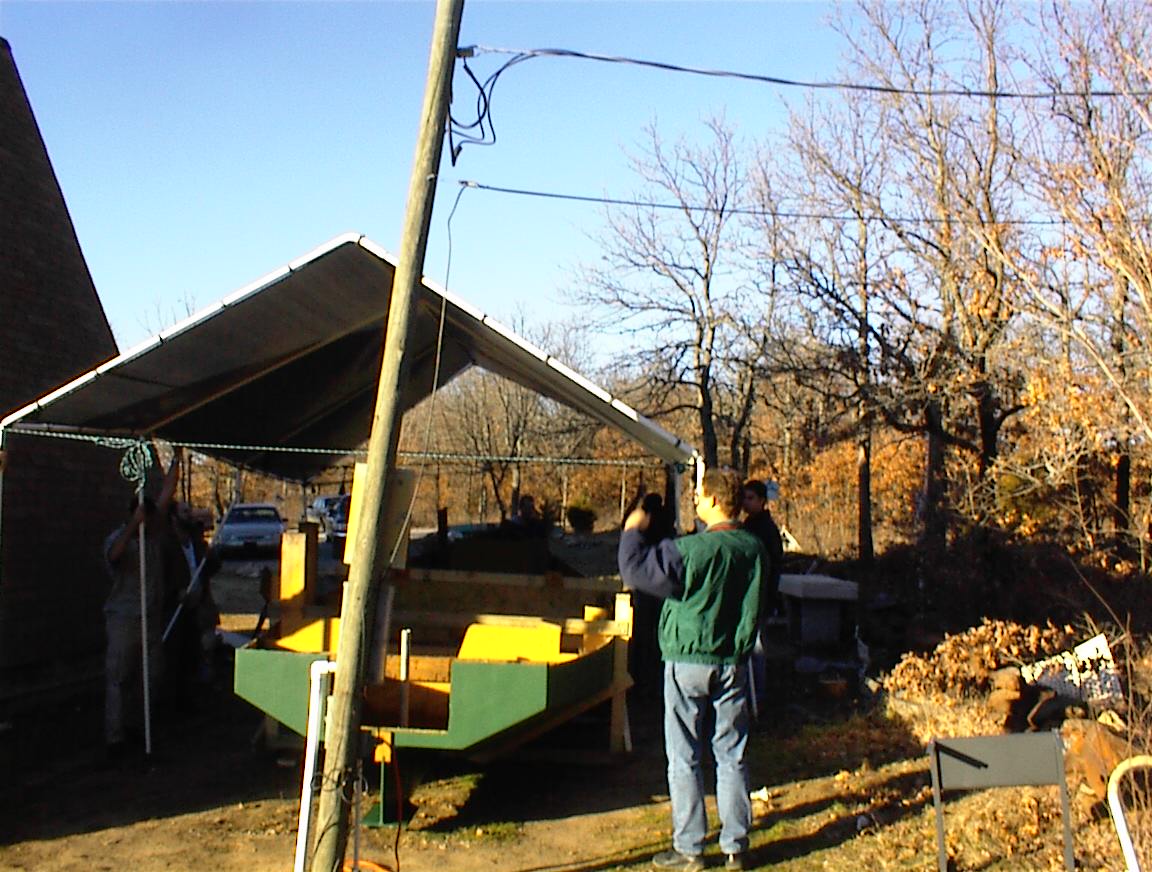
 Final tweaking, and tie the canopy back down.


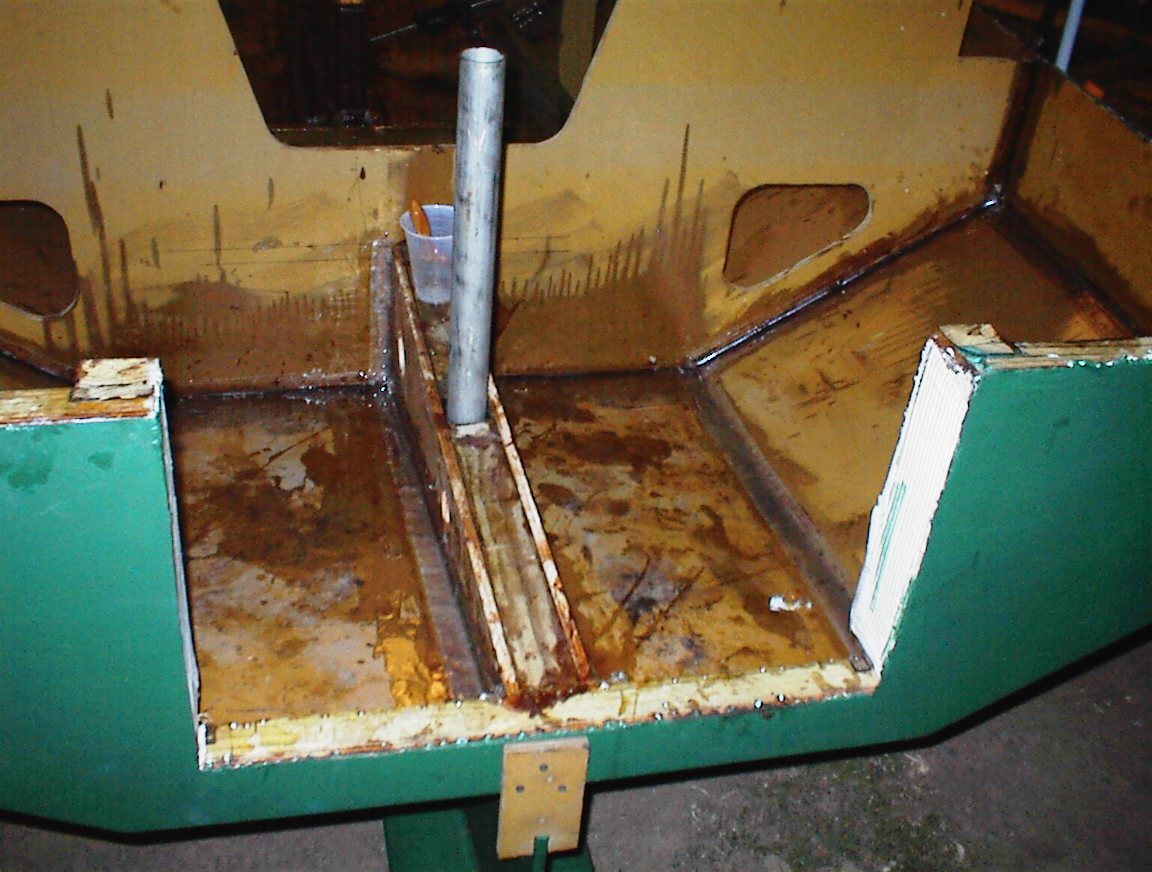
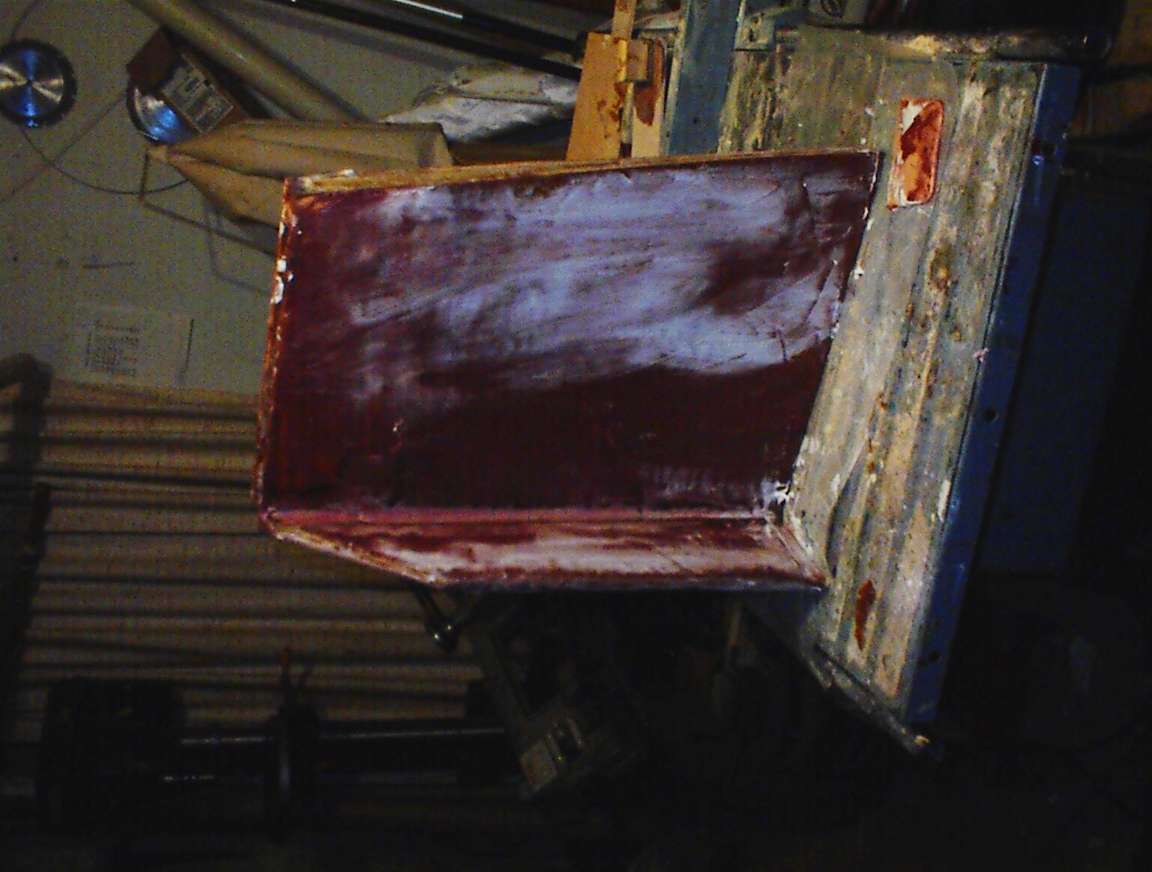
 The left two are pictures of the centerboard interior bracing. The CLC doesn’t have the bracing on the top of the centerboard case that the regular Chebaccos do. Notice the several layers of tape and generous use of epoxy putty. And, yes, I did cut the drain holes on the wrong side of the board. It will be under the floorboards, and the only issue will be small triangular area between the berths that won’t drain back. But, since the cabin is closed, doesn’t have a bilge pump anyway, and this will be covered by the floor boards, I’m just not worrying about it.
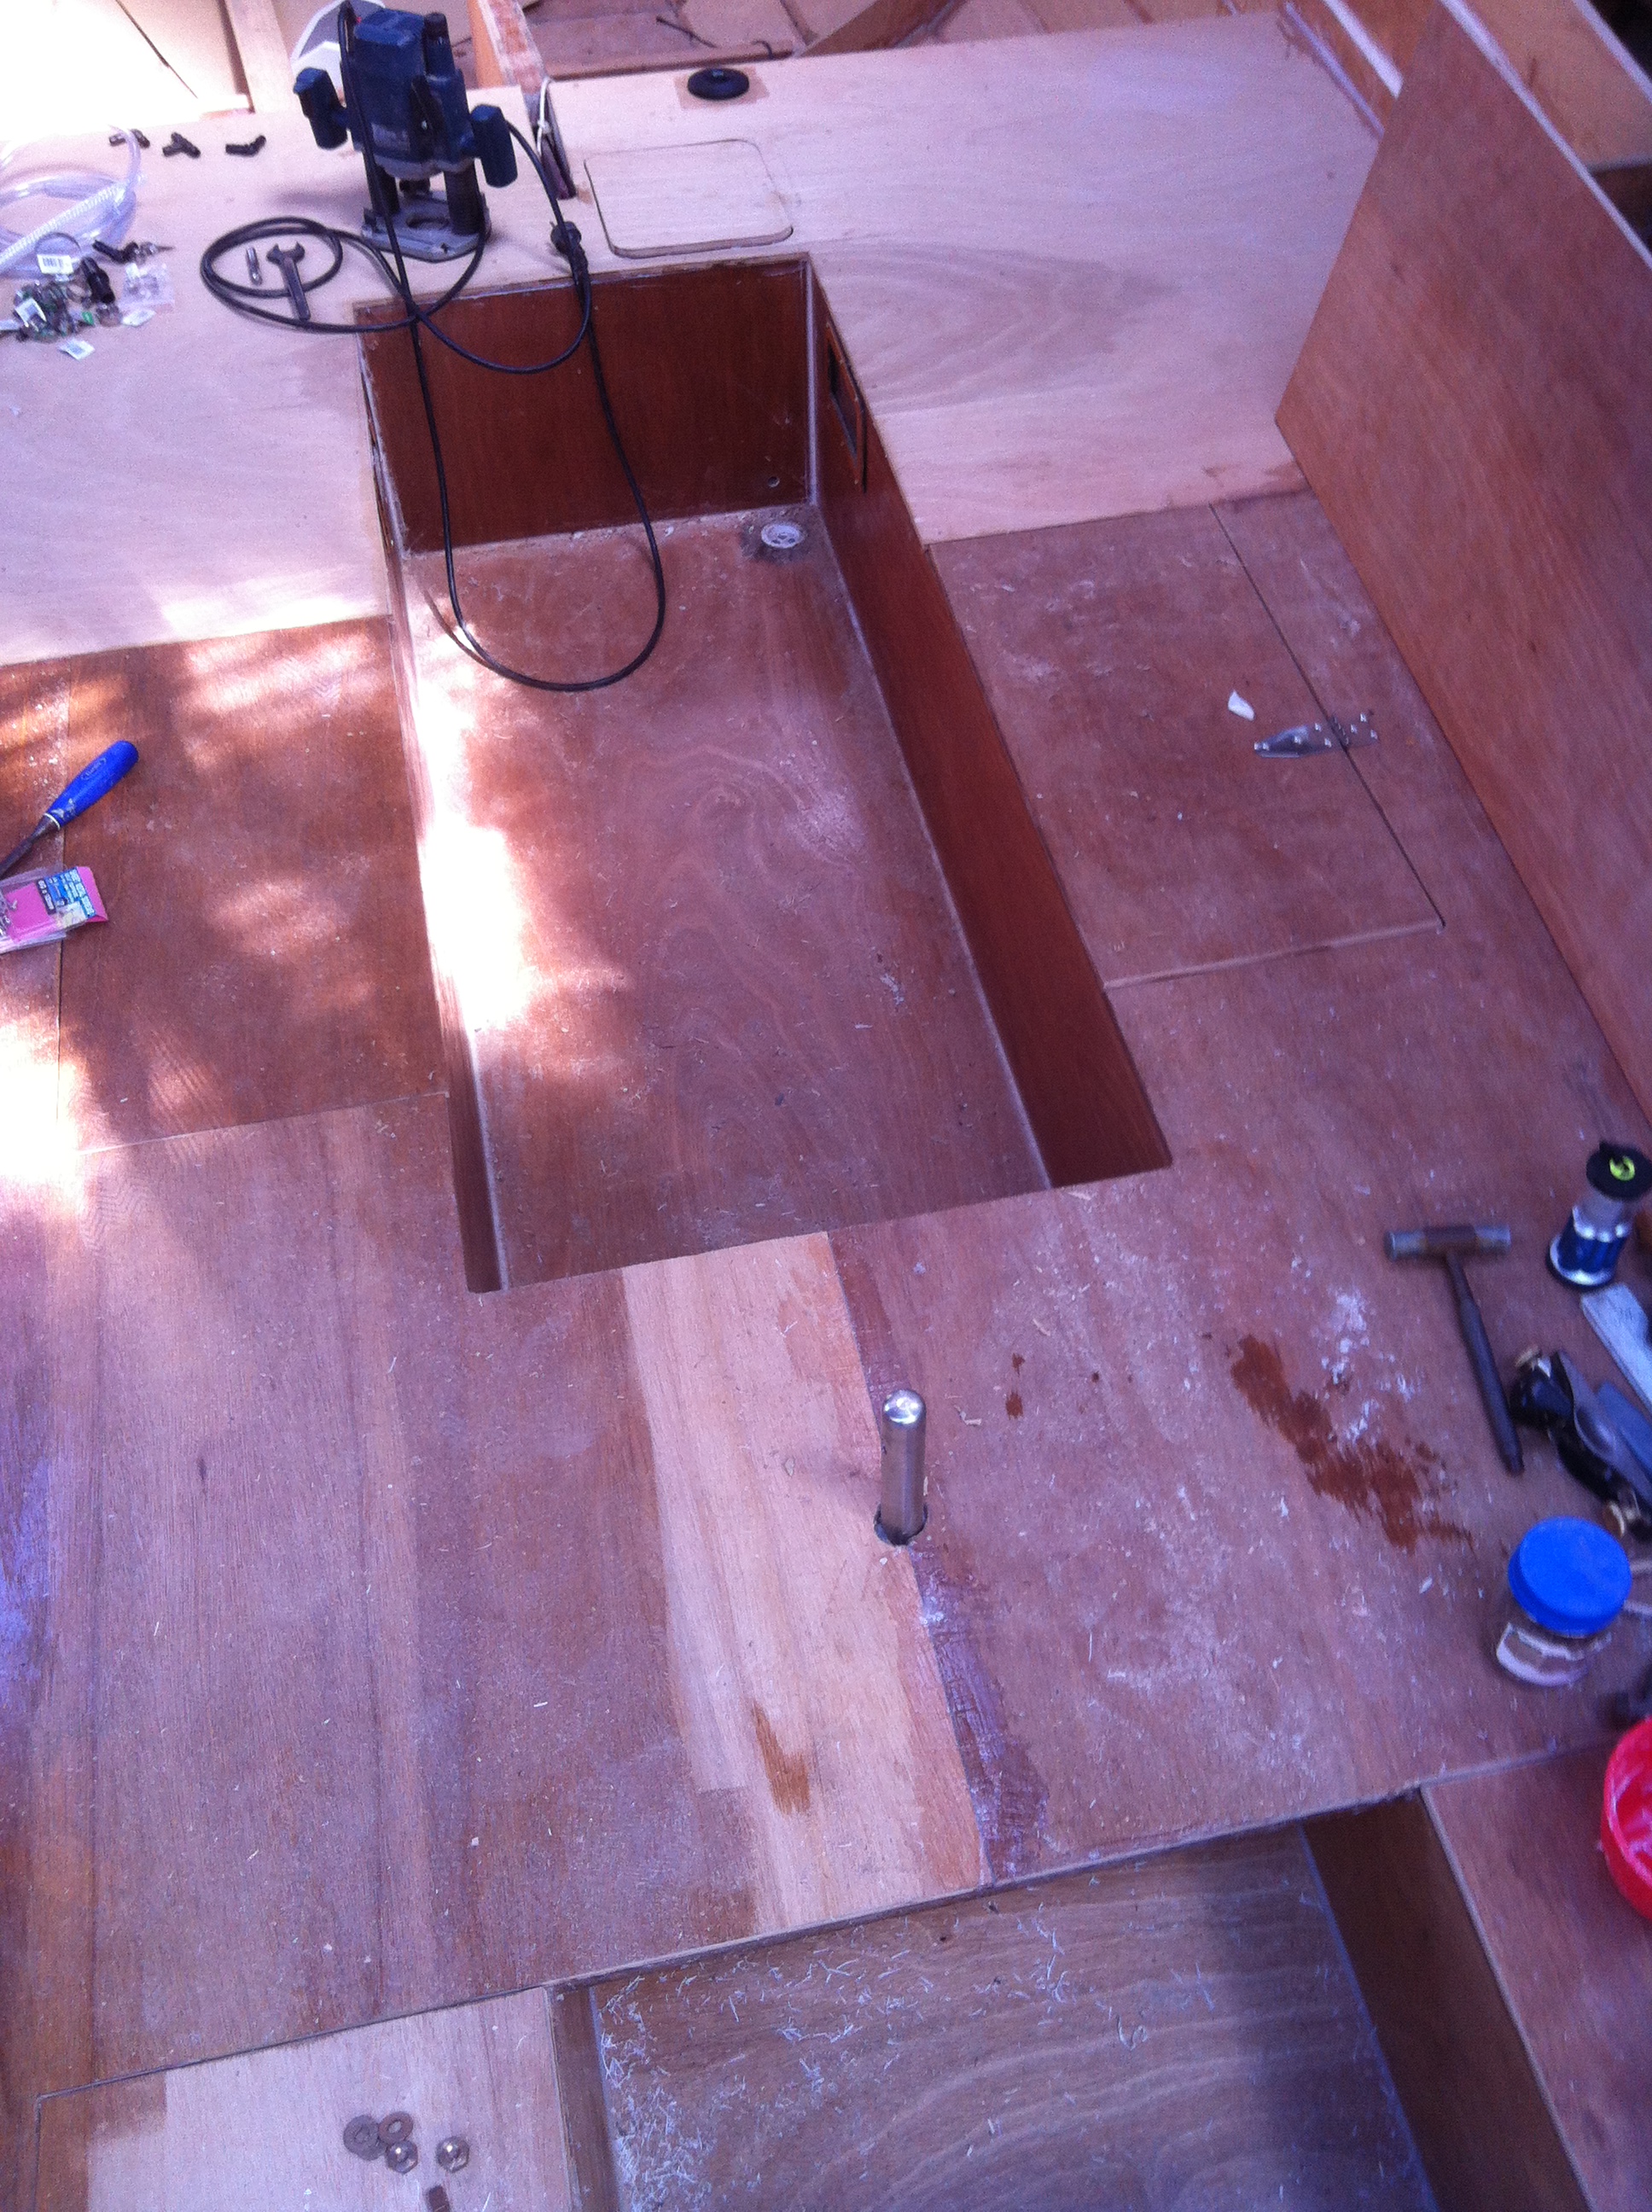
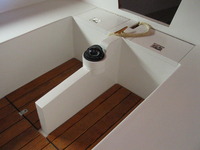
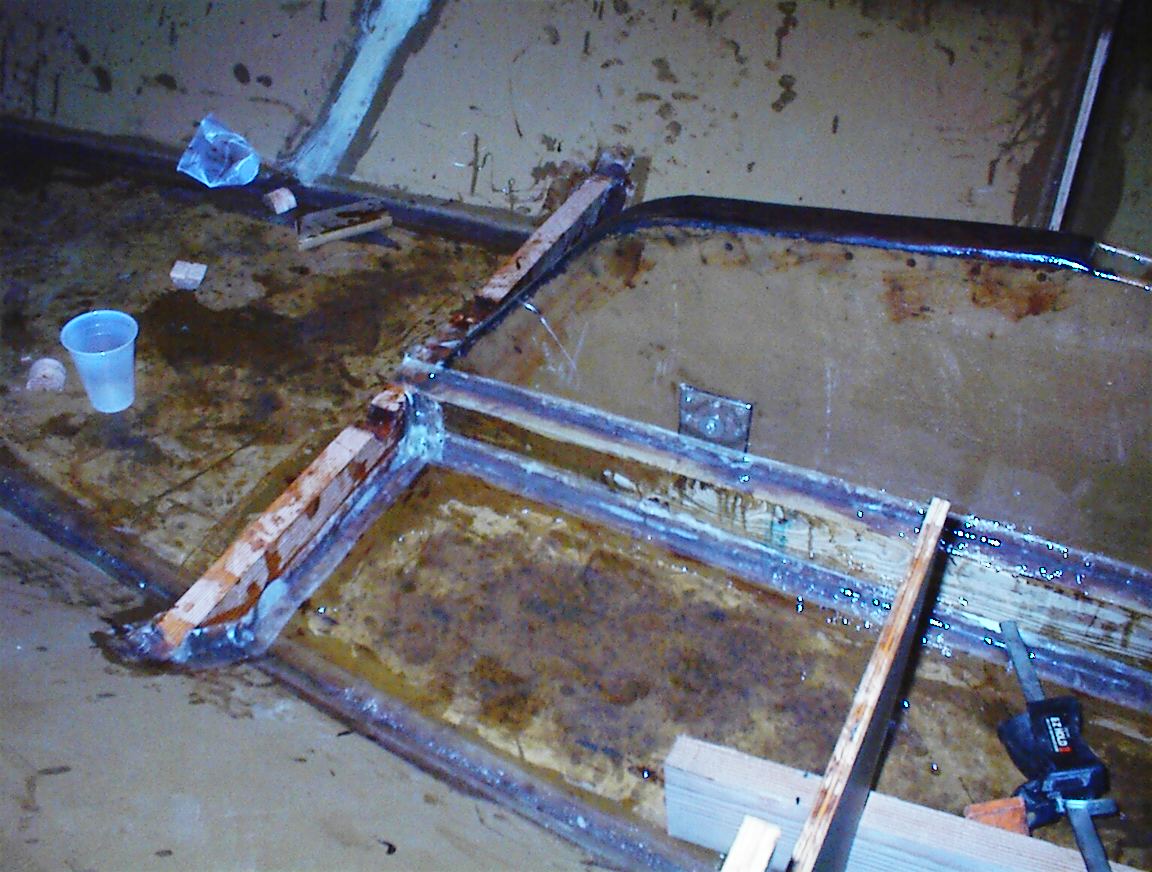
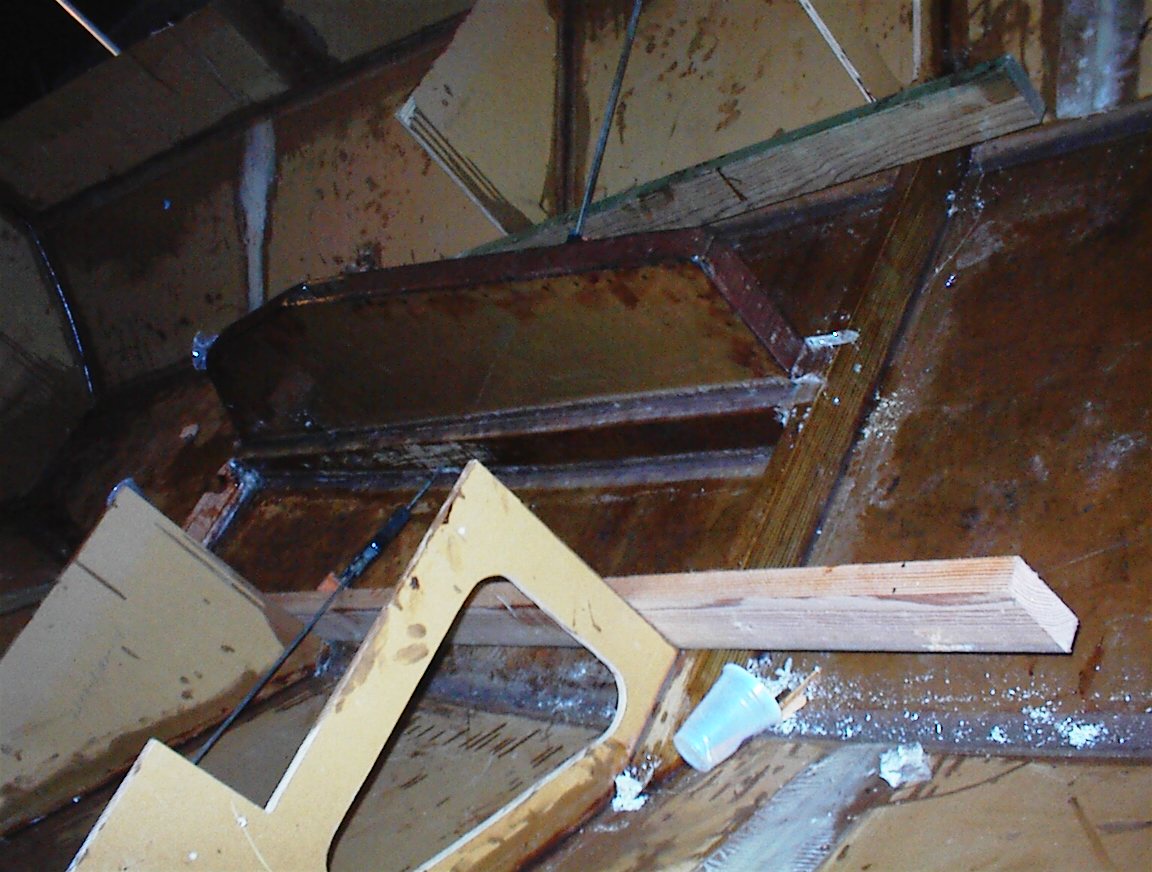
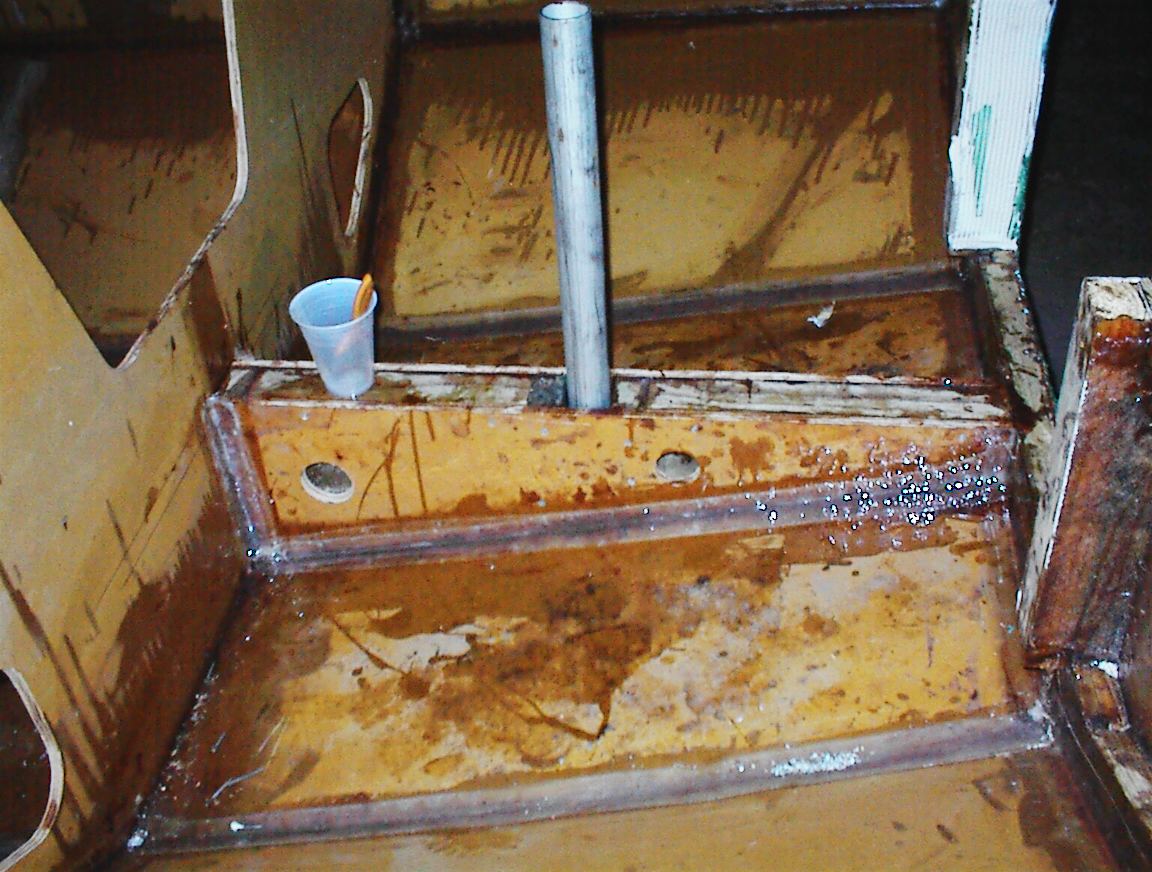
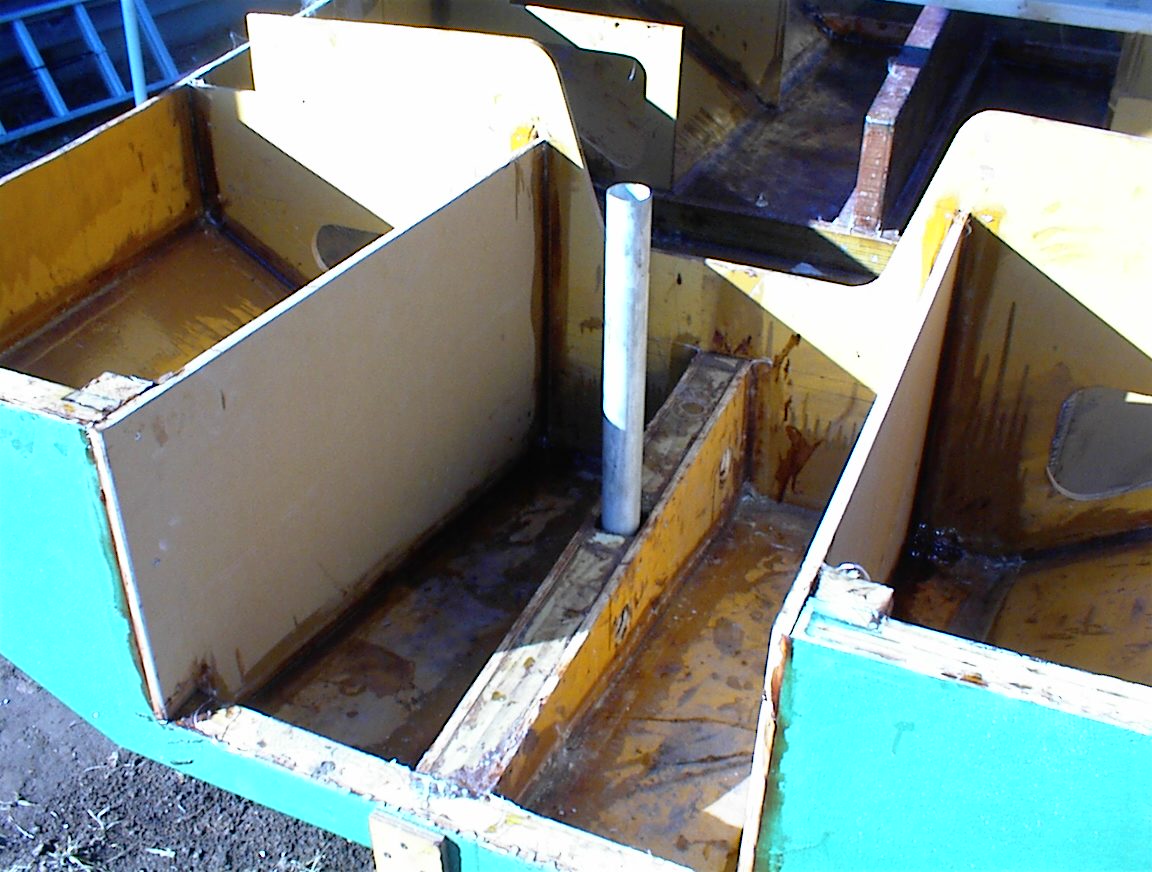
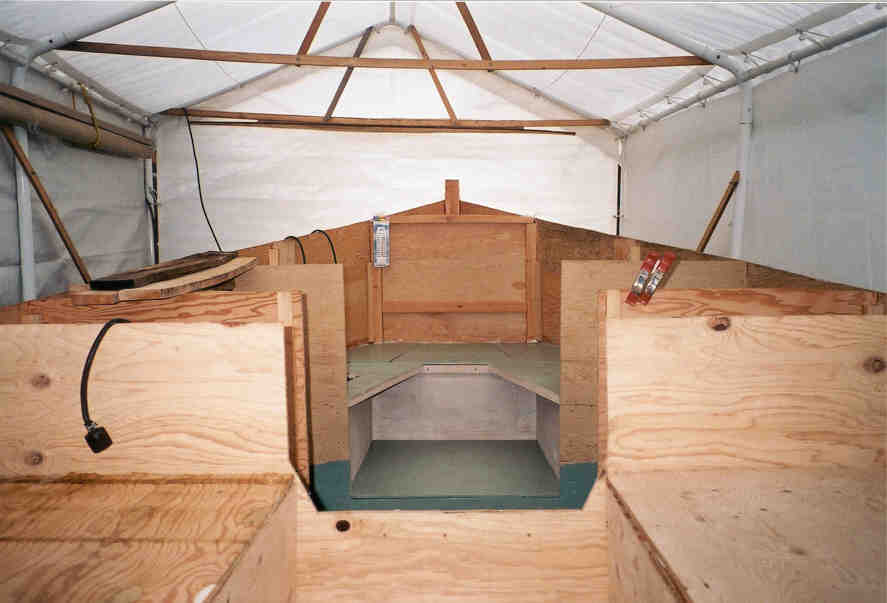
To the right you see the through hole for the rudder, and the aft well substructure. There would have been closed off spaces inside this structure for moisture to gather. The MDO and pressure treated is pretty good stuff, but I cut ventilation holes anyway. I’m putting two small deckplates on the bulkhead in the left of the picture. I know the plans call for this to be open, but I want the added floatation if the cockpit is ever flooded.


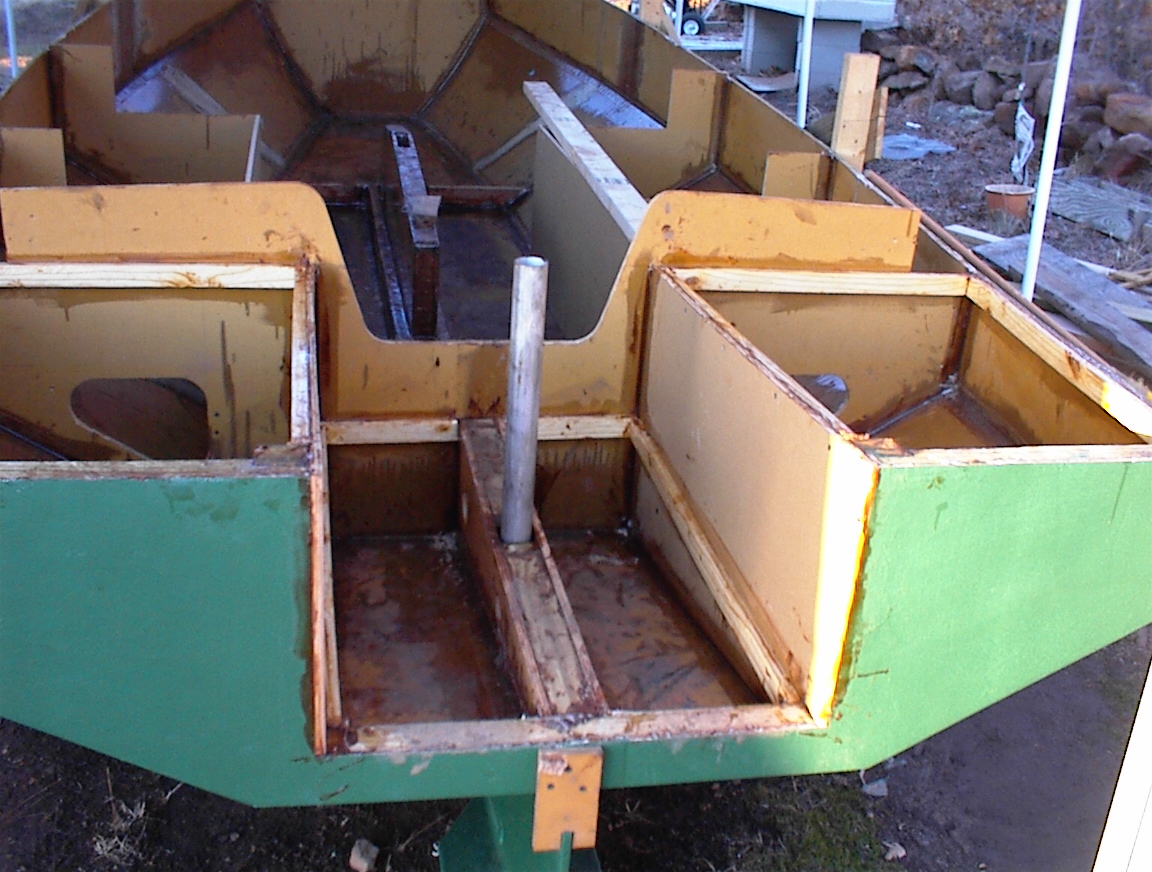 When I was building this section, I really noticed the lack of pictures of this particular construction detail on the web. Hence, you see lots of these pictures here! In the right two photos I have installed the walls to the aft floatation/storage boxes, and the framing for the motor well floor.
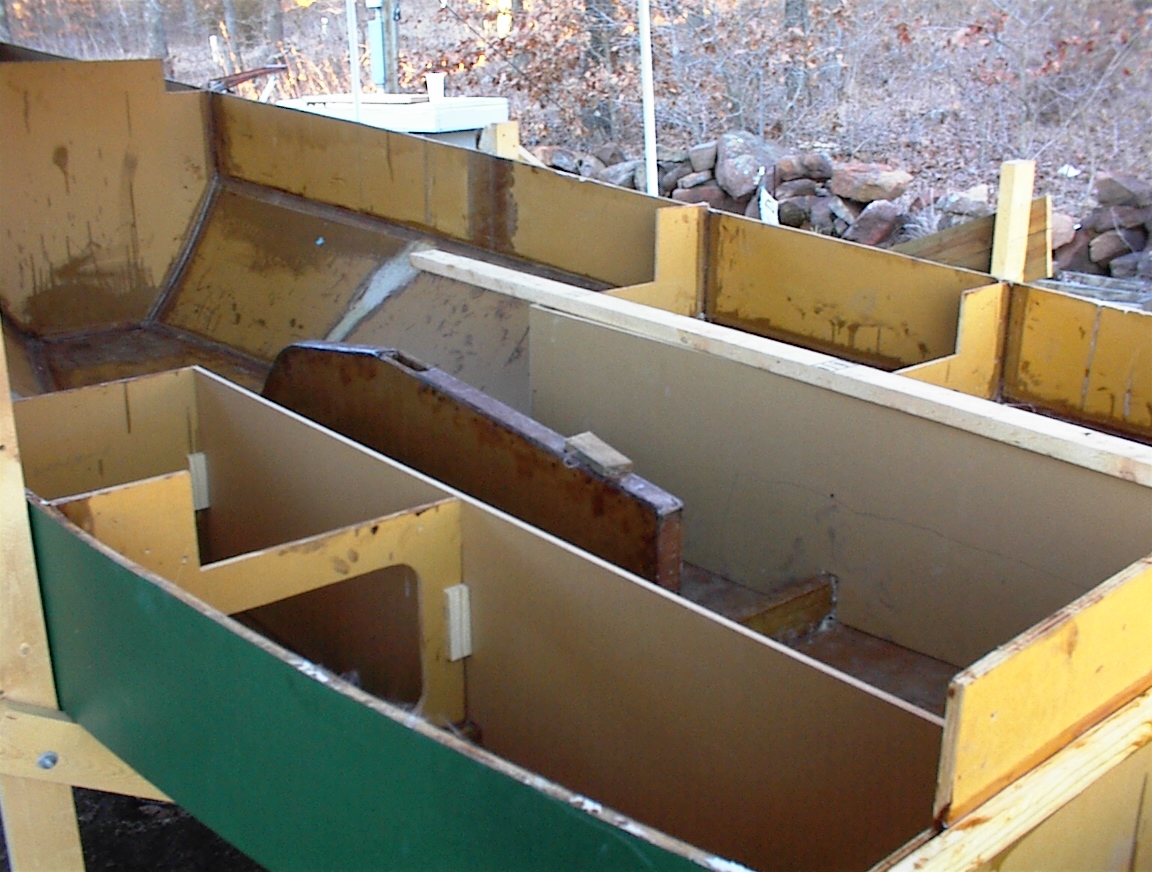

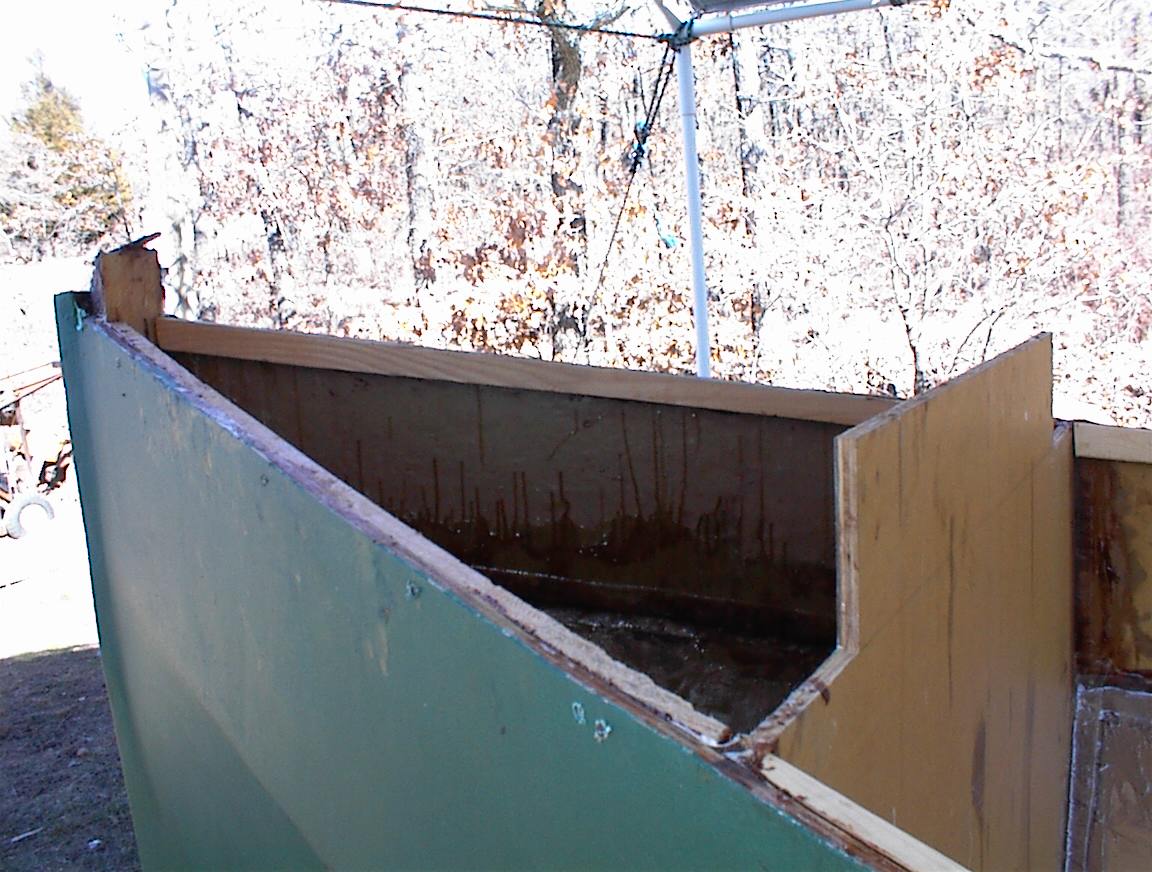
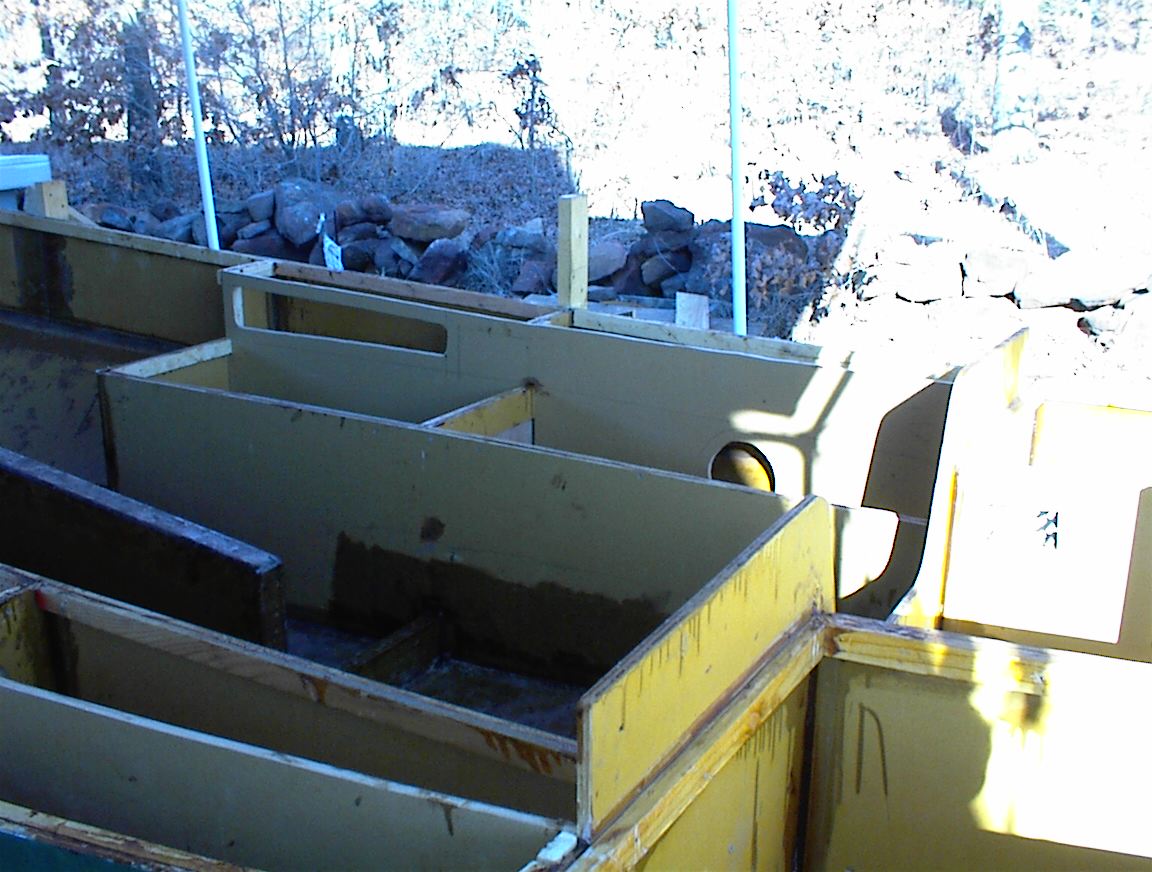
 In the left photo I’m attaching the sides of the “seats” (which will also be the head ad galley). Attached them to cleats on one side, taped the other, pulled the cleats, and taped the remaining joint.s Center photo is my new power tool. He does a pretty good job, I can turn him loose on something and do something else myself. Very handy to have around, I would suggest you buy one. On the right you can see the framing for the top on the ground tackle compartment. I’m going to cover this over and put a Bomar hatch from Thrifty Marine (see resources) in. Rain and spray proof.
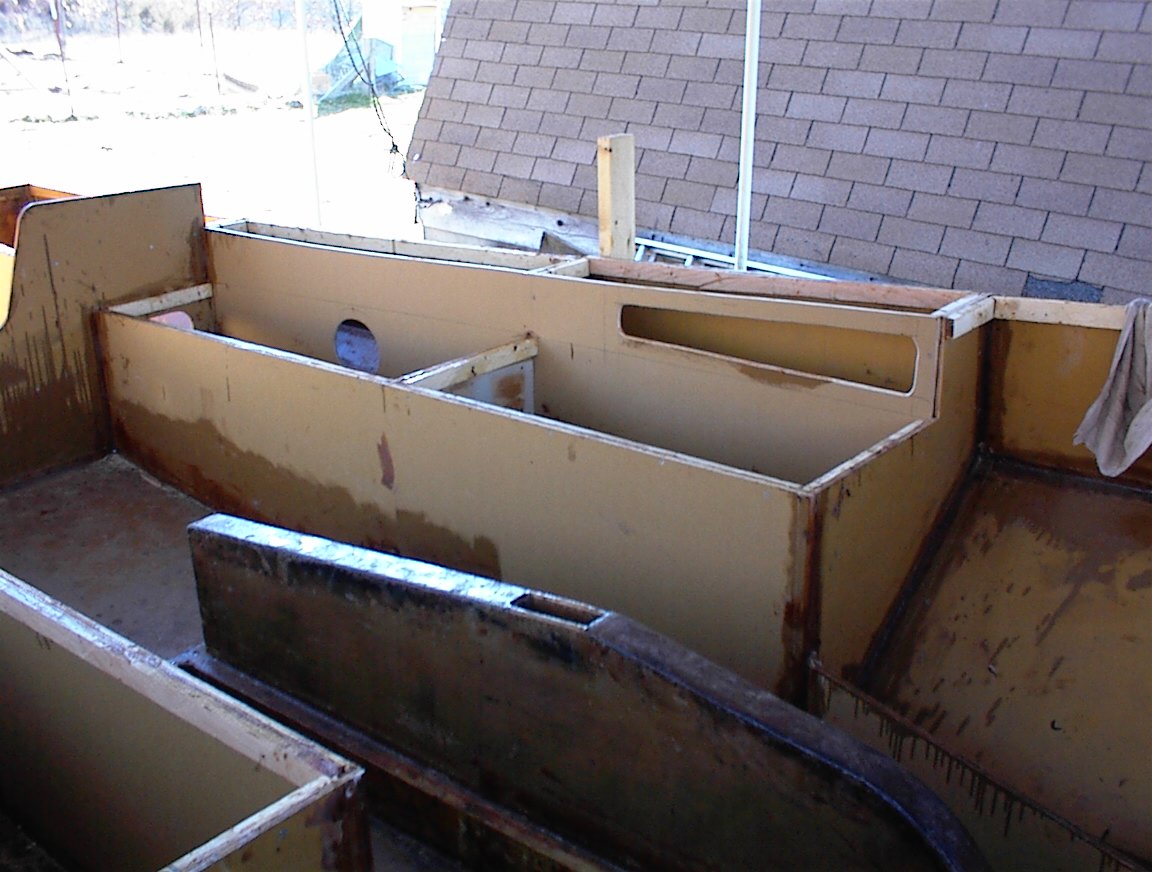
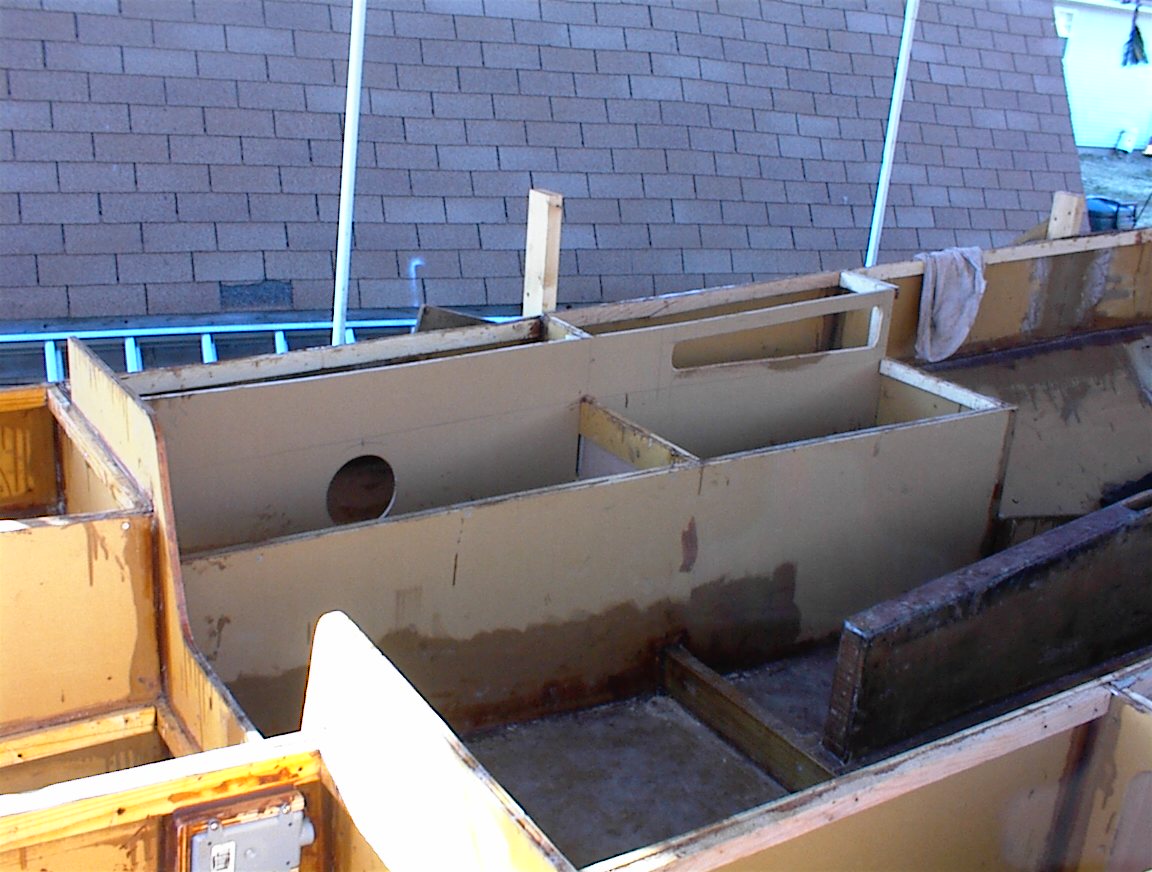
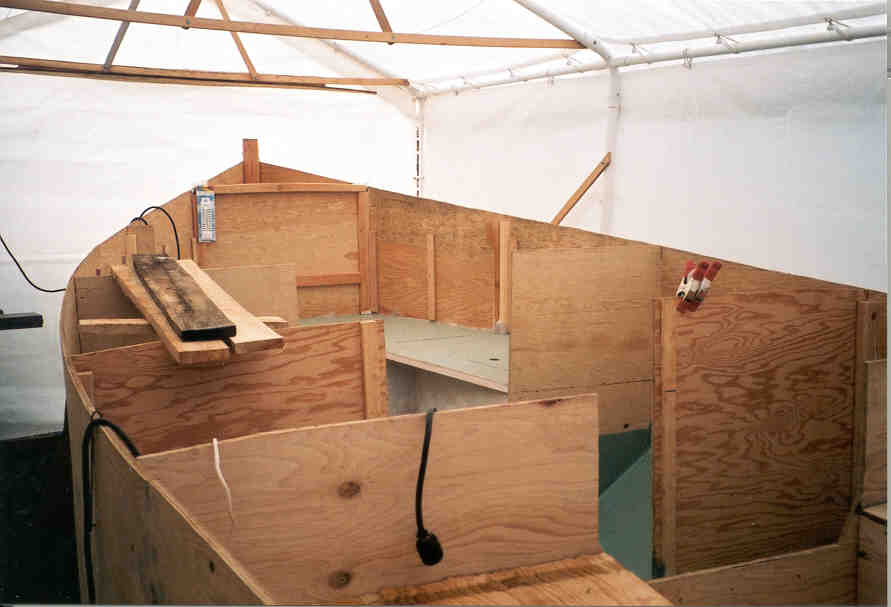
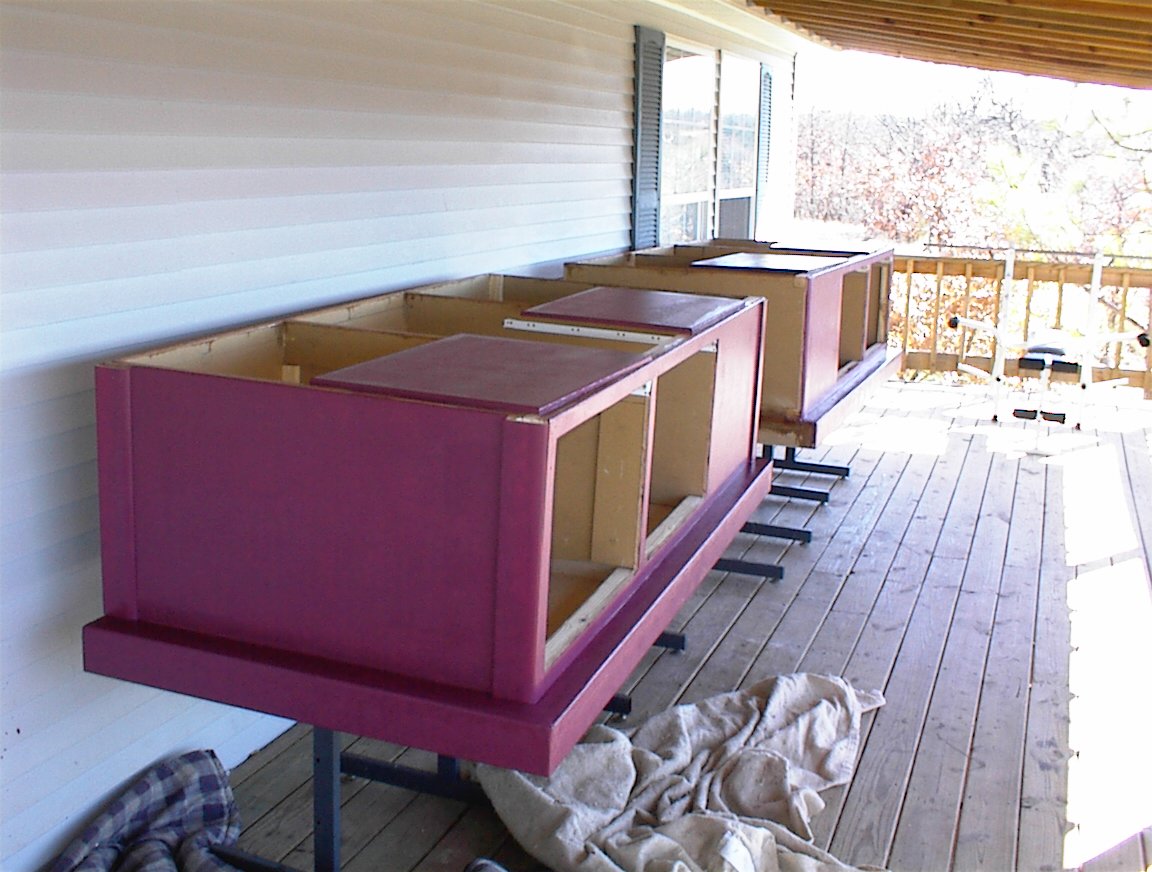
 Here you see pictures of the storage compartments I’m building. Not on the plans, but in a 20ft boat you can’t have to much storage. The compartment behind the seat will be accessed by opening the seat hatch, opening the deck plate covering the round hole, and reaching through the hole. Not the easiest access, but I’m thinking of storing light dried goods in there, maybe bread, that kind of thing.
The other storage area will be accessed through a hinged door over the galley and behind the head. For light dishes and toiletries, respectively.
You can see the layer of light glass on the bottom of the side of the seat, to protect against standing water in the cockpit.
***HEY, how did that picture get in here? This is the new bed I made the wife for the anniversary. It does show how boat work spills over into regular life. This was built in two halves, out of some of the spare 1/2″ MDO from the boat. Two halves so it would be easy to take into the bedroom. The lip around the top was filleted and glassed, so it would take the strain big people and little cats getting into bed.
Hi again, Richard
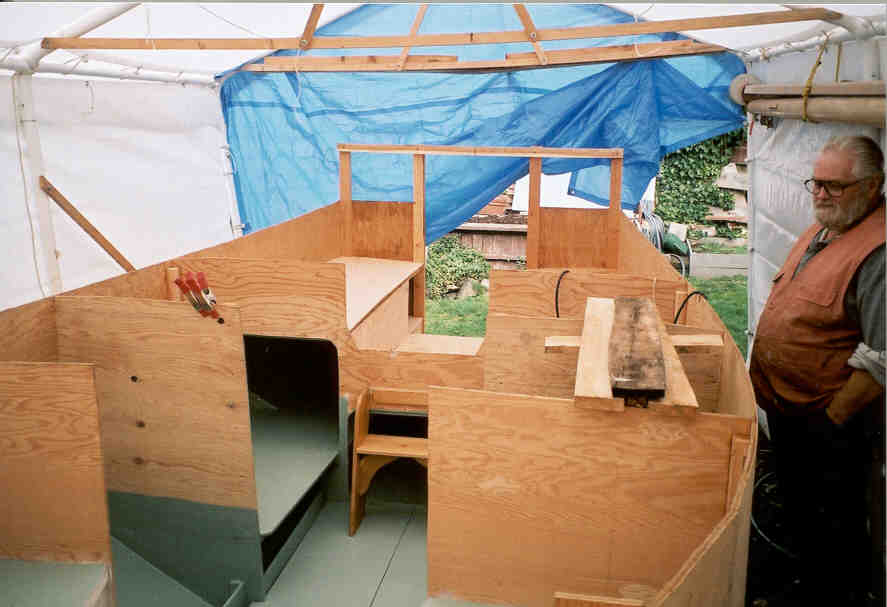
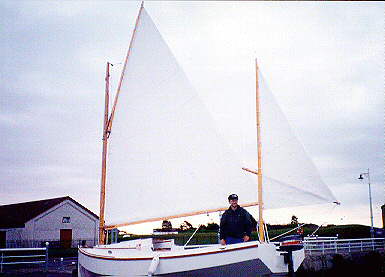
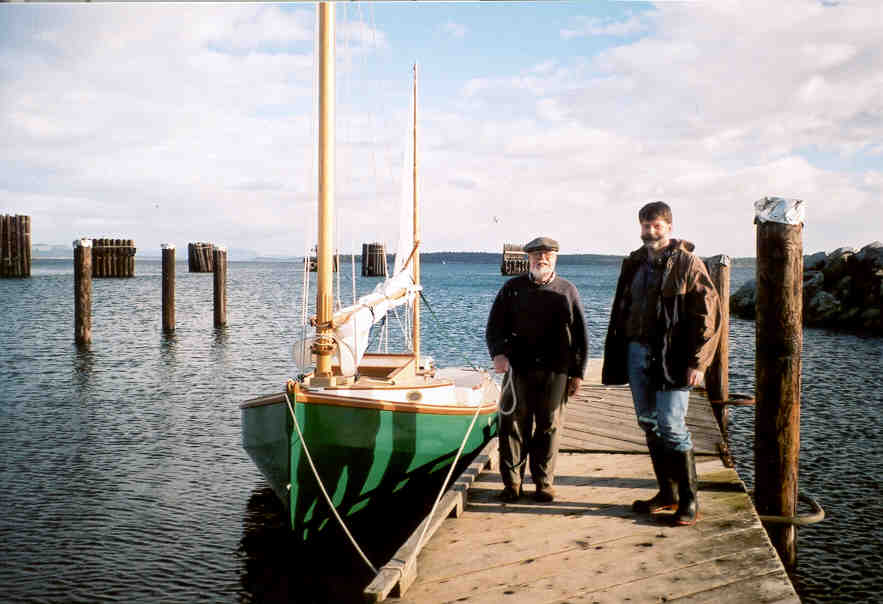
The weekend before last, Dad and I took a drive over to Bill McKibben’s place to say hello and see his modified glass-house Chebacco. It’s going to
be BIG! He’s going for comfort in the interior, raising the sides a foot over the already higher (I think) designed sides. When the cabin goes on,
it’ll be big enough for full standing headroom! There’s a vee berth going into the bows, with a galley along the port side, and a head compartment, I
think. Also there will be quarter berths under the (shortened) cockpit seats. Bill thinks more ballast will be needed to offset the added weight
up high, and is considering modifying the keel, and/or carrying inside ballast, maybe extra drinking water in portable containers. There’s
certainly lots of room.
Bill’s braver than most. The hull is from the Chebacco offsets, so the underwater shape is as designed, but for the topsides he’s working from the
model he made (Chebacco News #33, Feb 01), and the interior is in his head. He says its all an experiment, but I think he’s pretty well
thought it out. The model looks good and extra ballast should make it stable. Beth said she prefers the fast motorsailor, since it will take them
home in a hurry if the weather turns sour, but Bill is quite keen on the new, slower boat. It’s modelled after something he saw in Desolation Sound,
a power boat hull and cabin converted into a motor-sailor, with davits added for a substantial dinghy as well. Bill says it combines everything he wants
into a tidy package. The boat that inspired him was about 25 feet, and Chebacco is only 20, but I don’t think that’s going to stop him. Including
davits.
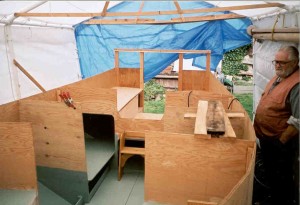
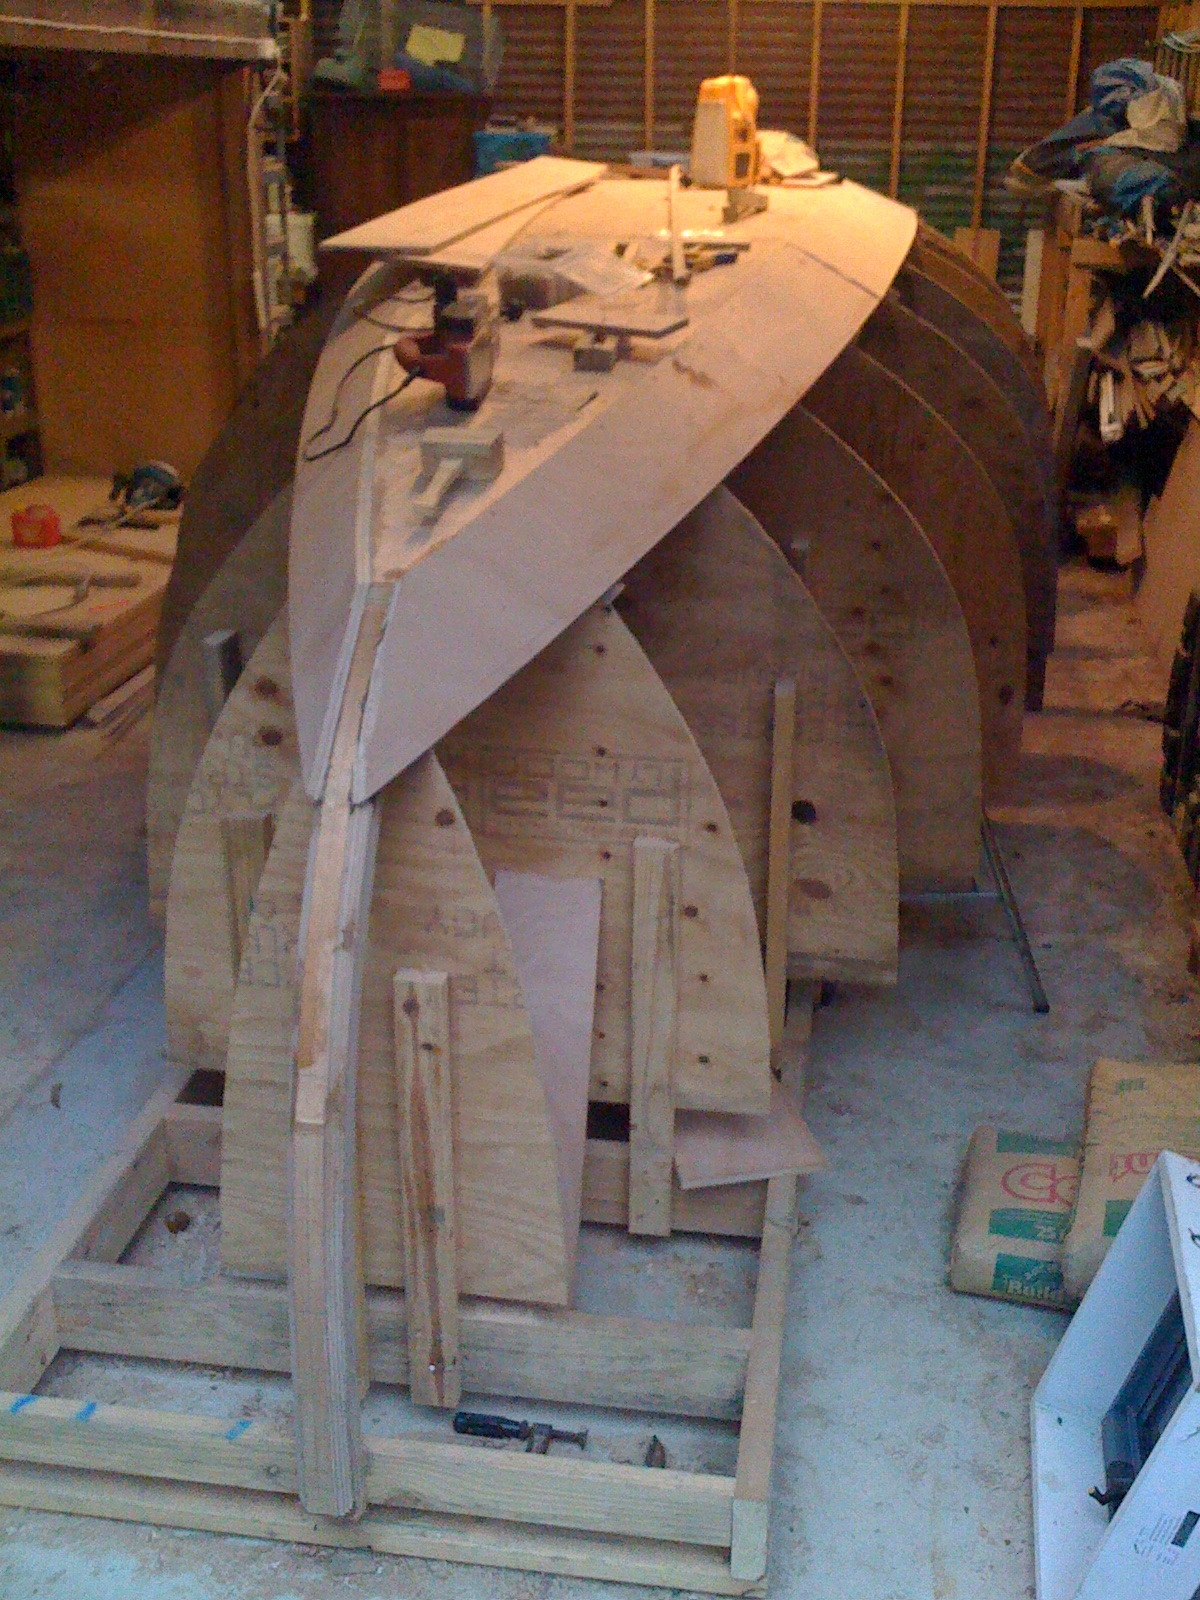
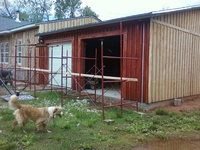
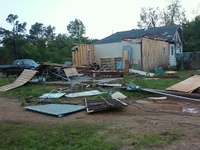
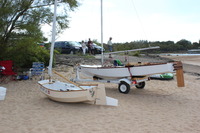
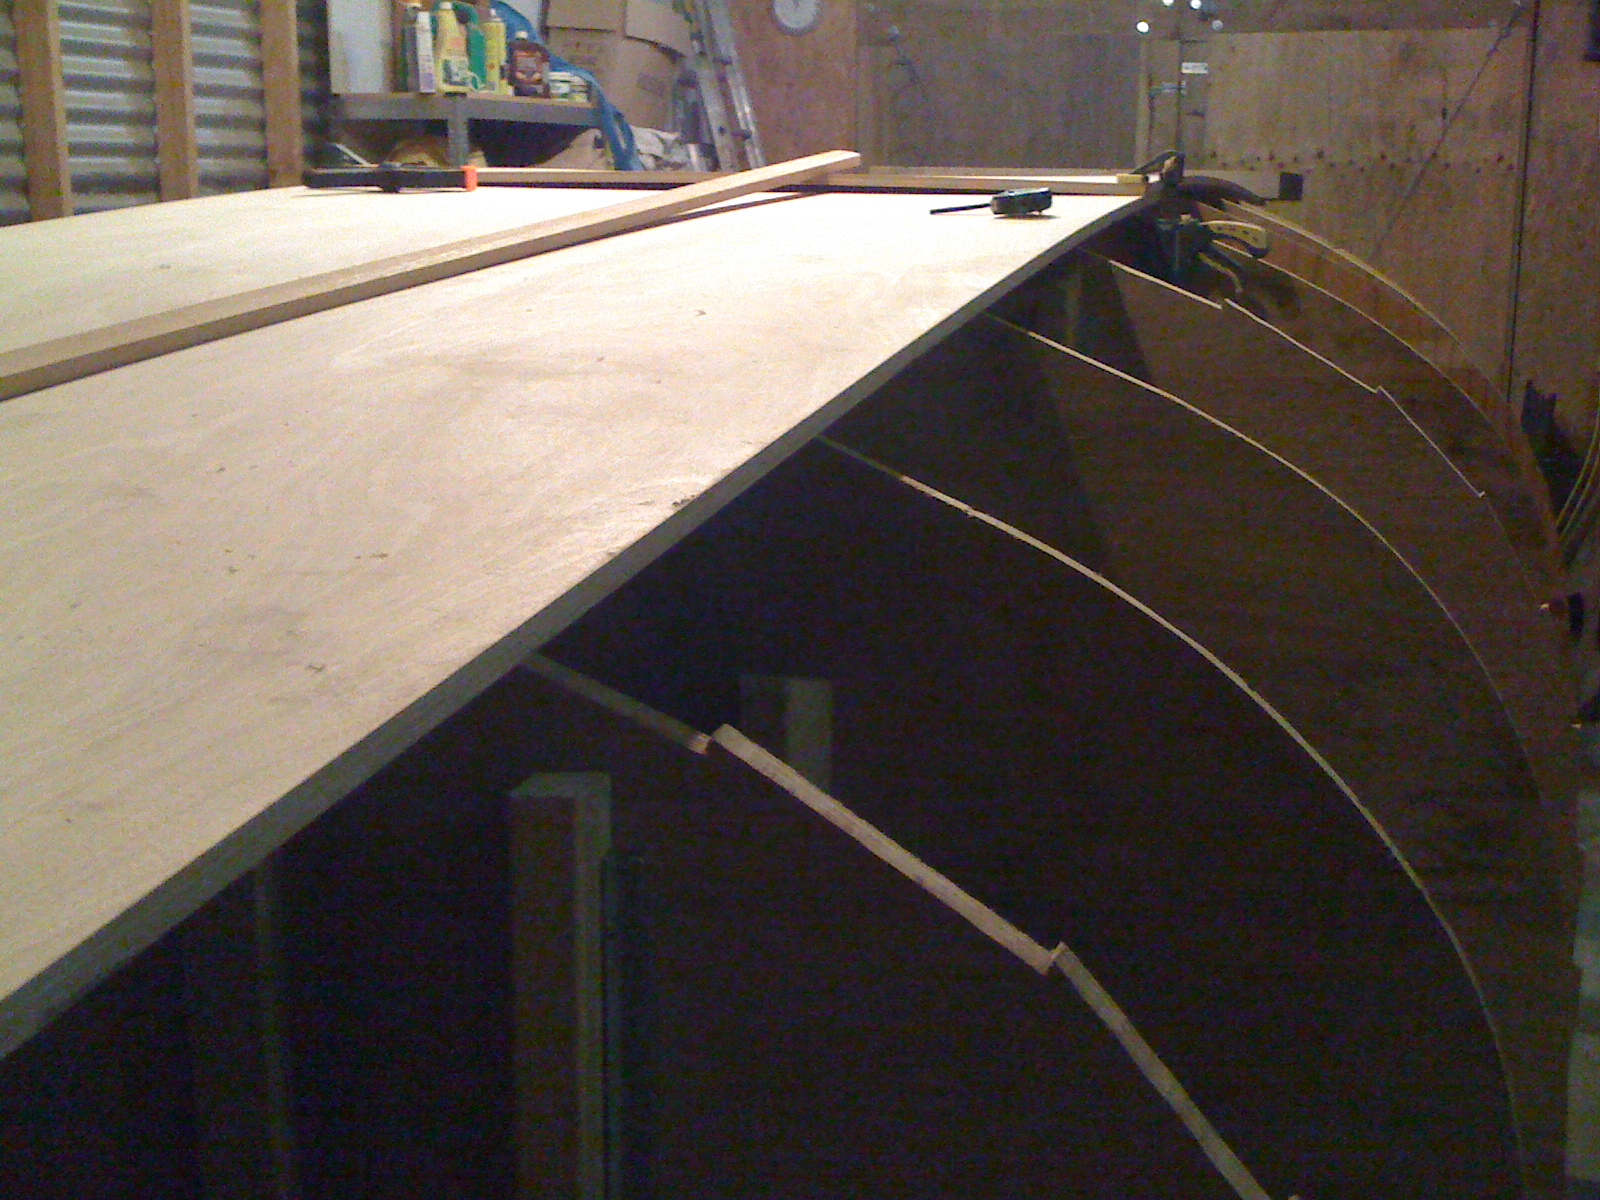
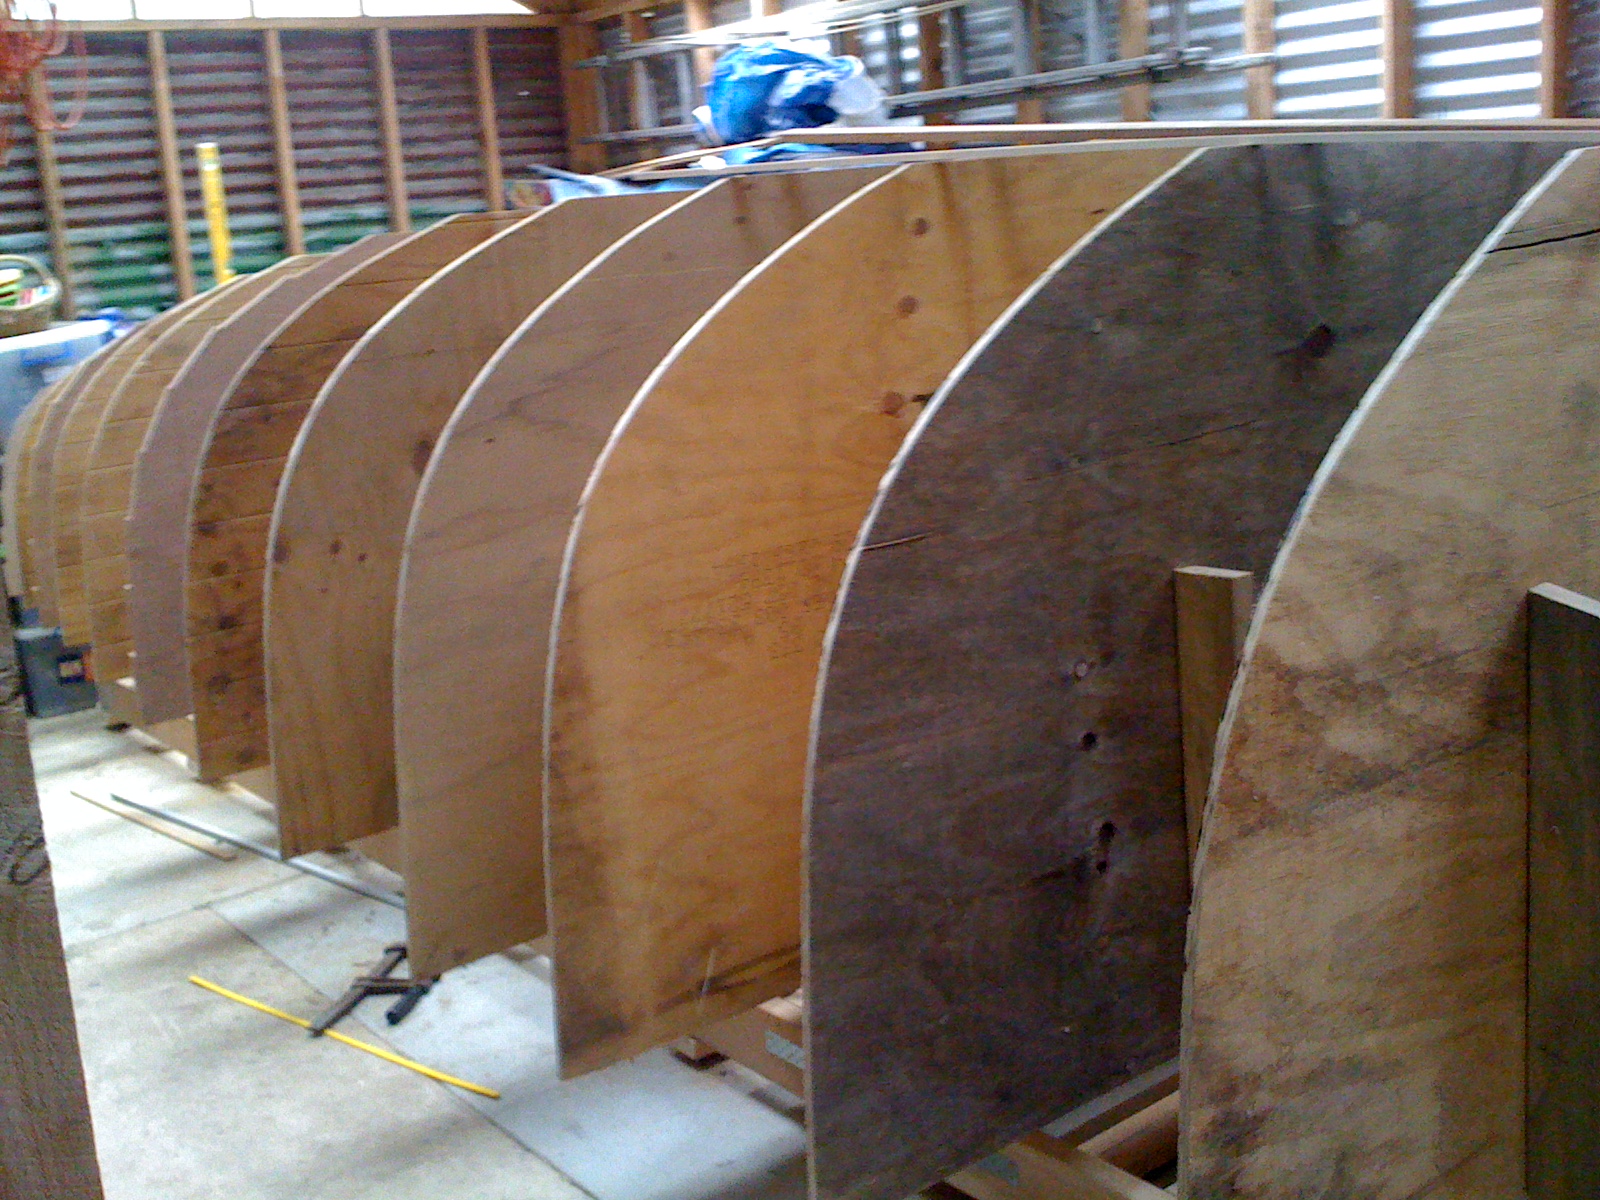
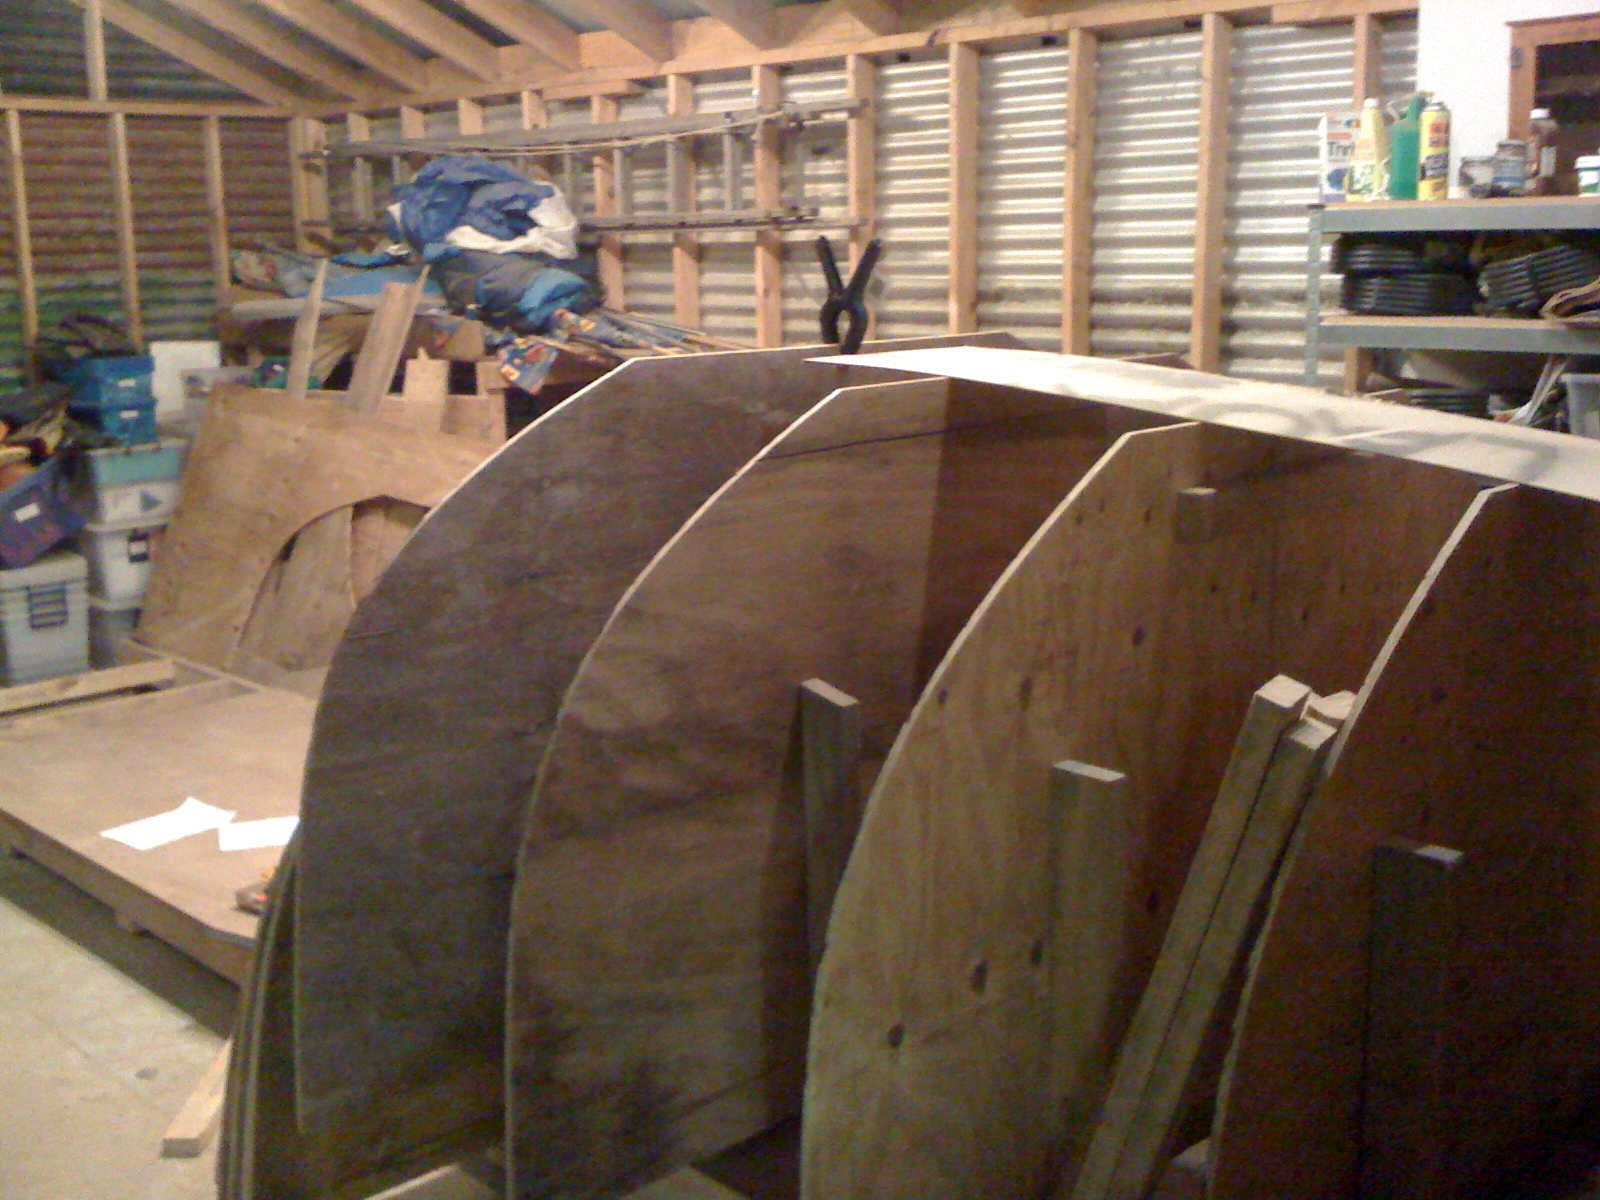
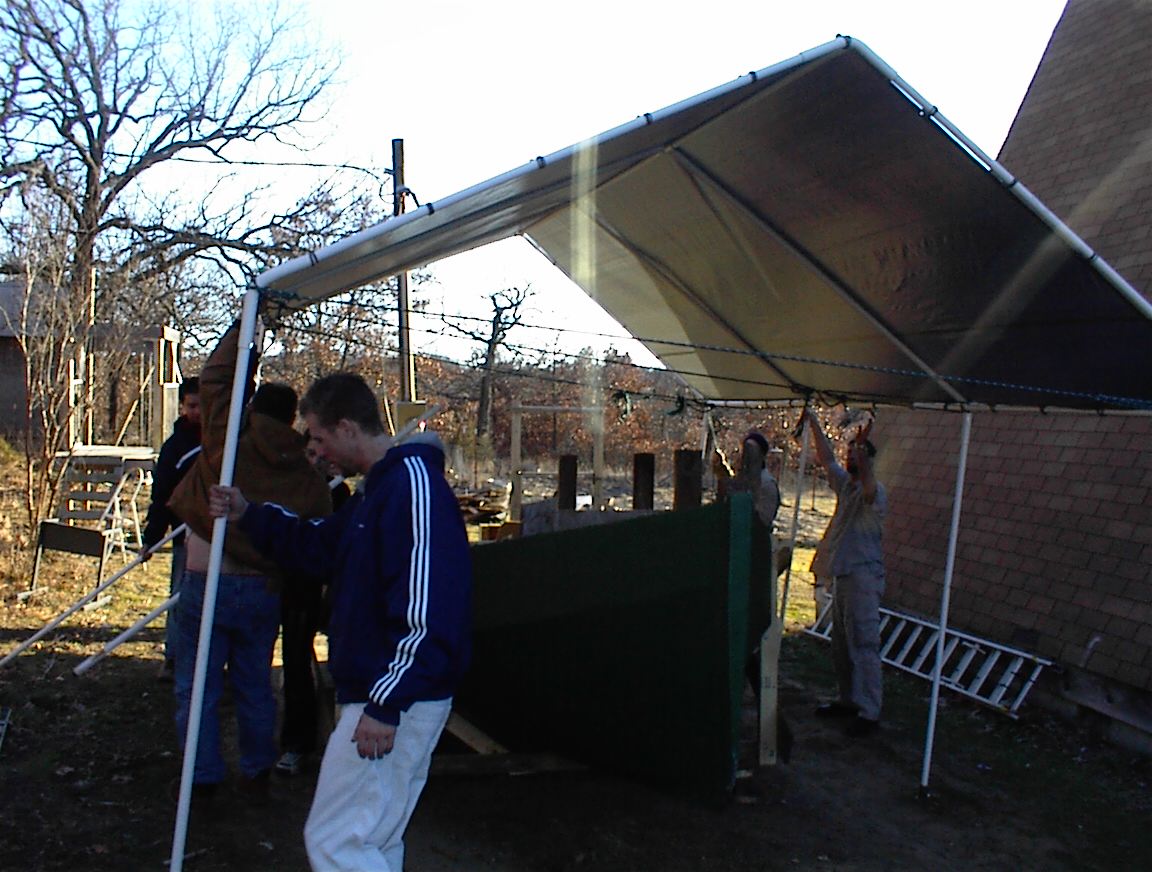
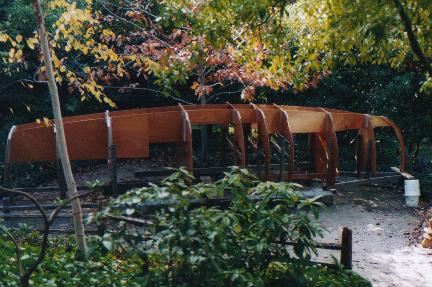
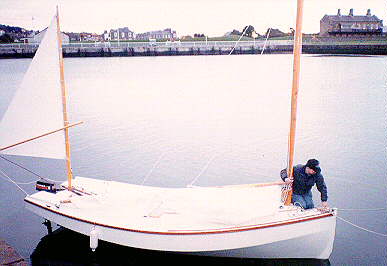
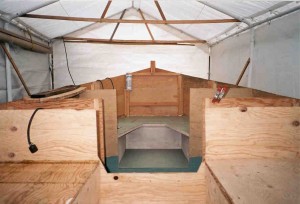
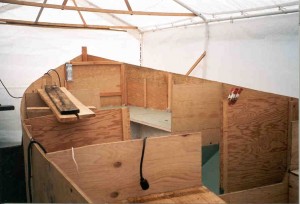
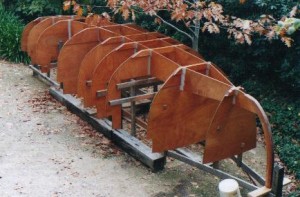
Bill’s model looks good, so once the ballasting is worked out, the full size motor sailor should turn out well. I’ve attached some pictures of the
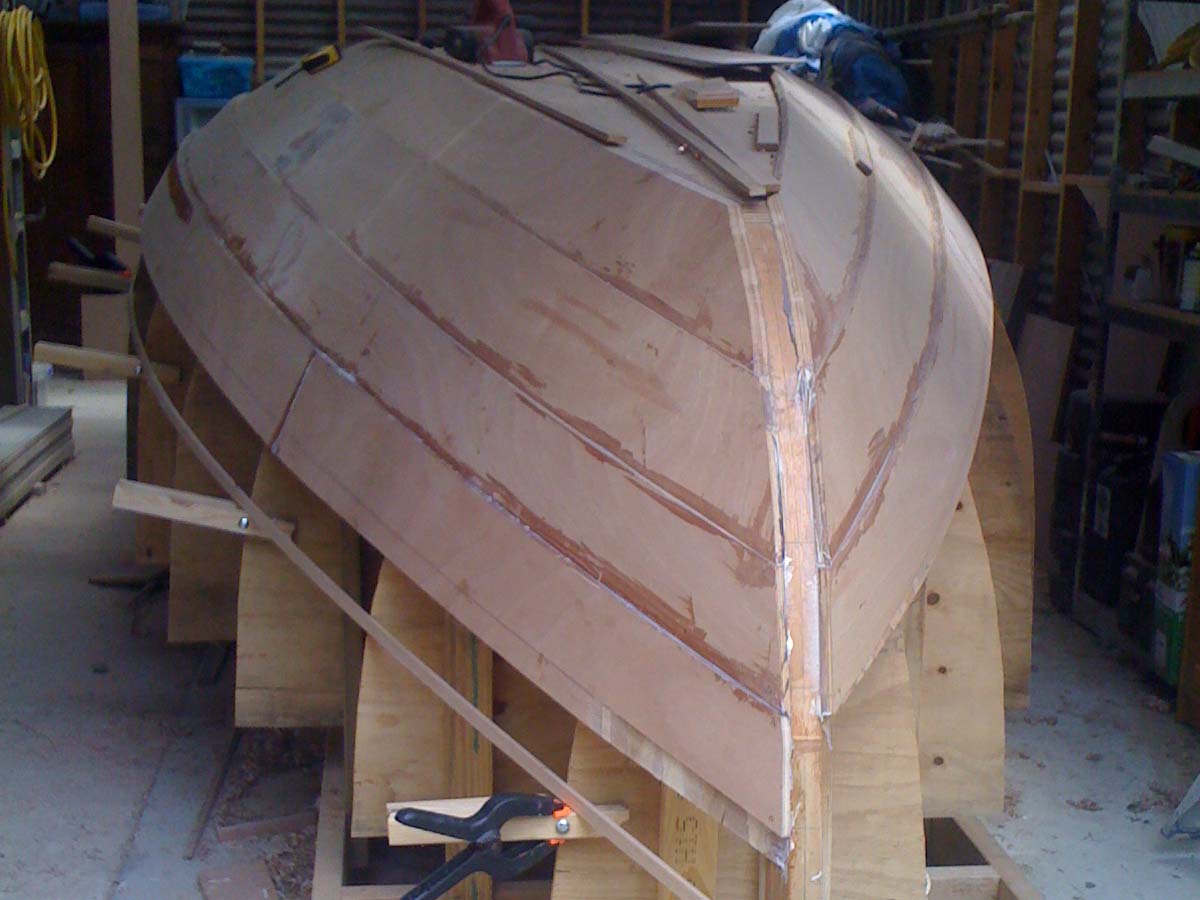
progress to date — unfortunately I couldn’t get far enough away to show the whole boat at once, as it’s under shelter. The frame at the stern may be
converted into support for the davits, or could be removed, Bill is still pondering that one.
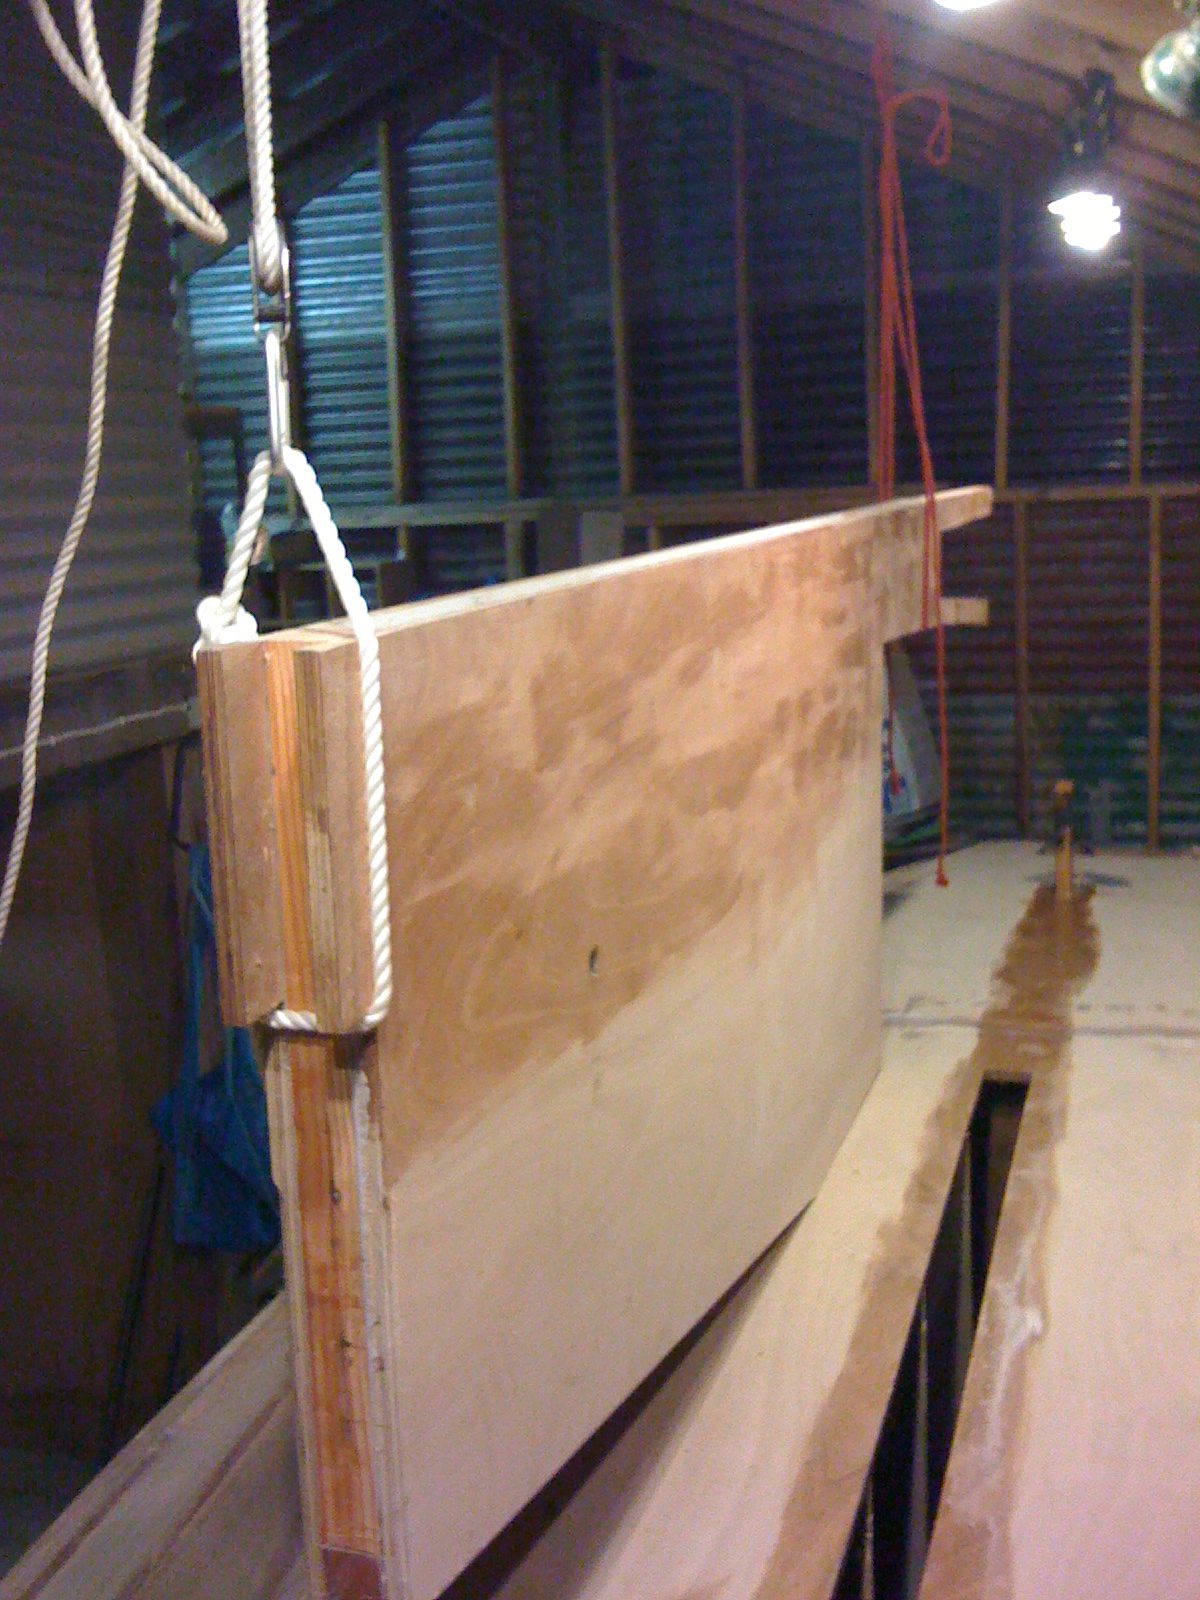
Bill’s plans for moving the hull out of the shop may be helpful to someone else — he is leaving the keel off, so he can put rollers under the hull and
just push it where he wants it. Then he’ll add the keel once he’s got the boat clear of shop, yard, flowerbeds, and so on.
I hope I haven’t misrepresented anything here — if I’ve got it wrong, Bill, my apologies.
***
Hi Richard
I had a visit from fellow Chebacco builder Tom McIllwraith (from Halifax) on January 12. He had occasion to visit Vancouver, and dropped in on a couple
of wet coast Chebacconists while he was in the area. On the weekend before, he called on Randy Wheating to check on progress of Randy’s (as yet
un-named) sheet ply Chebacco, then last Saturday he caught the ferry over to see Wayward Lass. Tom’s not a stranger to Chebacco sailing, having been out a few times with Fraser Howell in his strip built Itchy and Scratchy.
Tom’s done a lot of thinking about modifying his boat to make it slightly less Spartan in accommodation. As well as angling the coamings for lounging
in the cockpit, he’s thinking about making the cabin wider – in line with the cockpit sides, I think, — and just a bit higher. He and Randy had a
good discussion – here’s what Randy had to say:
“I spent a couple of pleasant hours on a rainy Sunday afternoon with Tom in the boat “shop”.
It never fails to give me a neat feeling to meet a kindred spirit, from across the Straight, country or world that has laid awake at night or
pretended to be attentive at a meeting while puzzling over some obscure Chebacco detail in his mind. It is really a pretty small club when you
think of it.
Tom and I swapped many ideas and modifications until the moment of truth when we each confessed to our biggest “oops”. That is, a mistake that
has passed the point of correction.”
(I’m not including any “oopses” here – I’m sure every boat’s got one or two, but when 99.9% of people look at a boat, they see only the big picture, not
the details. Good thing, too. — Jamie)
I have to agree with Randy about the kindred spirit part. Since I got involved in building and sailing Wayward Lass I’ve met a whole raft of
interesting people, and have learned a lot from them as well as enjoying the chat. The internet and this newsletter are great tools for this, of course,
but the personal visit is still king.
Tom and I hoped to go for a sail, but when we took a look at the Strait of Juan de Fuca, just after he arrived at the bus depot, it was a mass of big
whitecaps – no way! The marine forecast was still showing gale warnings, although things were supposed to ease later.
We headed to my place, and had a solid session of boat talk, climbing around Wayward Lass. After that, and a bite of lunch, I phoned my dad up in
Sidney, about 15 miles north and around the corner from the Strait. He obligingly went for a short walk, and phoned back saying that it didn’t look
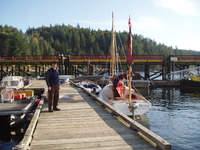
too bad, the racers were out and he hadn’t seen any reefs in their sails. So we hooked on the trailer and drove to Tulista Park in Sidney, my
favourite launch ramp. Dad came out to see us off, and for Tom’s benefit, I timed the rigging-up, from stepping out of the van to getting back in for
the launch.
Rigging up took 28 minutes on this occasion, a bit over the average, but not a whole lot. I’ve only once come close to 15 minutes, when I’d put
everything away properly the time before. This time, we started with a disorganized collection of ropes and sticks. I’d only laced on the mizzen a
couple of nights before, not very well as we found, and all the ropes were just dropped in the after lockers.
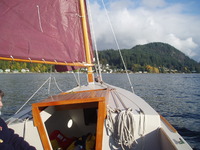
Honda started on the second pull, and after an interesting 180 between the pilings, thanks to the wind, we headed out. The wind was pretty well from
the west, straight off the shore, so we put up the sails right away and shut down the motor. I’d put them away with a reef still tied in on Boxing Day,
and we left that in. Because we would have to beat back to the ramp, we took a quick turn to windward, just to see how strong the wind really was –
no problem, the single reef was enough, maybe 20 knots of wind, but not much wave action because of the wind blowing away from the land.
We headed easterly, towards Sidney Island, with its mile long spit and friendly lagoon, on the other side of Sidney Channel. The mizzen wasn’t
very helpful while running – with a strong wind it tends to push the stern around. However, I kept it up because it helps us heave-to so nicely.
After a while, we became aware that the wind was picking up. The way home was now patterned with white, and looked quite different. We turned to
windward again — and gave up any thought of going all the way to the spit. We’d have had a very long beat home if we’d gone on. Wayward Lass was
sailing well, but going against the waves threw up some heavy spray. Tom got into the Cruiser suit, but not before he soaked up some of that spray.
Going to windward in these conditions, I was glad to have a second body for ballast – he kept the worst of the spray off me, too!
It was wet, but we made good progress. However, after a long tack to that brought us near the shore, but still quite a ways north of the ramp, there
were a couple of very strong gusts. These challenged our favourite designer’s assertion that nothing short of “hurricane force winds or heavily
breaking seas” will tip a Chebacco. Rather than chance becoming the first Chebacco ever to capsize, I let the mainsheet run free, and we hove to for
the second reef. The only other sailboat in sight at the time was a biggish one (40 feet?), and it was reefed down too.
Tom must have wondered if I really knew what I was doing. The reef lines (pendants?) for the second reef were still in the cabin. I got them out,
and tied the tack down quickly enough. However, to get the foot tight enough it was necessary to rig the clew reef line properly, from boom to
reef ring back to boom then pull it tight to the cleat. Meanwhile we were sailing merrily backwards at about 3 knots, away from our destination. I’m
not entirely sure why, but every time I was about to tie off the end of the clew reef line, after all that leading here and there, the bows would swing
off the wind and the boom would fly out to the side. I eventually got the reef tied, but it was a real circus there for a few minutes. I think the
mizzen luff and snotter weren’t tight enough, as the wind was making bags in the sail – also I had to pull the boom inboard to run the clew line through
the ring, rather than letting the boom fly loose. Bottom line is have your reefing lines rigged before you need them!
Wayward Lass was fine again with the two reefs in. I estimated the wind at 25 to 30 knots at this point, no idea what the gusts reached. Take this all
with a grain of salt if you want, it’s only a guess. The waves were much less than they would have been if the wind hadn’t been off the land, since
they couldn’t build up on such a short fetch. I poured Tom a cup of tea and put it down beside him (he was steering now) but it promptly went into the
bilge. Tom very nicely said he was too occupied to drink it anyway. I poured a cup for myself, but it was full of salt spray almost immediately,
so I gave it up too. Not too long after, I suggested that we’d had all the fun we could take for the day, and since it would take quite a while to work
our way up to the ramp, we might start motoring. Good old Honda started again without complaint, and it was down sails and home.
Tom assured me he’d enjoyed the afternoon (I hope you weren’t just being polite, Tom.) I enjoyed it myself, despite feeling like an idiot at times –
out of practice and very disorganized. Another time we’ll suit up completely at the start, and rig all the reefing lines too. Oh, yes, and I
won’t leave cups of tea unattended! Still, it’s got me all fired up again, and I’m planning some more sailing as soon as we stabilize a couple of new
projects at work.
I see I’ve got a bit carried away talking about the sailing (again! – call it a character flaw.) I really meant to concentrate on Tom’s visit,
because, as Randy pointed out, it’s great to see Chebacconists from other parts of the country (world?). It was fine meeting you, Tom, and I hope
anyone else coming out this way will call, and maybe we’ll get them out for a quick one too.
Tom, I also hope you’ll will write up your building experiences and tell us about what modifications you decide on, and let us see some pictures. The
world can’t have too many Chebaccos!
Jamie Orr
***
There once was a man, who spent much more money than he should have, to have LED lights on his boat. This is the same man who decided he HAD TO HAVE a CNC router, built one from scratch, then used it twice.
Anyway, for no particular reasons, other than I thought it would be cool, and I wouldn’t have to worry about leaving the anchor light on all night, I decided I MUST HAVE lights on my boat that were based the new, ultra efficient, bright white LED’s.
I bought my LED’s mainly from http://www.bgmicro.com/, They run, according to the spec sheet from Nichia, at 3.6-4v and output 5600 mcd (mili candela, whatever that is) in a 20 degree fan.
I had originally planned to have eight of the lights, masthead, forward red, forward green, aft, two cabin lights, and two reading lights. Also, I had planed to run 12v to the lights, and do the voltage conversion there. Red and Green lights would be using red and green LED’s.
I read everything I could find on LED flashlights, and LED lights. There is a lot of information on the ‘Net on the subject. A lot of it worthless. One site recommends using a 7812 voltage regulator and three of the LED’s in series (so each gets 4v). Bought eight of these, the next day someone pointed out that the specs for this regulator require the input be about 3v over the output voltage. I.E., I couldn’t run it off a 12v batt and get a consistent 12v out of the regulator.
So, I had the bright idea of using the 7808, which puts out 8v, and having TWO of the LED’s in series. When the eight of these arrived I wired one up on the breadboard and presto, I had light! Wired eight of the LED’s up, and left them on. When they say “bright white” they mean it, had eight spots behind my eyes for hours before I decided I needed to wear shades to play with these things.
I left the 8 LED’s running and had supper. Afterwards, I discovered that THREE of the things had burned out!. What the BLEEP!?!
Some carefull checking determined that with the two in series, the voltage drop over one would be, say 3.9v, and the drop over the other would be, say, 4.1 v.
So, I figured I needed to drive the blasted things with EXACTLY 3.6v. There is a problem with this, this is apparently an odd voltage, there is no “78036” or whatever. So, I decided to make my own variable voltage supply, one for each light, and go to town. Bought, again, eight, LM317’s, and associated resistors and whatnot. Wrote a spreadsheet to calculate the values for the resistors so I could have the thing put out 3.6v. Wired it up. Plugged LED’s in and they were DIM! A little checking and it turned out that any kind of load on the thing and the voltage would drop…. Net research showed other people having the same issue, but couldn’t find a solution. Still a mystery there.
Time to step back and think about this. Maybe I should just have one voltage regulator, and wire 3.6 v to the switches, and out to the lights. I could do some kind of current regulator, but I wanted the simplicity of running the same voltage out to whatever light I wanted, and just hooking up as many LED there as I needed. Dug and dug and dug. Found a national semiconductor manufacturer who has a wonderful website with all kinds of information on it. They sell an IC that looked like, with a little work, it would make a wonderful regulator for the boat! (about this time I’m thanking someone for the VoTech electronics I took as a kid, back in the day)
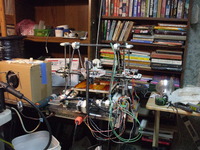
A little soldering, a magnifying headset, some tweezers. Presto, one central, efficient, source of 3.6 volts for the LED’s lights on my boat!
BTW, I’m selling a kit to put these together. Kit price is $75, follow instructions at the “store” link to the left.
The kit uses a surface mount board the manufacture sells, with all the regulator components on it. The board comes from them fixed at 12v, and I use a magnifying headset, tweezers, and a pointy soldering iron to change it to work as a variable voltage source, to get 3.6v for the LED’s. The kit includes an etched board to mount the manufactures board on (as a daughter board) and all the hardware needed. I’ve removed the 2.7k itty bitty surface mount resistor and connected a wire to go to the variable resistor on the “mother” board.
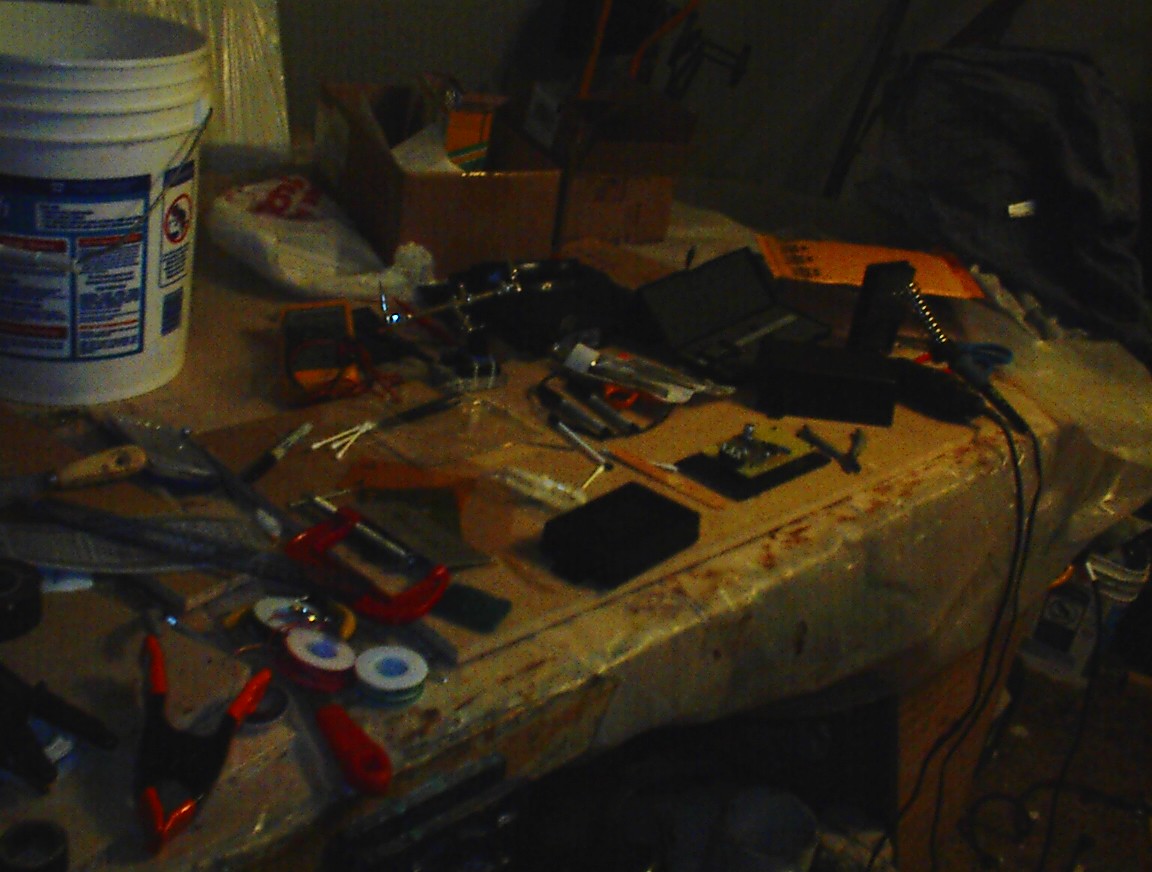
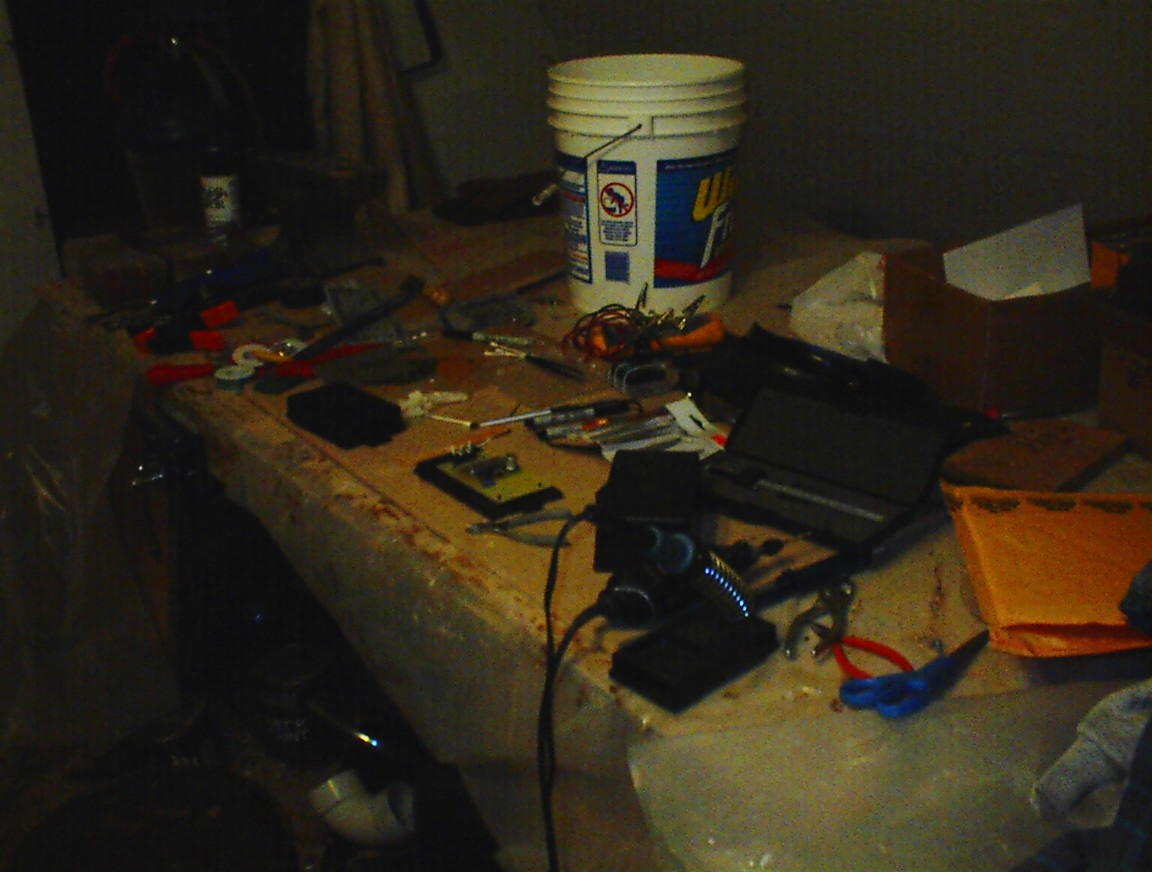
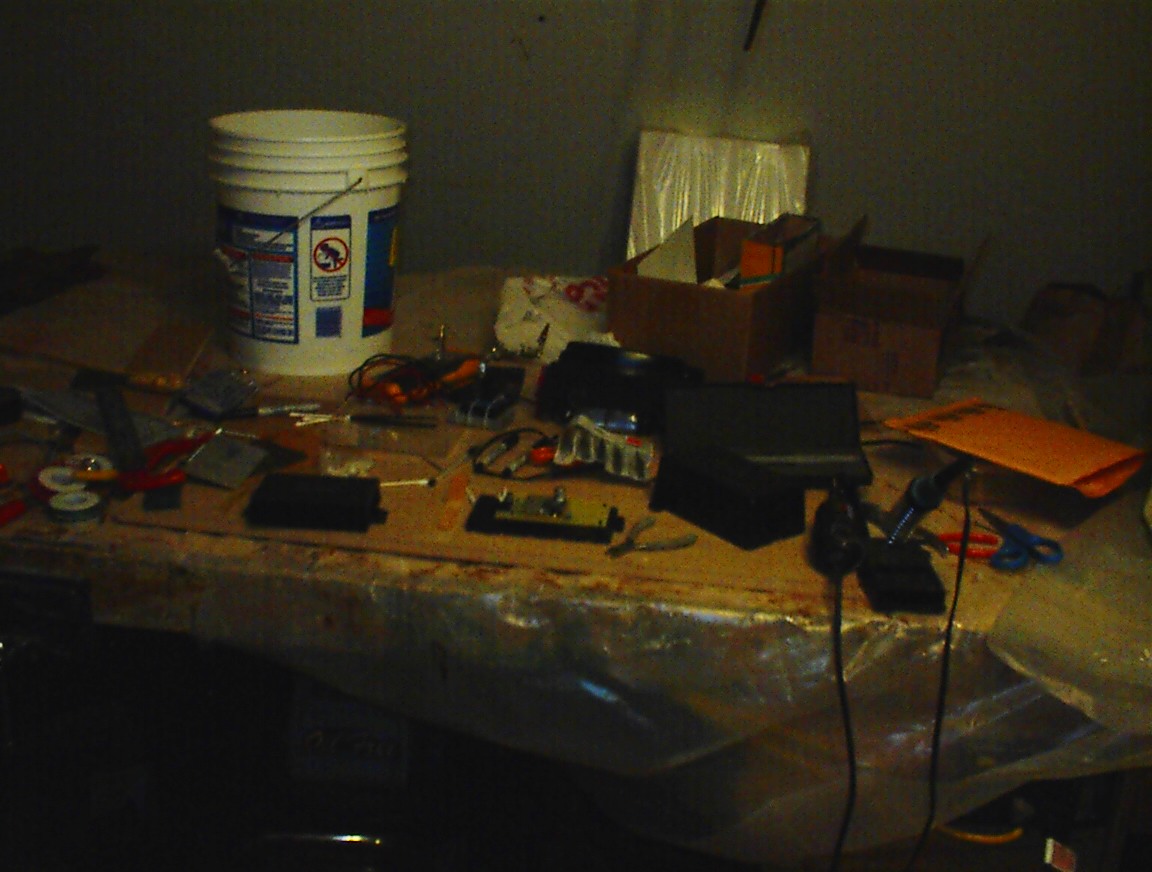
As you can see in the pictures, I’m using a nice fancy, bulkhead mount enclosure. Got this, and lots of other neat stuff fromhttp://www.allelectronics.com. Give them a look see, they have neat stuff!
After all this, I discovered that the bright red LED’s I was going to use for the red bow light wouldn’t work at 3.6v. They go dim and get hot.<sigh> I guess I’m putting white LED’s in the colored fixture.
Here are some pictures of the masthead light with and without the cover. I bought the Series 25 fixtures from Boaters World, the price was reasonable, and I wouldn’t have to make them.
PCB&F writes (what does it say when you start referring to people by their initials?). The designer of the Chebacco light cruiser, Susanne Altenburger’s (who just denied that the Chebacco was “her” boat, in a rather LONG phone call), writes that you should use “two 6V deep-cycle batteries capable of around 215 Ah at 12V”. Now, were am I going to find those things? Nothing in the marine stores, nor in the auto shops. Can’t buy them online, the shipping would kill me. Walking through Sam’s club one day, but what do I see on the way out but a 6V, deep-cycle, 215 Ah, GOLF CART battery! Yippee! And, the things only cost $45 each. Nonstandard size, though. Will have to make my own box for them.

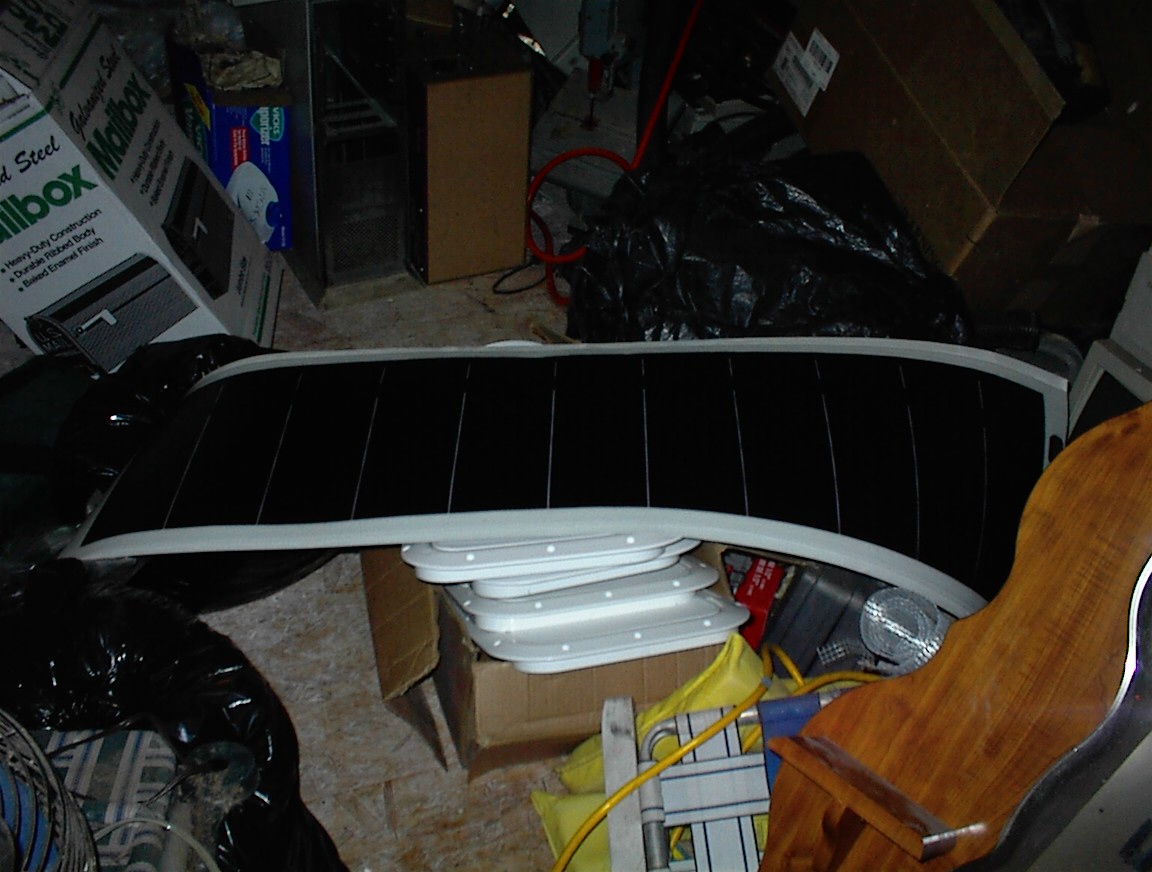
A 32watt, flexible, solar panel will top off the batts, and keep them topped off when the boat is in storage mode. I could have saved quite a bit and went with a hard panel, especially as it is going to be mounted on to of the cabin and there is no danger of it being walked on. However, the hard panel were looking awful heavy. 33lbs for some of them! So, I decided I needed the flexible, light weight ones.
There is a story here, these things were going for around $300 on ebay, and everywhere I saw them. Caught one on ebay with a buy-it-now for $240. GOT IT. Hurrah! Saved money!
Guess what, they had my panel too. FOR $187!!! AHHHG!
Then, when writing this article, I looked again and found the flexible panels at the above URL for $296. Huh? Read the description for the $187 panels. It appears that these are basically the flexible ones, in a frame. Same technology, but added weight of an aluminum frame and a galvanized steel backing! They weigh 10.6 lb, where the flexible one weights 4.7 lb. So, for an extra $53 I purchased a reduction of 5.9lb in the weight of the panel. Will it make a difference? Maybe, maybe not. But, any weight I can save above the CG counts!
Will put a clear window in the tarp that goes over the boat so the batts charge in when the boat is in storage, as soon as I figure out a cheap way to do this. May use the storm window sealing kits from the Home Despot or something.
Anyway, a 6.5 amp SunSaver charge controller will make sure I don’t overcharge the batteries, and I’ll get the 5amp alternator option when I get the motor.
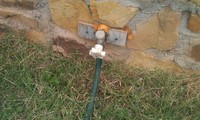
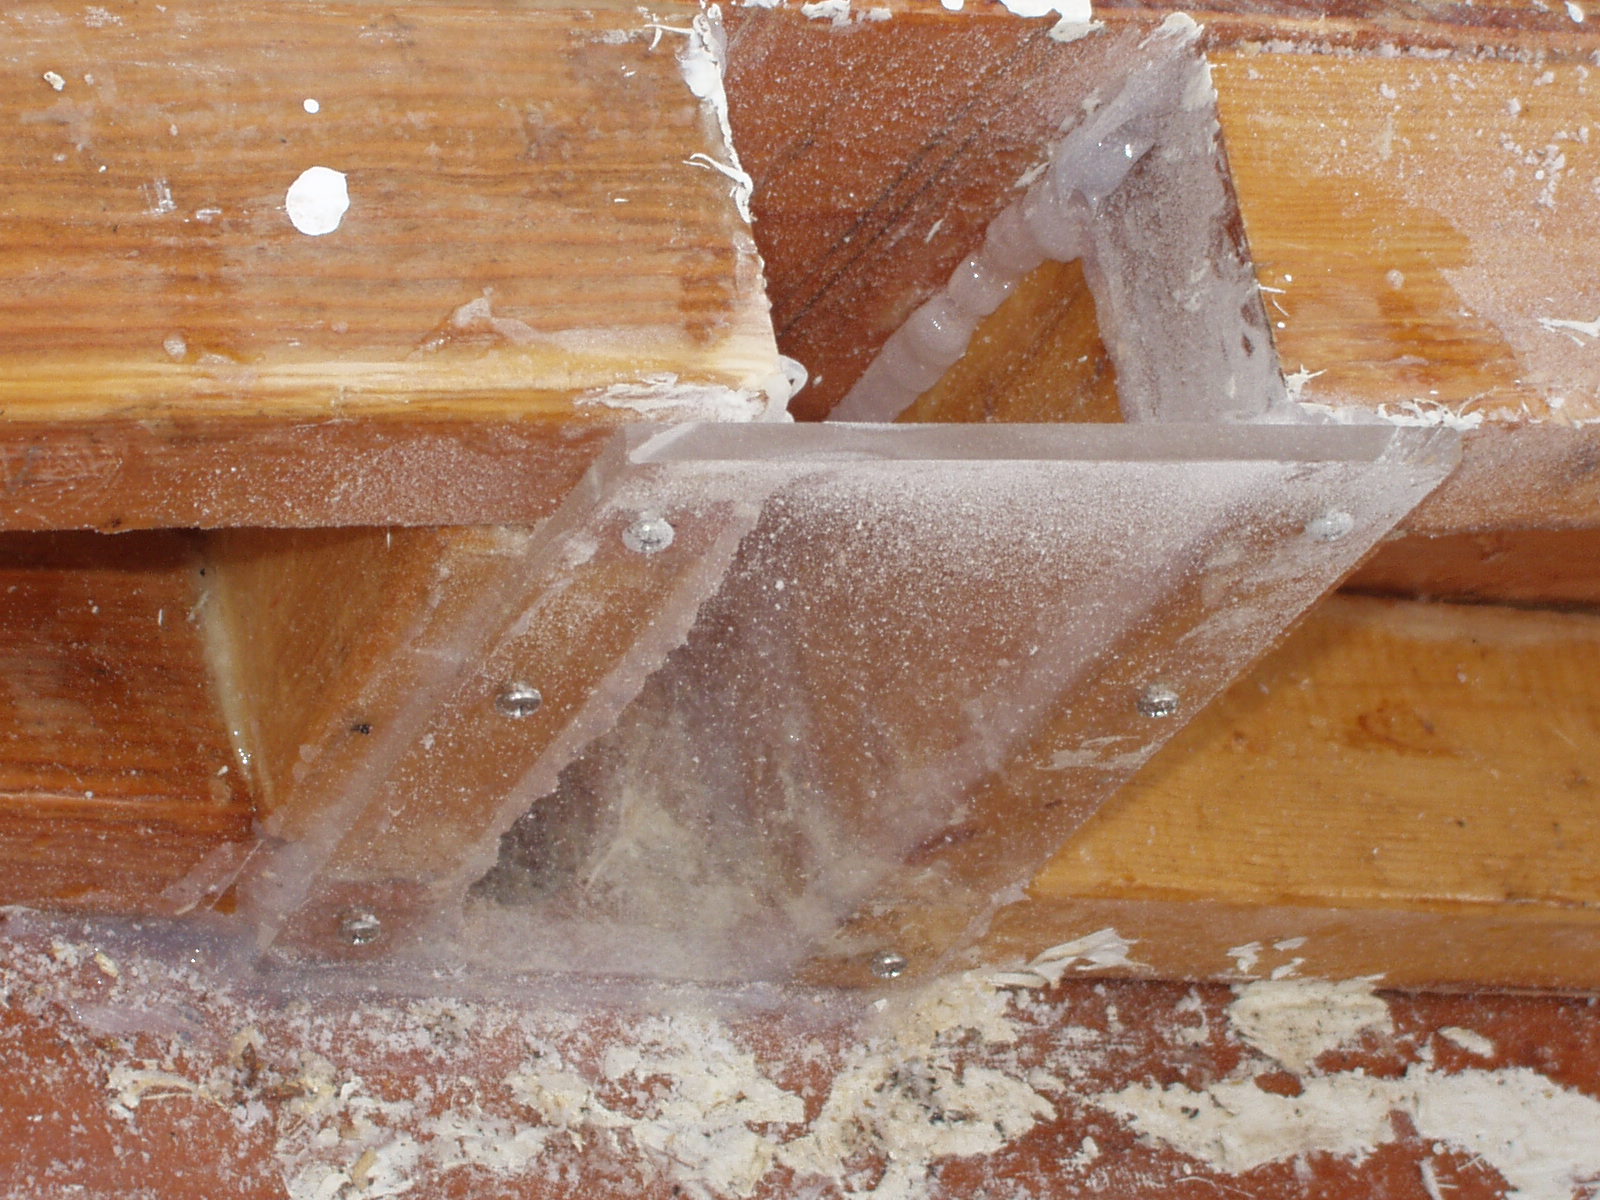
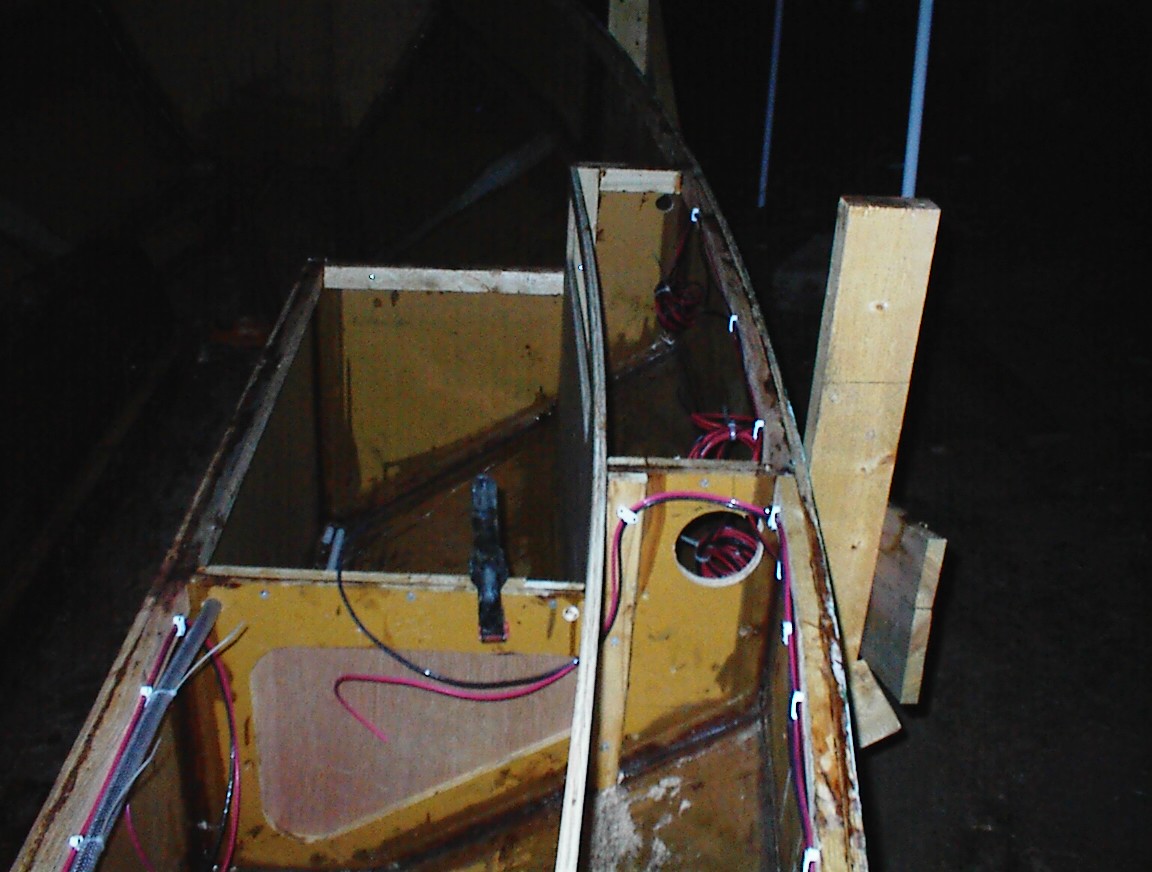
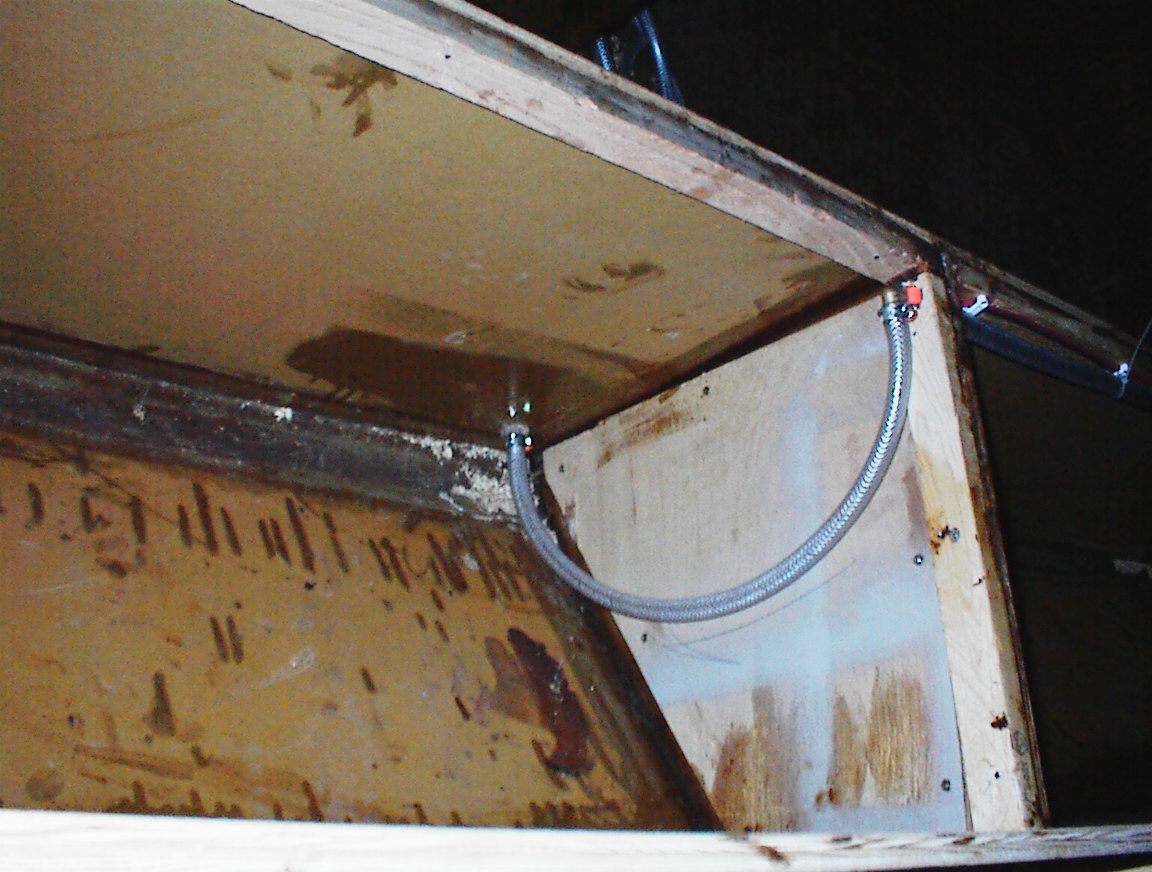
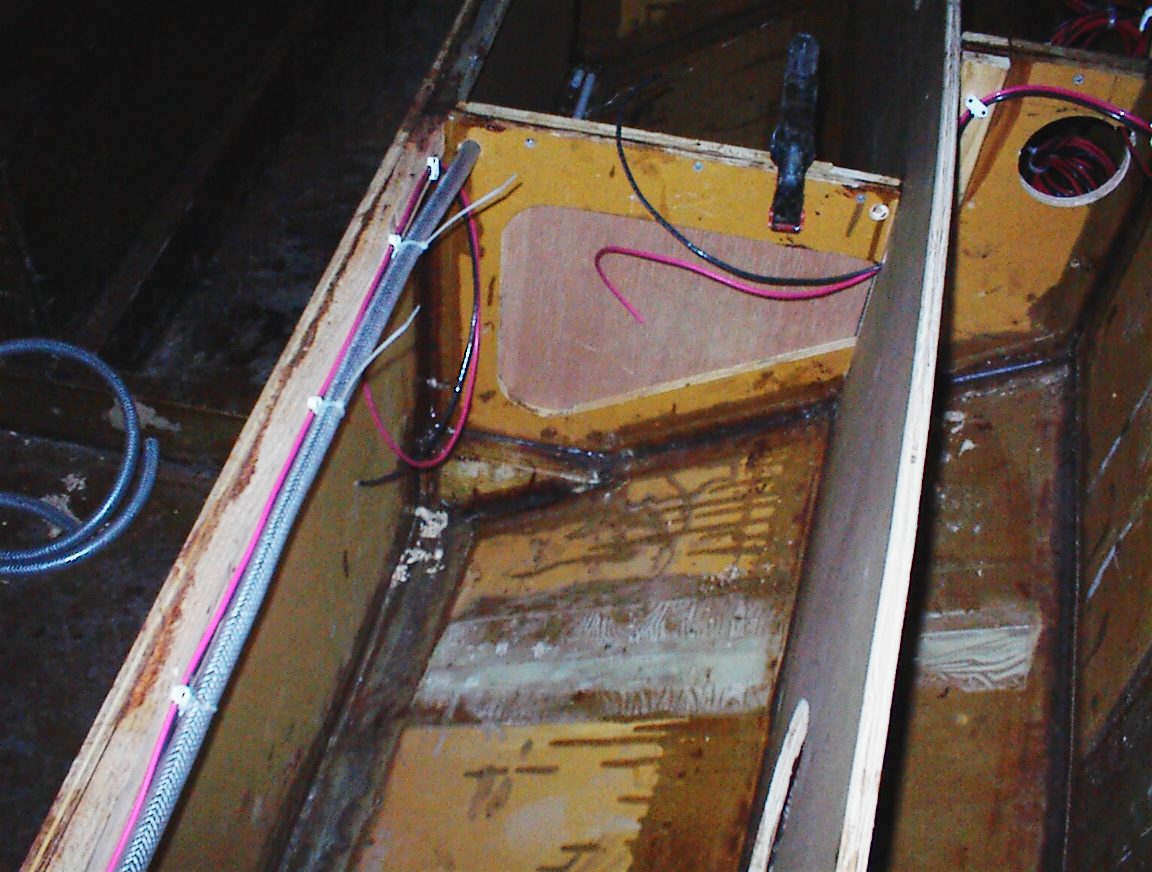
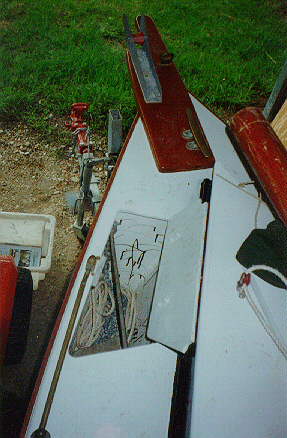
I had originally planned to run conduit for the electrics, but as you can see in the picture, I didn’t. I decided they would take up two much space, and instead ran the wires as shown. I was carefull to pre-run any wires that would be in closed compartments.
Here you can also see the plumbing for the bilge pumps and the drain for the built in icebox. I went from the pumps directly to 1/2 flexible tubing, to try to minimize the drain back when the pump is off. The bulkhead and there’ll fittings I made myself, from scratch!
Nice to have your own homemade foundry and machine shop!
***
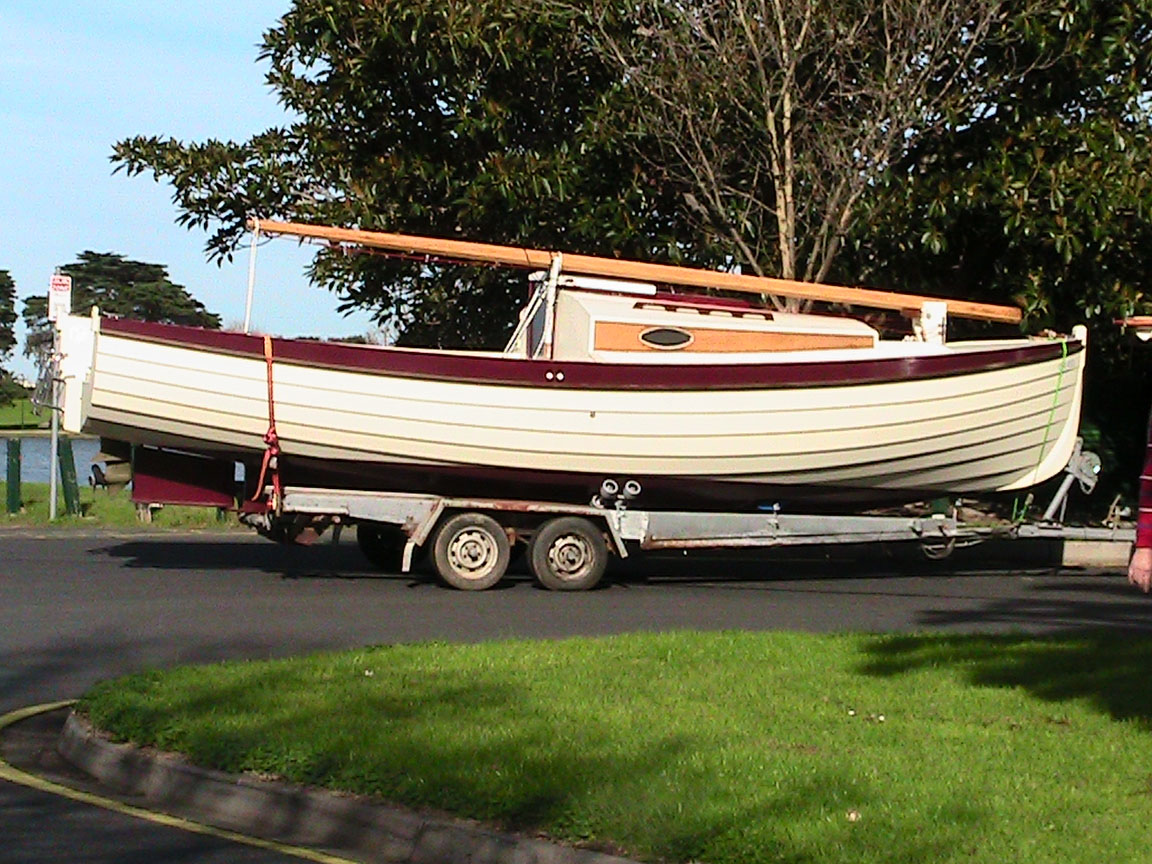
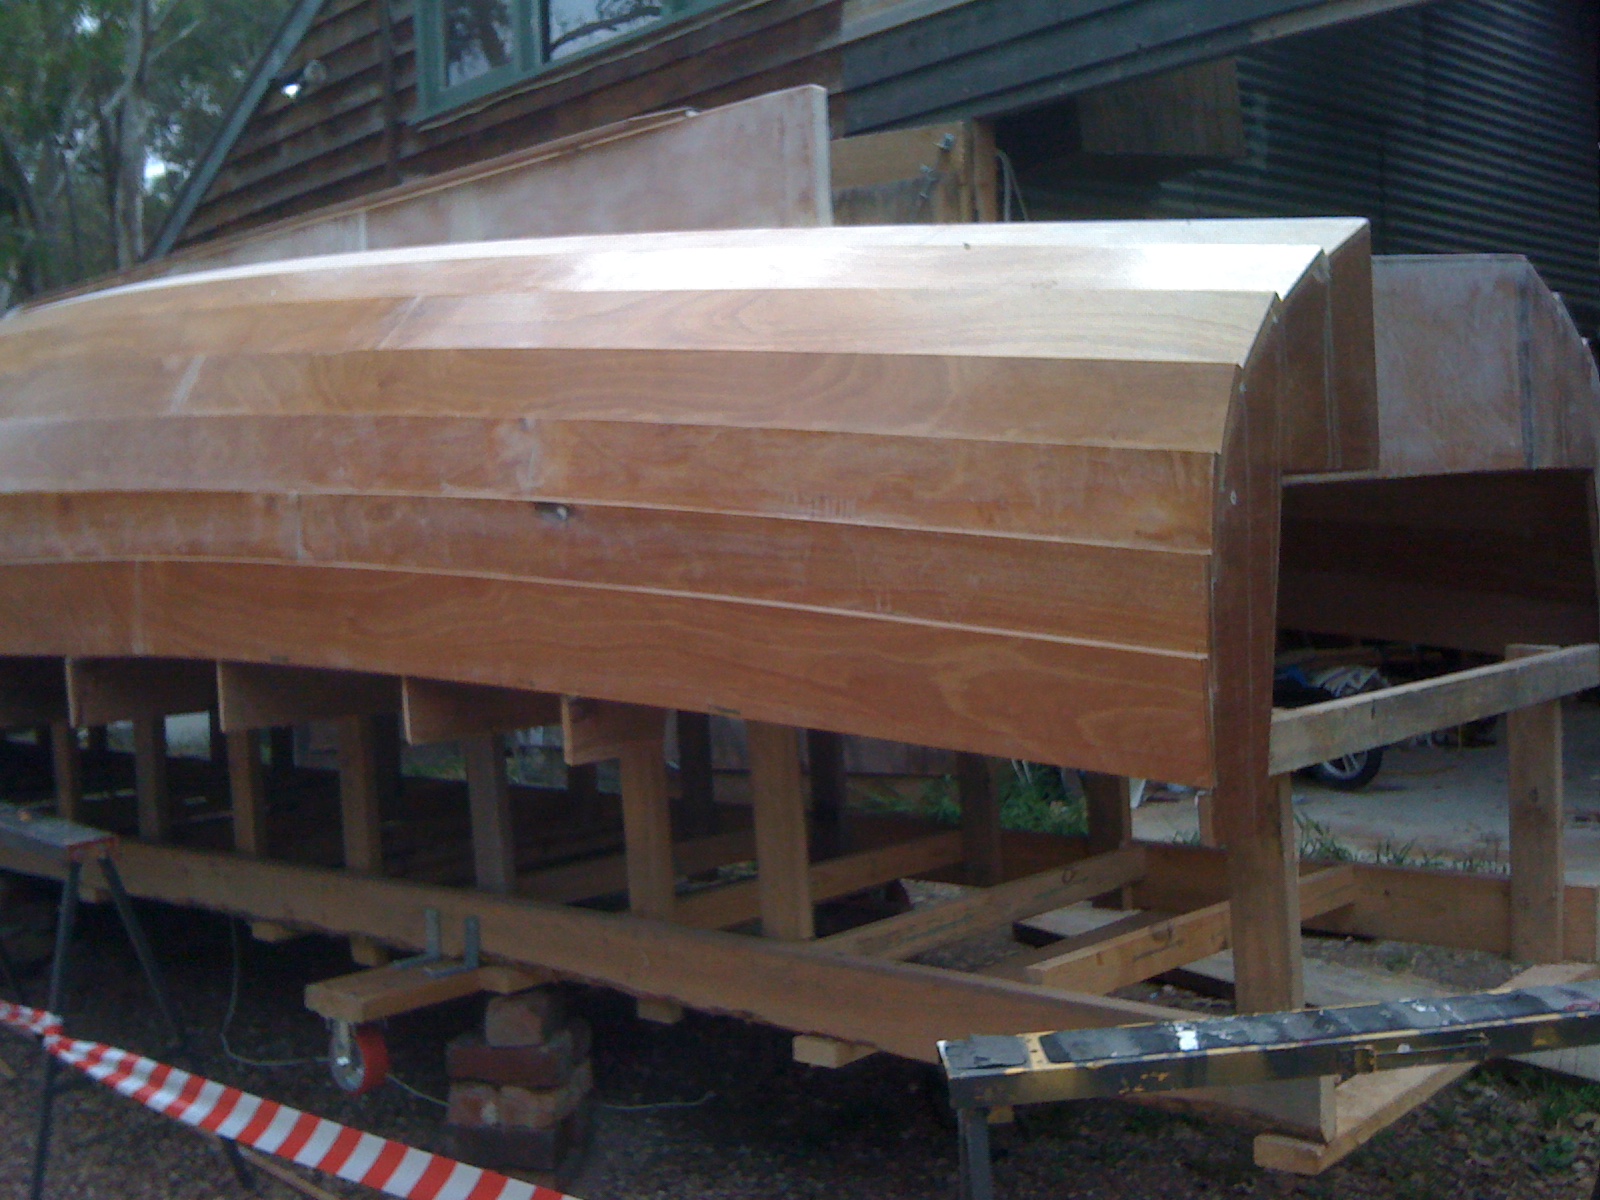
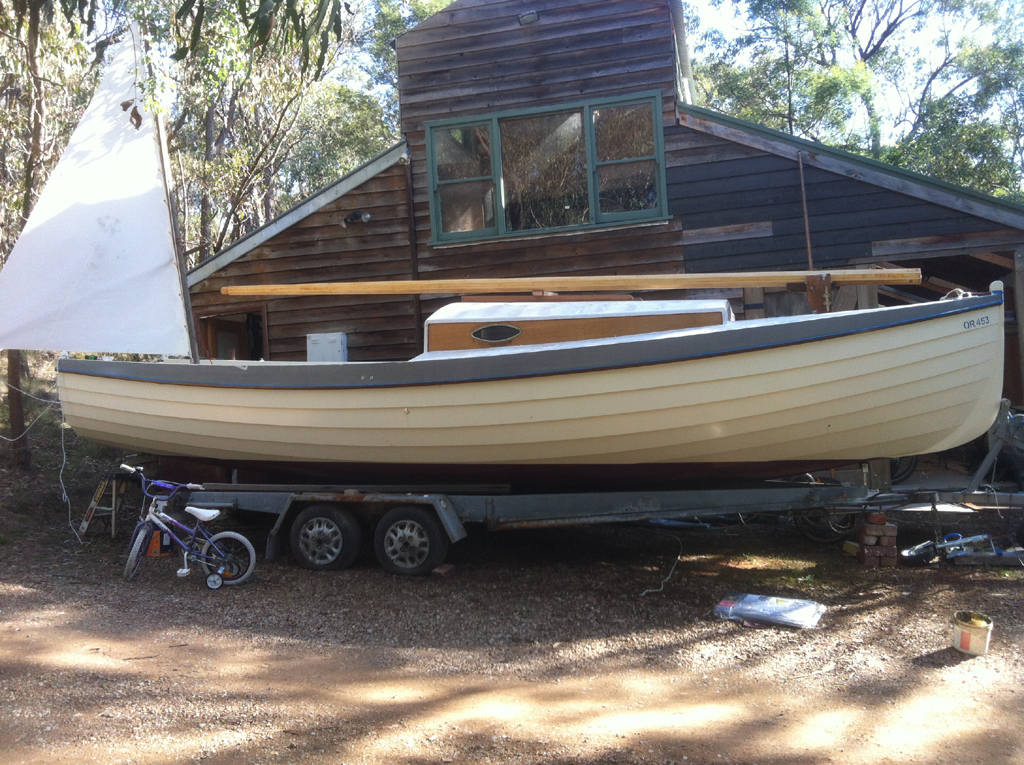
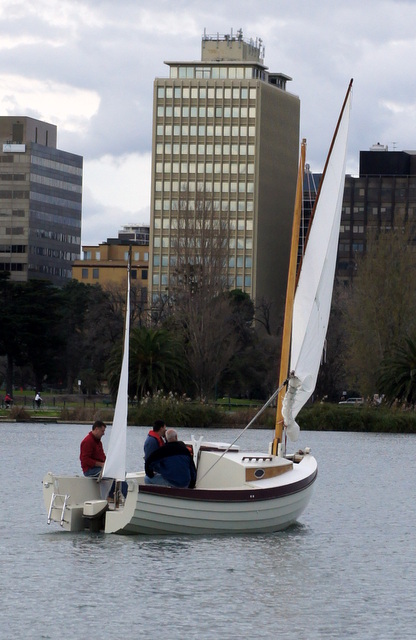
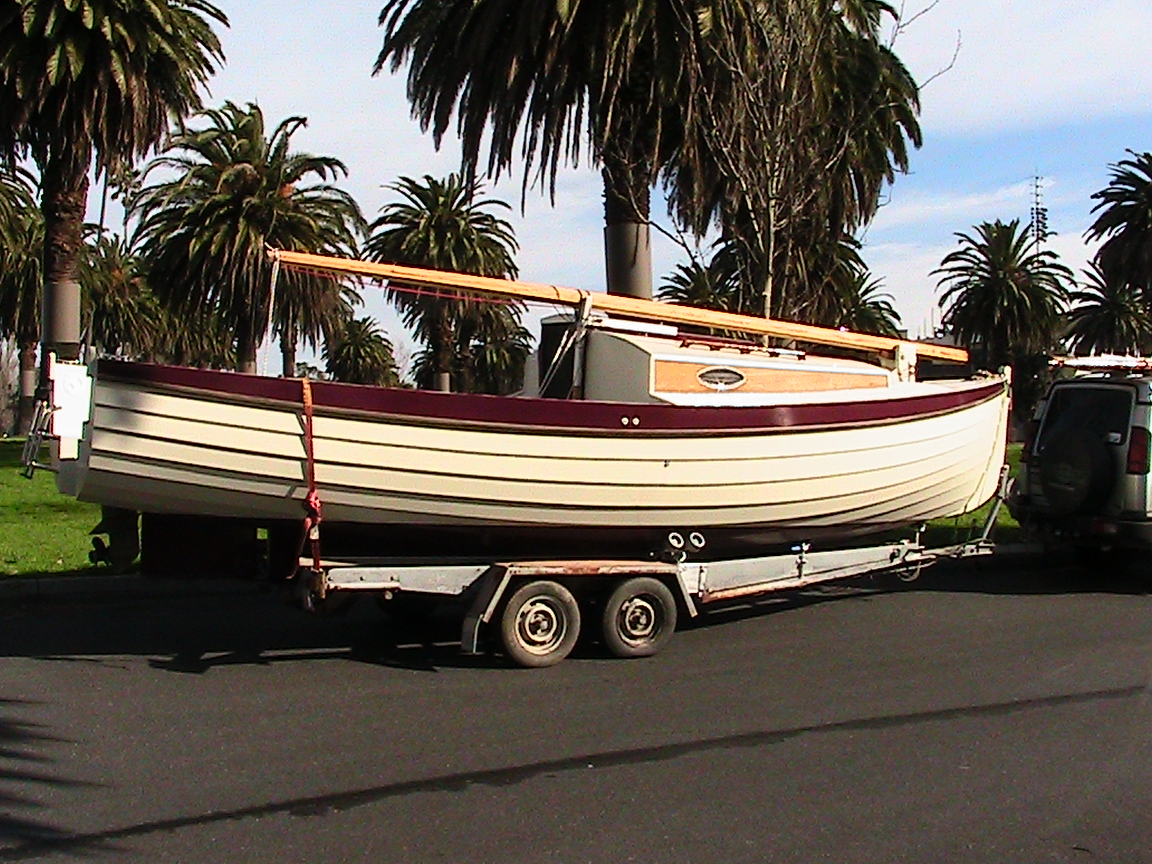
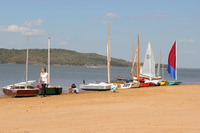
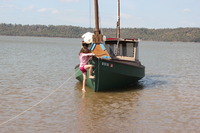
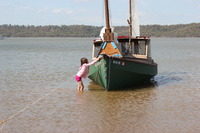
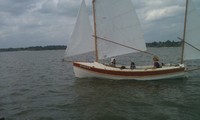
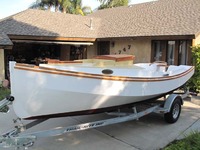
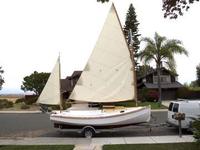
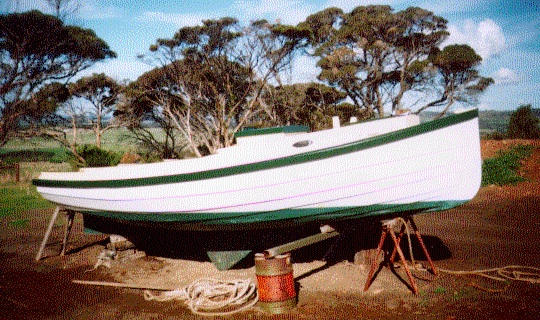
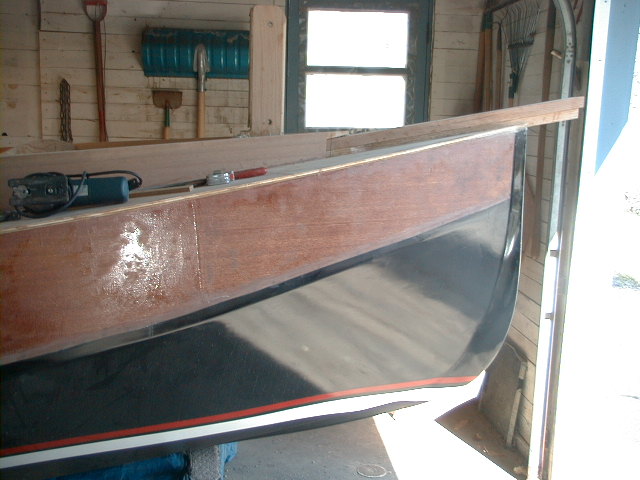
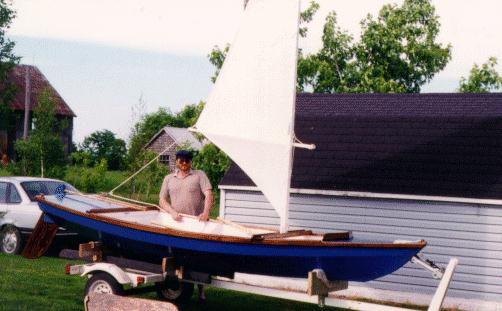
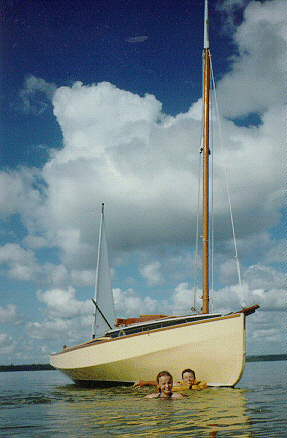
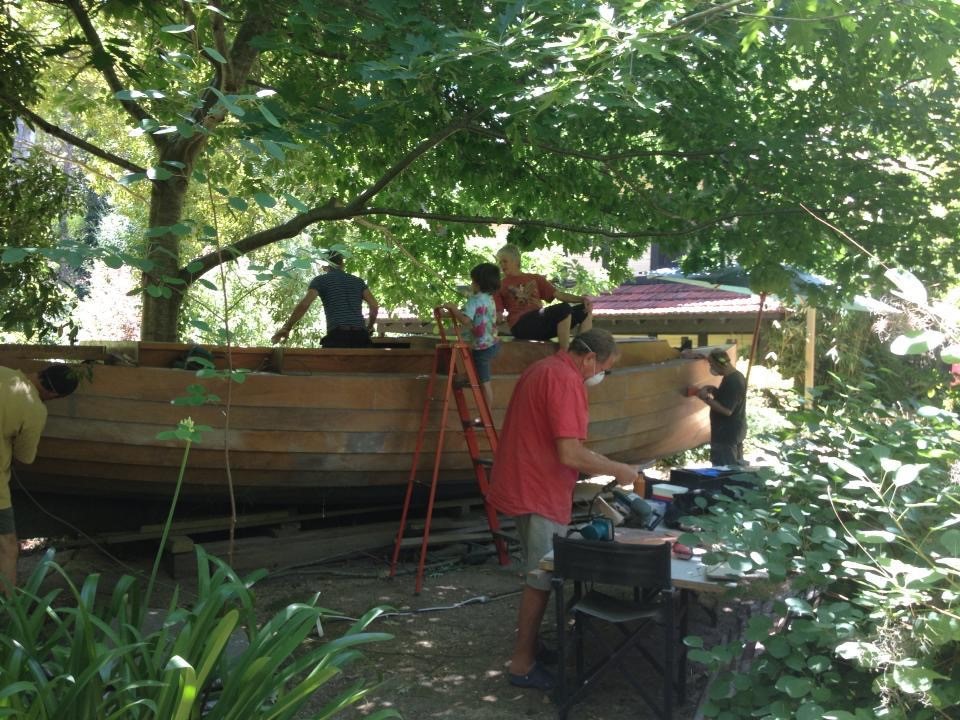
(So, I guess only people in Australia can build 25ft Chebaccos… Looking good Simon! -Ed)
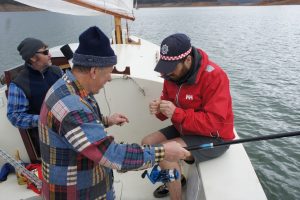
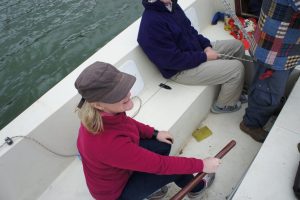
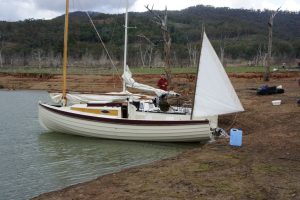
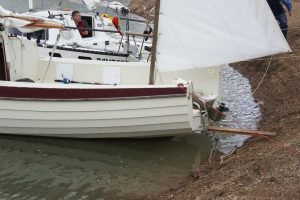
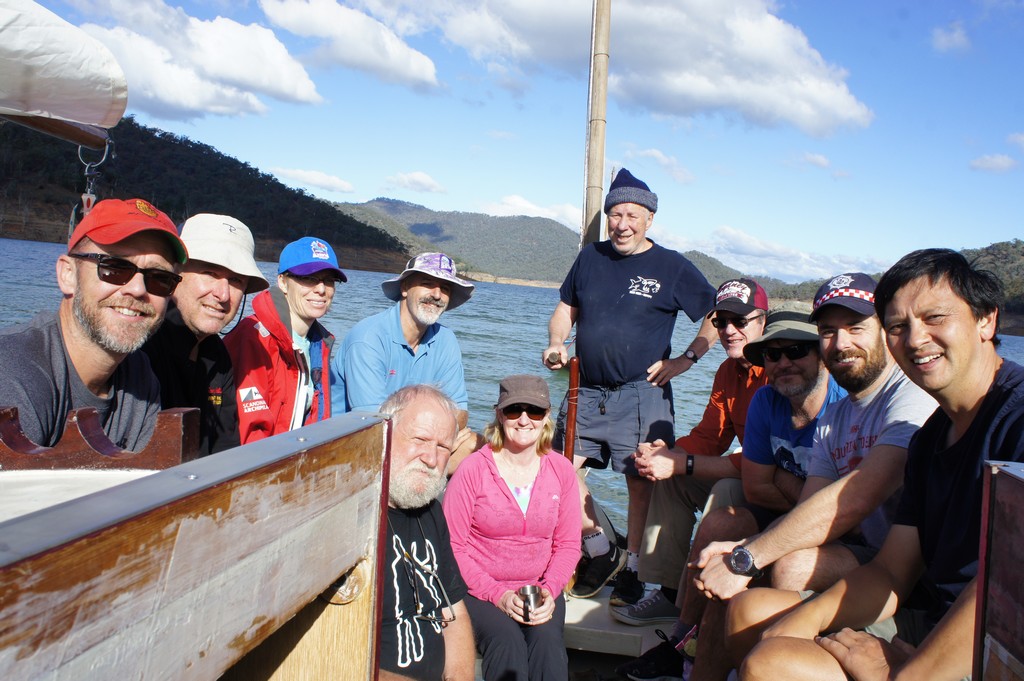
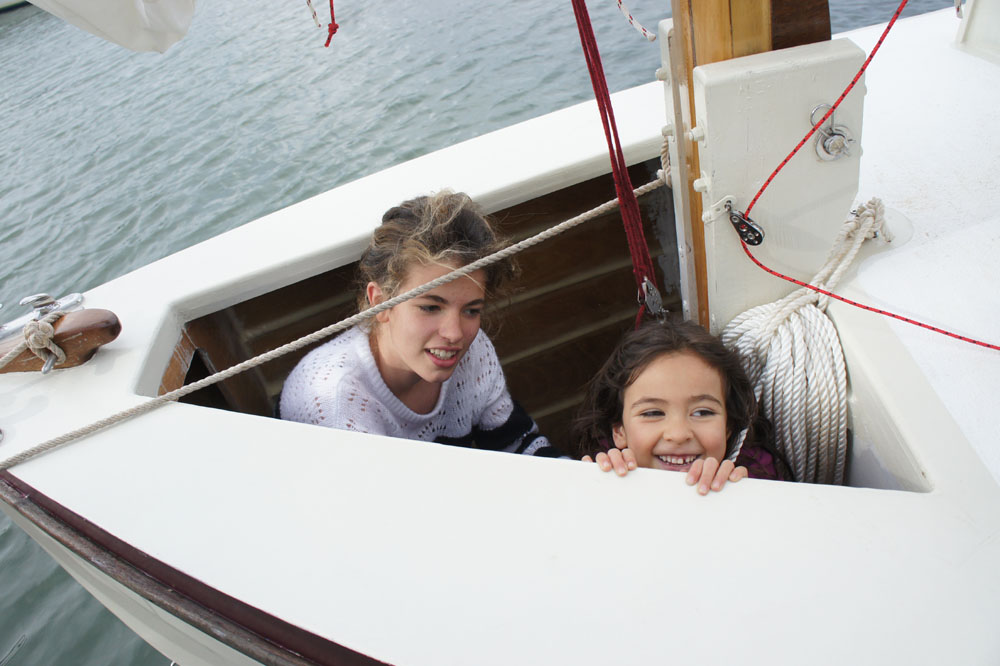
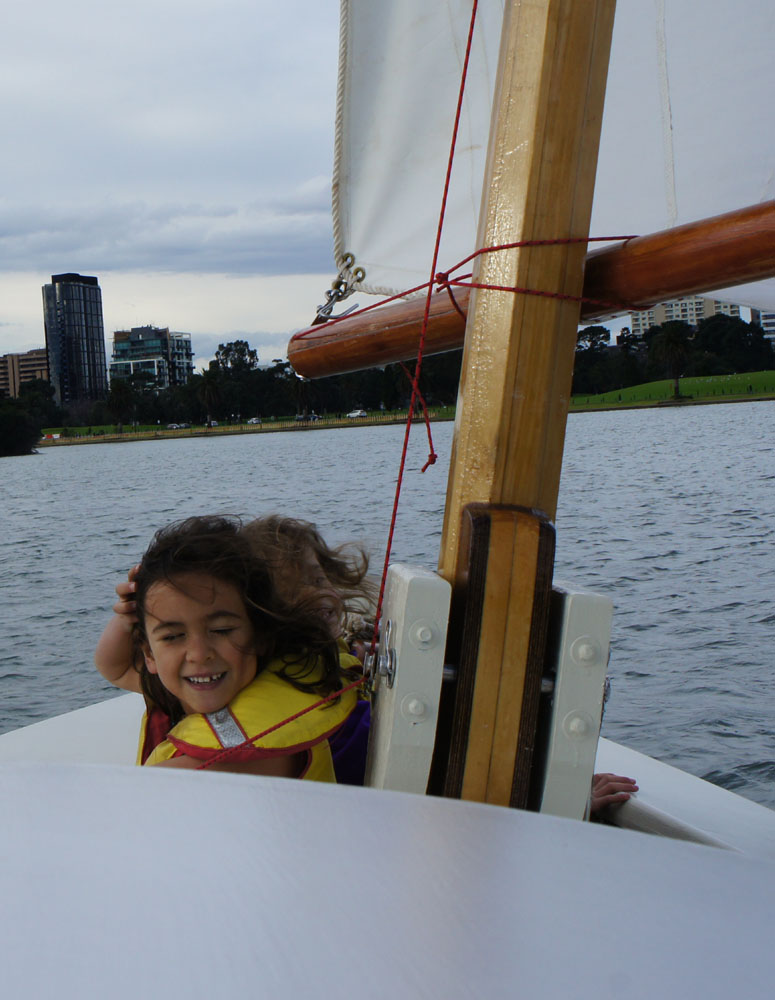
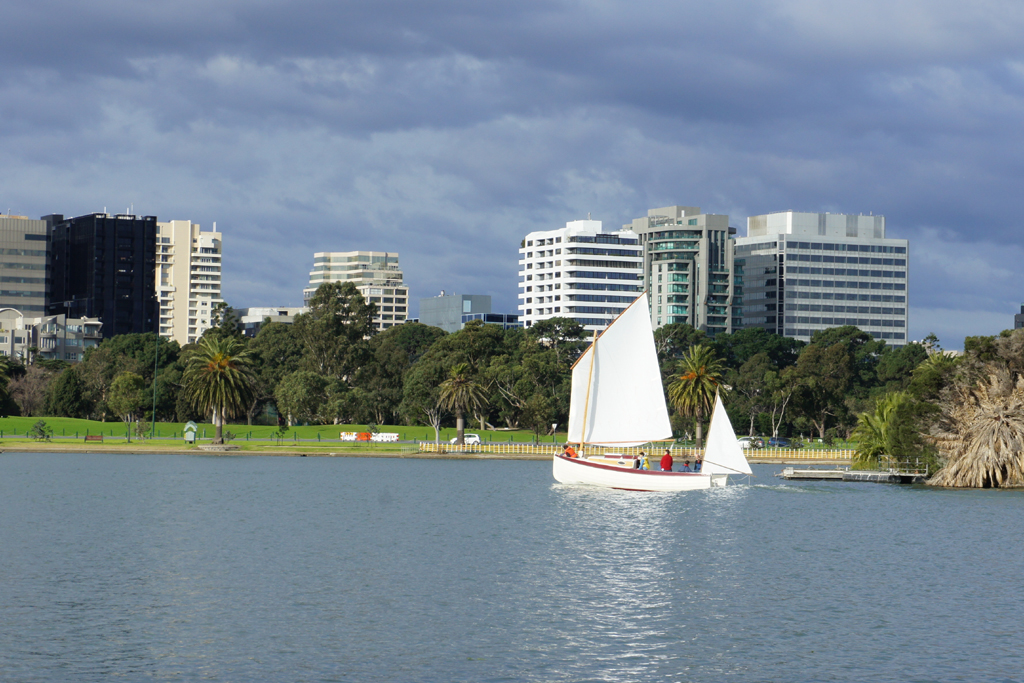
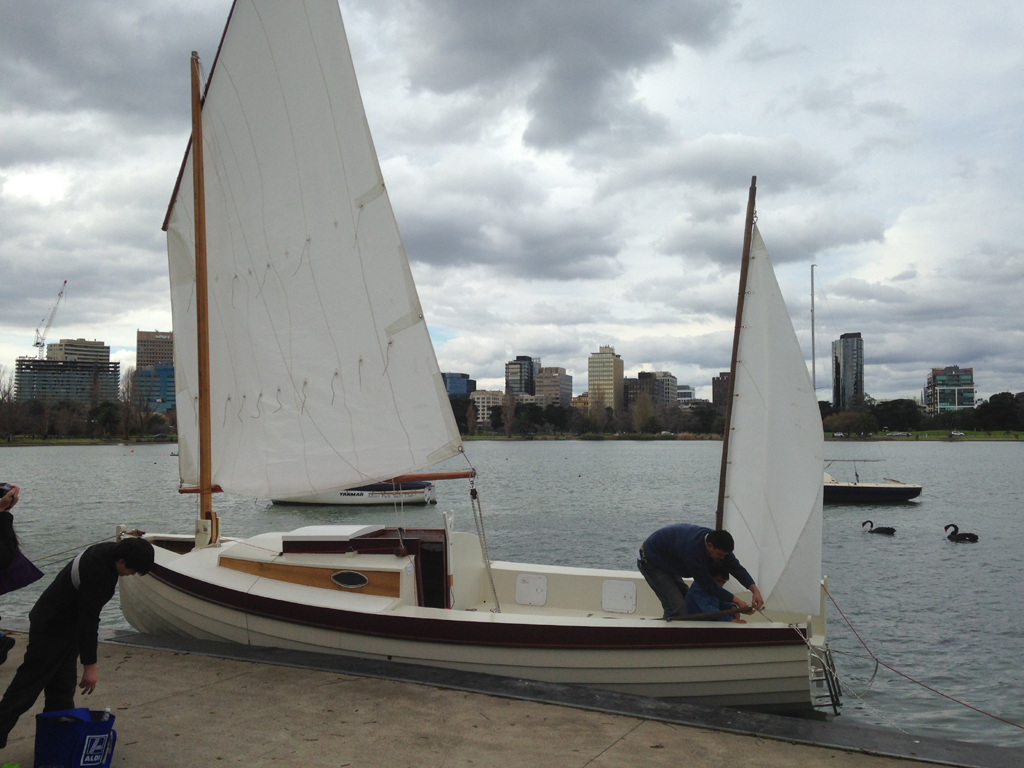
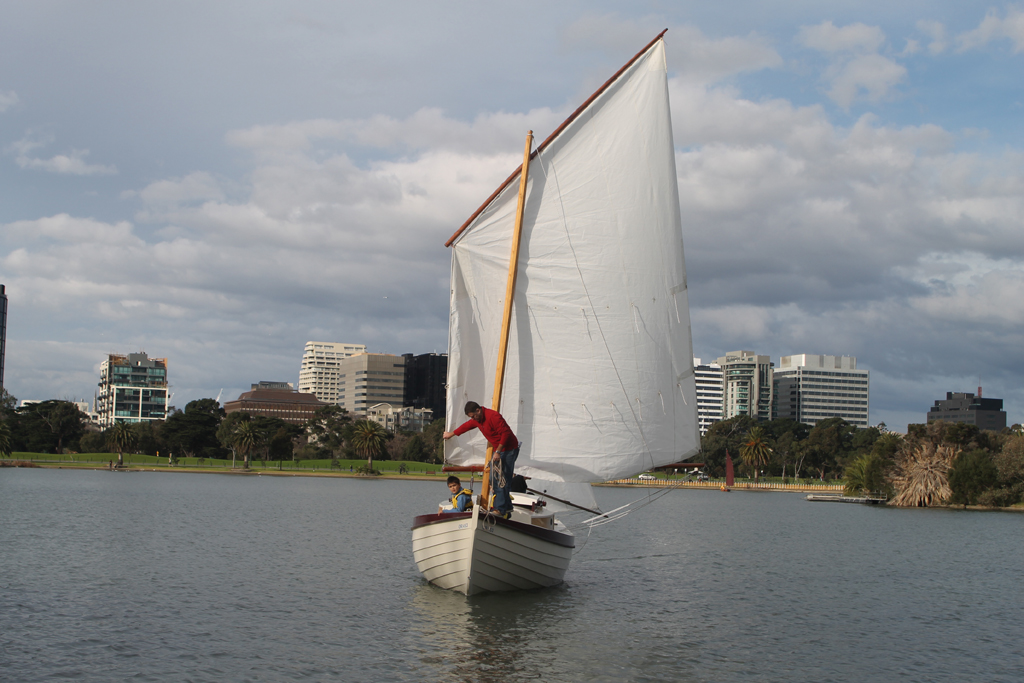
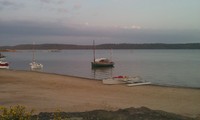
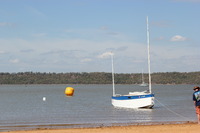
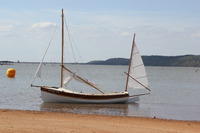
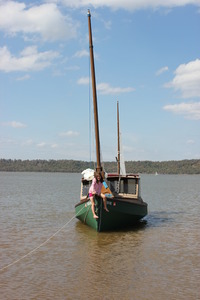
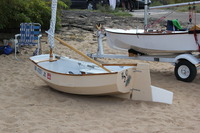
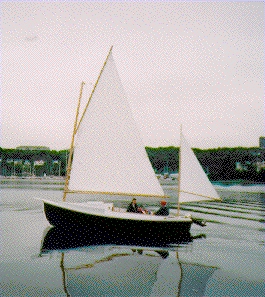
G’day Richard , a couple of pics of the boat .
Cheers Simon.


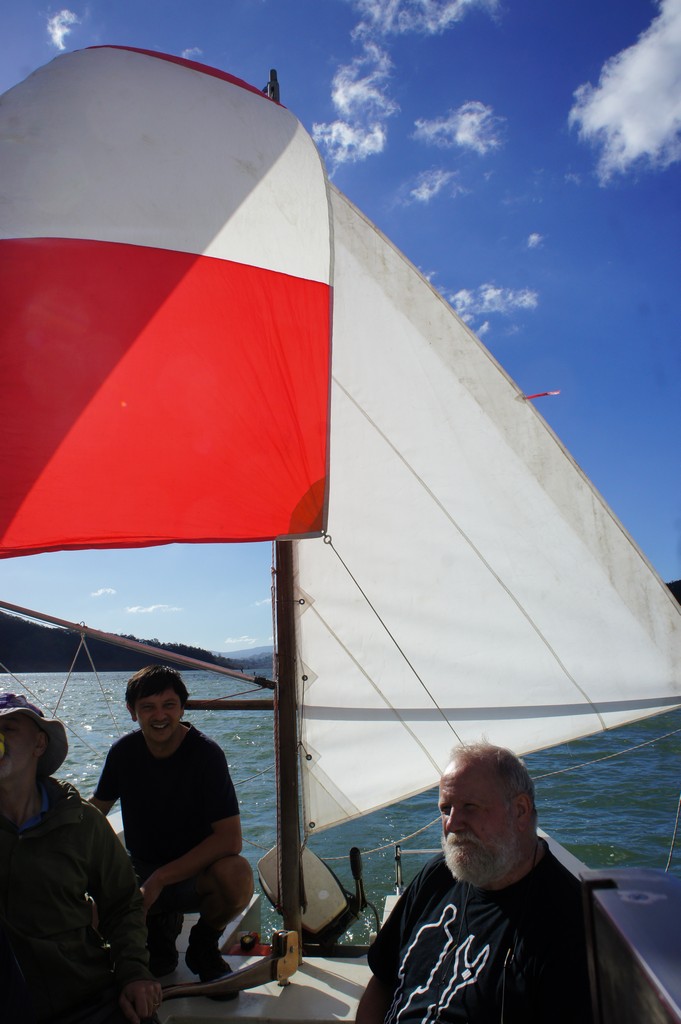
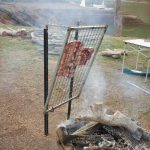
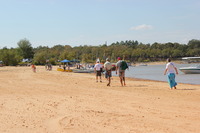
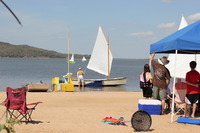
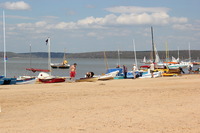
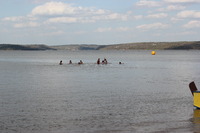
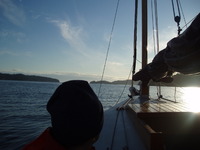
 The lake level goes up and down, and there is a bit of a drought in Victoria at the moment so the level is down to 30%. But there is enough water to sail on, and the exposed banks are good for camping on. Mid May is getting a bit cold up there, with overnight temperatures around freezing, so that means we won’t be disturbed by too many tourists and we have an excuse for a big campfire. Very scout leader like.