A very wet cruise in the CLC – Richard Spelling.
Weather forecast for my four day Eufaula cruise: Chance of rain: Thursday 100%, Friday 100%, Saturday 100%, Sunday 40%
Started the day Thursday morning with a three hour dash down the Muskogee Turnpike to Lake Eufaula, OK. The various websites make the claim “over 600 miles of shoreline and 102,000 surface acres”. Don’t know about that, but it’s so blasted big you have to buy two maps. The maps show distance from the dam (where we were planing on launching), with the largest numbers being in the 30’s. Looked like a good chance to try some GPS navigation and, if we got any wind, to determine the rough water ability of Schroedinger’s Cat. Maybe prep for a Gulf tour…?
Arrived a little after 11 am and there is no sign of any homemade boats or builders! I check my watch to make sure I have the date right. You wouldn’t think someone could make that mistake but I’ve been known, on rare occasions, to show up for work and wonder where everyone was at around 10 am on Saturday morning. Or, once, to show up for work at 8pm instead of 8am and wonder why it was getting dark…
Drive around the park for a bit. Site recon. There are two ramps, one secluded with what looks like waters that are protected from the wind, the other exposed on a lee shore. The exposed ramp was next to a camping area with a half dozen people there and was visible from the rest of the lake so I got the boat ready to launch there. Had my truck broken into on a secluded launch ramp once and I’m in no hurry to repeat the experience.
After an hour of poking around, setting the boat up, and launching it (usually takes only 15 minutes but I’m waiting on Tom & George) I decided they weren’t going to make it and set off motoring toward what looked like an interesting island north of the launch site.
Of course when I get halfway across the lake I see a big white Micro pull up at the launch ramp. Had to use the binoculars to confirm. Don’t know why they call them bi-noculars – never could look through them but one eye at a time.
Headed back and tied up at the dock. Itself an interesting experience as I had never tied up at a dock before.
Cell phone to the rescue: George was coming, but the exchange student they had with them was sick and George, Mary, and Olaf would be late. Was decided we would motor to the island north of the launch point and George would meet us there.
We were setting up Tom’s Micro at the turn-around on the ramp and were promptly bitched at by a park ranger for “parking” after we had been there for 15 minutes.
We motor up and around Mud Creek, using the map and the GPS to confirm my initial guess of where the inlet to the river was. Couldn’t see it till we’re within a quarter mile, so this was a good test of my navigation skills.
Visibility was fine, it just looked the same as the rest of the lake! Was thinking we would motor around the island and scope out a nice protected bay to anchor for the night while we waited on George to show up.
Stopped for lunch before we got to the channel that makes the island an island and not a peninsula. Lunch was MREs – what I keep calling my “boat meals”. MREs, the military edition ones, with the chemical heaters and the whole nine yards. Heated mine up on the stove and gave Tom the MRE heater to play with.
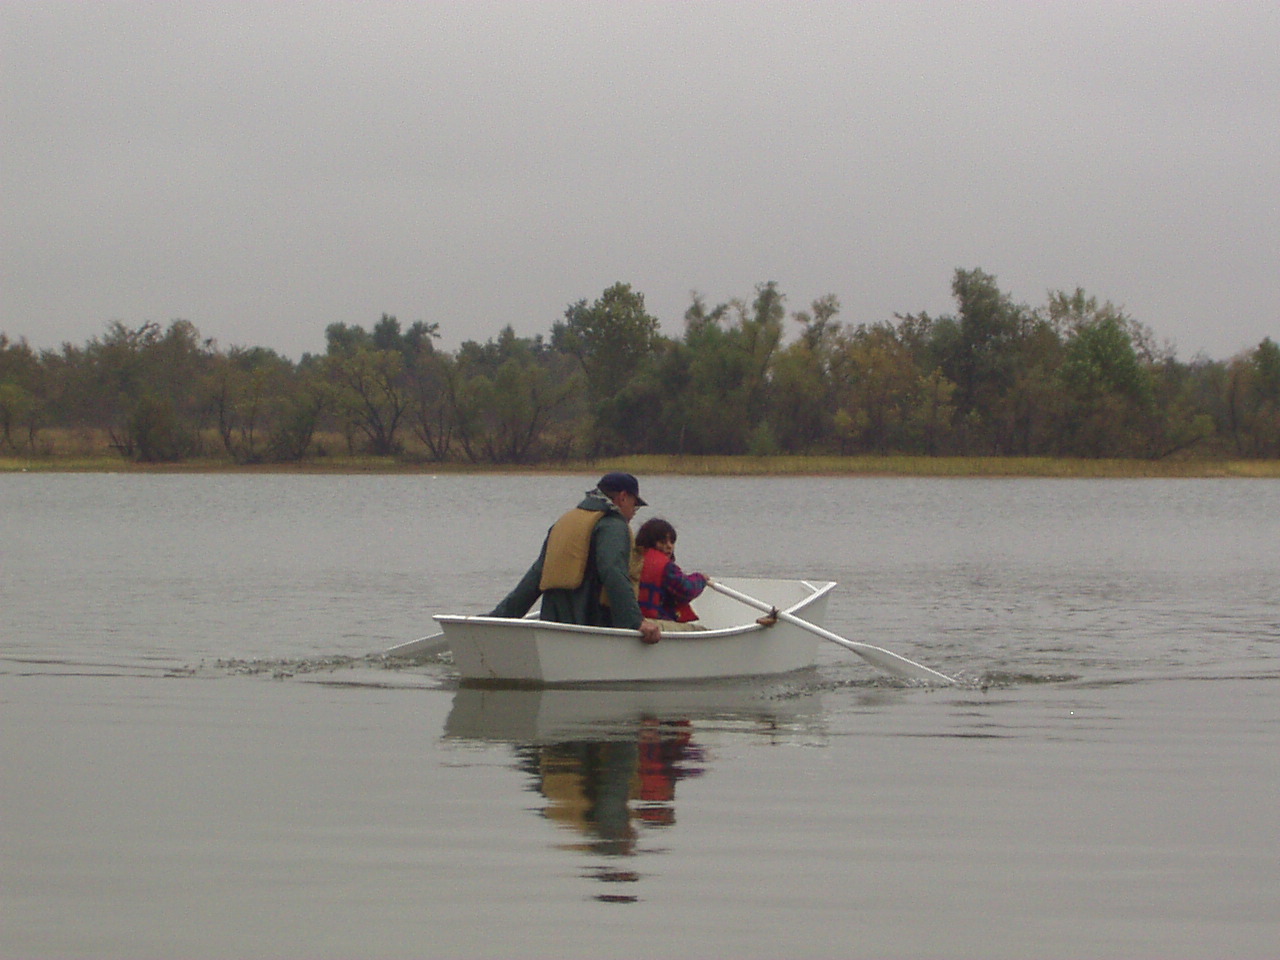
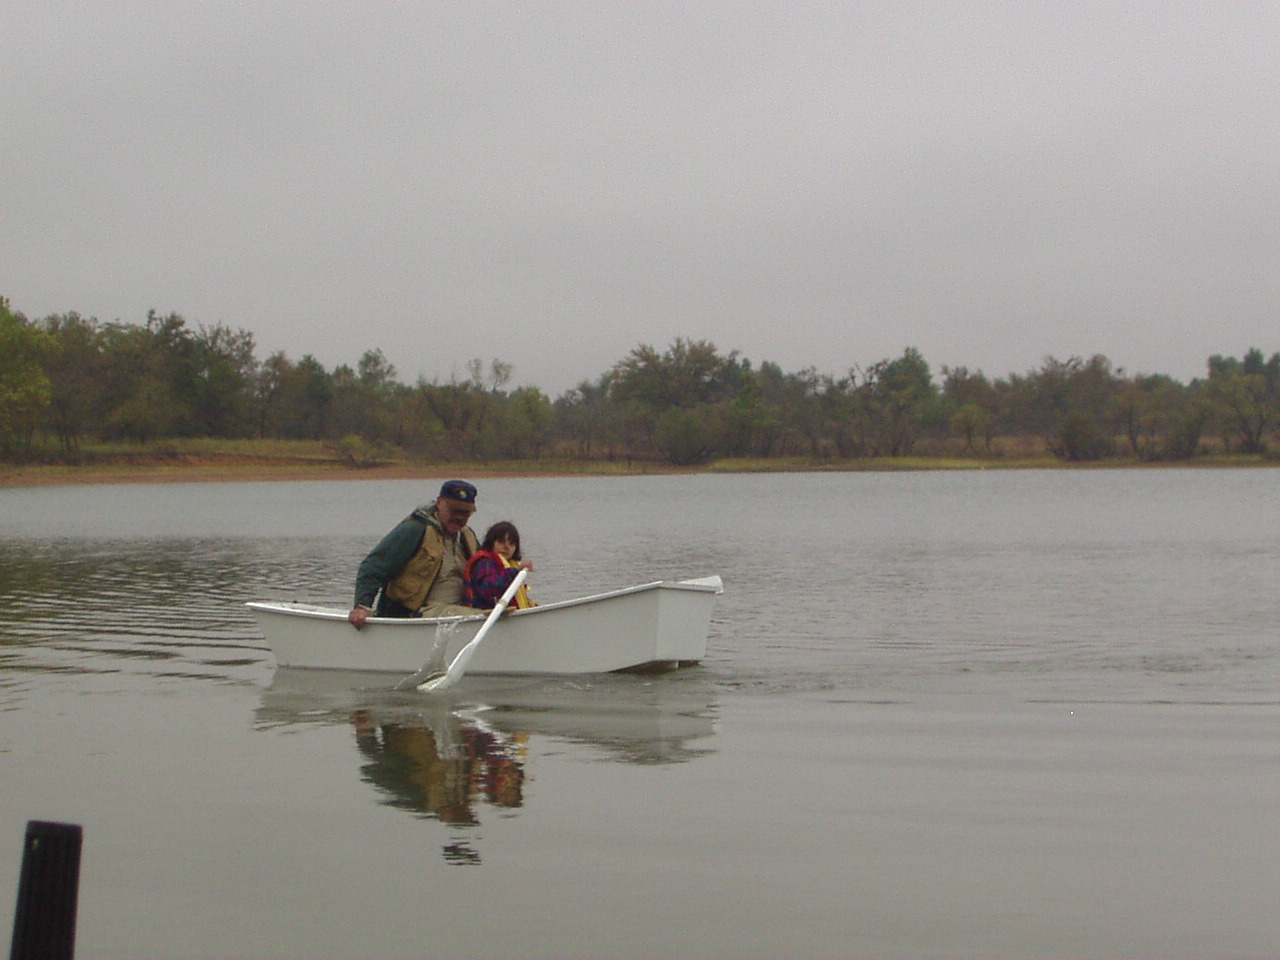
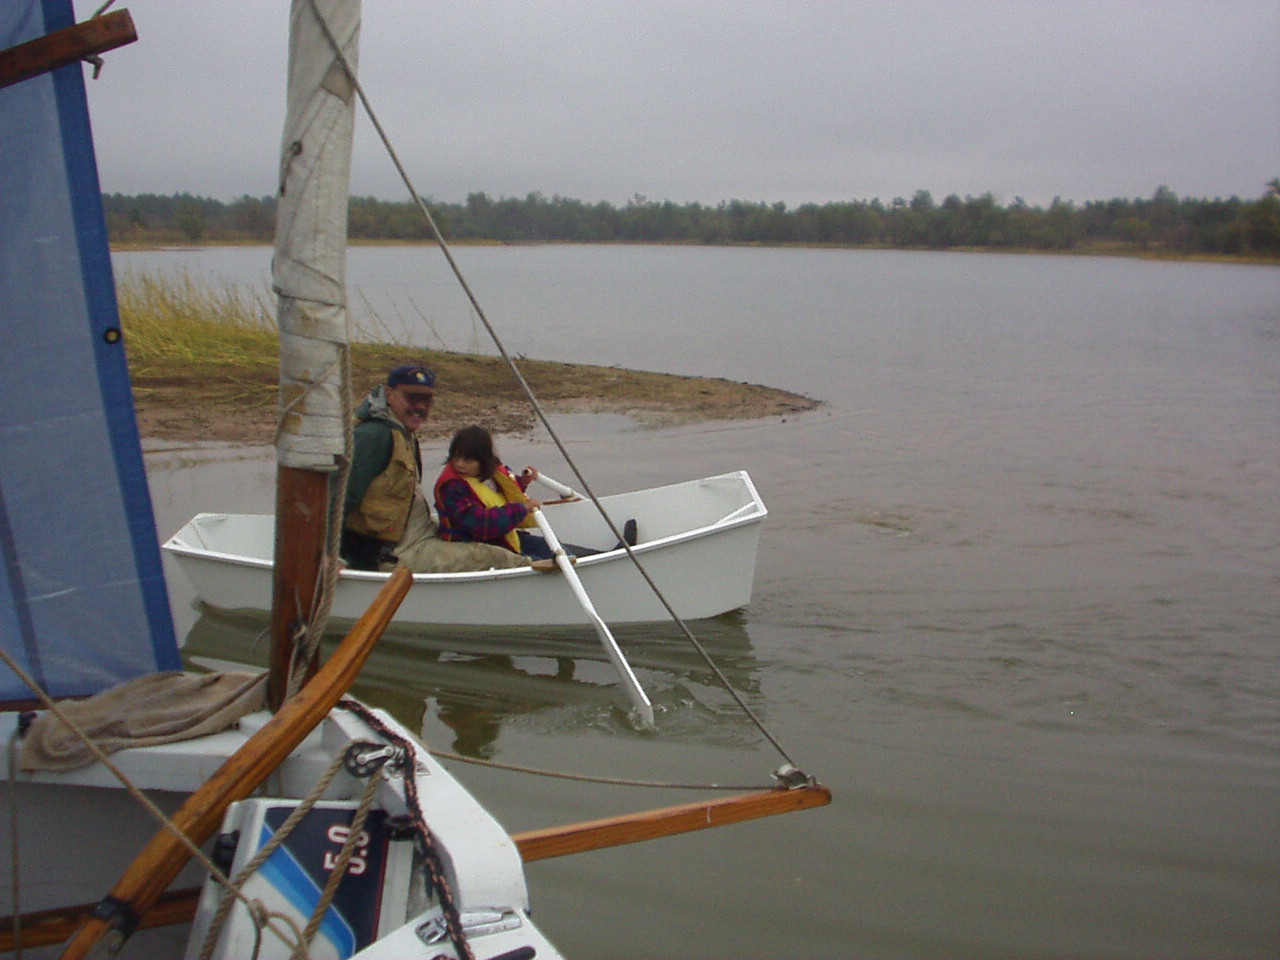
Alana wanted to play with Tom’s dingy, and I broke out the emergency paddle from S’ Cat. It’s about 2 1/2 feet long, not really much of a paddle for a 20 ft boat, but perfect for a 7 year old to play with. I call it my emergency paddle tounge-in-cheek because if my motor quits and I can’t sail my emergency propulsion system is really carried around in my pocket and is made by Nokia.
It developed that Alana can’t paddle a dingy. We didn’t find this out till she was about 15 ft from shore, and too scared to follow instructions. The funny thing being that there was a north wind that would have blown her back to the shore if she had just stopped trying to paddle! All her attempts so get back were keeping her away. She threw Tom the rope before I got the Chebacco started up and away from the shore on shallow water drive.
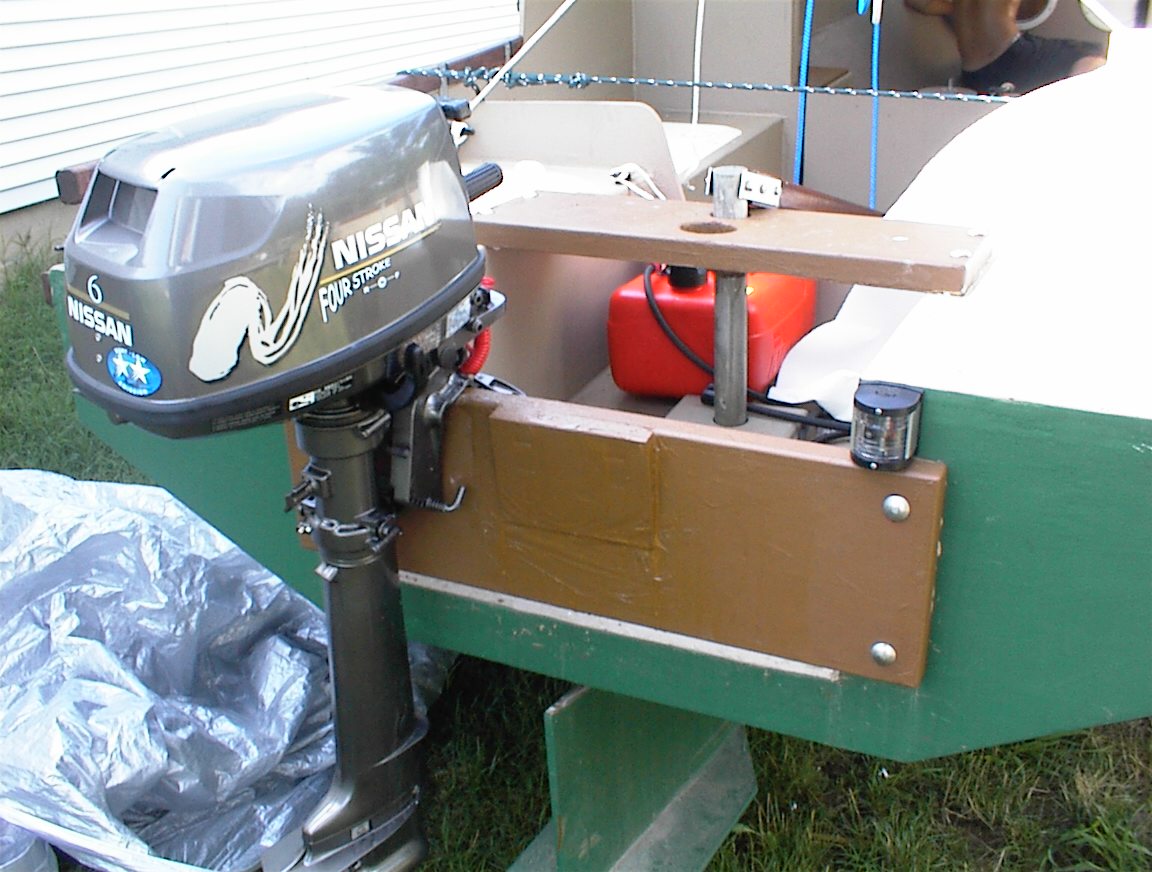
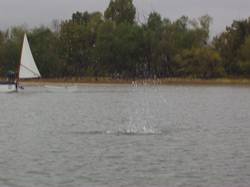
Shallow water drive is a setting on the Nissan 6 hp where the motor is kicked up about halfway. Worked so-so in reverse but threw water in the air for 20 ft in forward! Cool!
Didn’t really need the shallow water drive at this point but the predicament gave me an excuse to play with it.
We find the channel back to the lake. Or it would have been a channel if the water was up about 10 feet more… <sigh> I ask Tom if he has a shovel so we can dig a canal 100 ft from the river to the lake… He doesn’t think it’s that funny. We decide to spend the night there.
It’s getting on time for George to show up so I head out at 1/2 throttle and 6 knots back the way we came to go find George. Start heading back towards the launch point and see what looks like a green and red Micro with the bi-(mono)noculars. Decided there is no reason for me to go all the way over there, hoist the main so he can be sure to see me, and motor over to the lake side of the “channel”.
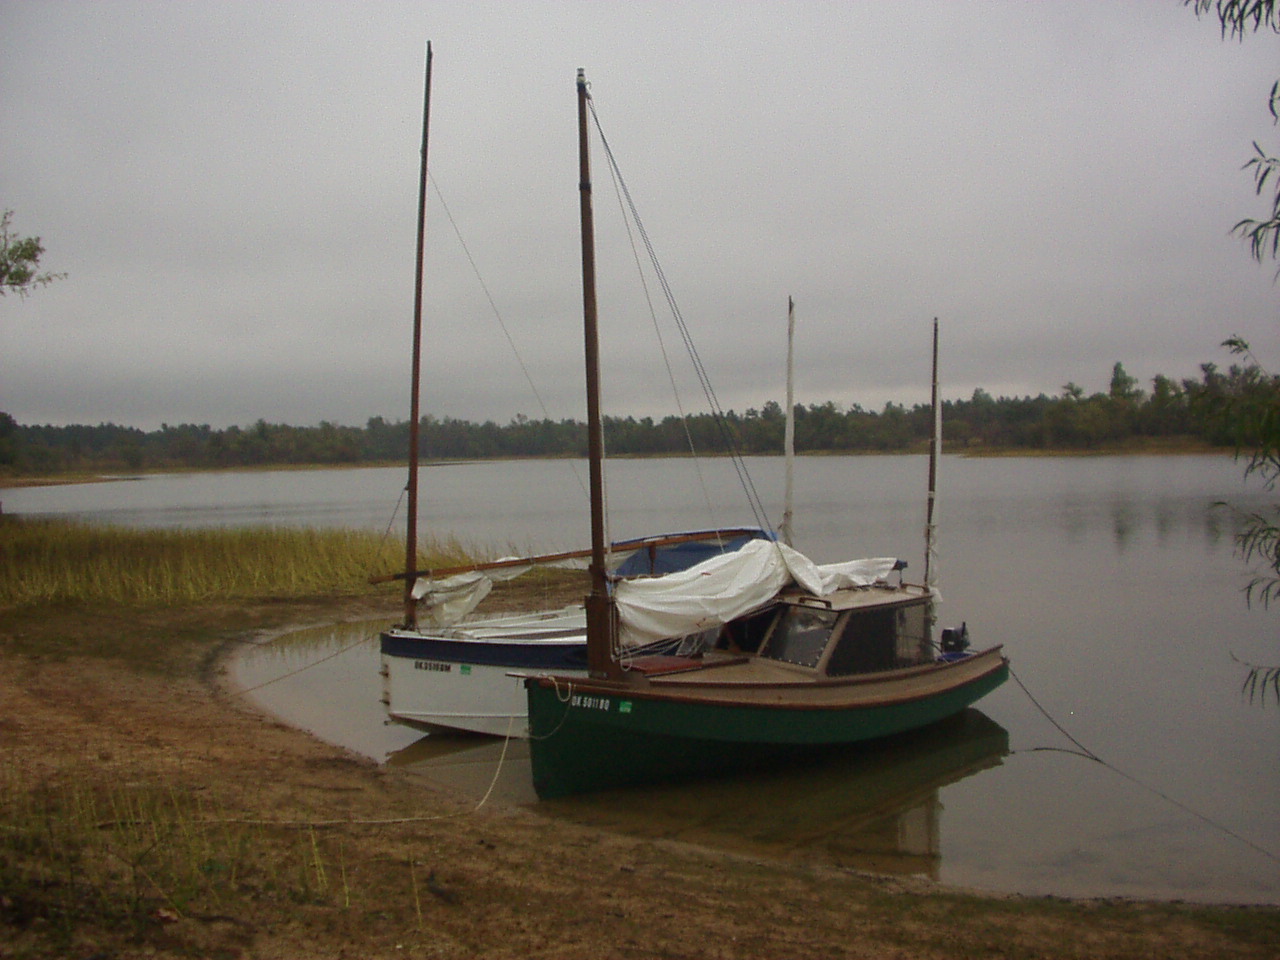
Tom’s boat on one side of the cut, mine on the other.
Run aground 50 ft from shore in knee deep water. If the water was at the normal level (4 ft higher) this would be a really cool beach to swim and sail on.
Suggested if we want to get anywhere in the morning we should camp somewhere on the south side of the island so we don’t have the trip down Mud Creek from the “channel” to do first thing in the morning. Tom suggests we camp on the east side of the island so we both motor east and pick a nice spot sheltered from the wind.
First thing I do when we get there is go pee on “No Camping” sign…
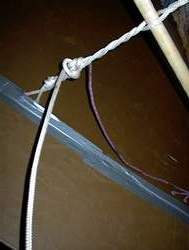
I snuggle S’ Cat up into a narrow and deep part of the bay, and tie off with a couple of limb lines. Perfect – I can step from the cockpit to the land!
George shows up in a bit, and we talk and visit for awhile. George, Mary, and Olaf go back to the rec. area to spend the night in the camper. Mary doesn’t want to spend the night in the rain on the boat.
Water is calm all night; we are sheltered from the south wind that blows up in the morning and I sleep amazingly well.
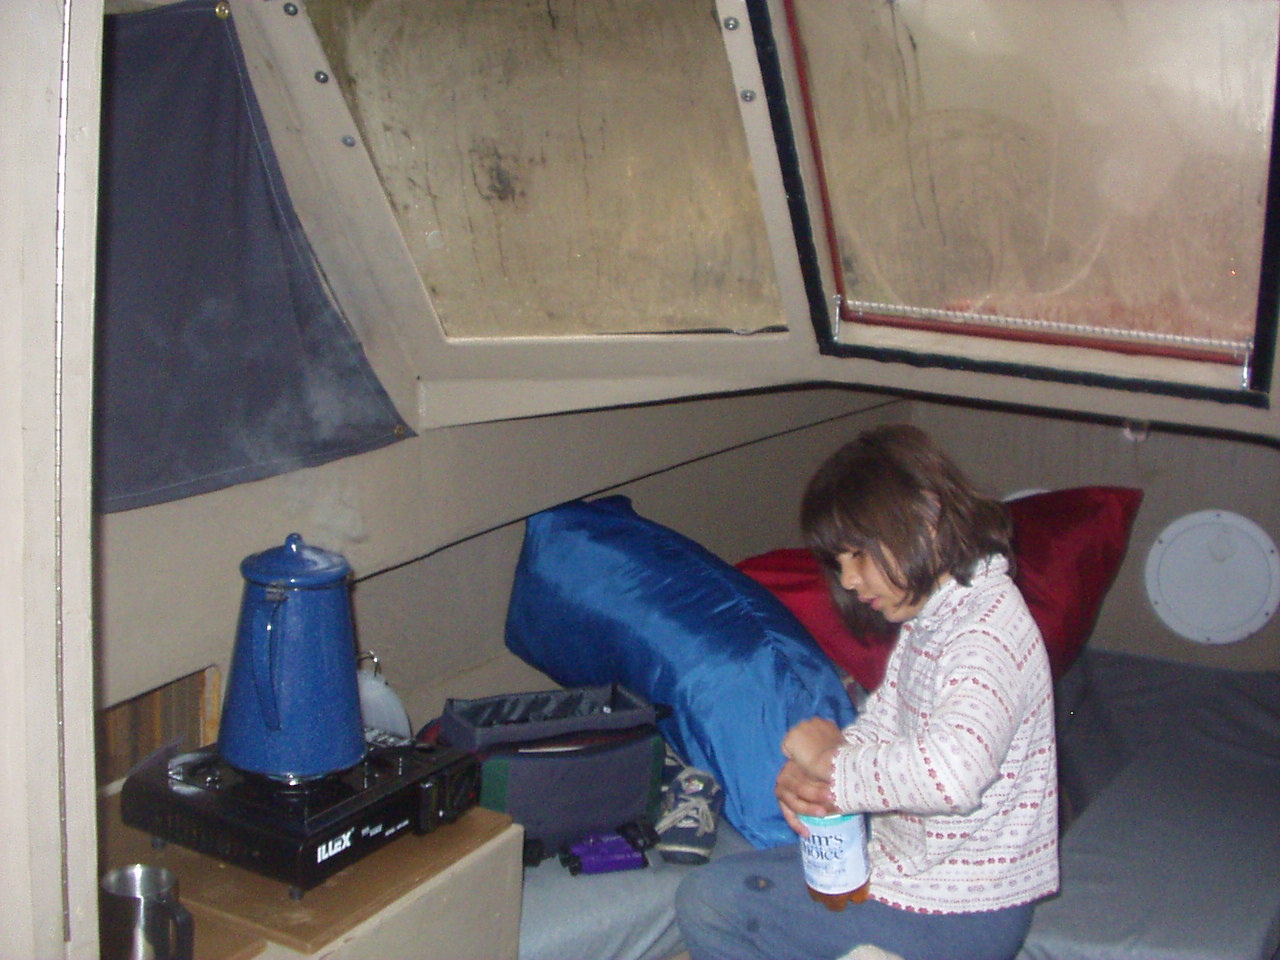
In the morning I burn eggs for breakfast. Apparently the butane stove I have puts out too much heat even on the lowest setting for the thin backpack camping mess kit from Walmart.
In our little protected cove there is no wind at all but the tops of the trees are moving something fierce and the waves in Mud Creek are moving quite quickly. Looks like lots of wind today. Good – will get a chance to check the sea keeping of CLC in bigger waves.
George arrives and we set off for the island by “Snug Harbor” that we picked out the night before as a destination for the day.
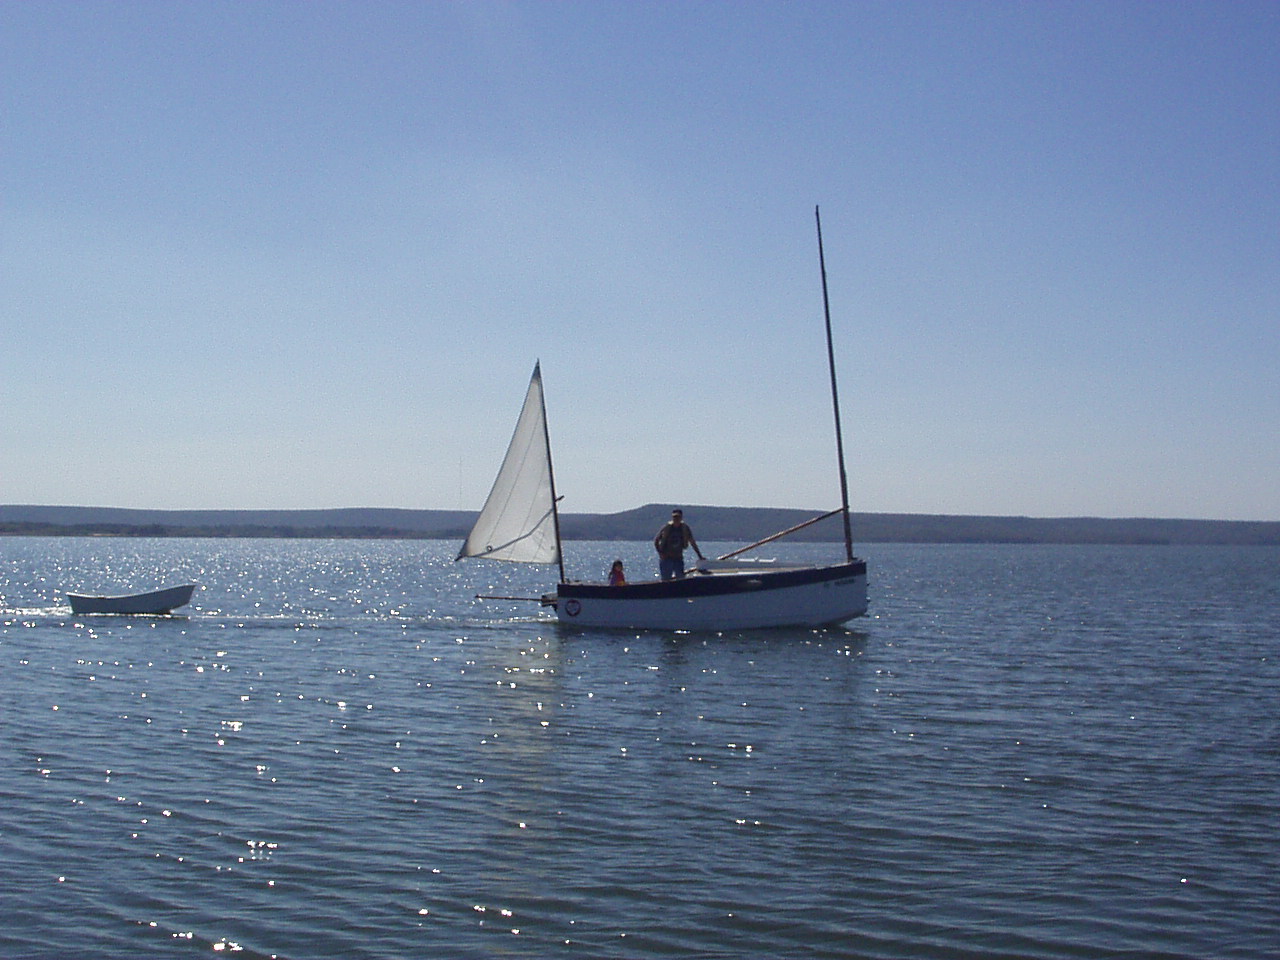
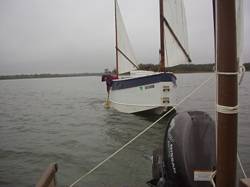
I’m towing Tom’s dingy. As you can see in the picture we are getting some pretty big waves now. I tend to overestimate the size of the waves so I kind of kept an eye on the dingy. It never disappeared behind waves but got close a couple of times.
Some pounding as the front of CLC drops off of some of the waves and I’m throwing spray 20 ft to the sides occasionally. Some water coming over the top but not too much. Occasionally water will wash up the back of the motor well but it doesn’t get into the cockpit.
Do not like towing a dingy. I was making very little progress in these waves, plenty of wind, by only doing about 2.5 knots. I should be doing at least a knot or two more, me thinks, judging from my sailing in similar (if less intense) conditions. Wind kicks up even more, maybe force 4, and I pull a reef in.
Quite a lot of action but I’m dry under the dodger and do not at any time feel concerned about the boat, just annoyed the dingy is slowing me down when I could be making bigger splashes!

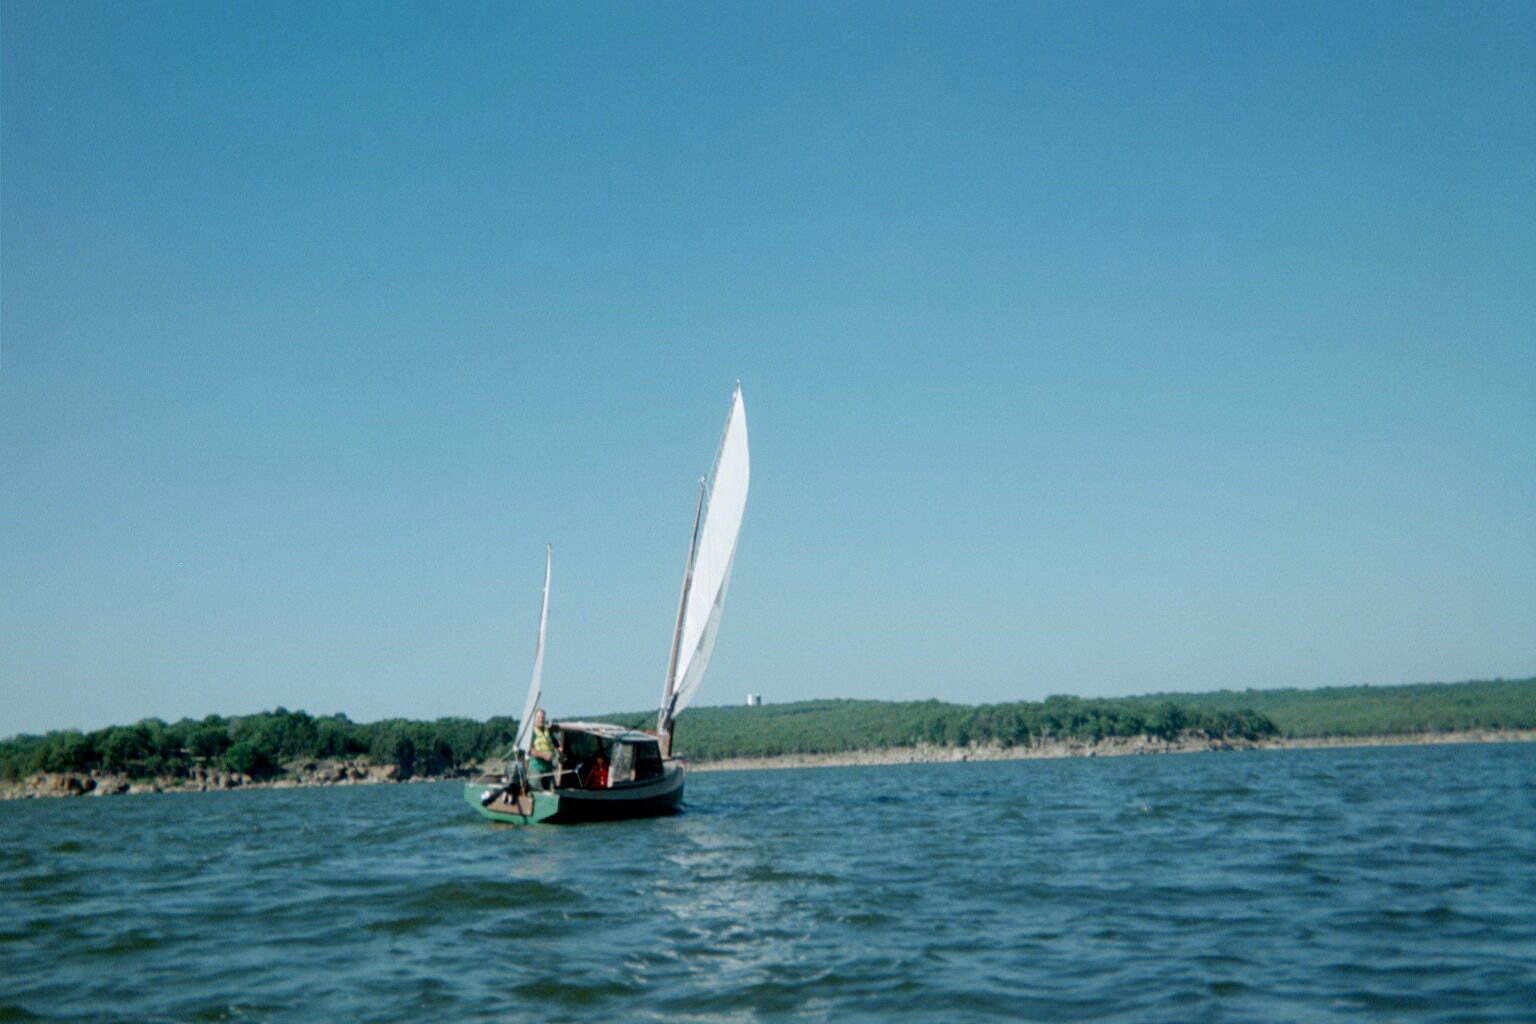
George heading back to the launch ramp after taking on water. Only picture of the big waves, I was a little busy…
George has a regular 16 ft Micro. He is plowing into the waves so much that the step holes in the front are flooding the bow well enough for water to start coming into the cockpit through the forward cabin vent! He drops sail and motors back to the launch point.
I decide I want to beat upwind to get out of big waves and pick up some speed. Good thing I do as Tom stays pretty much on the north side of the lake and rams four stumps on the trip to the island. He radios when he hits the first one and I swear up and down the map shows him in 45 ft of water.
Hmm… Big stump fields everywhere. Maybe that is what all these little red “>” signs mean? Not on the legend though.
I leave the reef in even after the wind calms down and let the boat self steer as we continue to beat pretty much into the wind towards the island we picked out.
Island a bust. First off, it’s not an island and has no protected bays. We land on one small projection to keep the boats out of the waves and walk all the way around the “island”. The mud is sticky and gets over everything. There is trash, shotgun shells, ATV tracks, etc. all around and we decide this isn’t the place to spend the night.
Tom is taking on water from his stump ramming sessions so we head back toward dam.
I spend a frustrating five minutes trying to leave! I can’t get off the blasted shore! I pull in the dingy painter so it won’t foul the prop and back off the sticky mud with the motor in reverse. Cut the engine and the wind blows me back to the mud! And I’m on the downwind side of the peninsula! The boat is sailing UPWIND into the mud! I do this three times before I decide to back out 100 ft to open water under power. Frustrating.

Tom’s leak appears to have slowed down so we anchor in a rocky cove sheltered from the south wind. I’m scared of the rocks so I put out two anchors and two limb lines and we take down mizzens for a possible thunderstorm the NOAA man (machine?) was talking about on VHF.
A dingy is useful for something! (other than something for Alana to play with. And slowing the boat down) We use it to set anchor lines.
Tom cooks up a couple of pounds of shrimp for dinner and we eat it in the Micro in one of the brief periods of no rain.
Quiet night – slept like a log till the wind shifts to the north and we start getting some small wavelet action to wake me up. NOAA radio says thunderstorms on a line from Macalester to Muskogee. South of us and a north wind. Maybe we’ll be lucky. I go back to sleep.
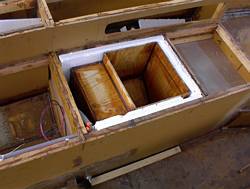
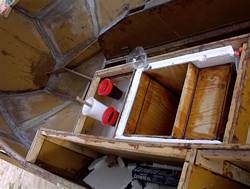
In the morning we have turkey ham for breakfast. Yum. Incidentally, my built-in icebox kept ice in the water bottles for almost a week. Sweet.

No wind so we motor back to dam site to see if George hung around or took off. He’s not there and the showers are locked. Guess I’ll just have to keep making do with my “Leinweber” shower…
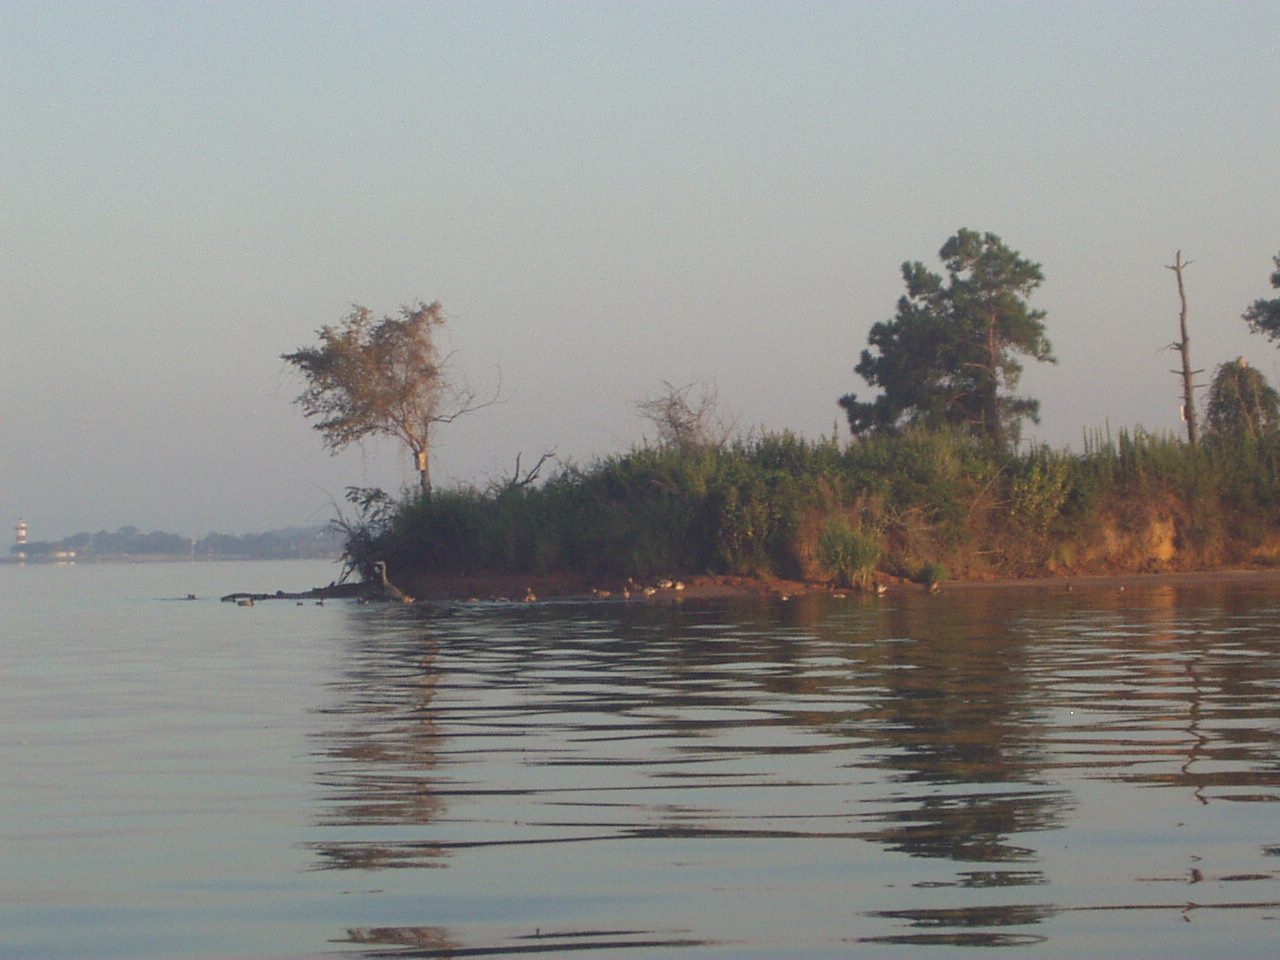
We look at the map and decide to spend the night a couple of miles from the dam in a place called Broken Cove. We start off motoring but the wind soon picks up and we hoist the dacron. I reject my first pick, the small island, as there is no shelter and it’s in plain view of a bunch of houses. All the second choices on the west side of Broken Cove are rejected because I can see trees sticking out from half a mile away. We head for the east side and find a nice cove with water deep enough to get the boat noses onto the beach and raft up for dinner.
Bazillian birds in the area but they get annoyed with the sailboats and leave.
Lunch is Raman with dehydrated chicken. I boil the chicken and let it soak for 30 minutes but it’s still too hard to eat. Guess if it takes 18 hours to dehydrate it will take more than 30 minutes to rehydrate. Will try putting it in a bag with water in the icebox the night before next time.

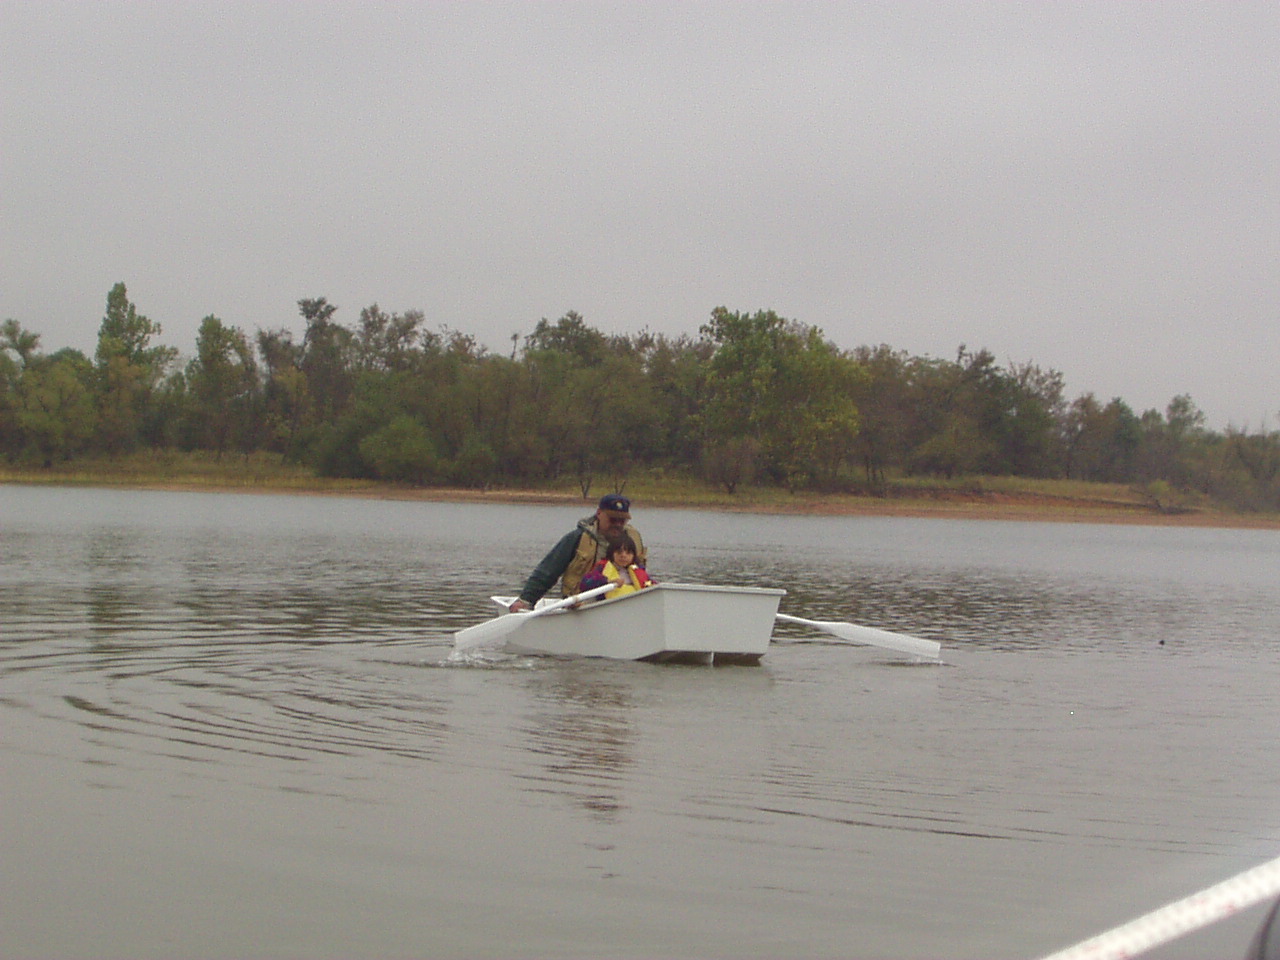
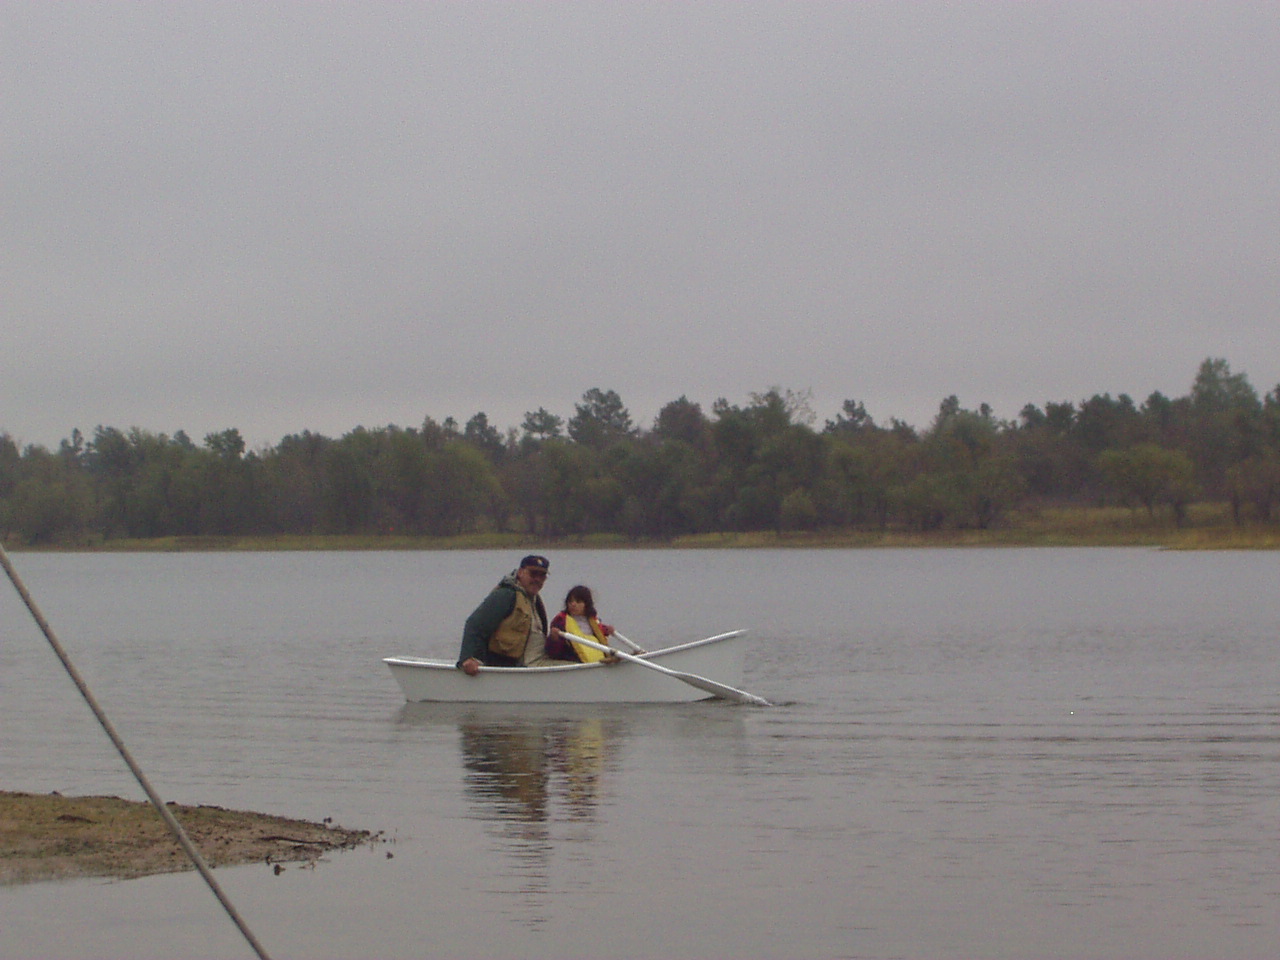

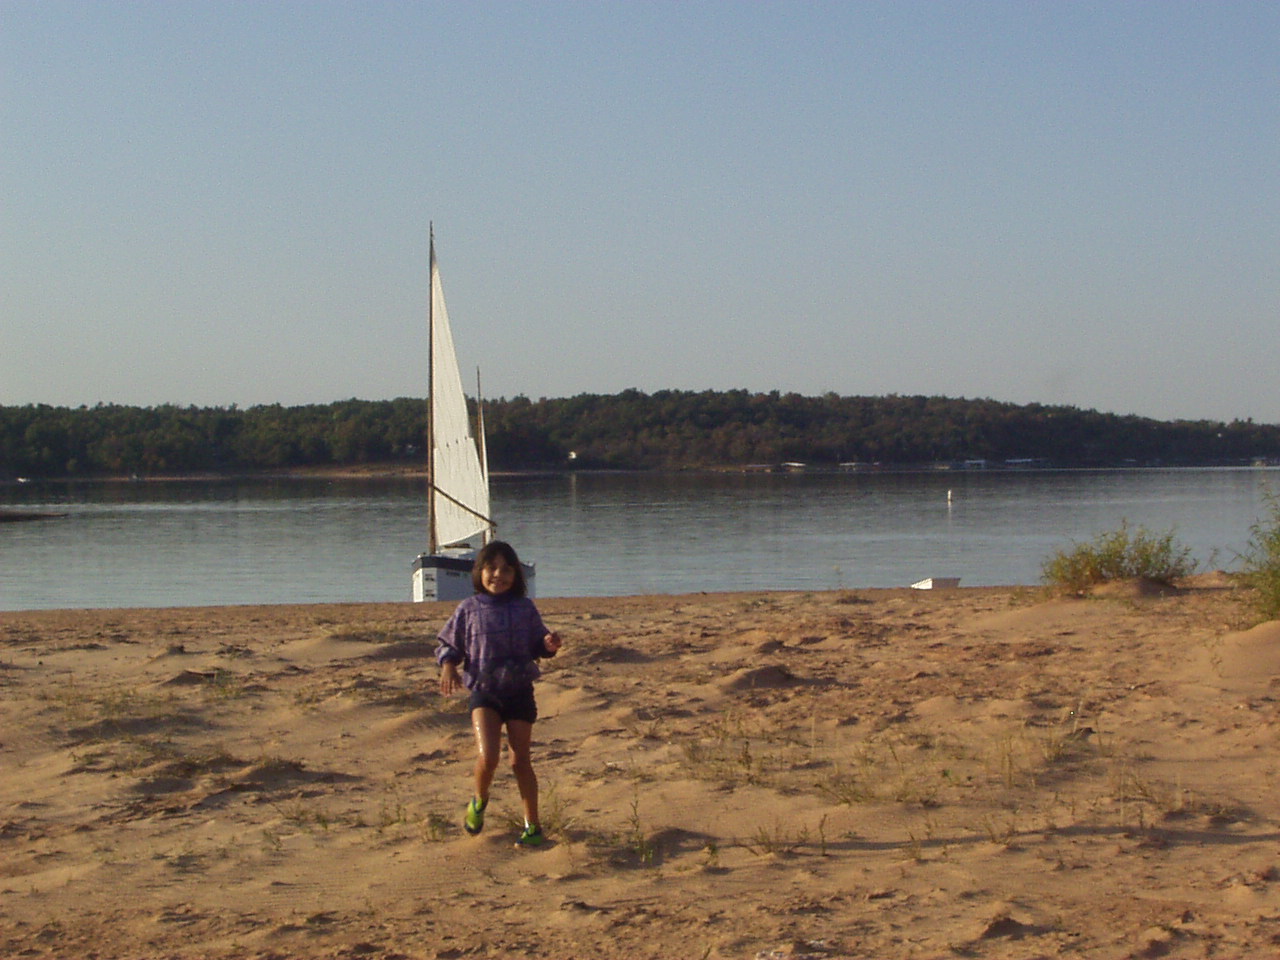
I lay down to read for a bit and Tom and Alana take the dingy out for a row. I decide to get up and take some pictures and what do I see but Alana ROWING the dingy back! This is the girl who couldn’t paddle two days before!
For dinner we have pasta and burritos thanks to the miracle of MREs.
After dinner we go out so Tom can sail a Chebacco. He is very impressed.
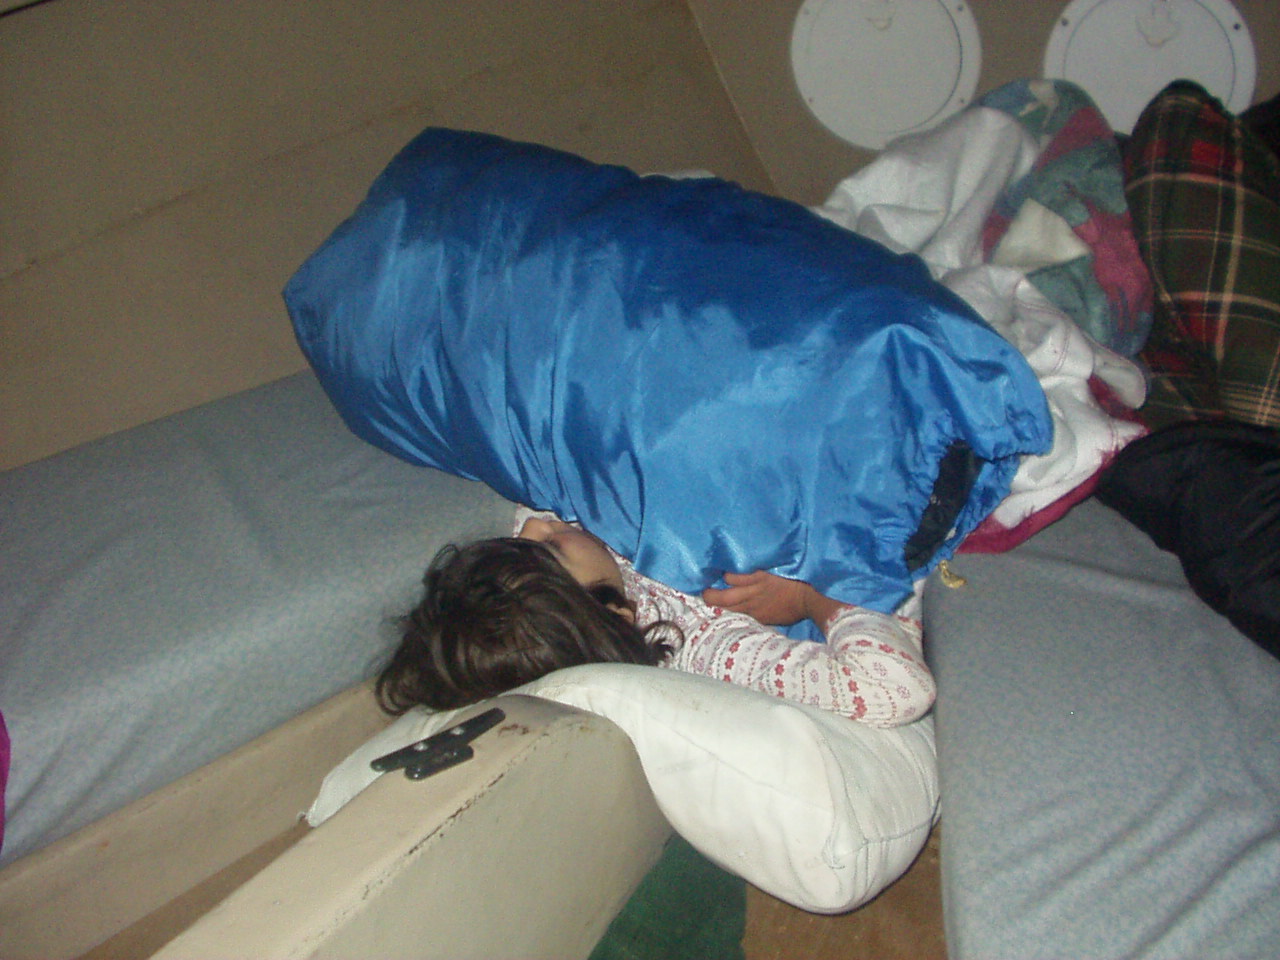
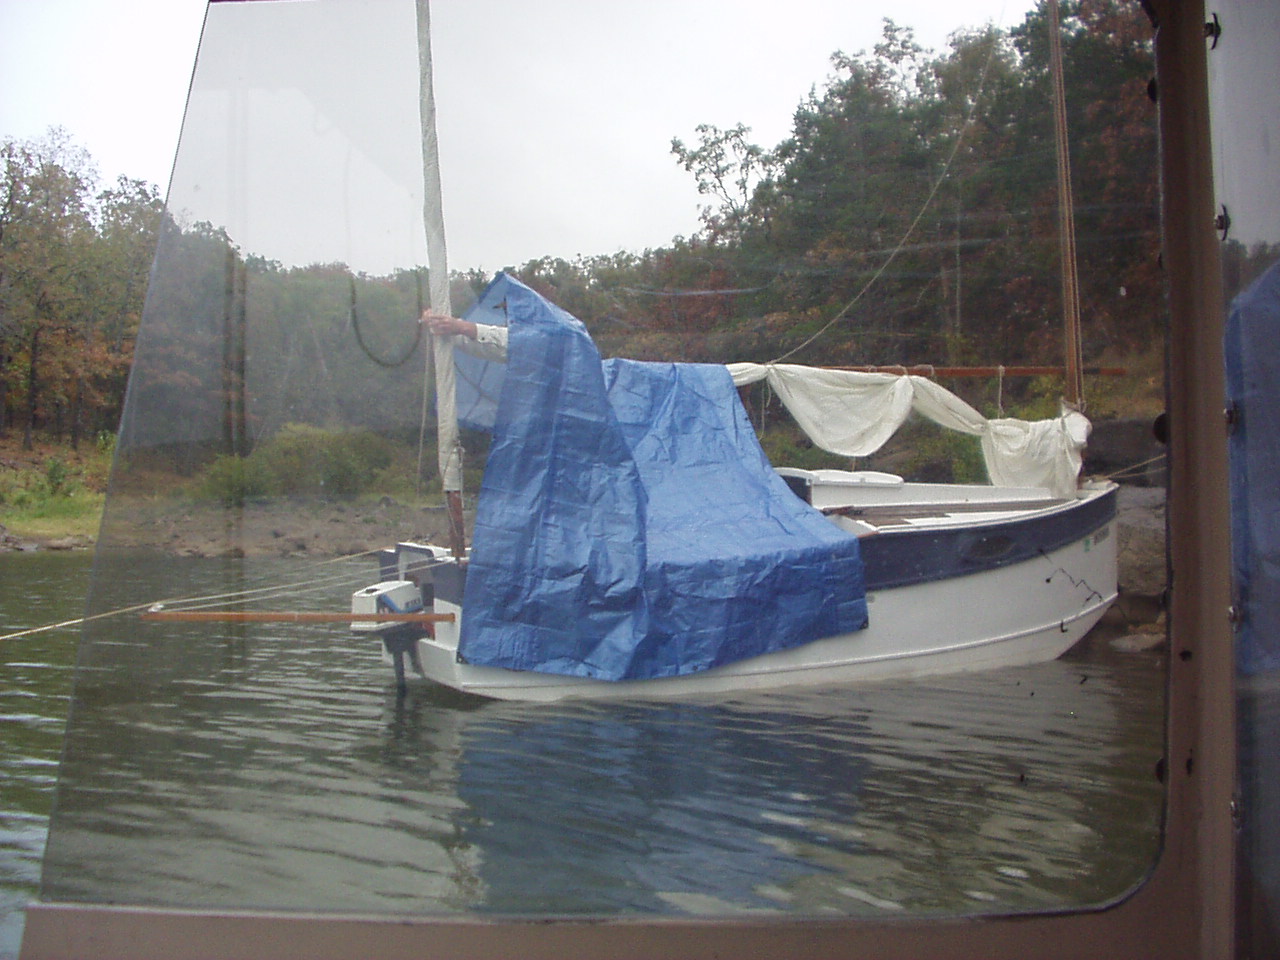
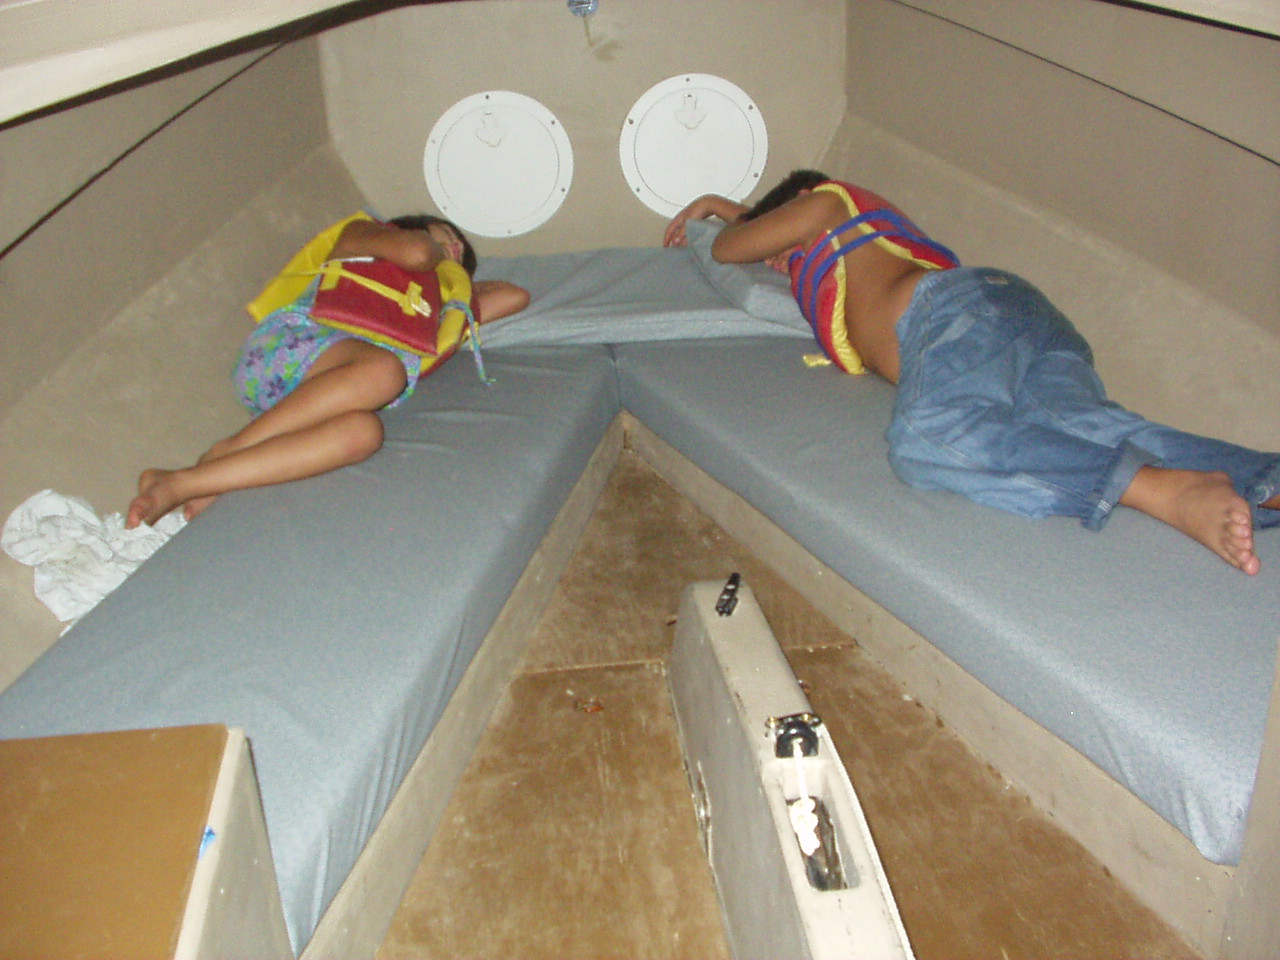
You go to the trouble of making beds, and where do the kids sleep?
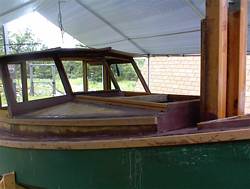
Rains all night. Humidity is horrible inside the boat. Condensation on everything; especially the lexan windows. So much so that I don’t even need the curtains for privacy! Sure clears your lungs out but would get pretty old after a week or so.
Breakfast of eggs. Not burned this time – borrowed Tom’s iron skillet.
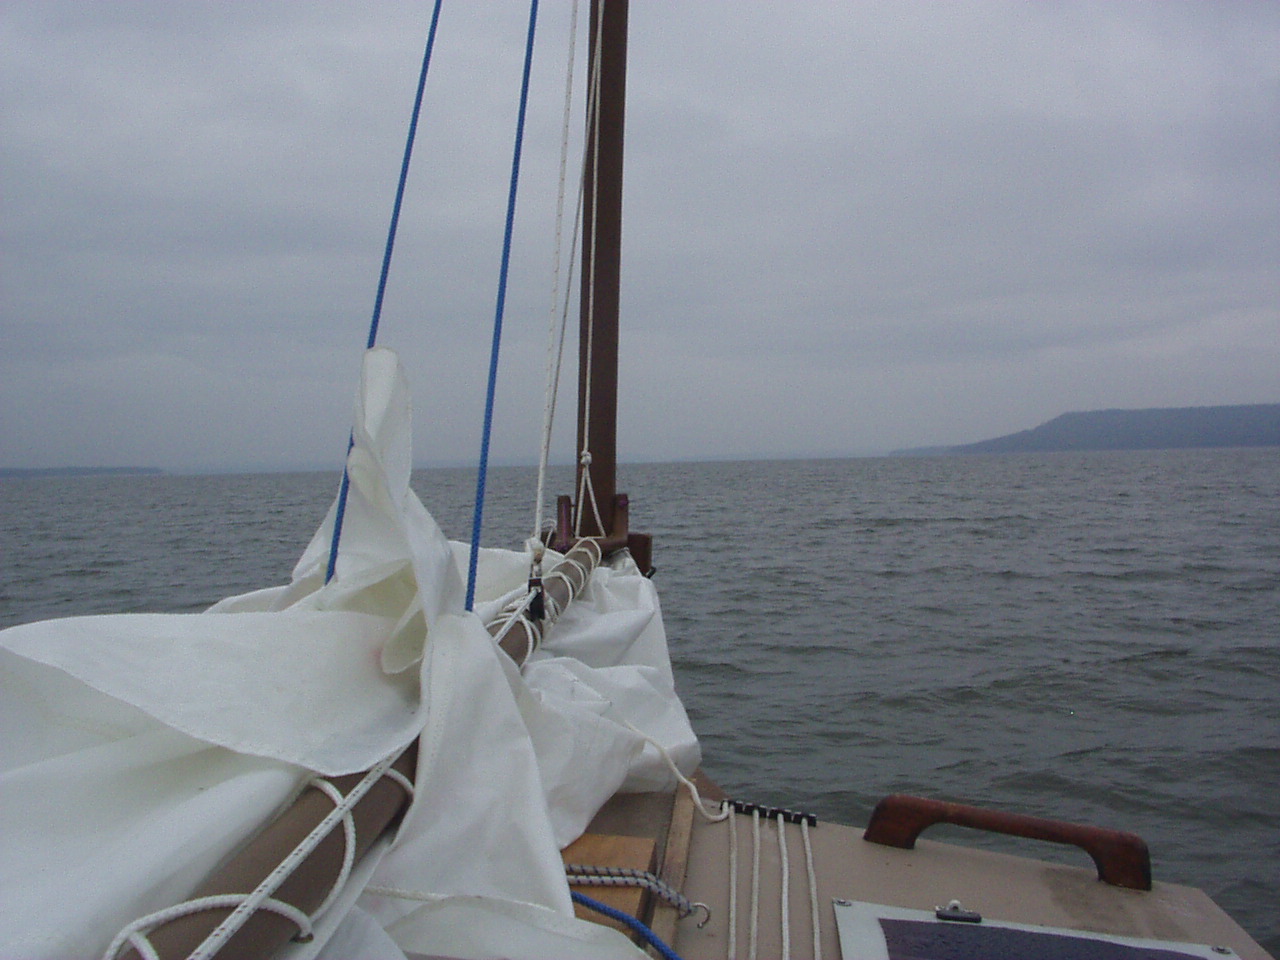
Sail away without using the motor in the morning on light winds, just for giggles. I poke around the bay, heeling the boat on one tack then the other so the bilge pumps can clean out under the floorboards.
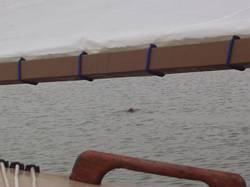
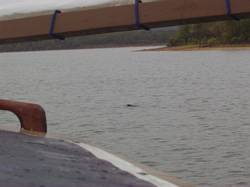
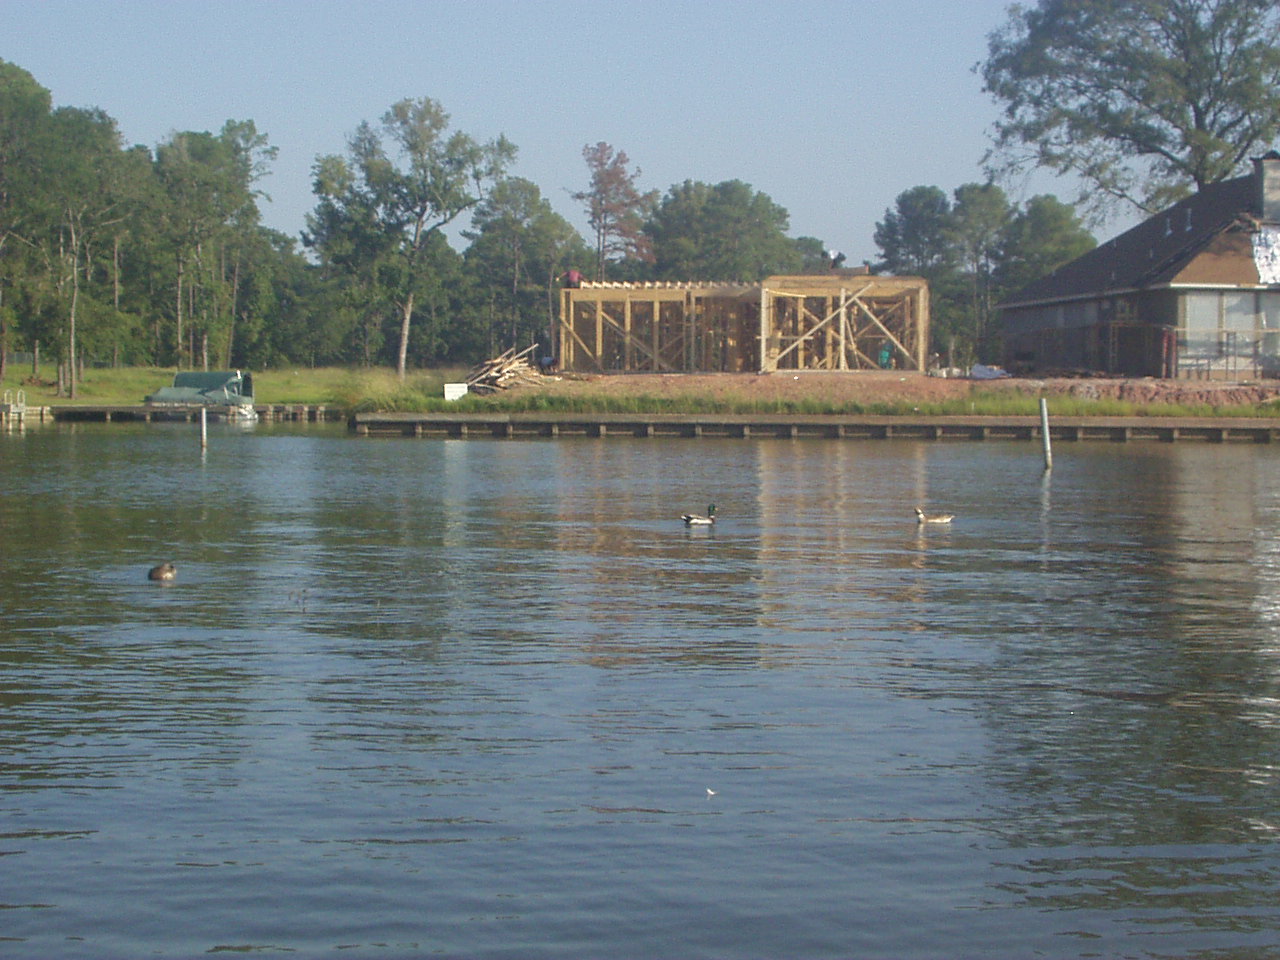
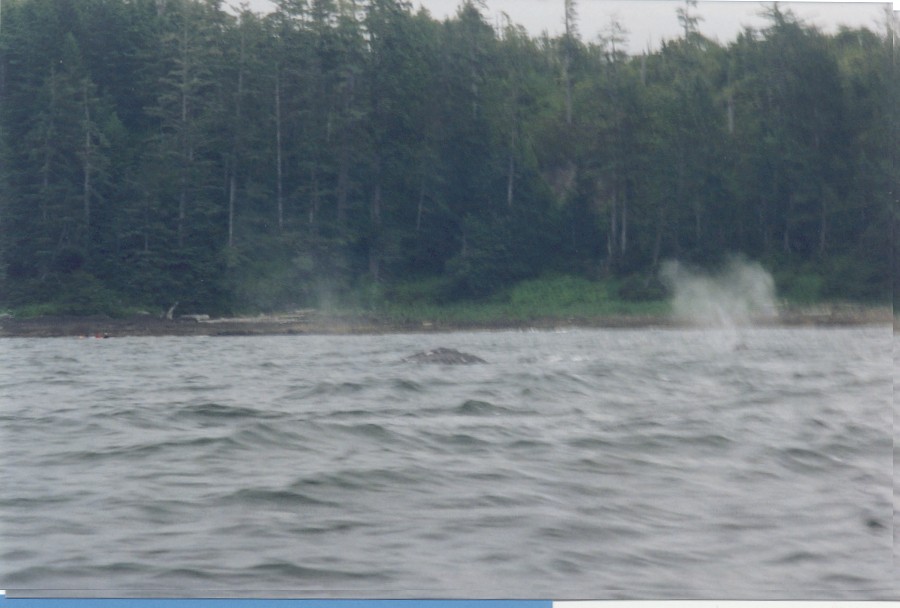
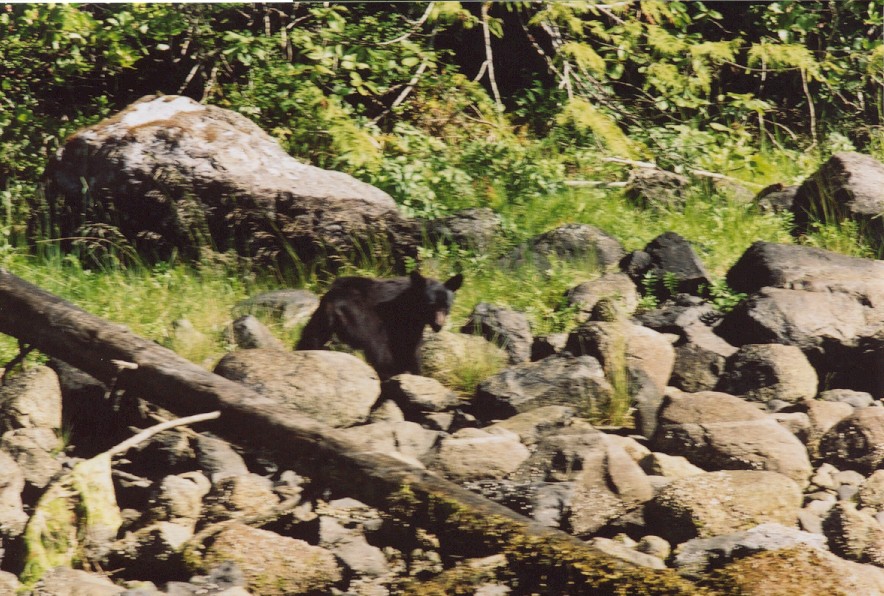
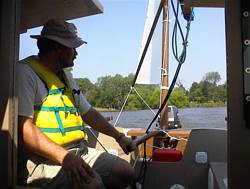
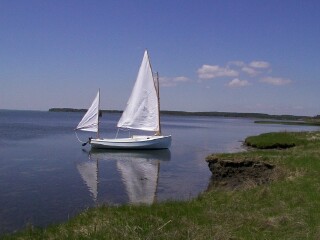
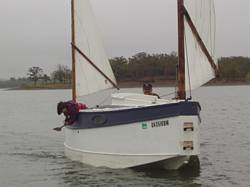
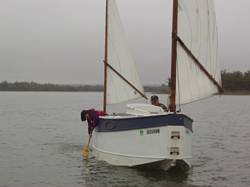
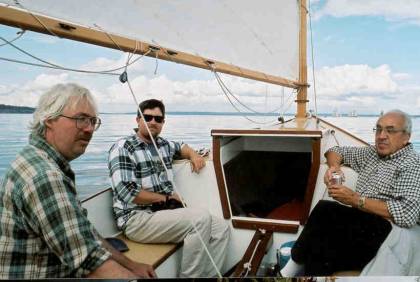
Because we weren’t using the motors, got these pictures! (la la la…, what is that behind me? DIVE! DIVE!)
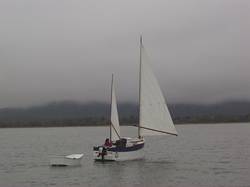
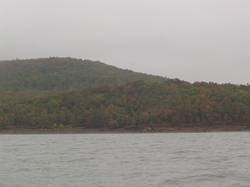
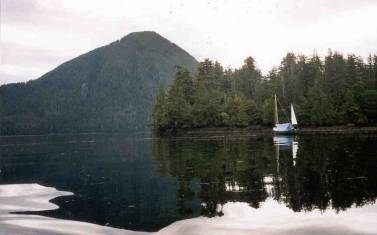
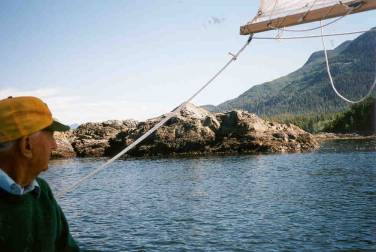
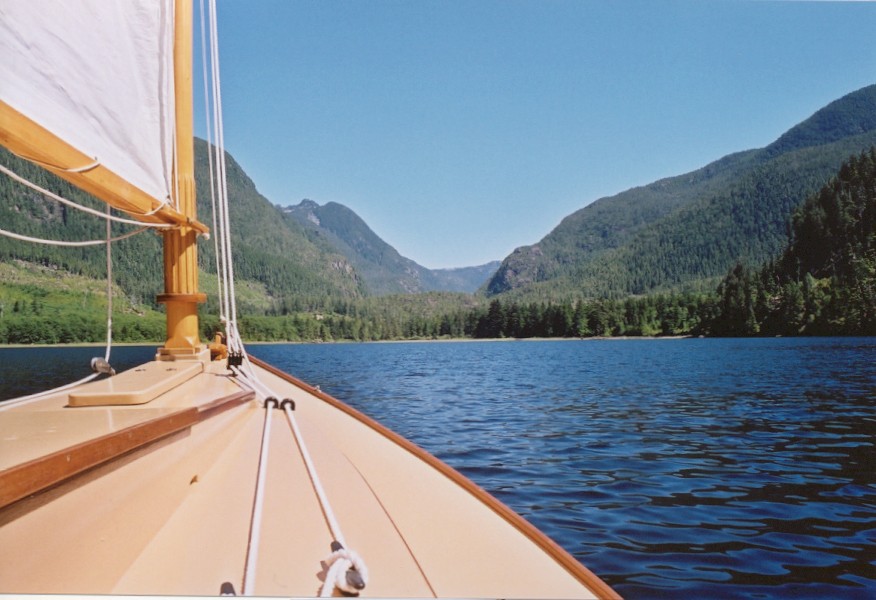
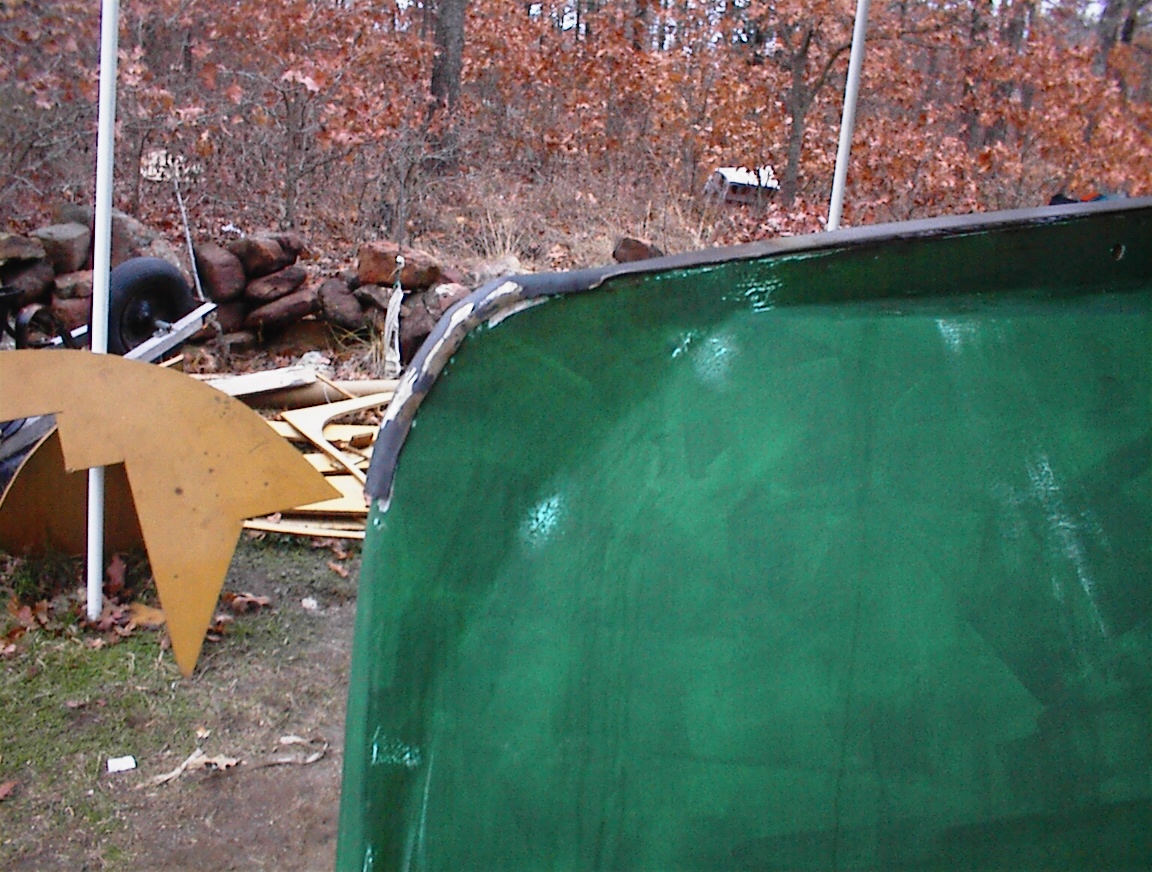
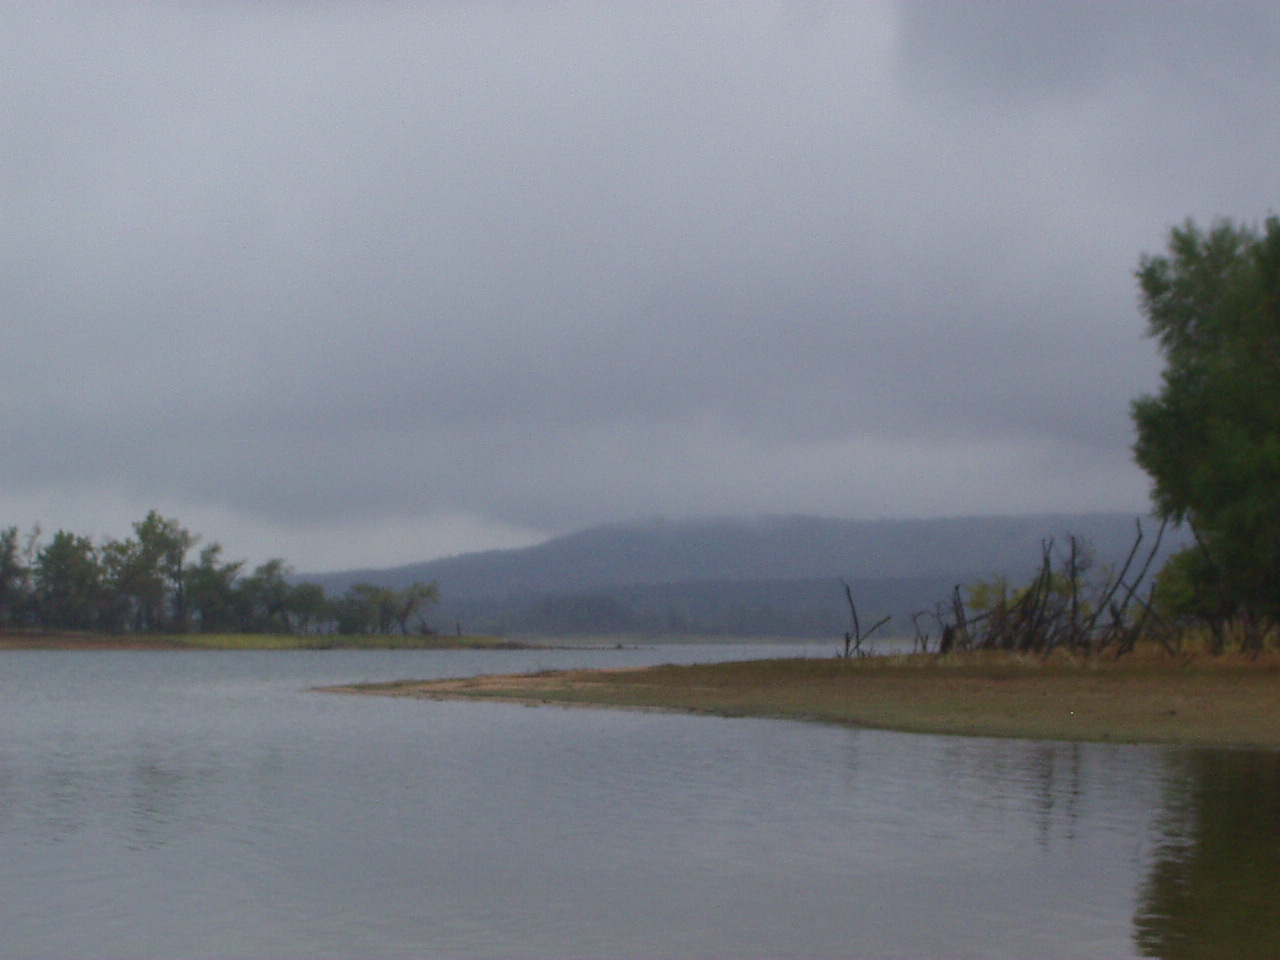
Shot of the fall colors in the hills.
I beat upwind for about an hour on a starboard tack, boat tuned, mizzen steering the boat, sitting backwards in the cockpit enjoying the scenery. Sail to the dock in light air, running the last 100 ft under mizzen alone. Tom has motored in already and he grabs the boat.
Put up and do the turnpike dash home.
A very wet and enjoyable weekend. Learned a whole lot about camping in the boat.
Chebacco Richard – https://www.chebacco.com http://www.richardspelling
***
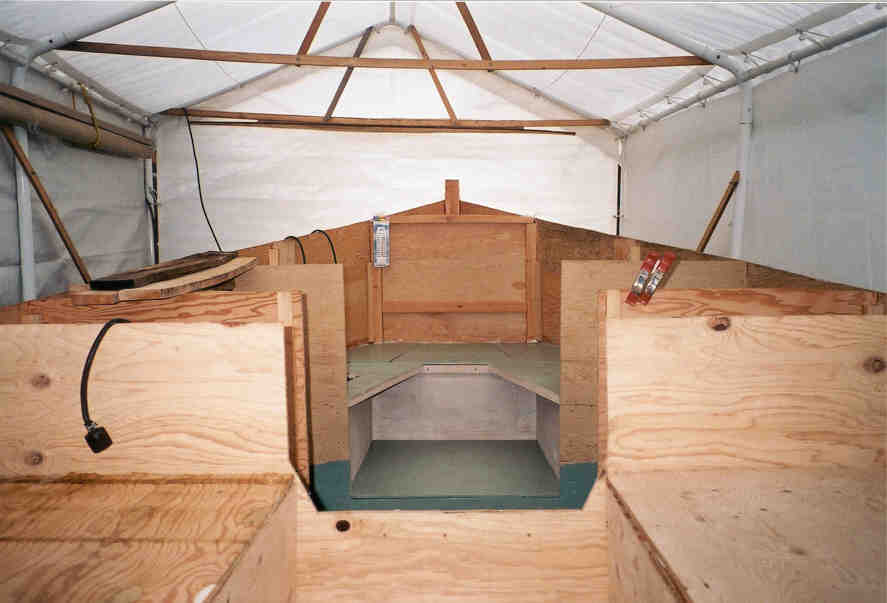
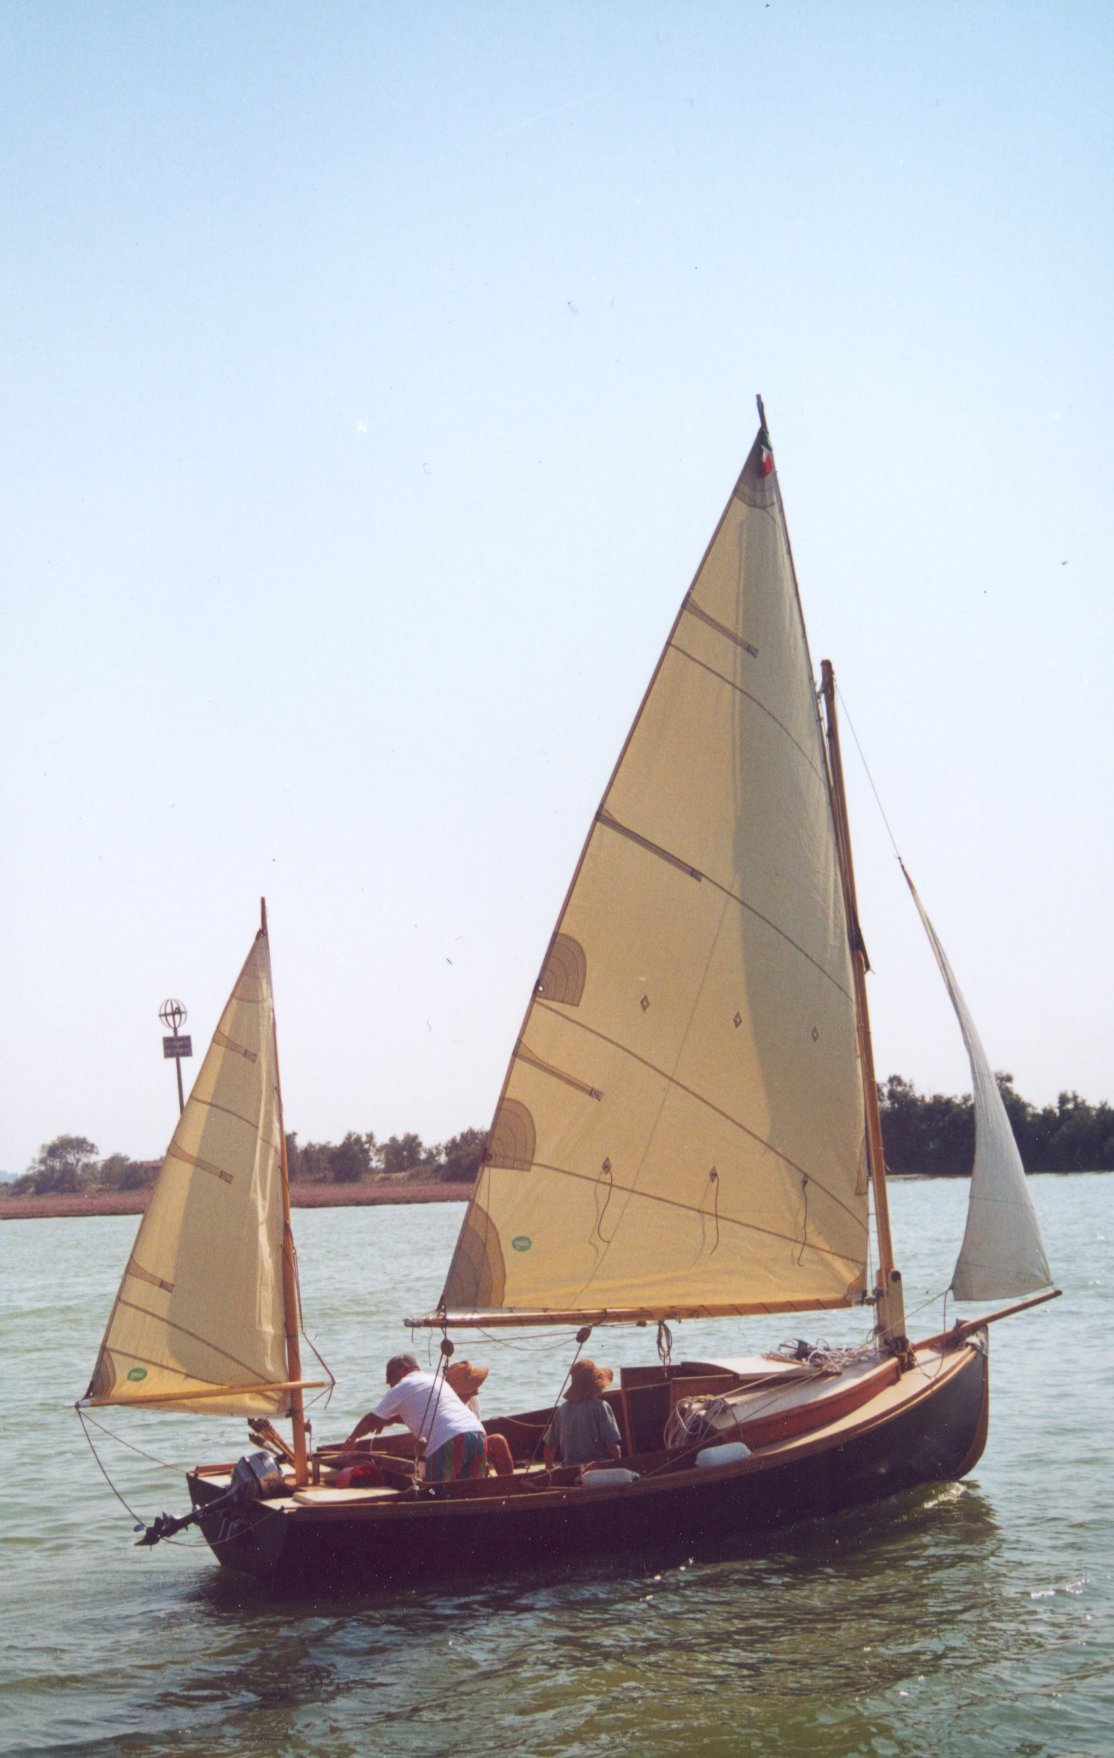
Jamie goes to Port Townsend – Jamie Orr
In September, the nights are cool, the kids? go back to school, and thousands of wooden boat nuts converge on Port Townsend for the Wooden Boat Festival.
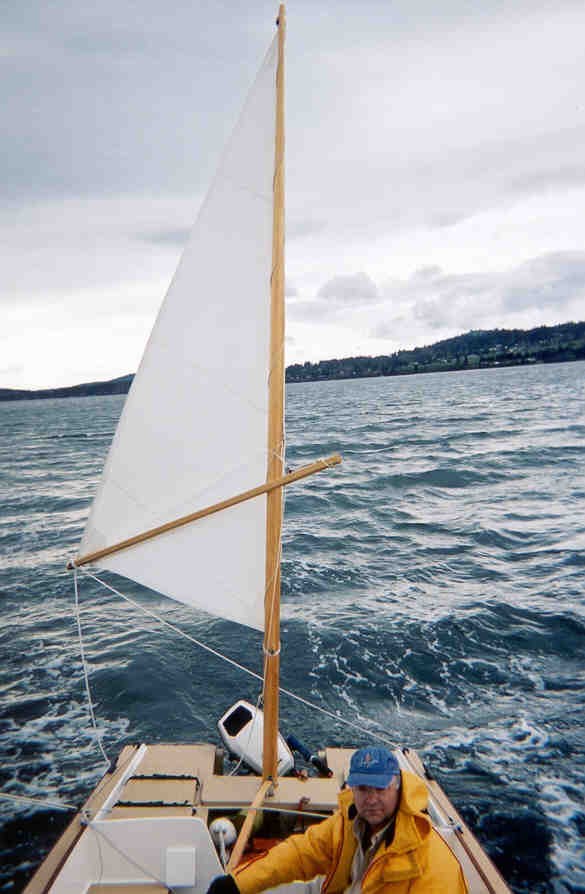
The Festival runs for three days, Friday to Sunday, but I have to earn a living, so it was already Friday morning when Wayward Lass left Victoria, carrying her own complement of boat nuts to the show. These being the usual, my dad and myself. The current tables indicated that a 10:00 am start would make best use of the tide, so we didn?t have to rush. I?d launched the night before to avoid any low tide problems at the ramp, leaving the boat overnight at the Oak Bay Marina. The shortest route from Victoria to Port Townsend is a straight line from Gonzales Point in Victoria to Point Wilson, two miles north of Port Townsend, and the marina is less than a mile from Gonzales. From point to point the distance is 26.7 (nautical) miles, from dock to dock we covered a bit over 30 miles.
We pushed off at five past ten, and motored out to Gonzales, where we put up the sails. There wasn?t much wind, but enough to keep the sails filled with the motor still running. As we got out into the strait proper, the wind improved, but still wasn?t enough to get us to Port Townsend by 6:00 pm, so we motor-sailed for the whole crossing. At 1:05, after three hours, we were some two miles past the mid-point, enjoying a warm sunny day. The wind, although it went up and down, stayed in the west so we had it on our starboard quarter the whole time.
At intervals we would sail through very definite ?eddy-lines? between different tidal currents. Often these brought different water conditions, and we?d move from whitecaps to no whitecaps or vice versa as we crossed the lines. The boost we were getting from the tide also varied, and our speed, measured by GPS, could rise or drop by over a knot at these lines.
The current was fastest near Vancouver Island, where it runs strongly around the corner into Georgia Strait, and again near Point Wilson, where it funnels into Puget Sound. As we approached Point Wilson, we were travelling at 11 knots over the ground, about twice what we would expect without the current. At Point Wilson we also had the best wind of the day, so we shut off the motor for the remainder of the trip. We sailed down to and around Point Hudson, where the boat show is held, and through a forest of boats anchored off the town. We were approaching the ferry dock, wondering when the ferry was going to leave, when it let loose a long blast on the horn. We made a fast gybe to get out of its way, and turned in a large circle that let us pass well behind the departing ferry.
Soon after, we stopped to take down the sails, then discovered that Honda didn?t want to start. This was a shock, as he?s generally totally reliable. However, after some drifting around, and some pointless fiddling around, Honda woke up again, and we docked at the Boat Haven at 3:50 for a total time of 5 hours and 45 minutes, a new record for Wayward Lass. (The motor problem did not happen again ? I don?t know what it was, although Alan Woodbury suggests we attribute it to a vapour lock caused by pumping cold gas into a still-warm motor. Sounds good to me!)
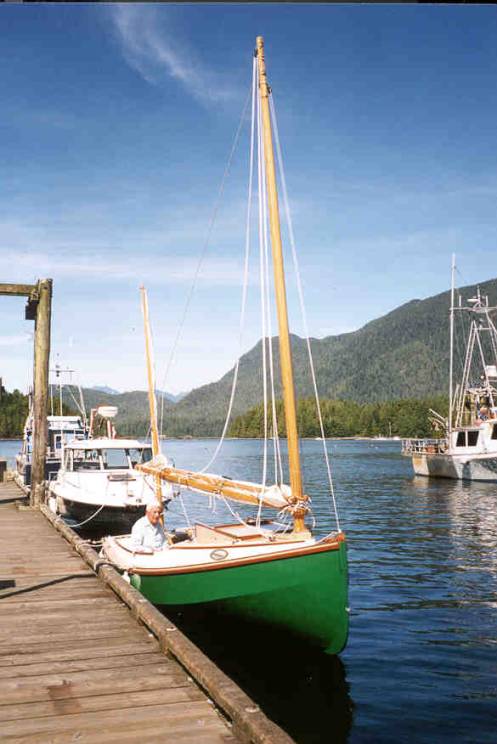
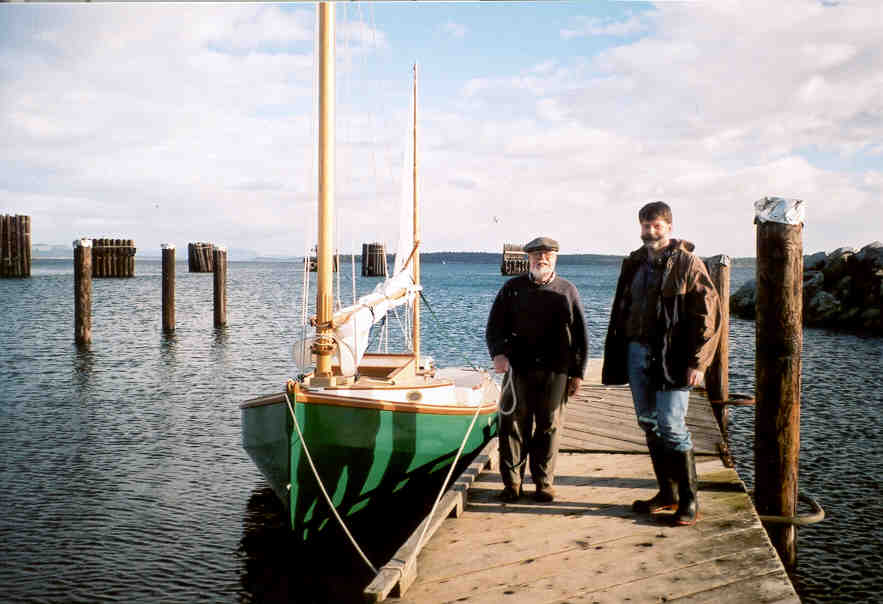
We had help at the dock, Jerome MacIlvanie was there to take our lines. Jerome had his lapstrake Chebacco at the show again, and happened to be at the Haven as we came in.
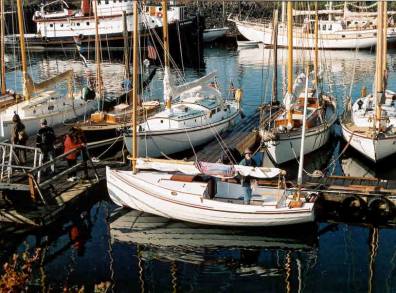
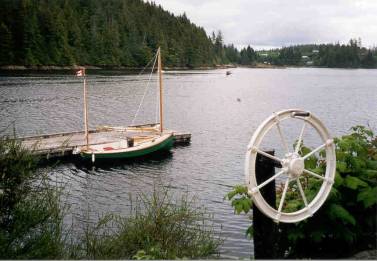
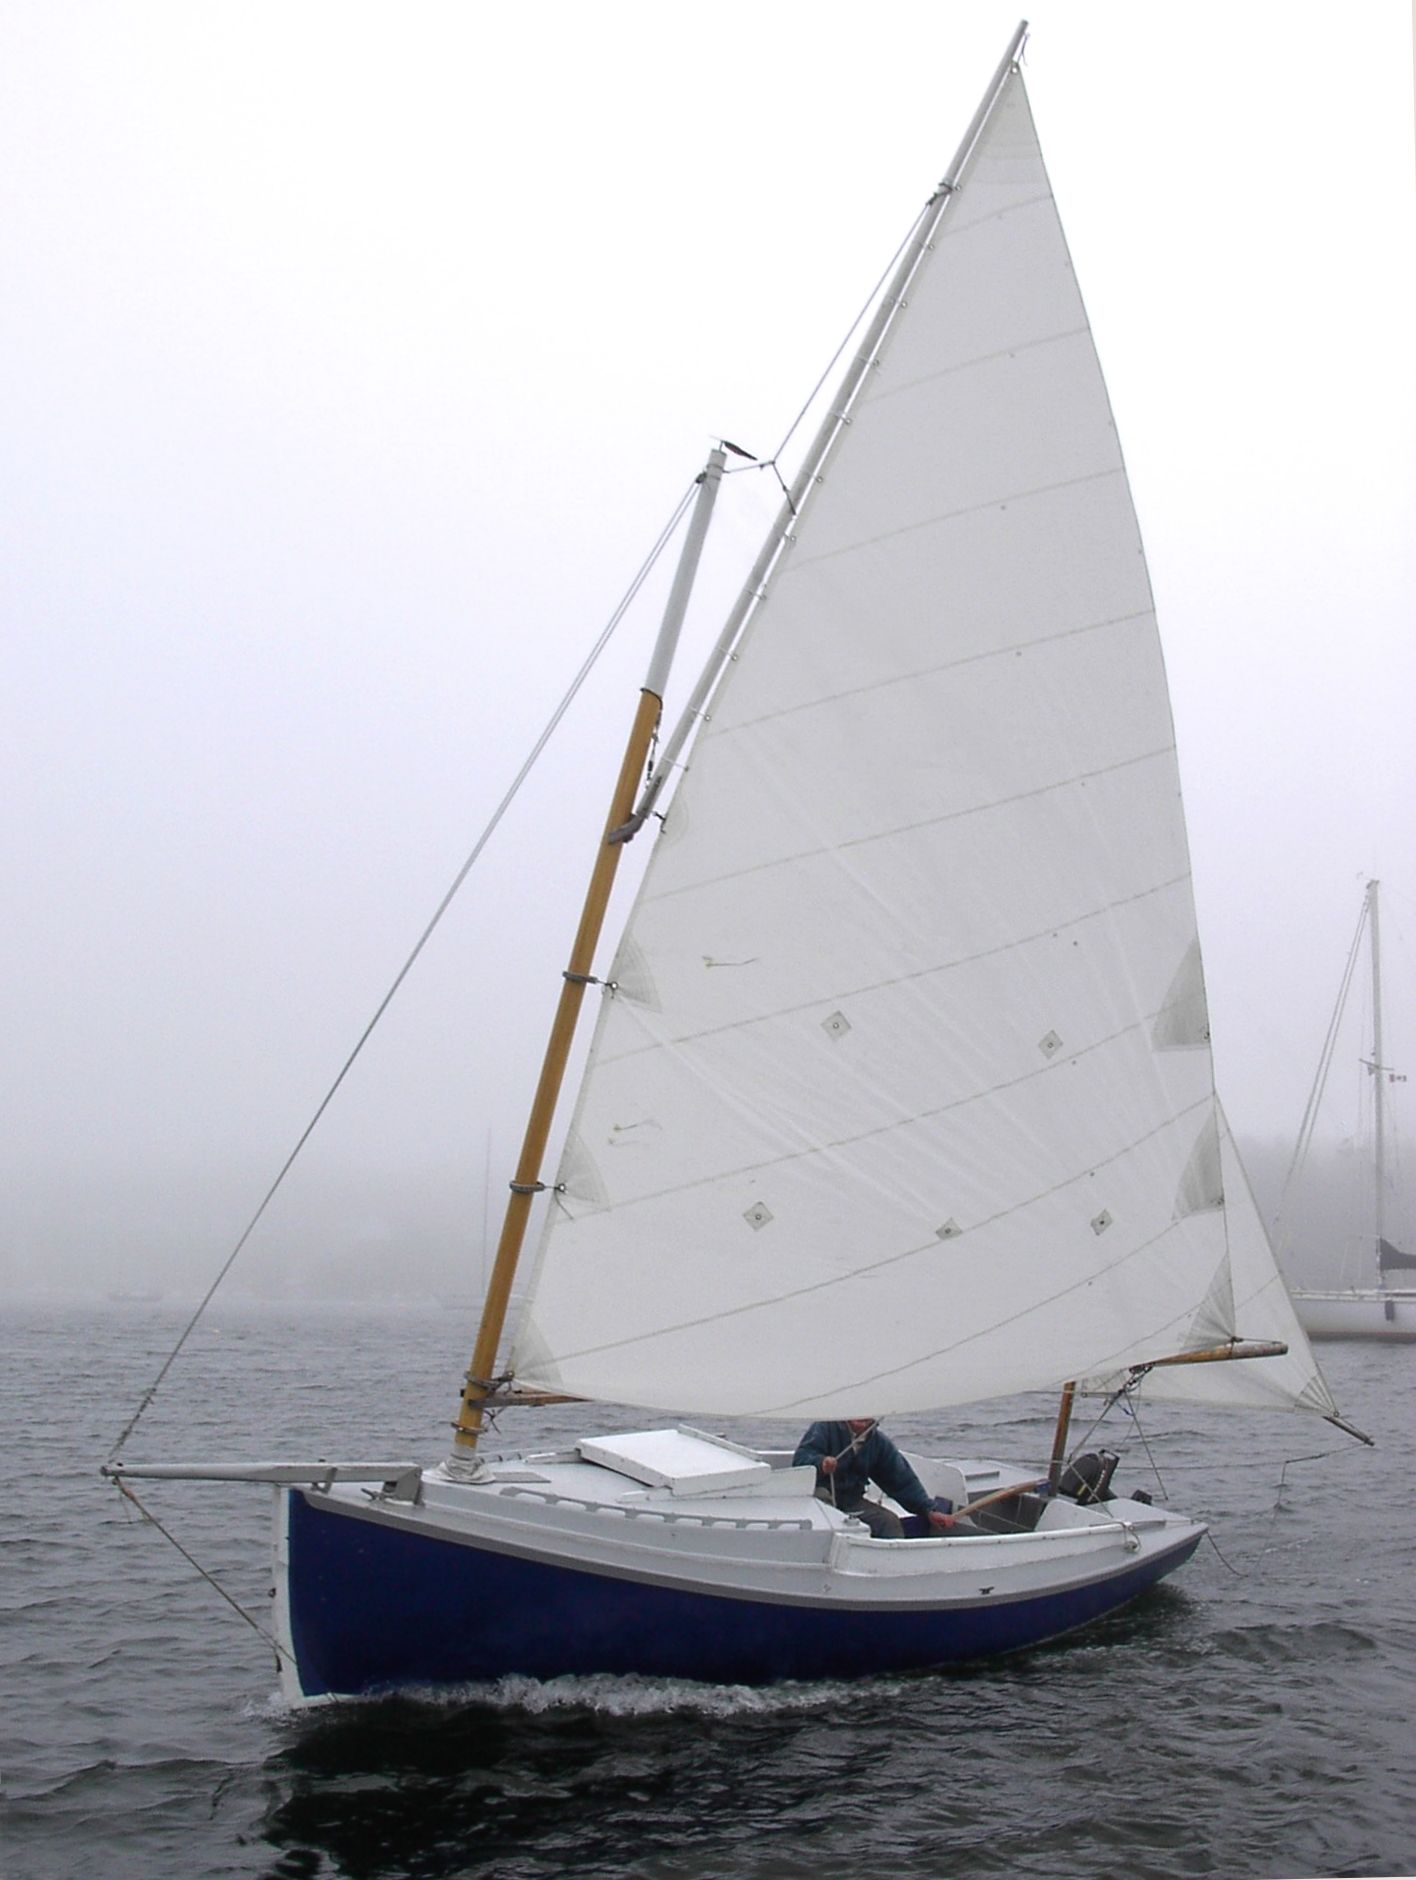
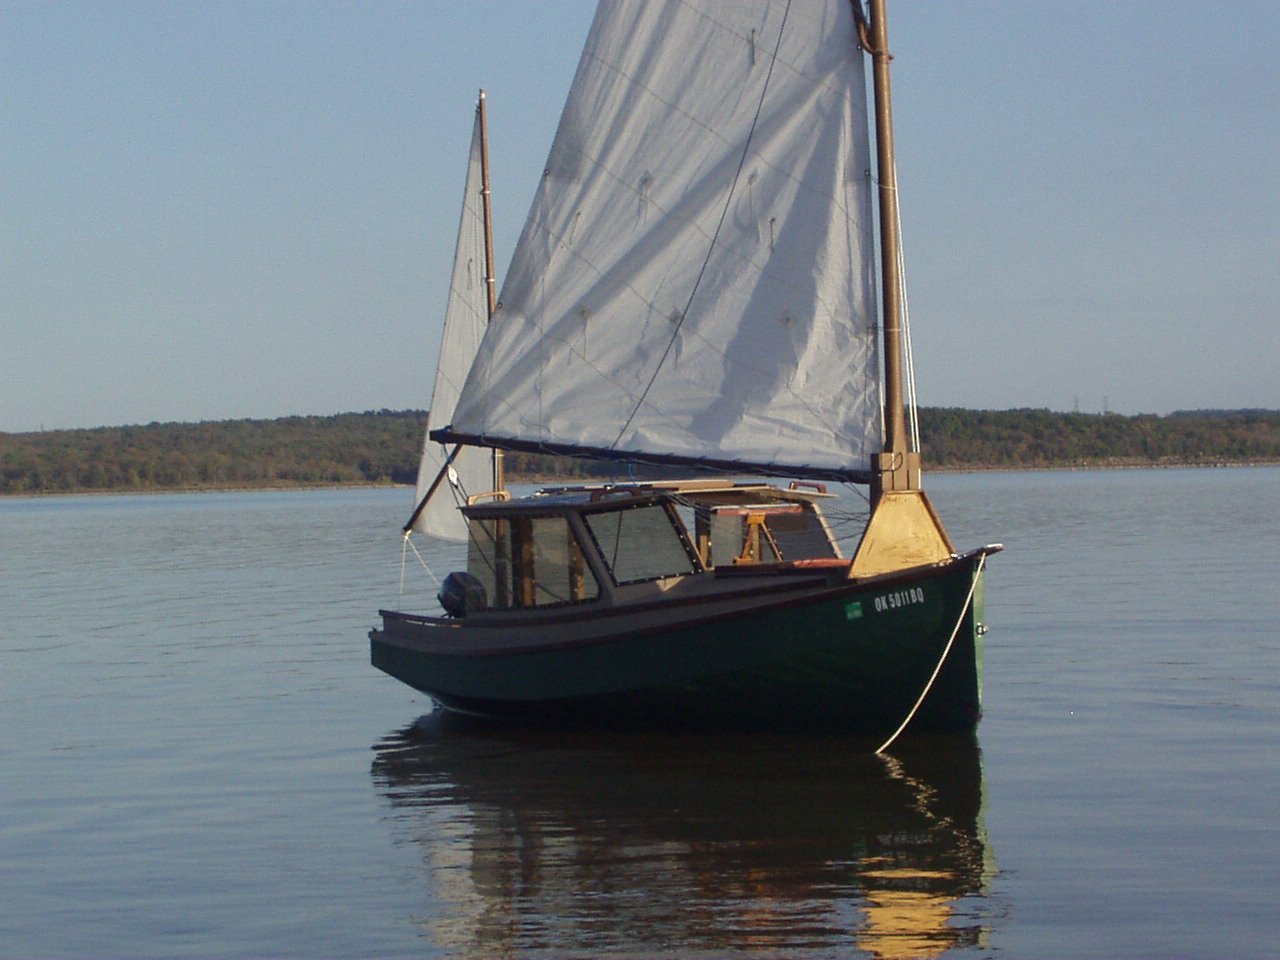
Here’s Jerome in his immaculate lapstrake Chebacco.
This was, of course, taken at the show, not at the Boat Haven.
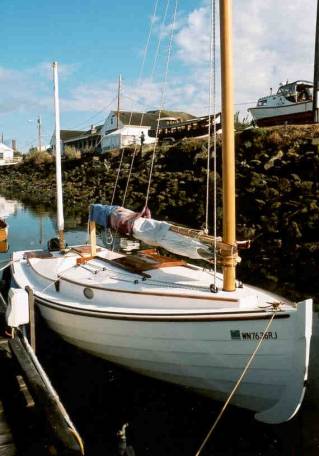
And another shot showing some of the finishing detail. You can get as close as you like and It?s still immaculate.
Chuck Leinweber of Duckworksmagazine was also there on the dock, and we all introduced ourselves to each other. Then I trotted off to call Customs and check into the country, and then I checked us into the Haven. We were assigned a mooring on the “linear dock”, a long (very long) dock that snakes out from the far end of the Boat Haven and back along just inside the breakwater. Chuck motored over there with us and helped us carry our gear back to the Harborside Inn, right beside the Haven. After we got settled in, Dad and I went across the road to Sea J?s Café for dinner, then back to the hotel for the rest of the evening.
Saturday morning, we were up and caught the first shuttle bus to the boat show, arriving just before nine. Once in, we lost ourselves in looking at the boats on display, in the water and out. I?m amazed at the time and effort people must put in to bring their boat to such a peak, and to keep it there. I try to look after Wayward Lass, but even so, the lines are getting more grey than white, the floorboard finish is wearing, and tiny scratches are appearing in the cockpit paint (that?s what landing on sandy beaches does!). Never mind the more obvious dings, from ramming docks or other boats! Anyway, I saw a lot of great boats on show, all of which I want to build right away. Right.
I want to say thanks to John Harris and his CLC crew for their unfailing courtesy and interest. We not only used their site as a meeting place again, but John relayed messages back and forth, helping everyone find everyone else! Thanks again, John. (And I really like your new Skerry design.)
Other web and/or Chebacco correspondents we saw this year, besides Jerome and Chuck, were Alan Woodbury, and his father-in-law Roger, James McMullen, John Welsford of New Zealand and Dave Lacombe. John is a designer with a wide portfolio for amateur builders. He is better known in New Zealand and Australia, but that is changing ? you can see (and buy) some of his work at Chuck?s website. As in past years, meeting and talking to other builders and sailors was the best part of the weekend.
Alan, Roger and James came out for a sail on Wayward Lass. Once again I was able to sit back and enjoy the sail, while others did all the work.
(Something happened when I scanned this picture ? this is a mirror image, the boom should be on the other side!)
James is planning his own Chebacco, a lapstrake one with a whole slew of custom touches ? I?m looking forward to seeing it finished.
Some of us got out for a sail, hoping to see the schooner race from close-up again. We didn?t get a lot of wind, but enjoyed ourselves anyway. Jerome was also out, with Archie Conn, who visited Vancouver Island last spring for a sail in Wayward Lass ? he was thinking for a while about building his own Chebacco, (but he?s still searching for the perfect design), and we motored/drifted in company for a while. After it was obvious that the schooner race was a non-starter, we fired up the motor and idled around, looking at boats that caught our eye. Between Alan and James, we could identify most boats in sight, and an astonishing number of the people sailing them!
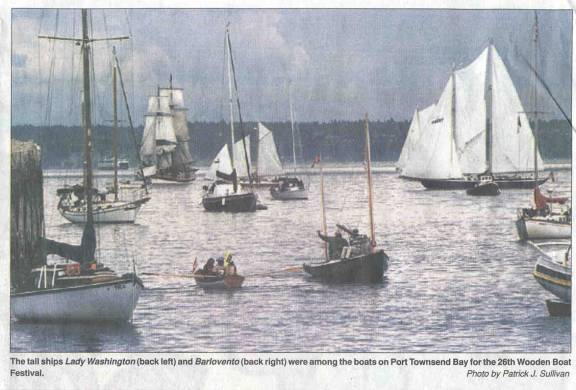
Alan sent me a copy of the Port Townsend & Jefferson County Leader ? that?s us there on the back page! James is sitting on the cabin, and Alan is waving to the rowing boat.
Alan and Roger had a family gathering happening, and James had a ferry to catch, so we said goodbye after our sail. Dad and I went back to the boat show to see what else we could see. We eventually joined John Welsford and Dave Leblanc for a Mexican dinner ? Dave and the waiter helped the rest of us order. To round off the evening, we had a preview of one of John?s new designs, the new Pathfinder plans that will soon be available on the Duckworks site. As I mentioned above, you can buy a number of Welsford designs at Duckworks ? take a look sometime. (This is not a commercial, take it as a public service announcement!)
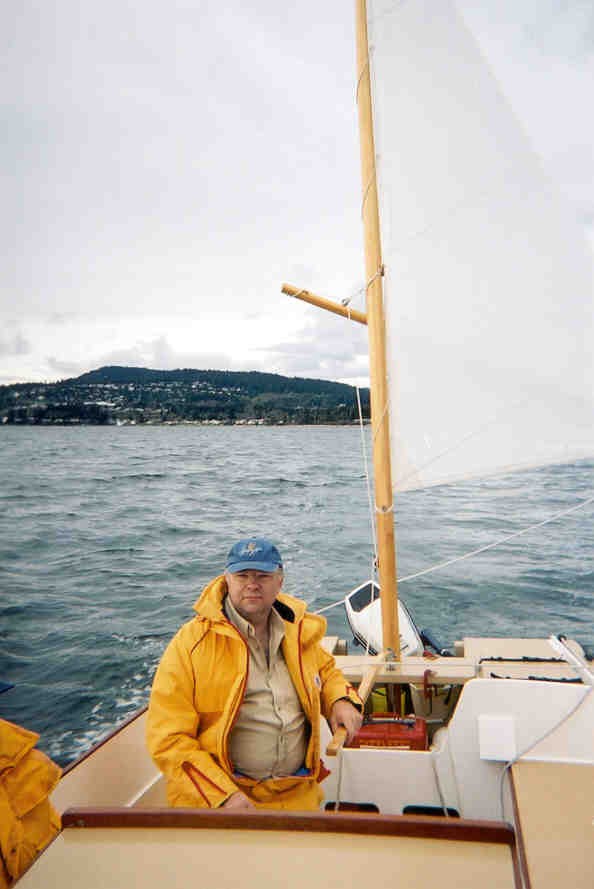
Dad and I weren?t sure, when we came over, whether we would leave on Sunday or Monday. The tide indicated an early start would be best on either day, leaving no time on the chosen day for boat show or other activity. While we would have liked to stay another day, the wind was very much in our favour on Sunday, and it seemed a shame to waste it. We also thought there was a chance that things would deteriorate on Monday ? we were wrong, but didn?t know that. In any event, at 6:55 am on Sunday we cast off from the Boat Haven dock, and motored out through all the anchored boats. It was overcast but not raining, with a light breeze from the south. Stopping the engine off Point Hudson, we put on the cruiser suits for warmth, which was just as well, because it was chilly out in the strait later, and we had some showers too.
Sailing from Point Hudson, we rounded Point Wilson at 7:30, and with wind and tide, measured speeds up to 9.7 knots. The wind held steady just over our left shoulders, and gradually increased over the next three hours. We had two other sailboats ahead of us, on similar courses, both of them sloops of 30 feet or more. We couldn?t keep up to them, but we came close for quite a while, especially with the nearer.
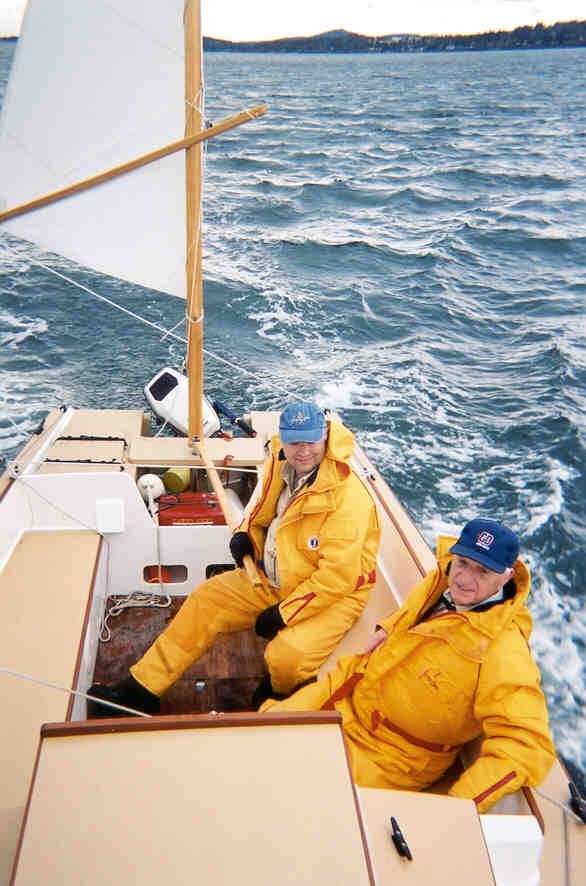
By 10:30, the wind was over 15 knots, judging by the whitecaps, and Wayward Lass was getting harder to steer. We hove to and took in one reef, which solved the steering problem. By then the effect of the tide was much less, and speeds were around 5 knots, except when we caught a wave and surfed it ? then we would hit the 7 knot range.
I mentioned bands of current earlier, separated by eddylines. We experienced these again, only with the stronger winds, the difference between bands was most obvious by wave size. On several occasions we were overtaken by a series of sizeable waves ? one of these felt as if it had just picked us up and thrown us forward. The GPS jumped from its reading of 4-point-something to 8.5 knots for just a second, then dropped back to where it started ? quite a feeling, that was!
We neared Victoria, on the southeast corner of Vancouver Island, when it was almost time for the tide to change. Around the time of the change, the current atlas shows a lot of smaller, circular eddies, and I think we were caught in one of these for a short time, as our speed over the ground dropped to 1.7 knots, despite the fact that we were still moving well through the water. Luckily we sailed out of this fairly soon, since the wind was dropping, and we were able to pass south of Discovery Island before the now-flooding tide could push us up the eastern side. Once past Discovery, we were almost home and needed to go north for the last mile anyway, so the north-flooding tide wasn?t a problem. With only a breath of wind, we sailed slowly between the breakwaters at Oak Bay, around all the docks and in towards the gas dock, then lost the wind completely as we turned for our final approach. This meant that I didn?t make the tidy landing I wanted, but we did manage to drift in without calling on Honda for a push. Canada Customs take calls from the phone at that dock, so we were able to officially re-enter Canada there.
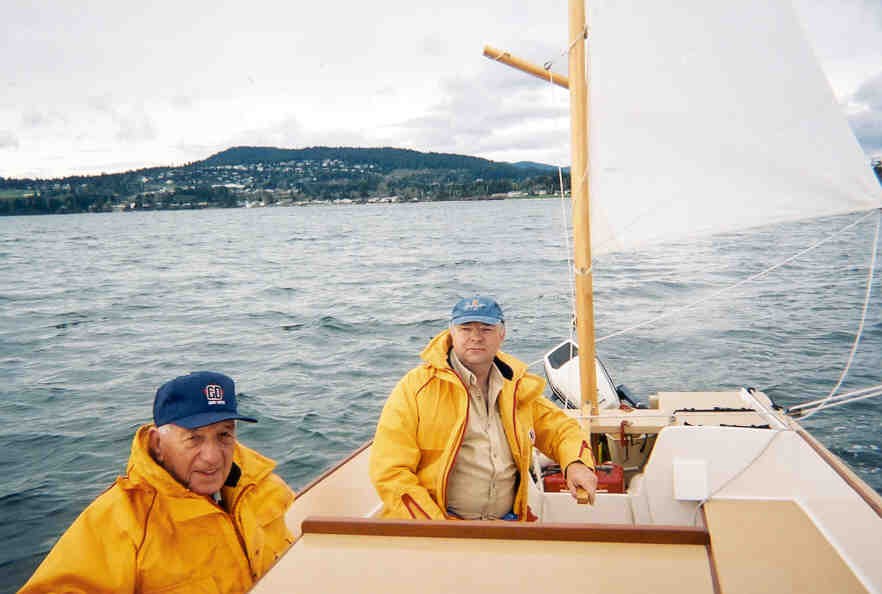
Our time for the entire trip home was 6 hours and 5 minutes, just twenty minutes more than the trip over took, but this time we did it under sail. This was a first, since we?ve always used the motor on the crossing before, even if we were sailing at the same time. As I?ve said, we could have stayed over another day without weather problems, but we don?t feel badly after that great sail home. Although, come to think of it, Dad had a great sail home, not me ? he had the helm the whole way, I only got to hold it while he put on his boots, poured his coffee, and stuff like that! Still, I had a great passage, so I won?t complain.
See you there again next year!
***
Miscellaneous boat pictures – Richard Spelling
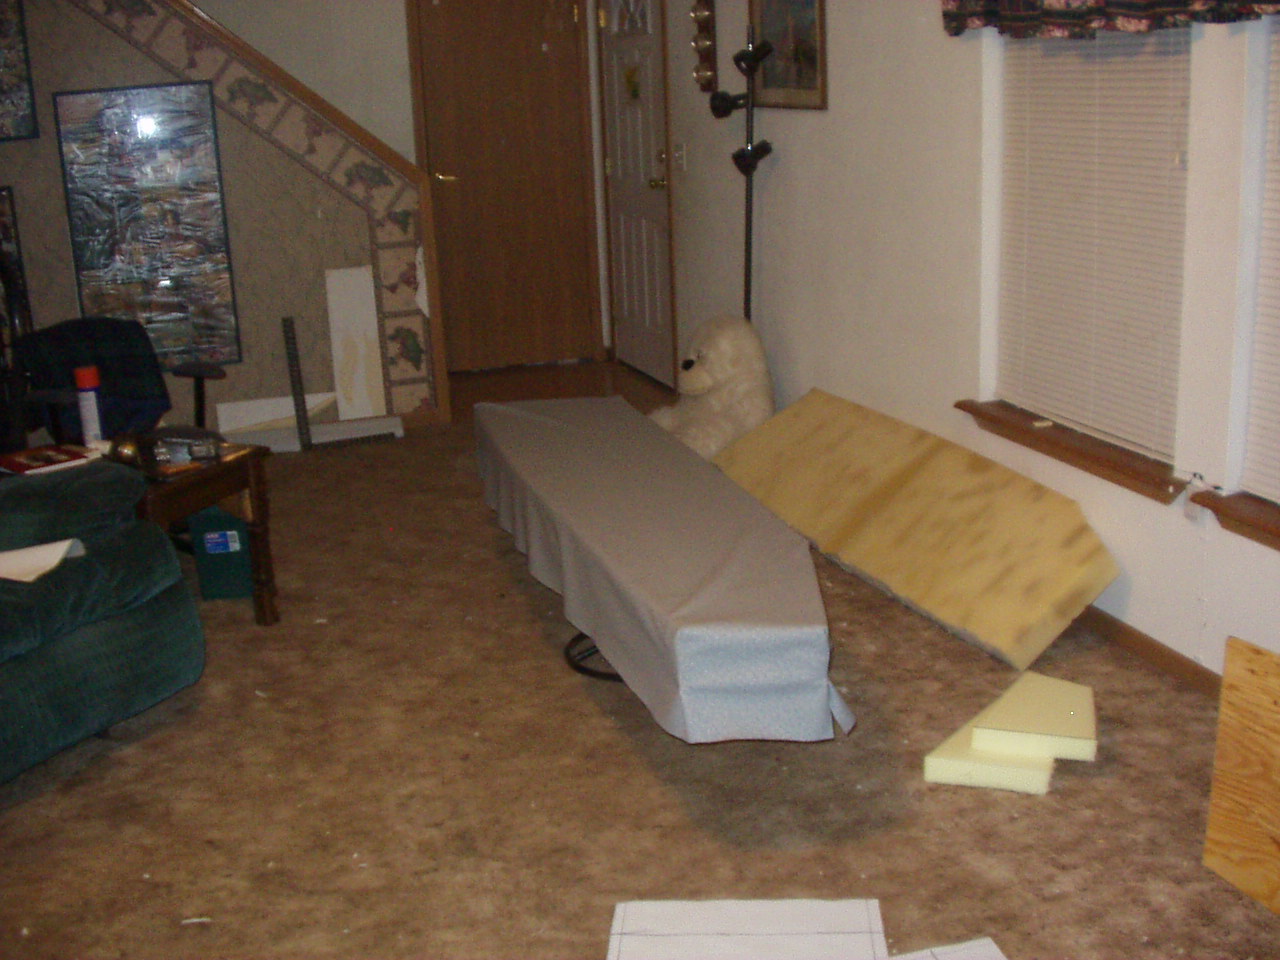
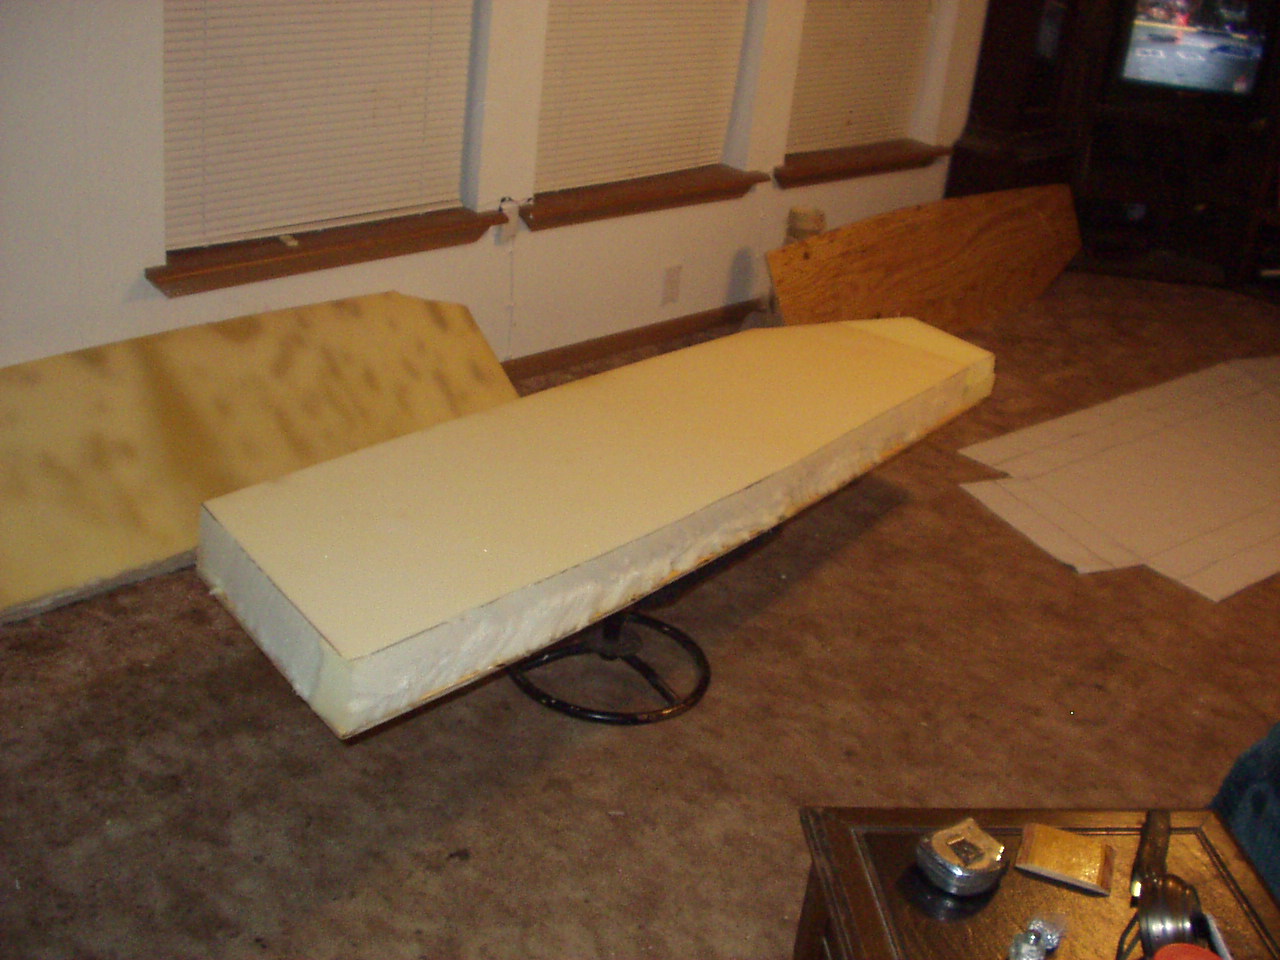
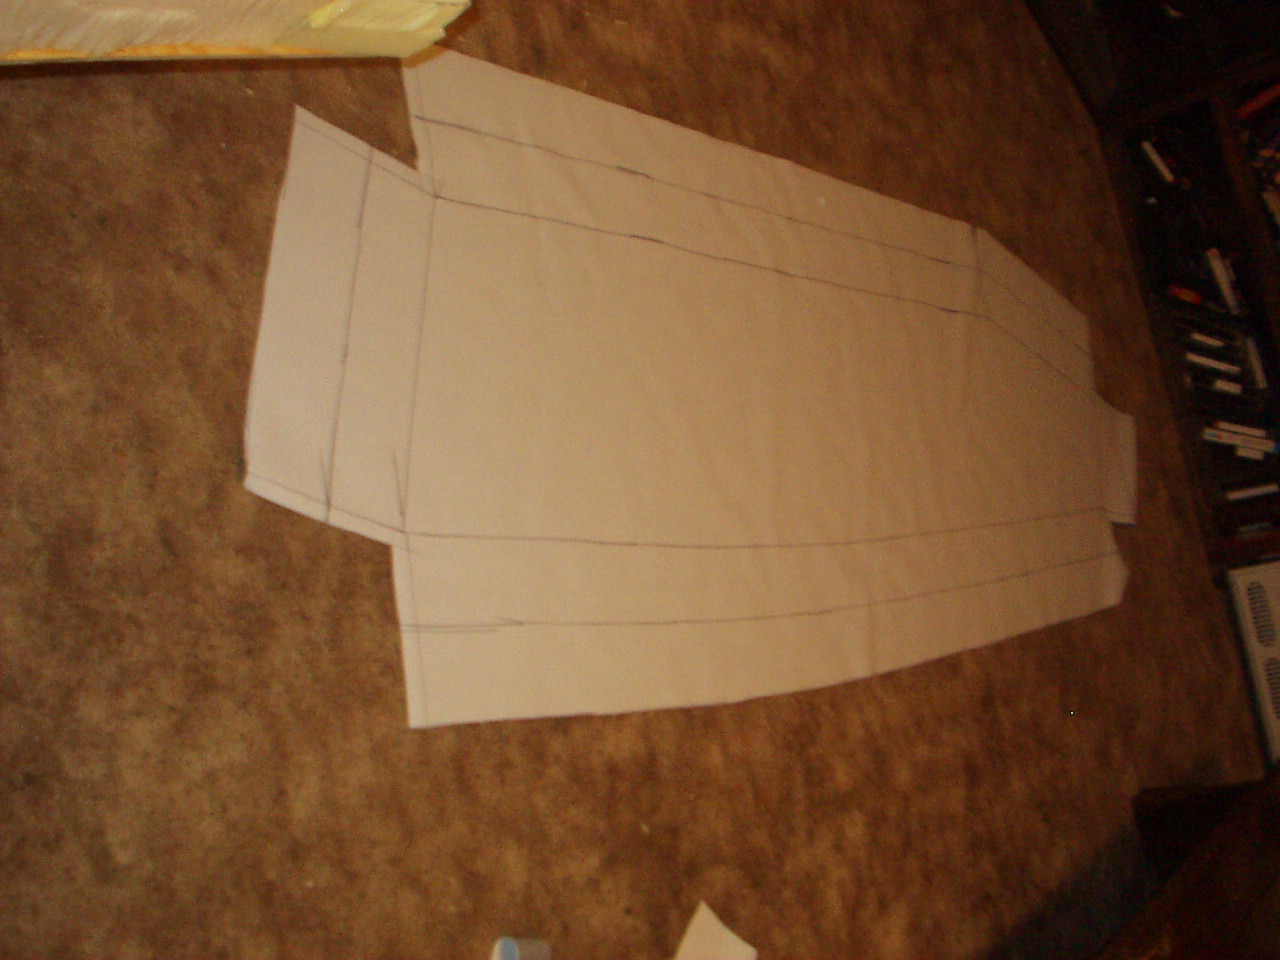

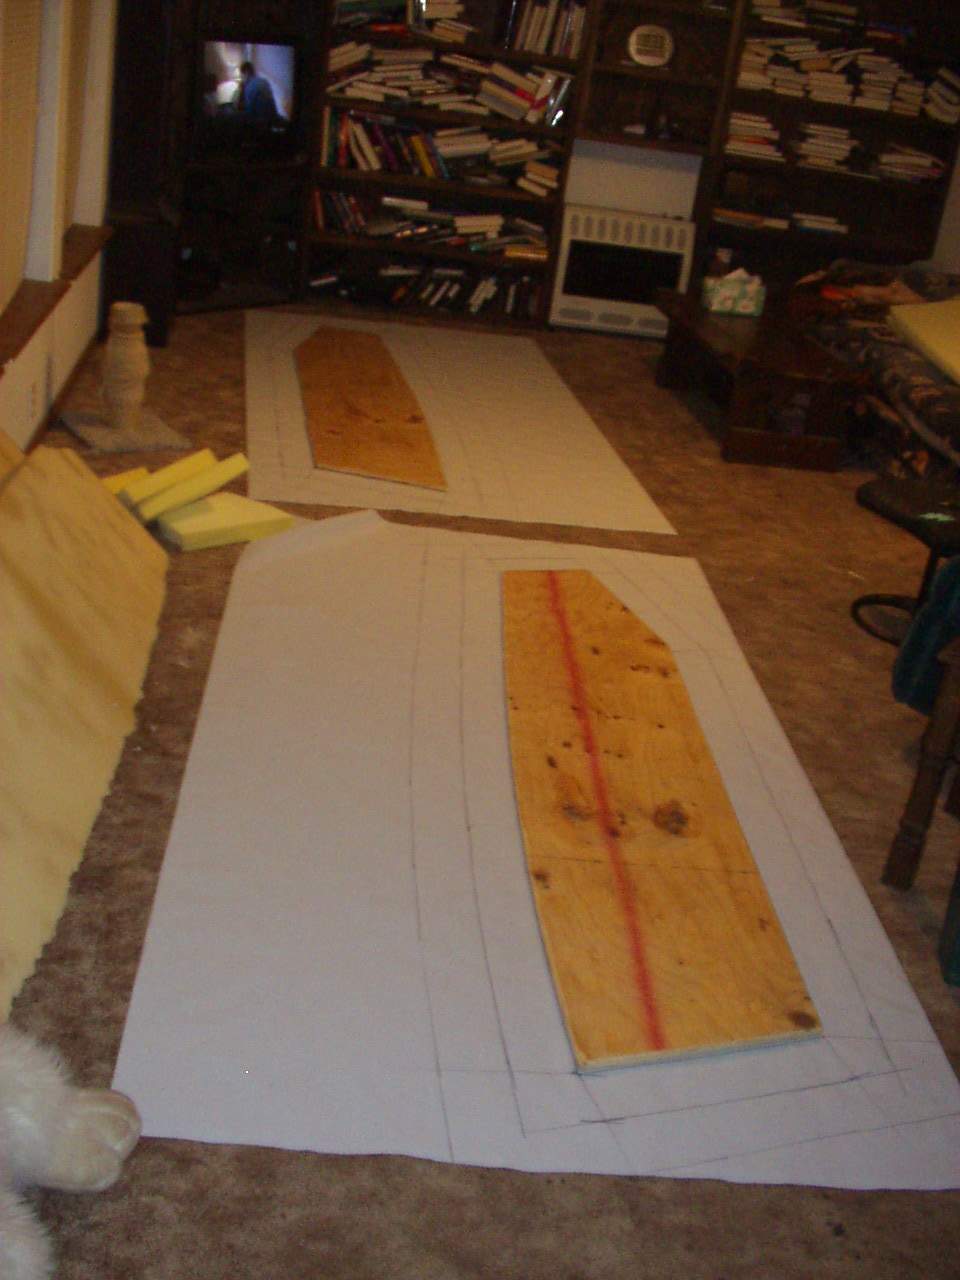
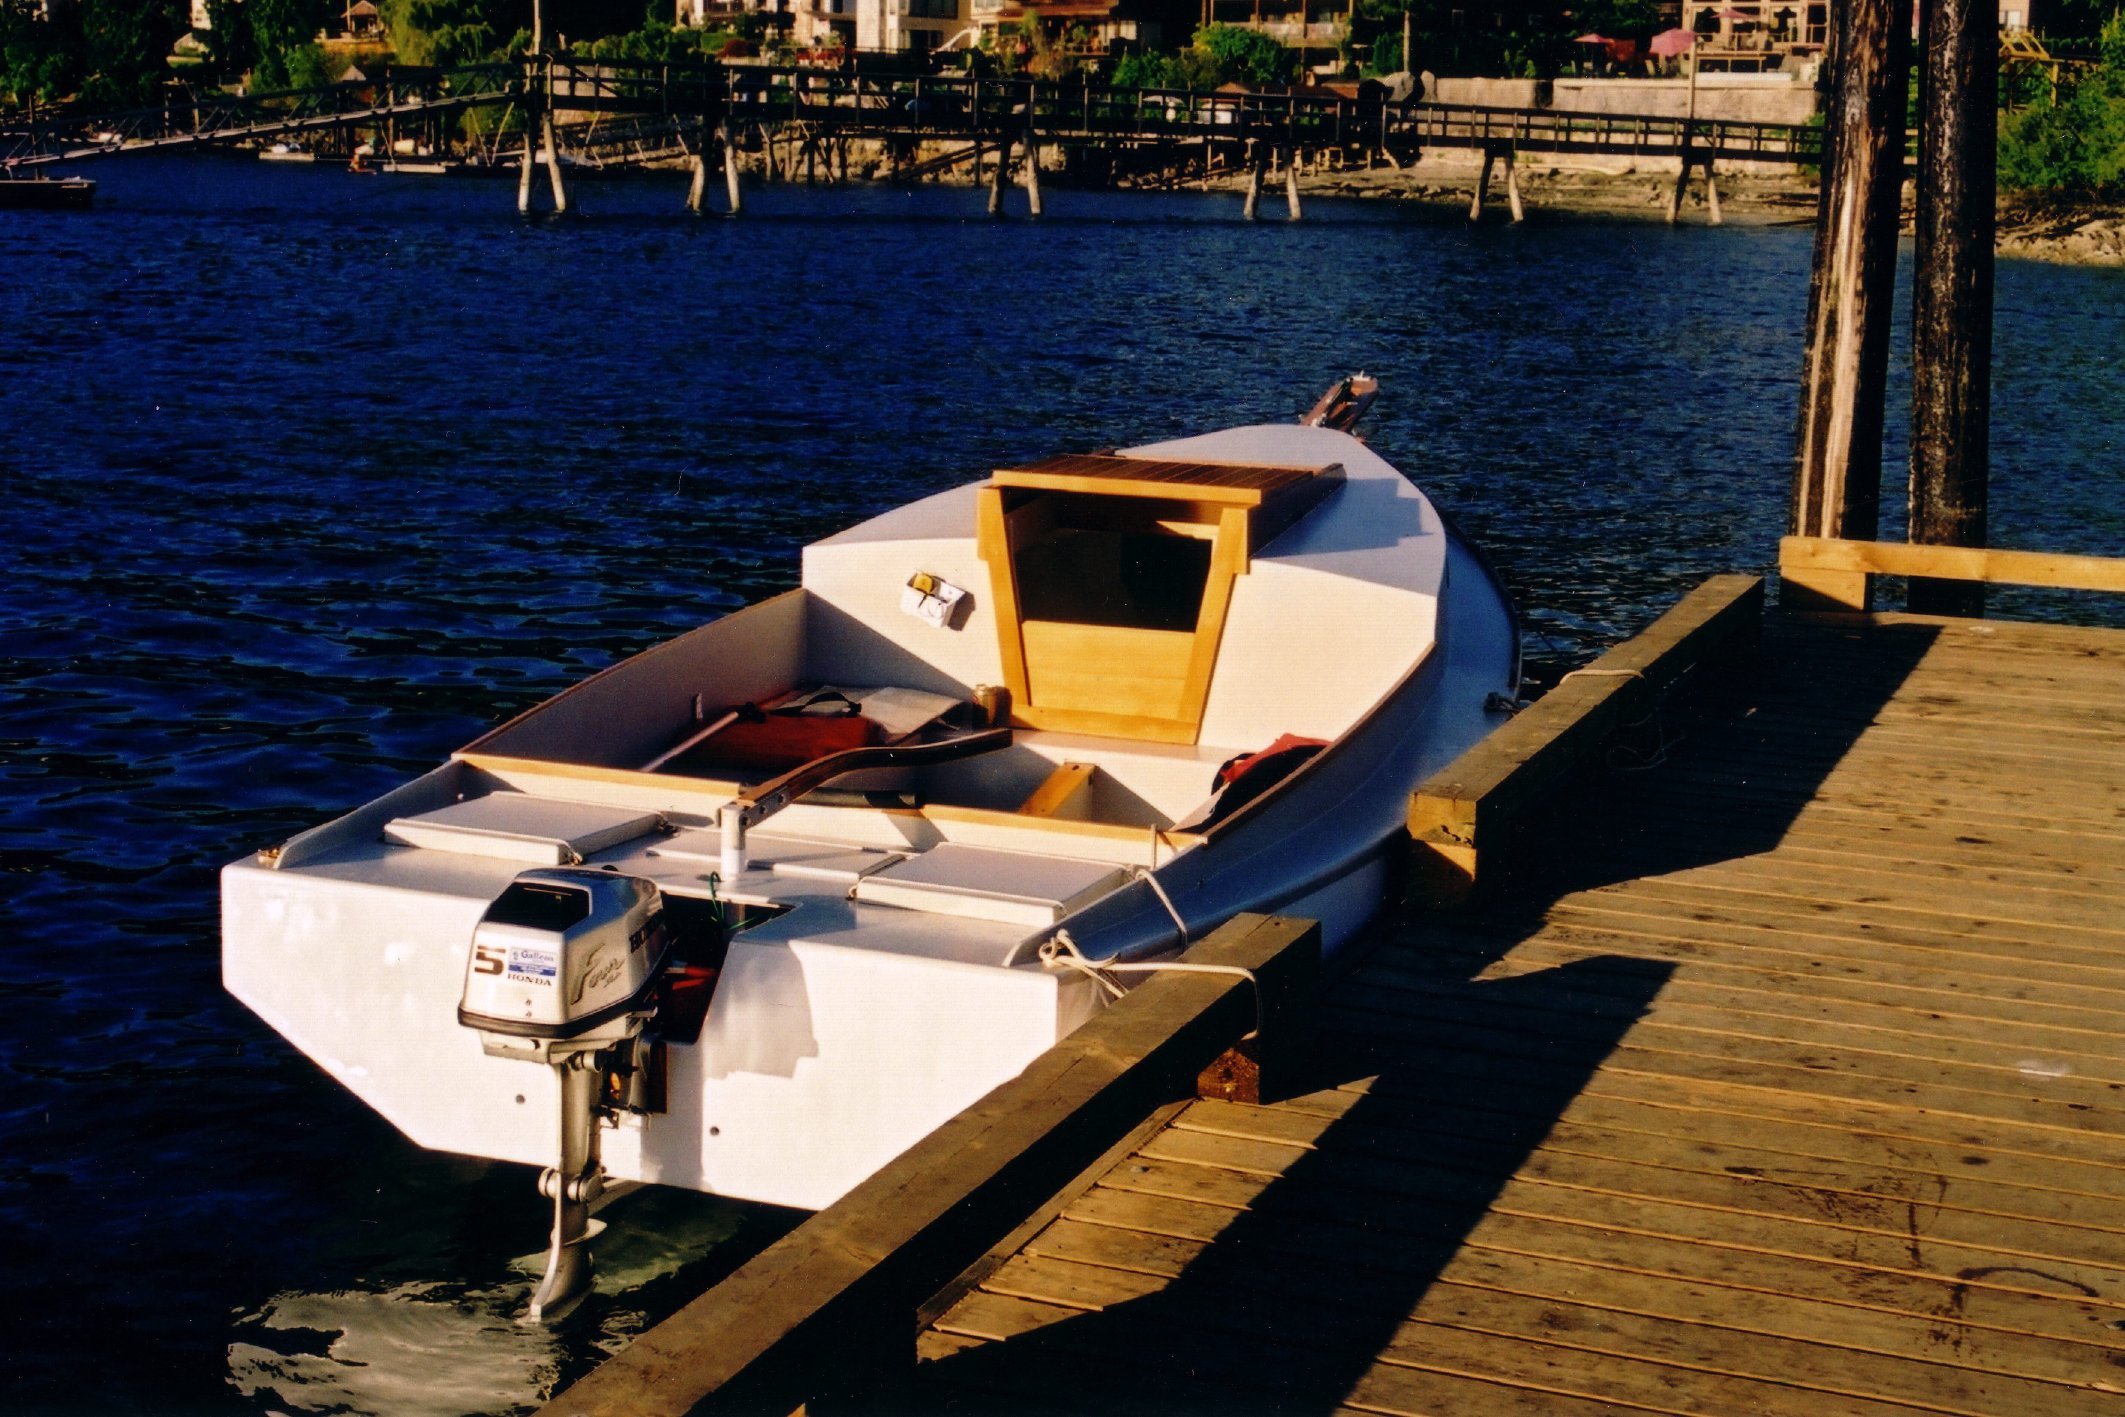
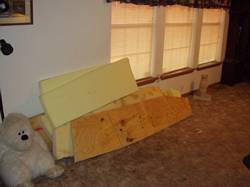
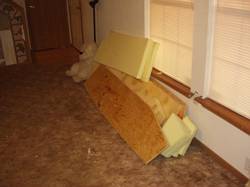
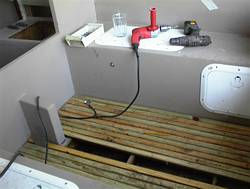
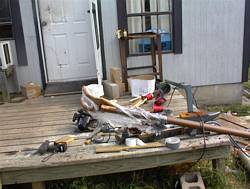
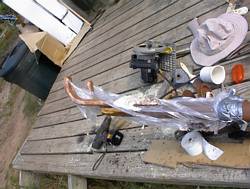
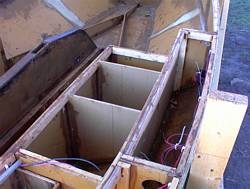
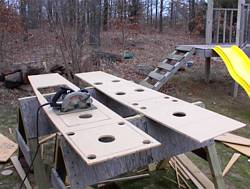
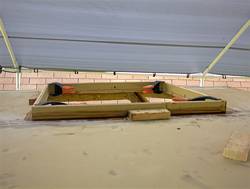
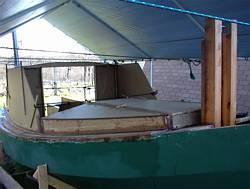
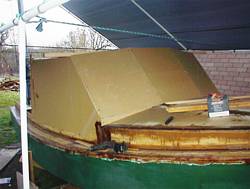
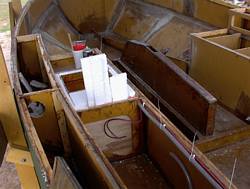
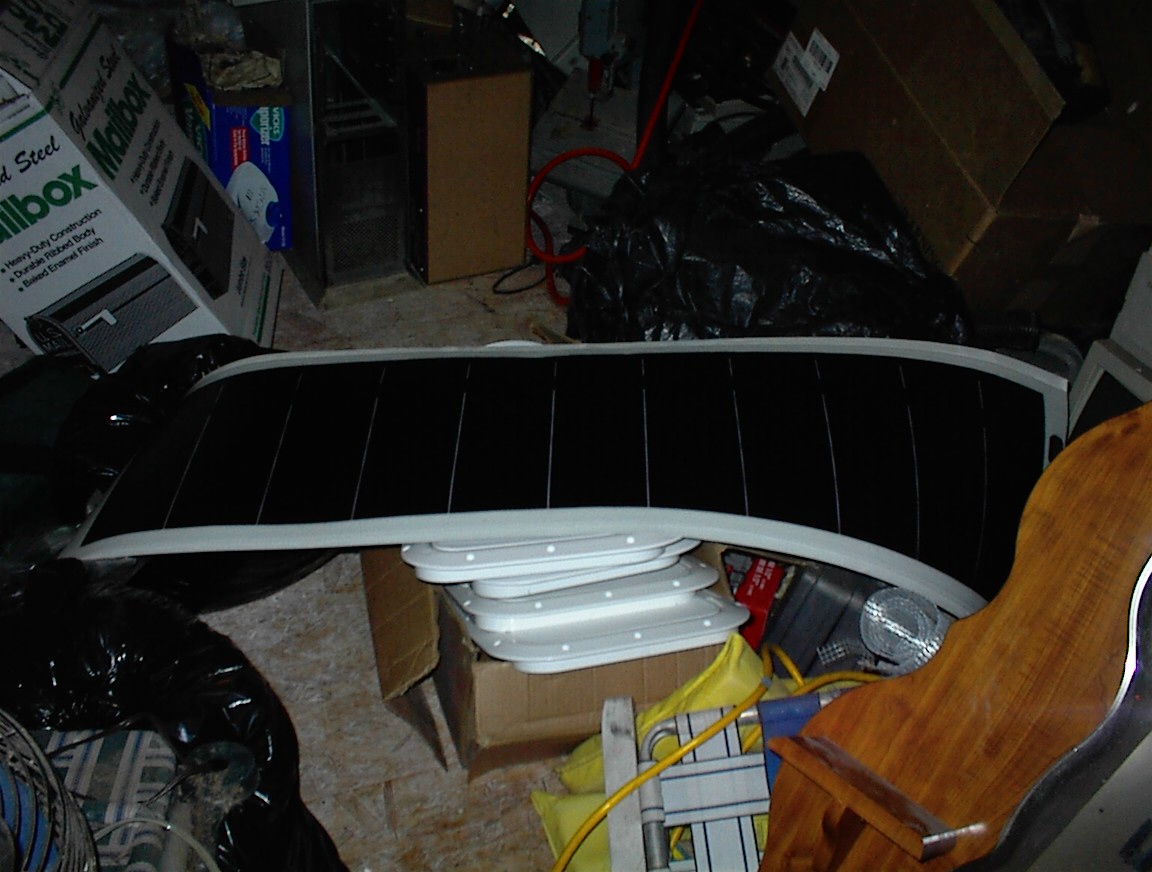
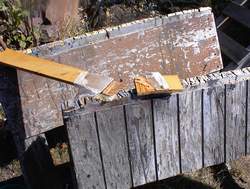
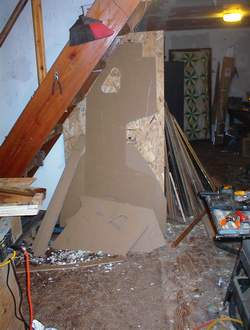
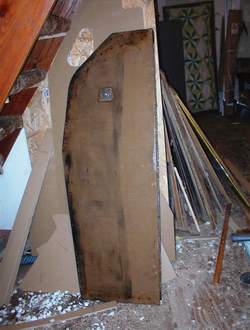
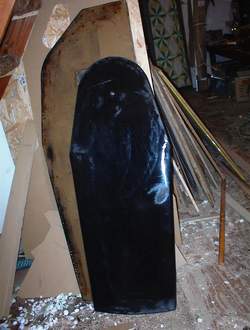
Decided to try my hand at upholstery, and I’m to cheap to pay someone else. Recycled some 4″ foam I already had, bought some 2″ foam and vinyl online, and broke out the sewing machine I got in the divorce. Laying out the lines was a simple exercise in 3d thinking, and I simplified it and made the outboard sides of the bunks vertical instead trying to match the rotating angle of the bilge panels. As is, the 2 inch seat cushions fit perfectly in the gap beside the bunks to keep you off the plywood.
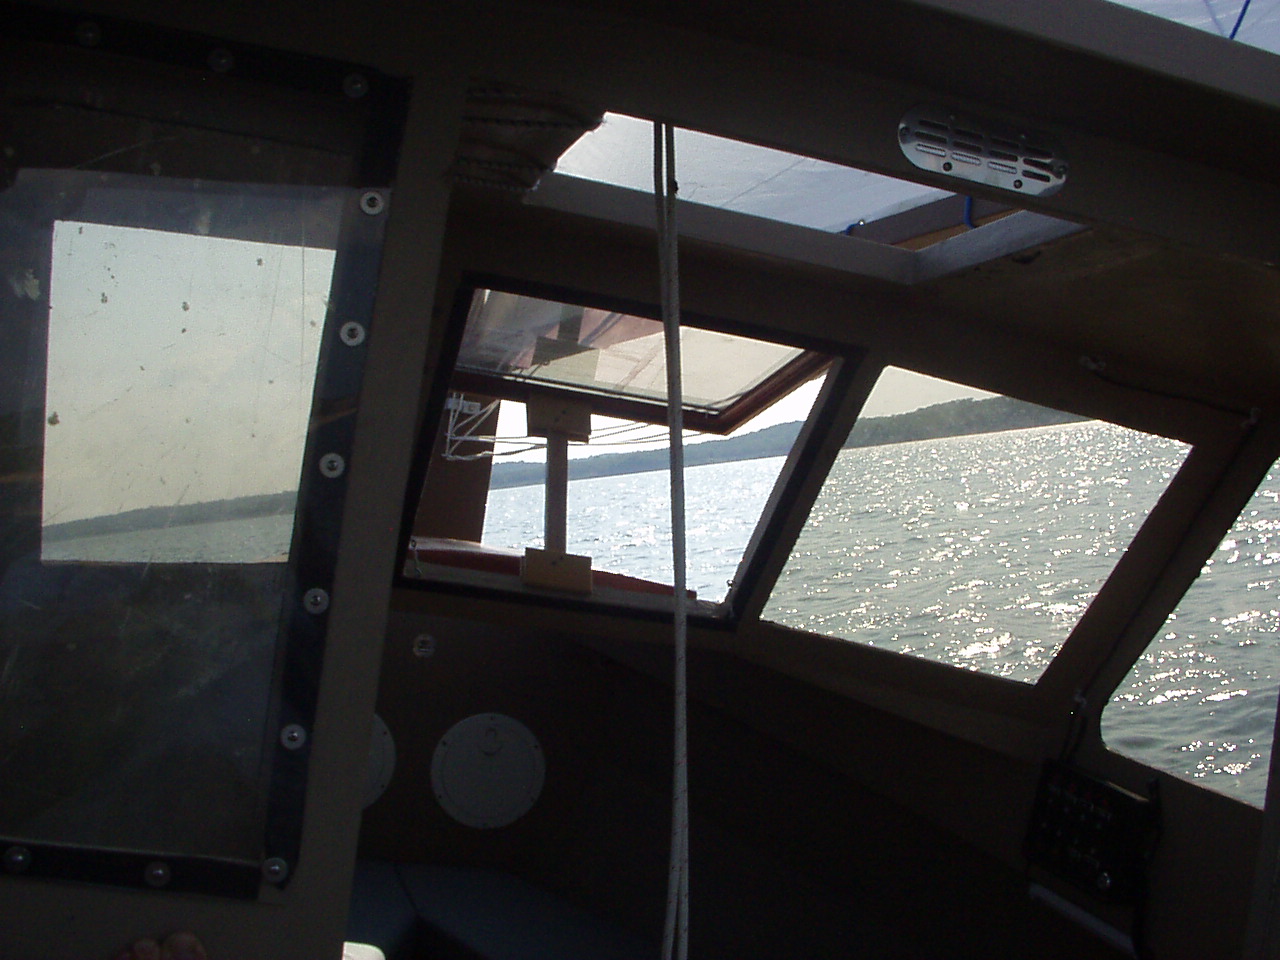
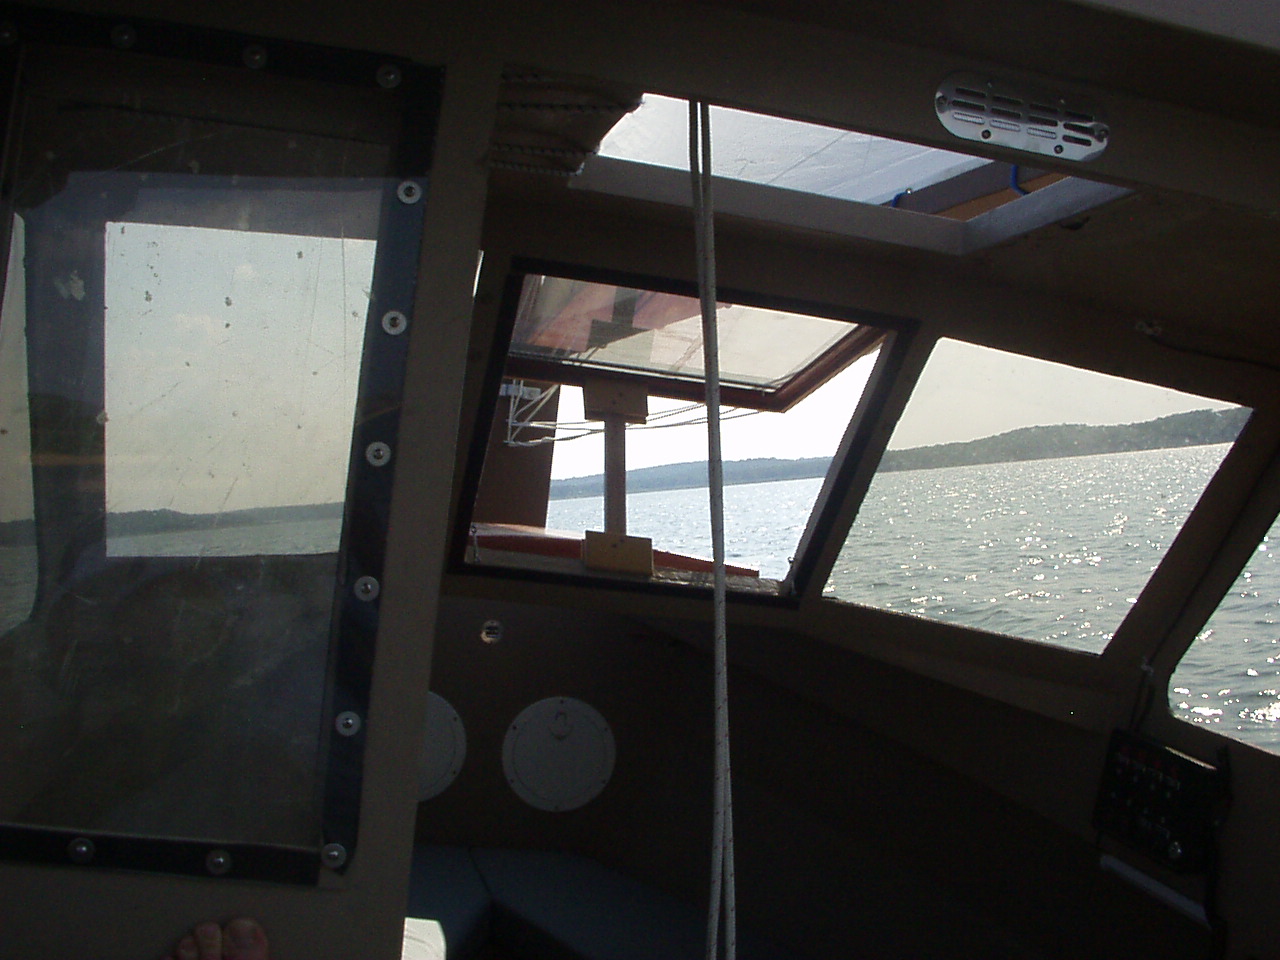
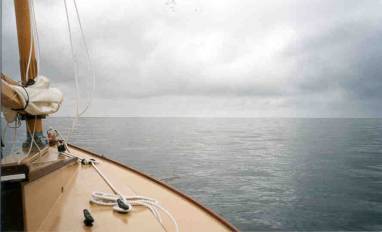
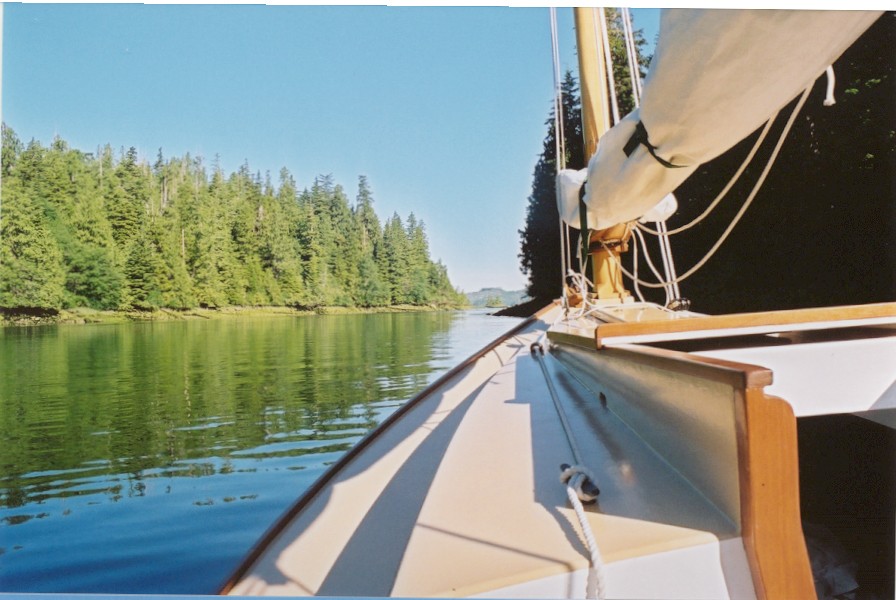
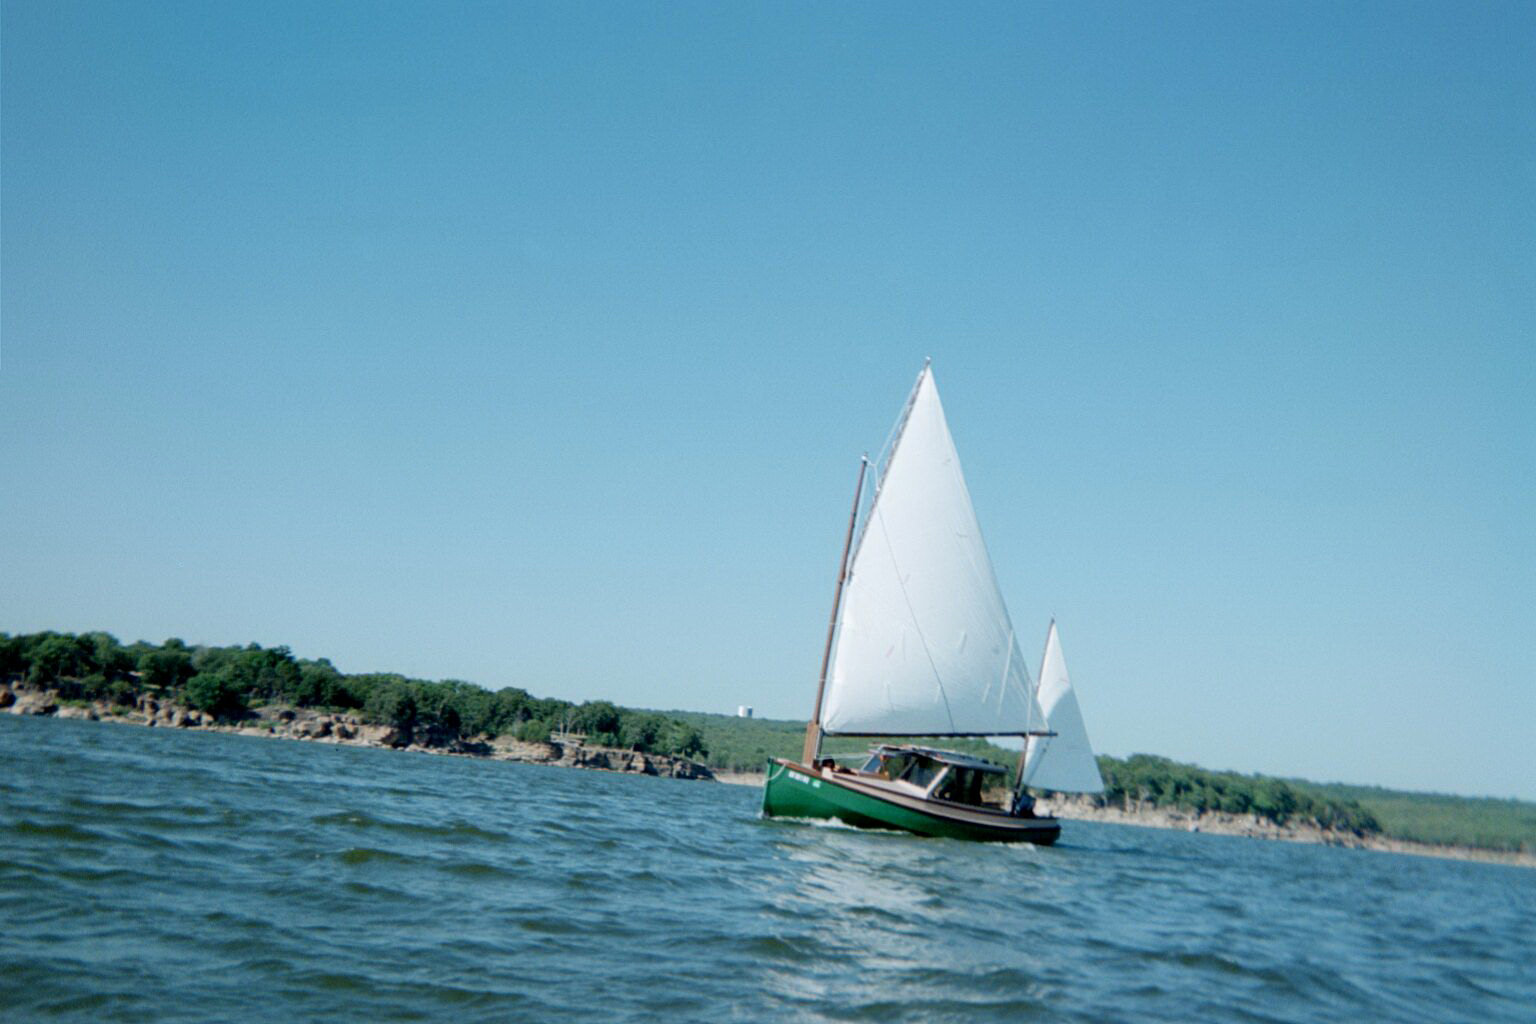
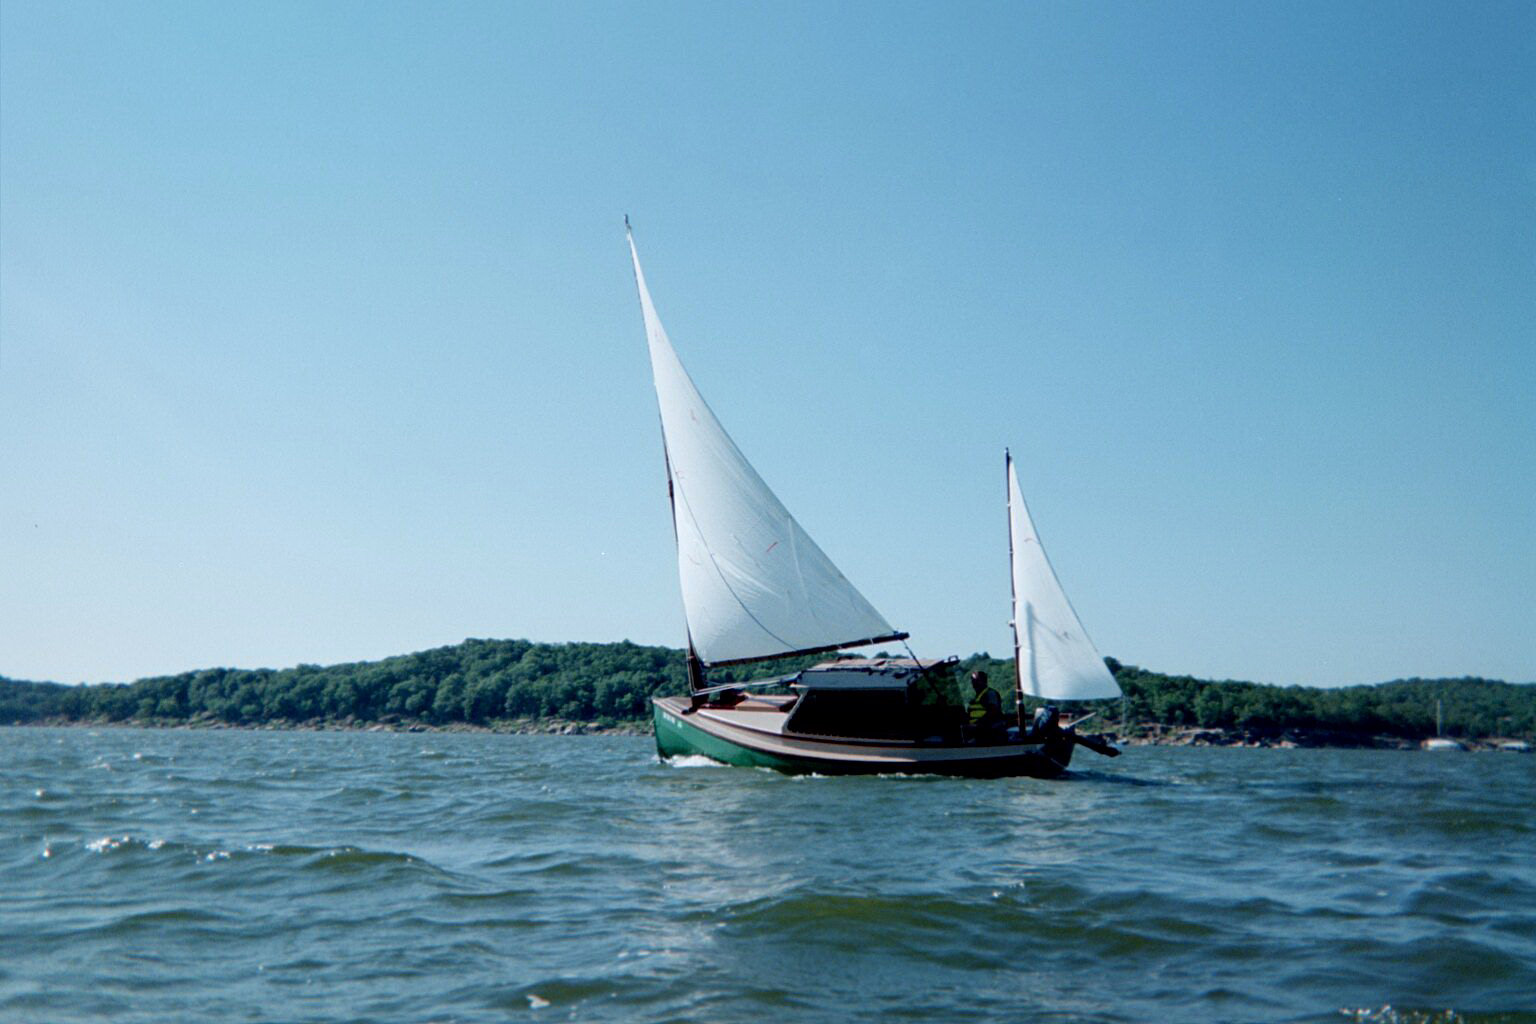
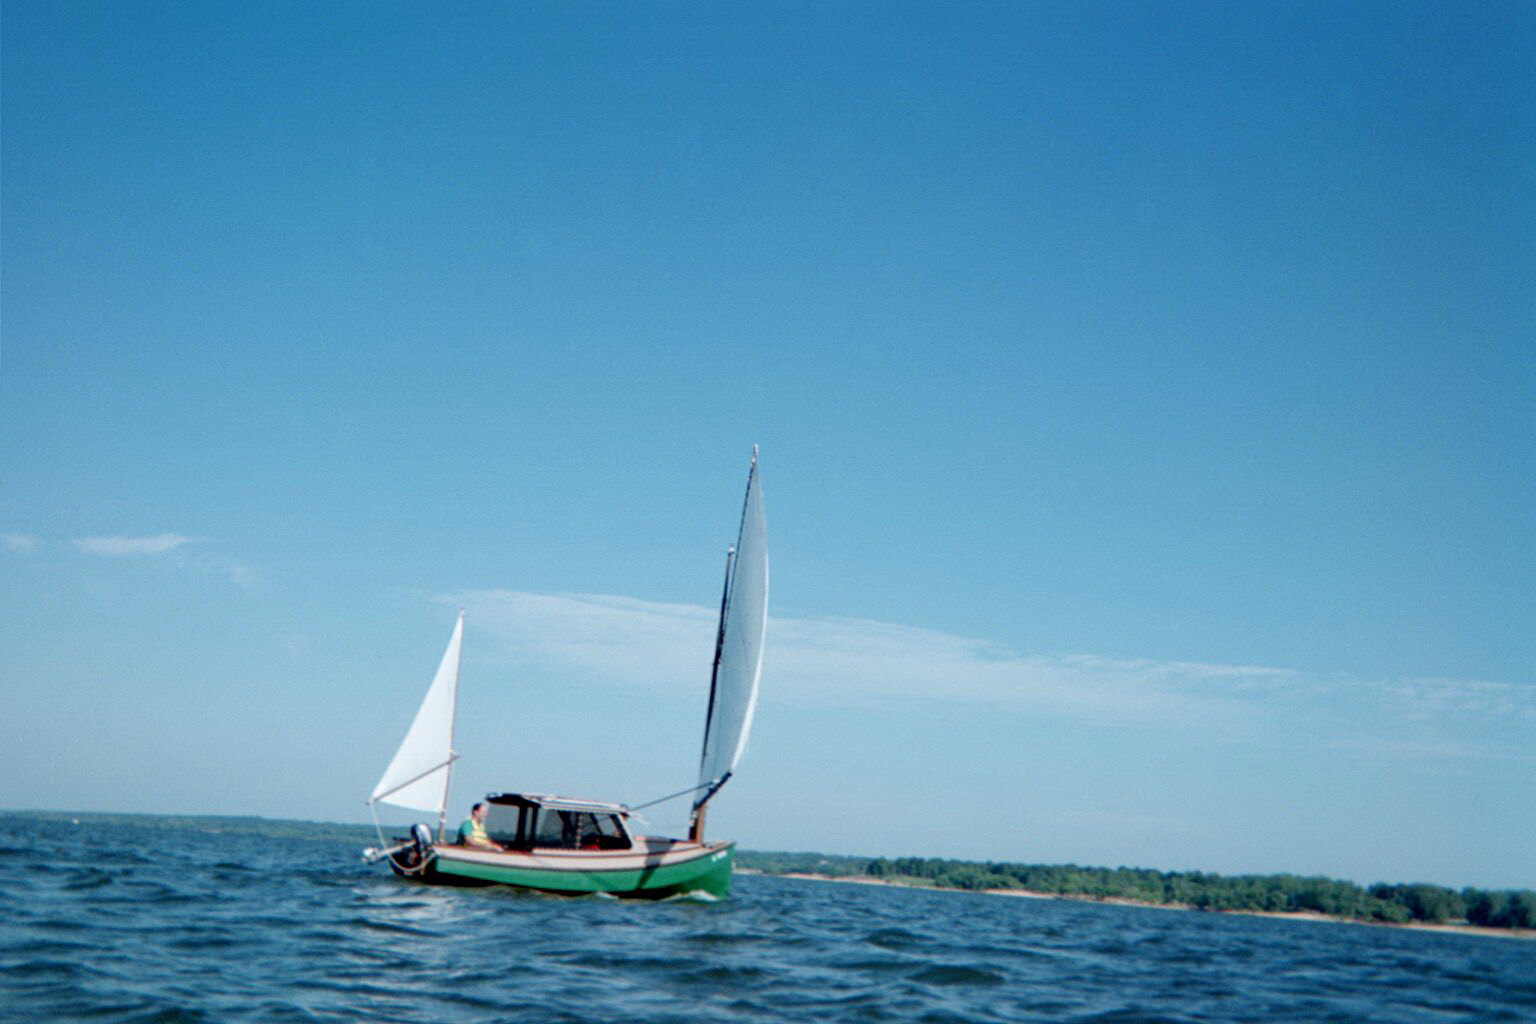
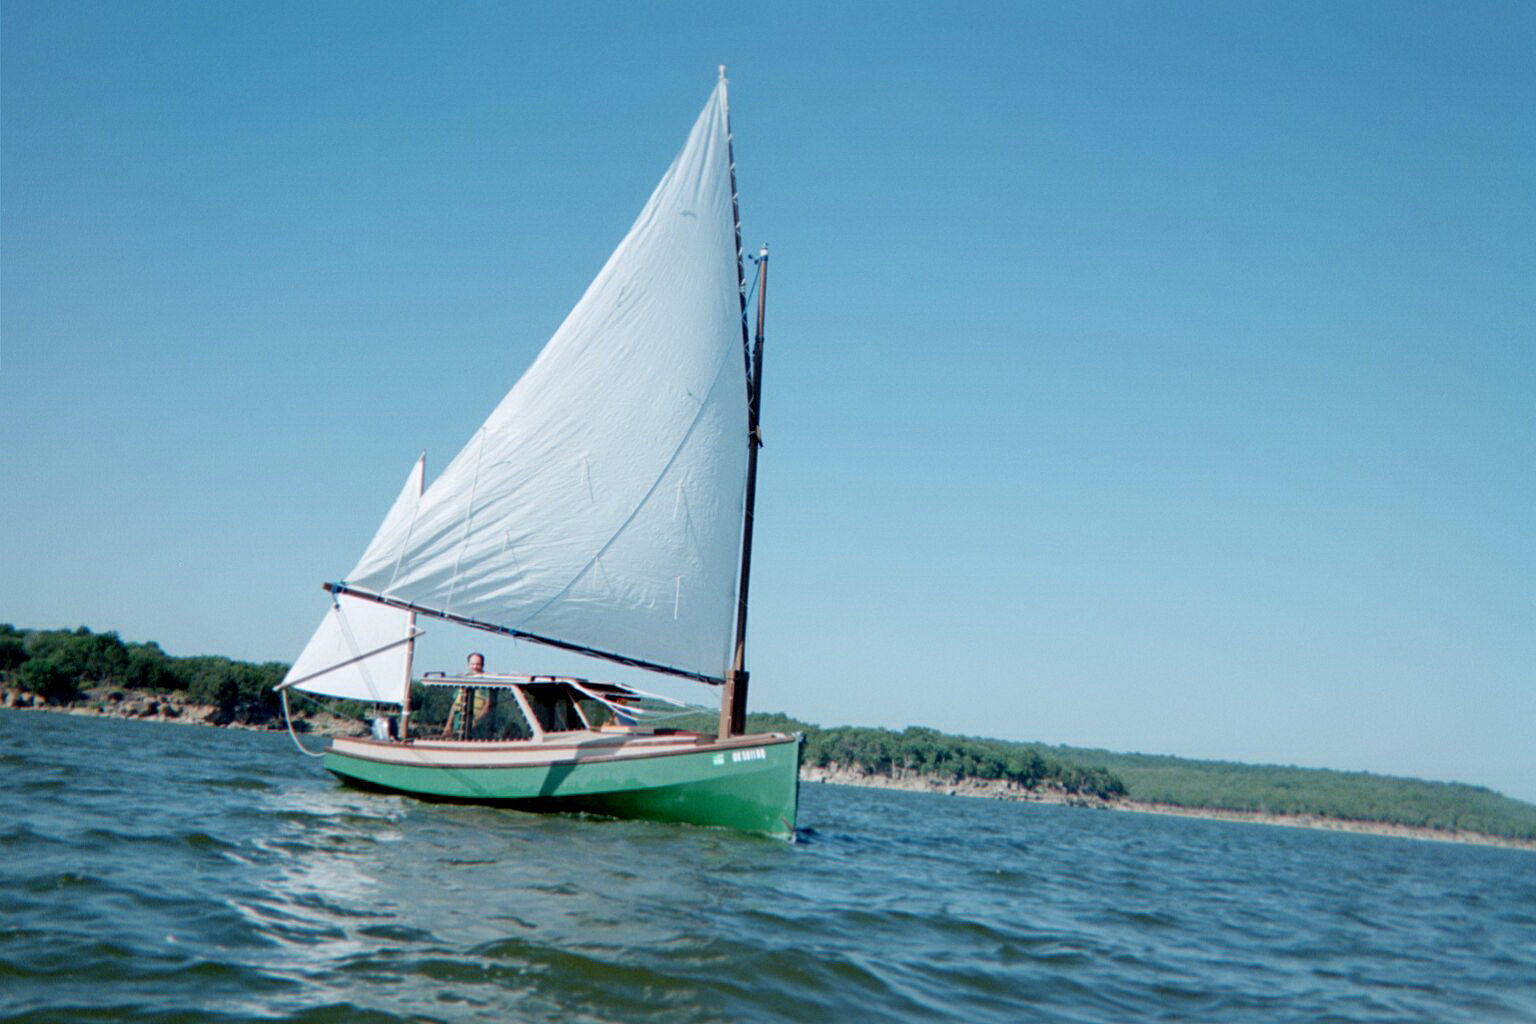
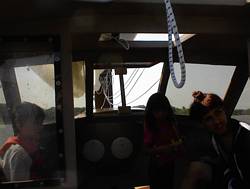
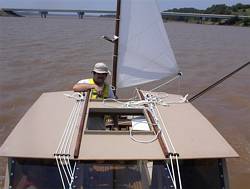
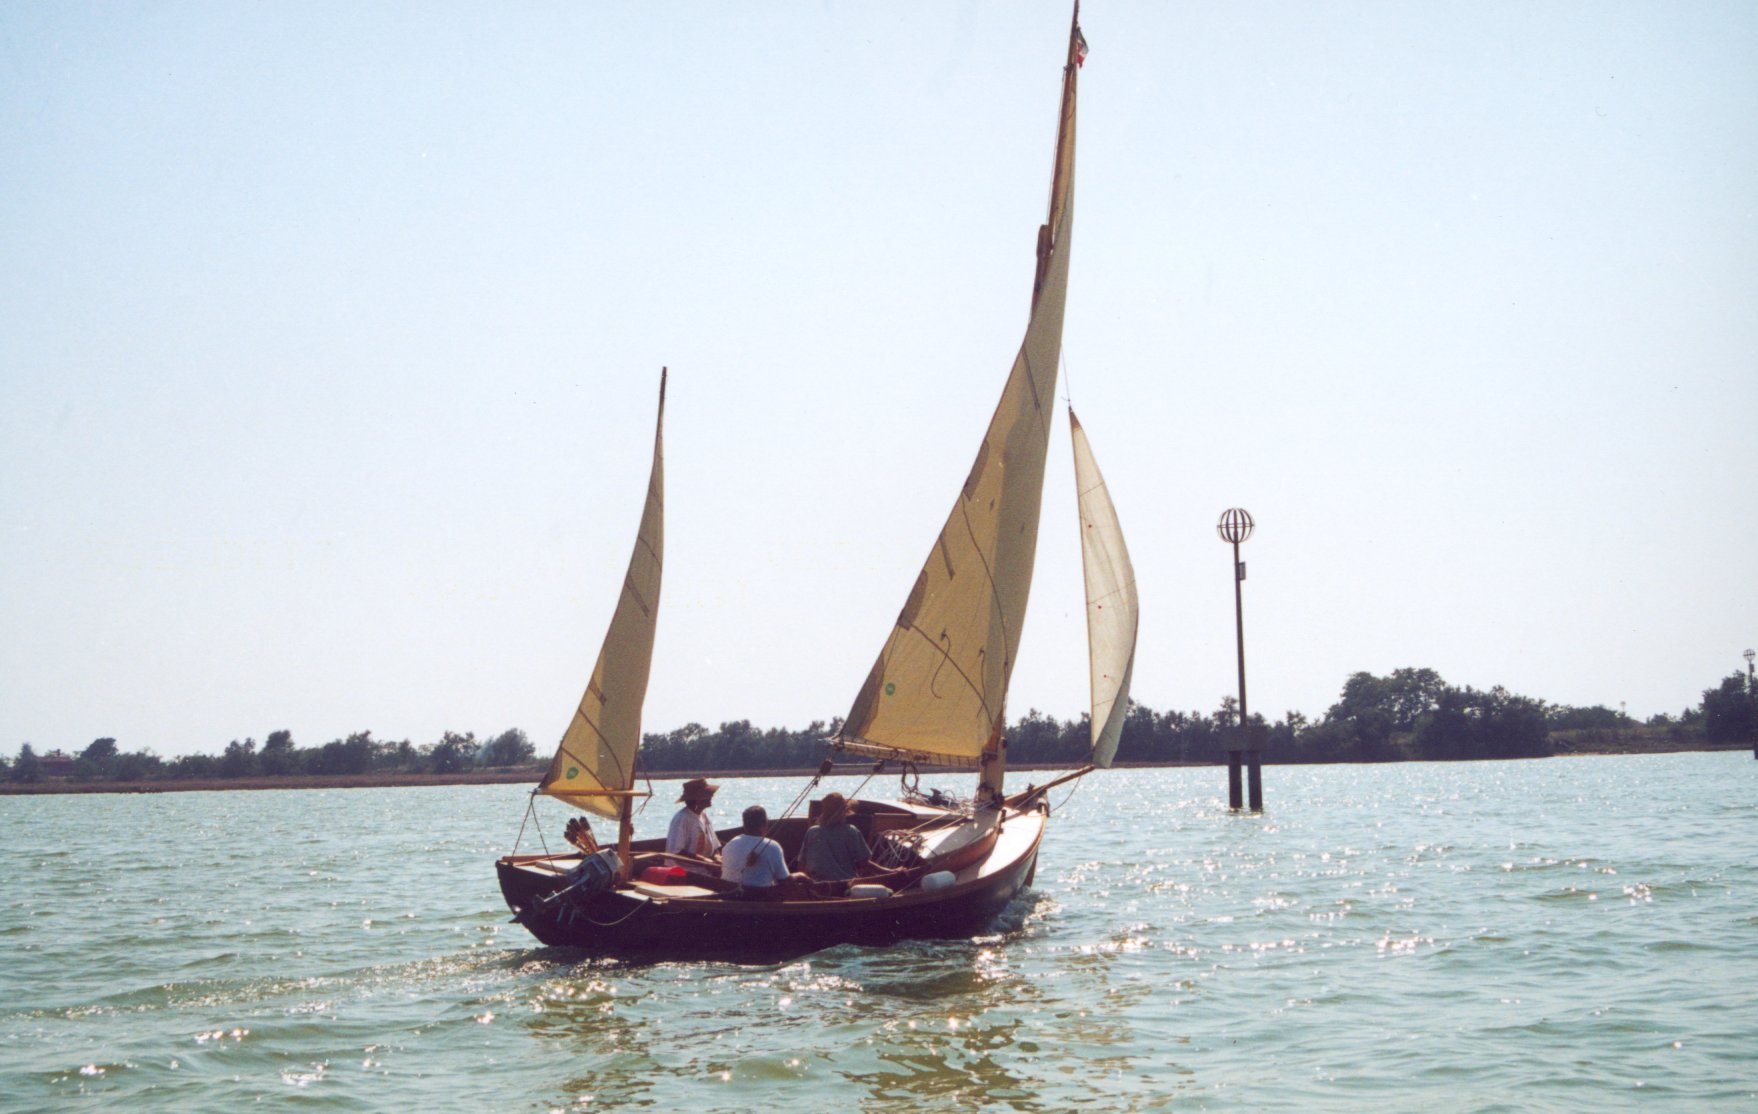
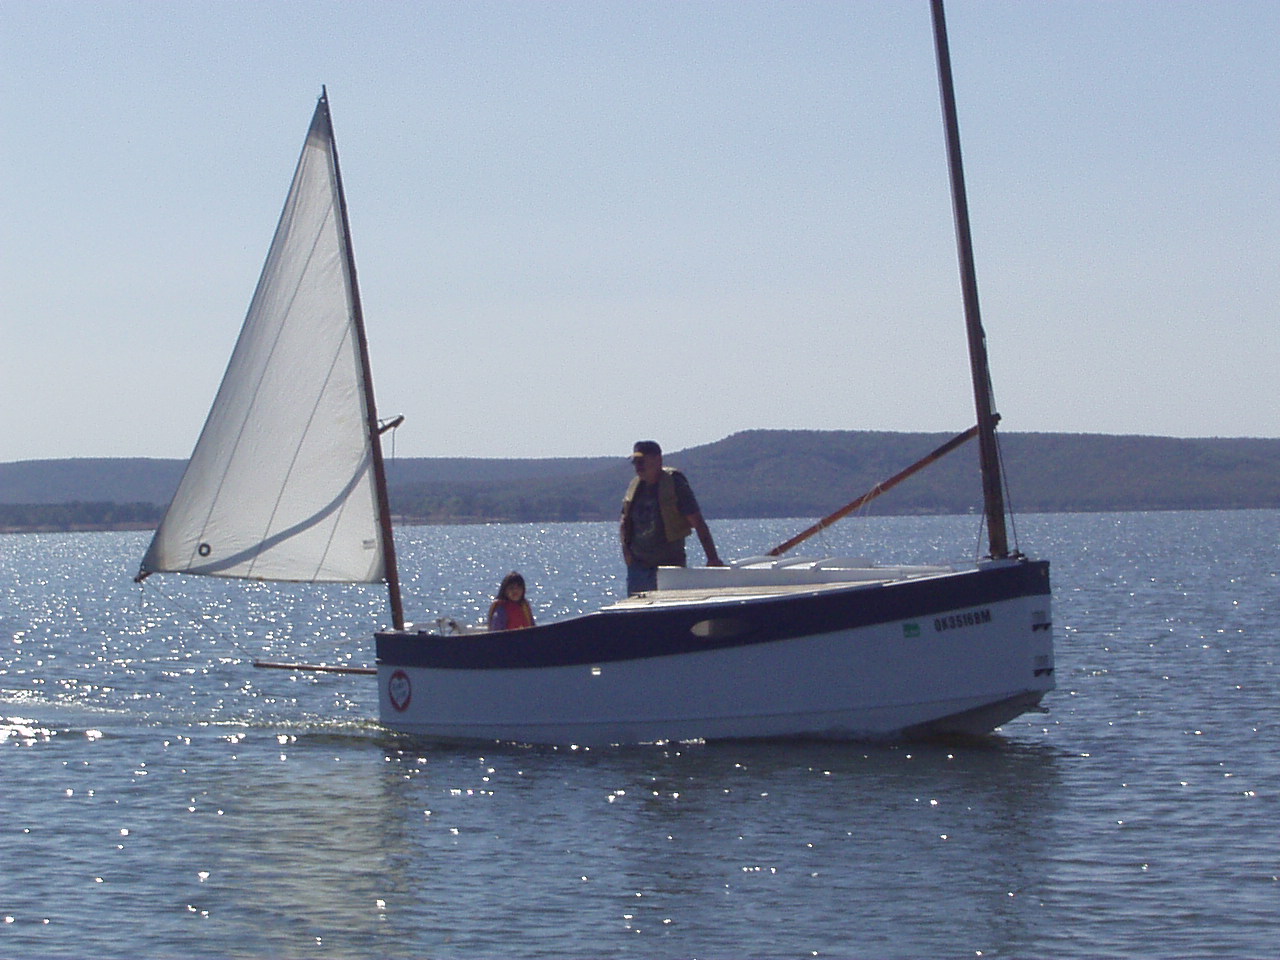
Here are a couple of shots of the boat underway. These give you a good idea of the view forward, and a good idea of how much the boat heels under normal conditions. Doesn’t normally go over much more, even with lots of wind.
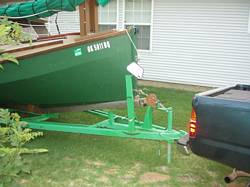
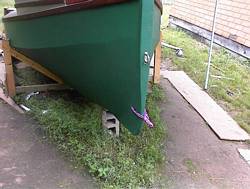
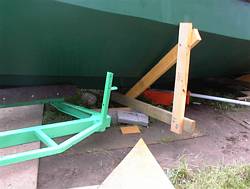
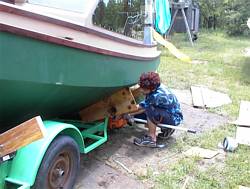
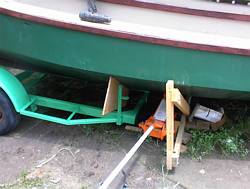
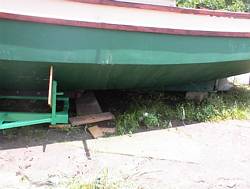
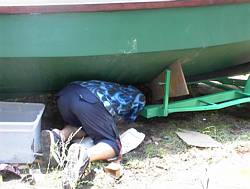
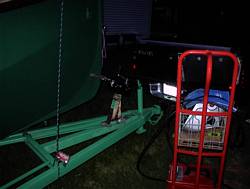
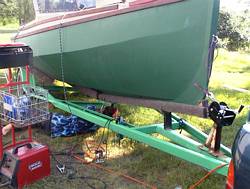
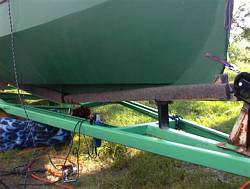
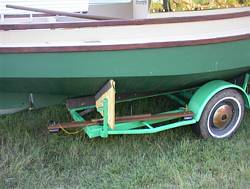
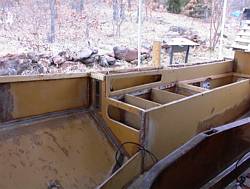
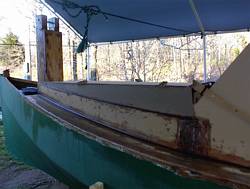
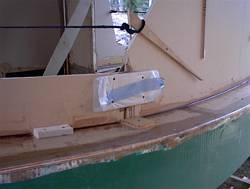
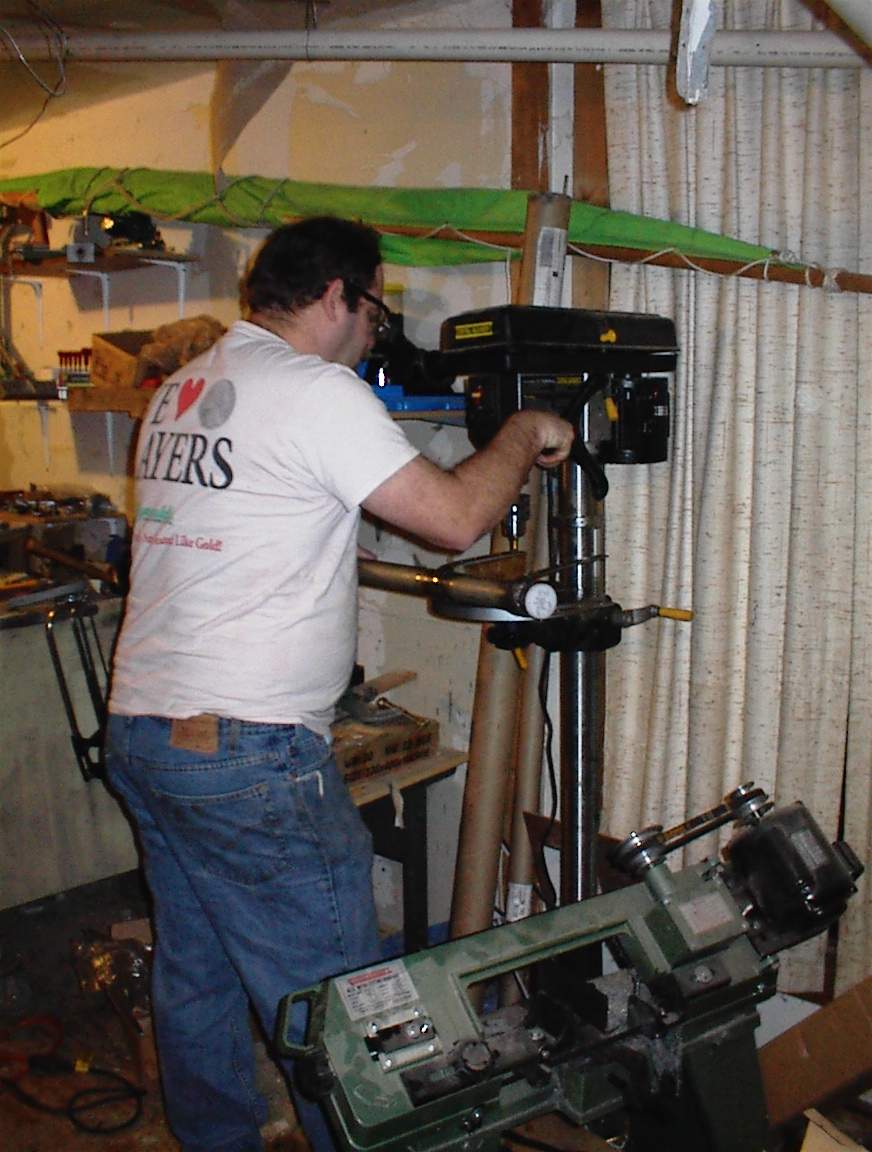
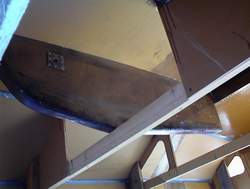
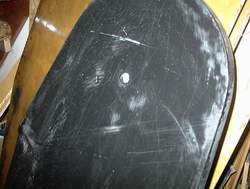
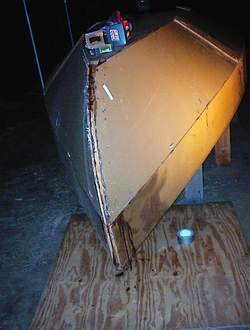
Here I have the boat up on car ramps so I can take off the rudder to fix the leak around the rudder post.
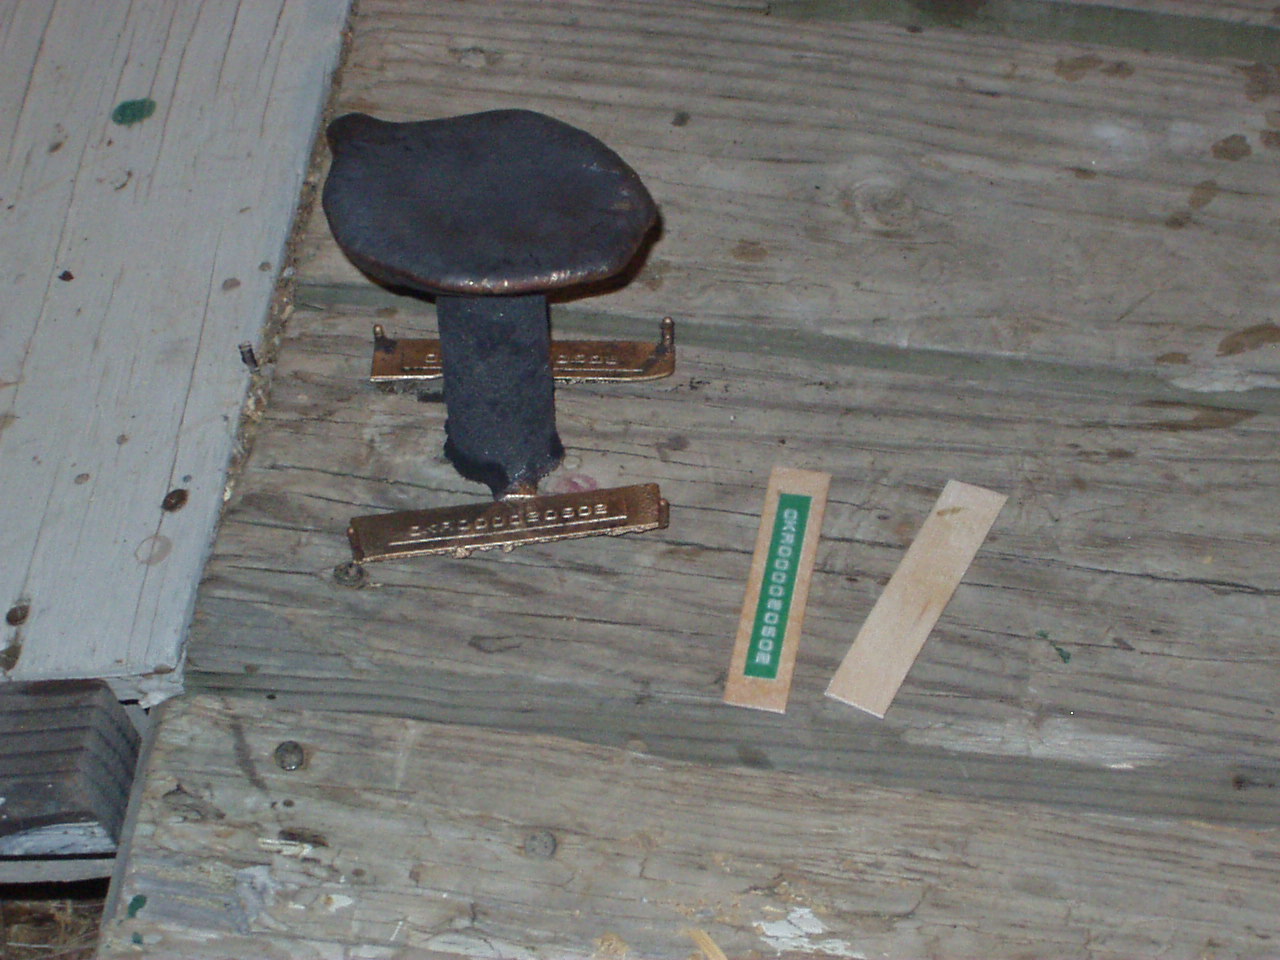
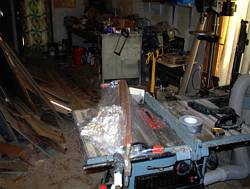
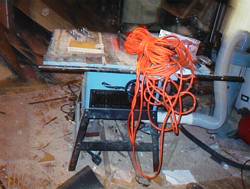
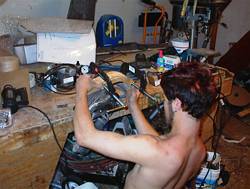
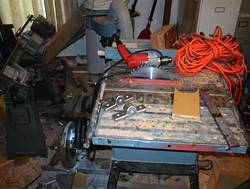
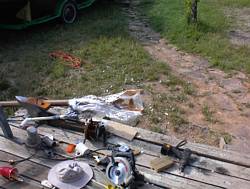
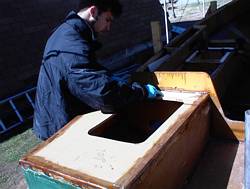
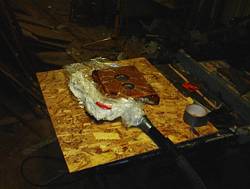
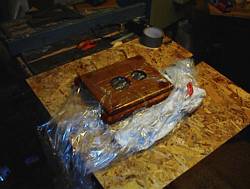
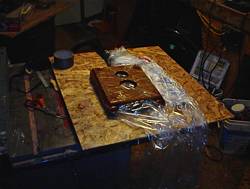
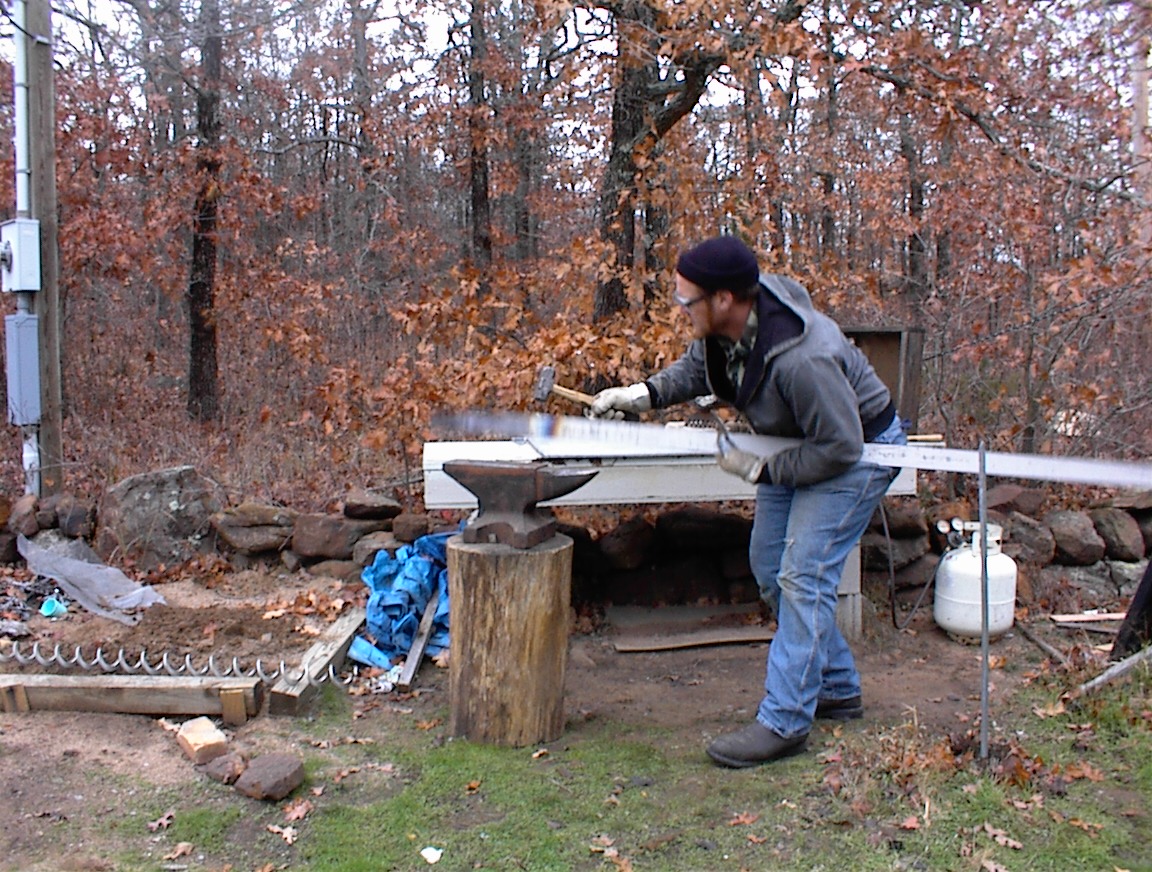
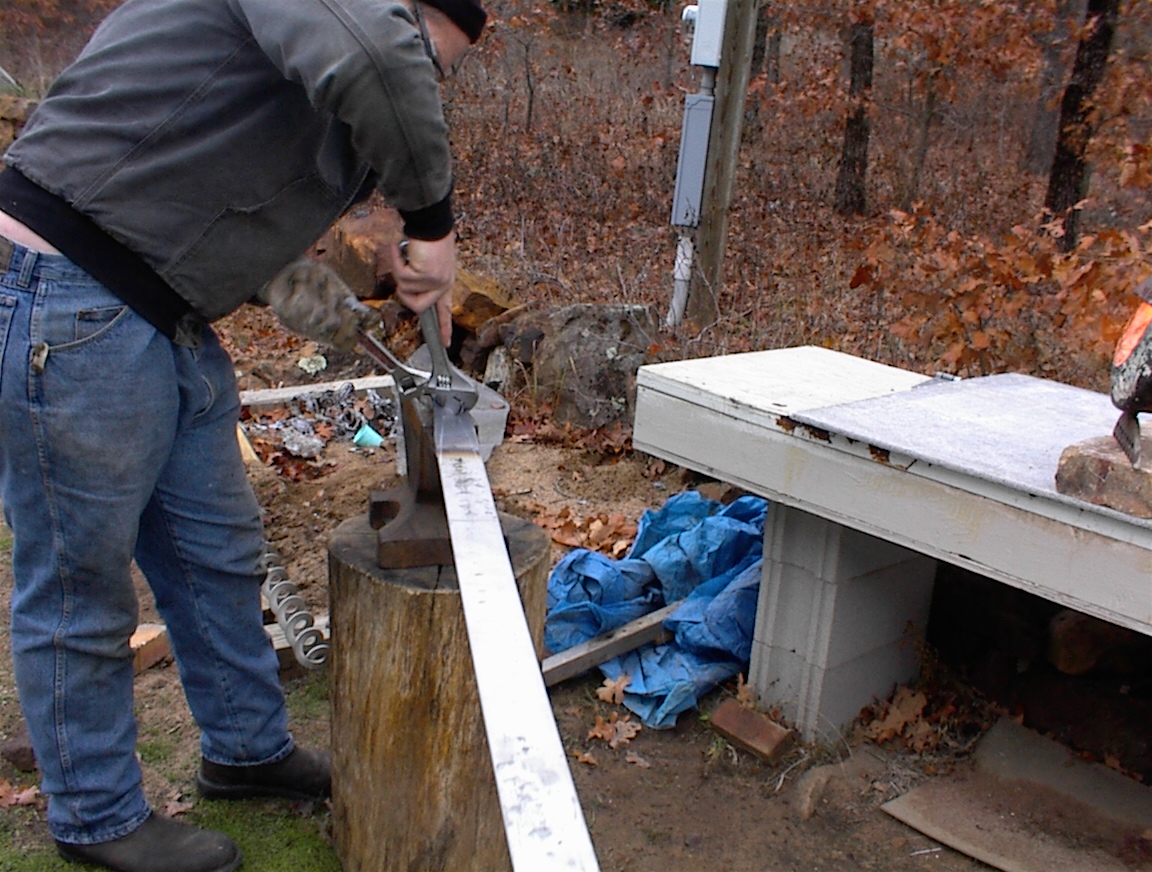
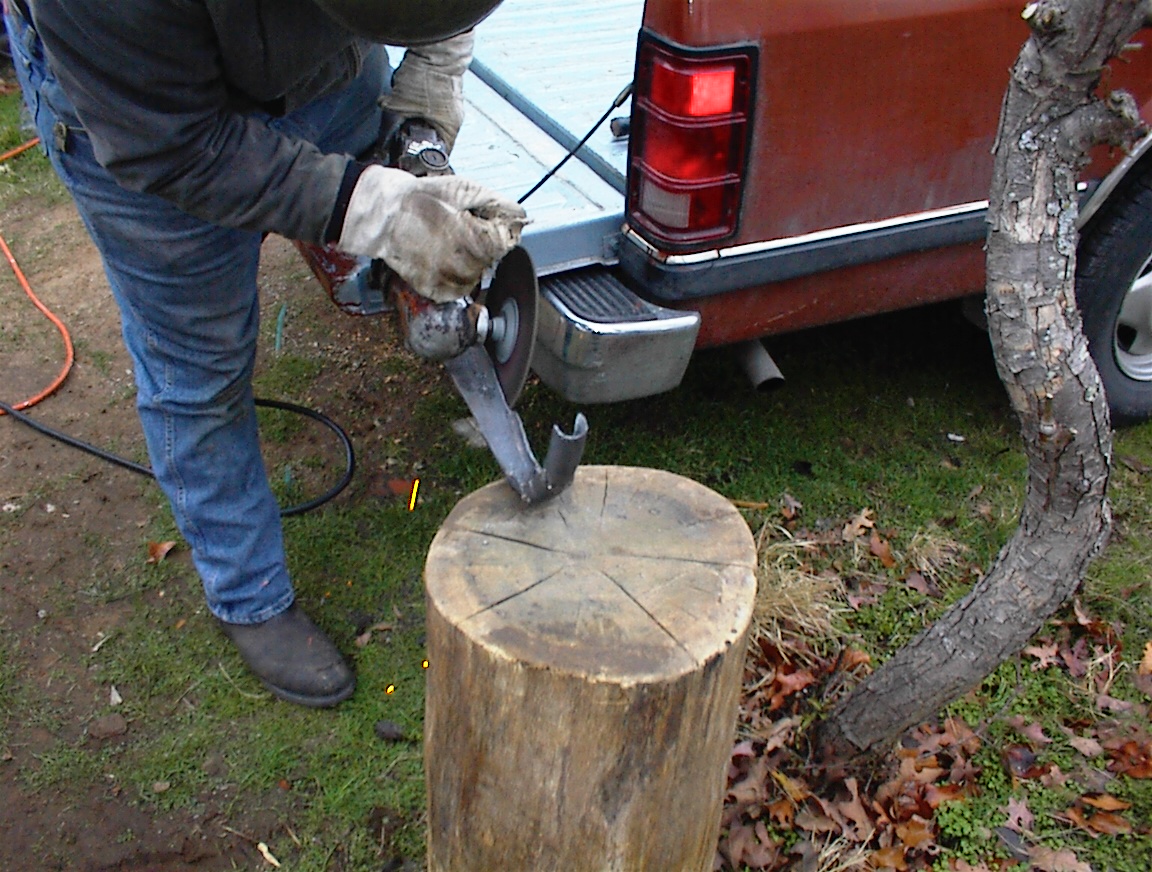
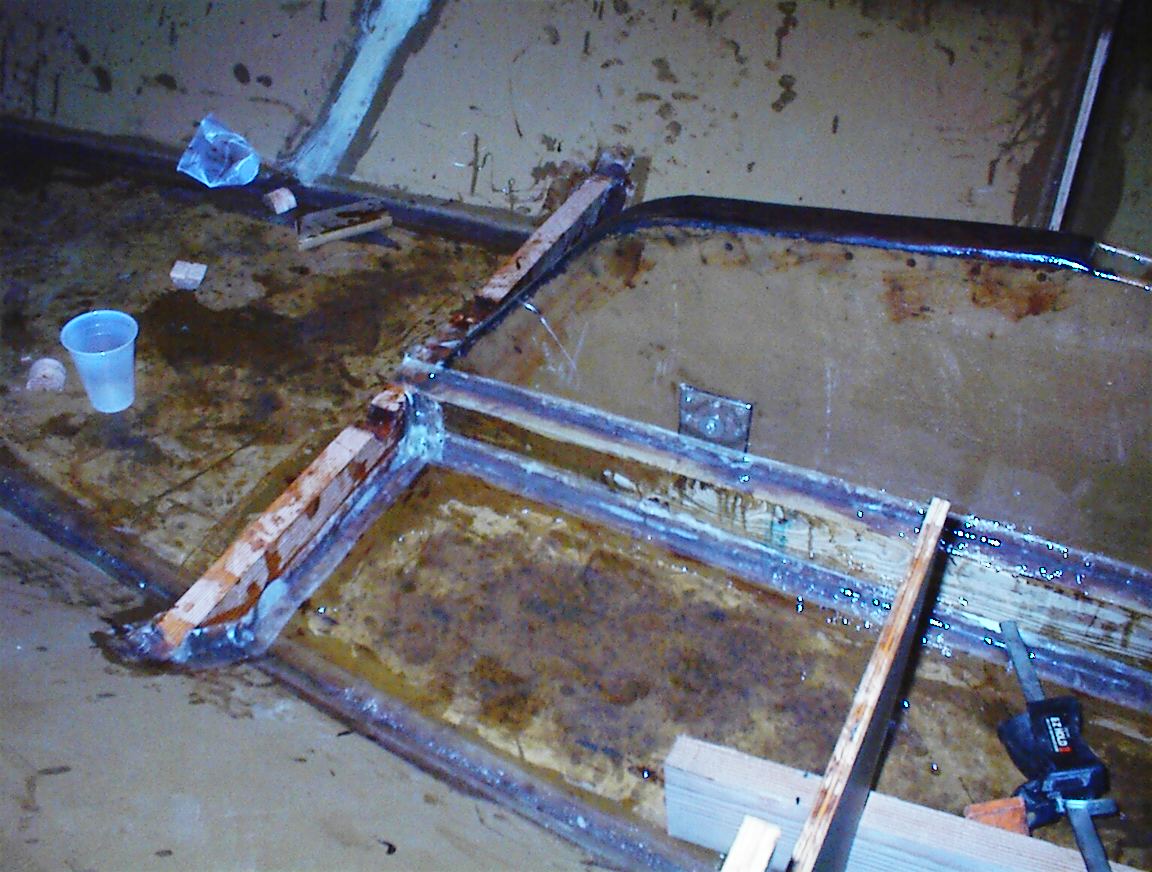
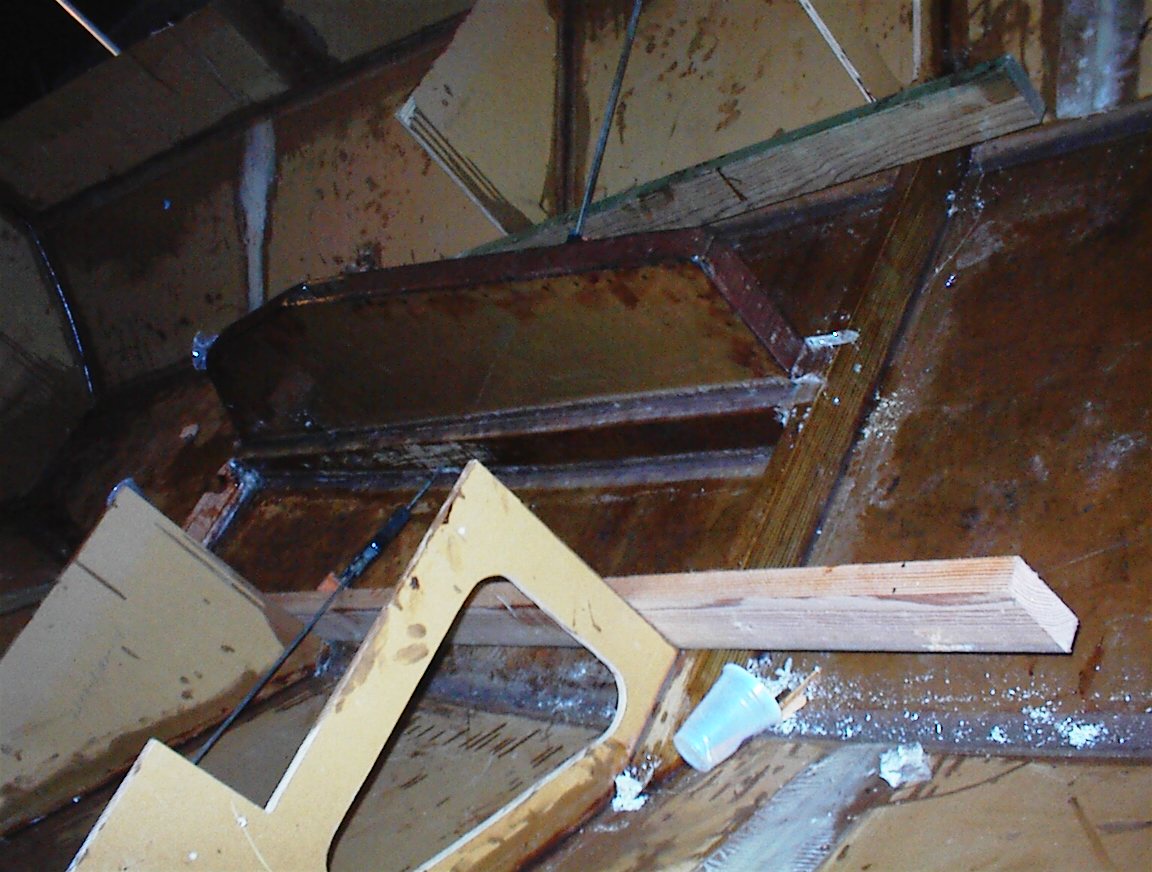
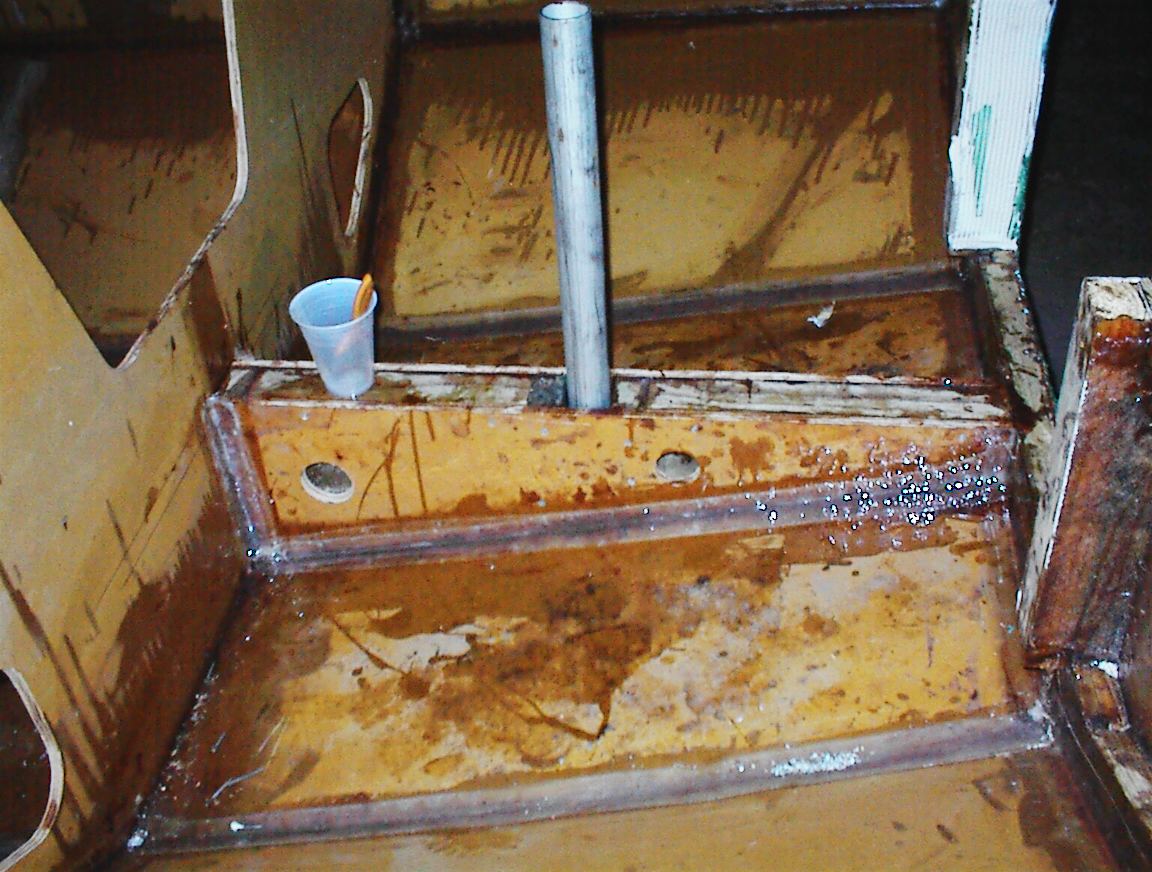
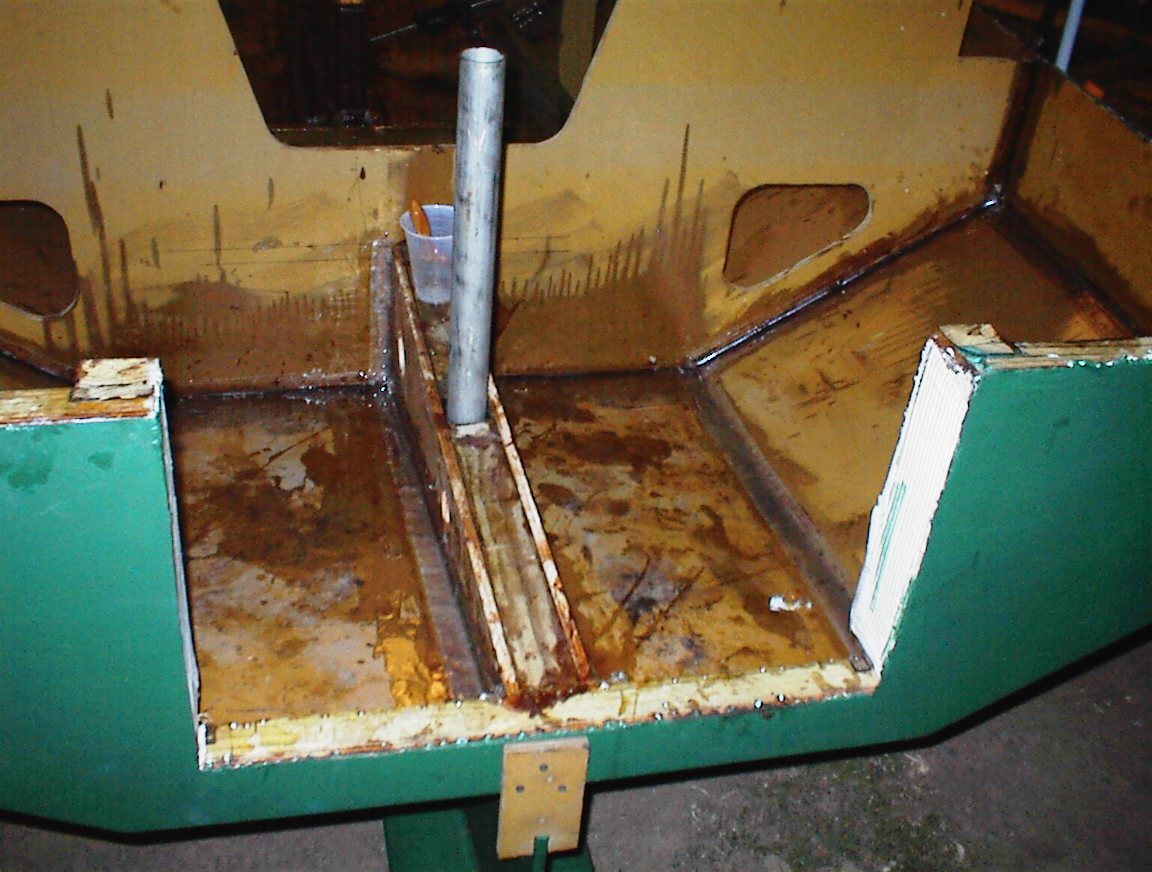
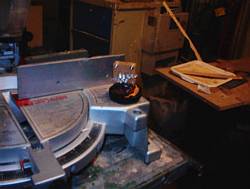
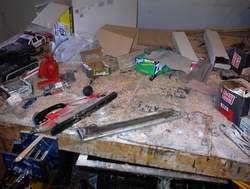
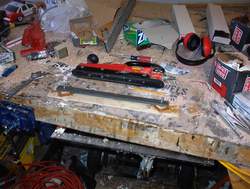
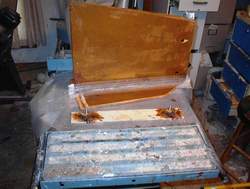
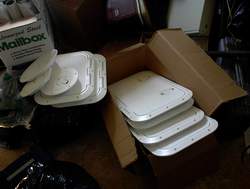
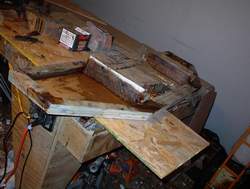
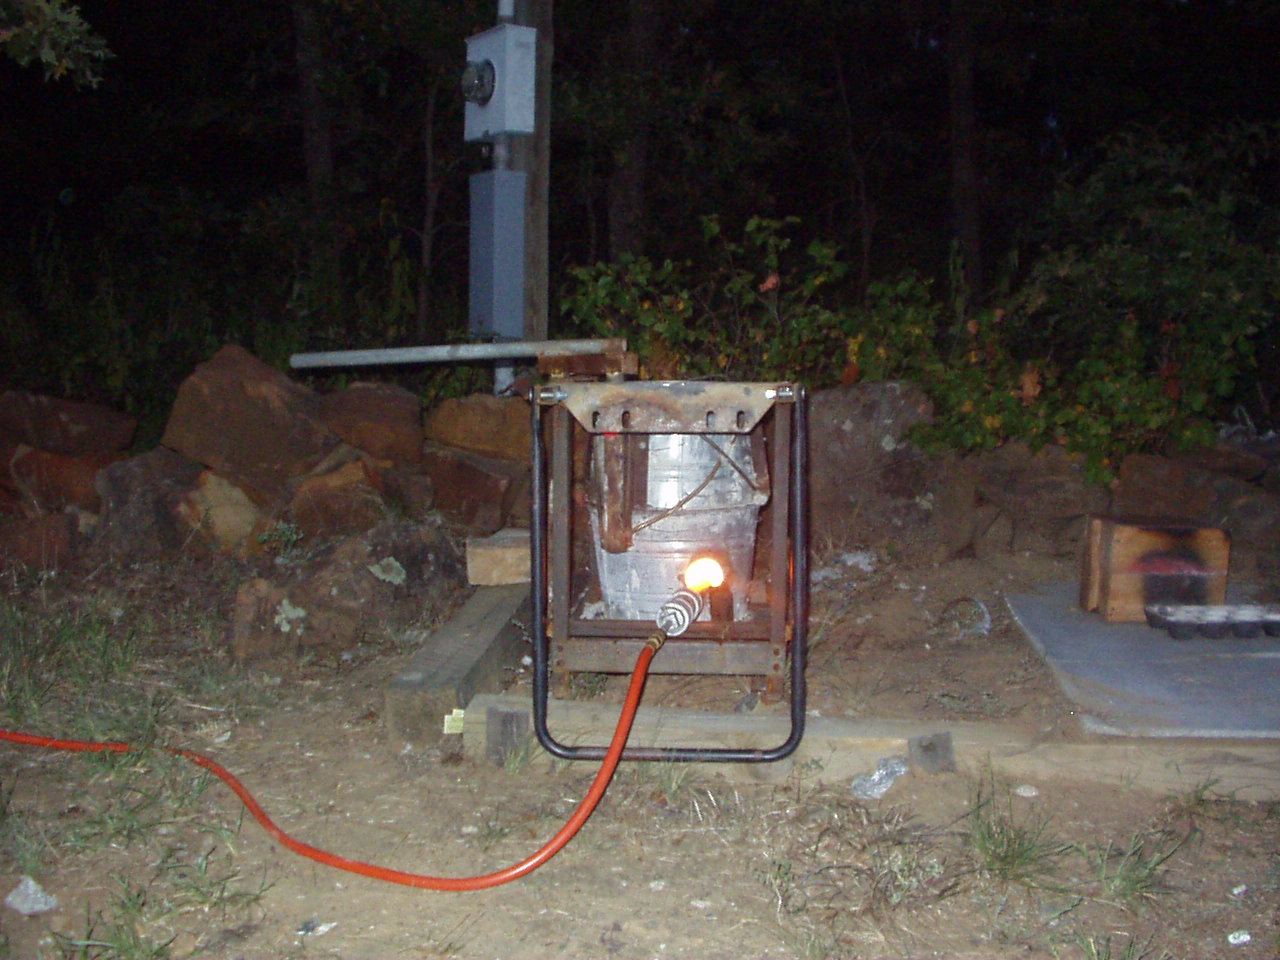
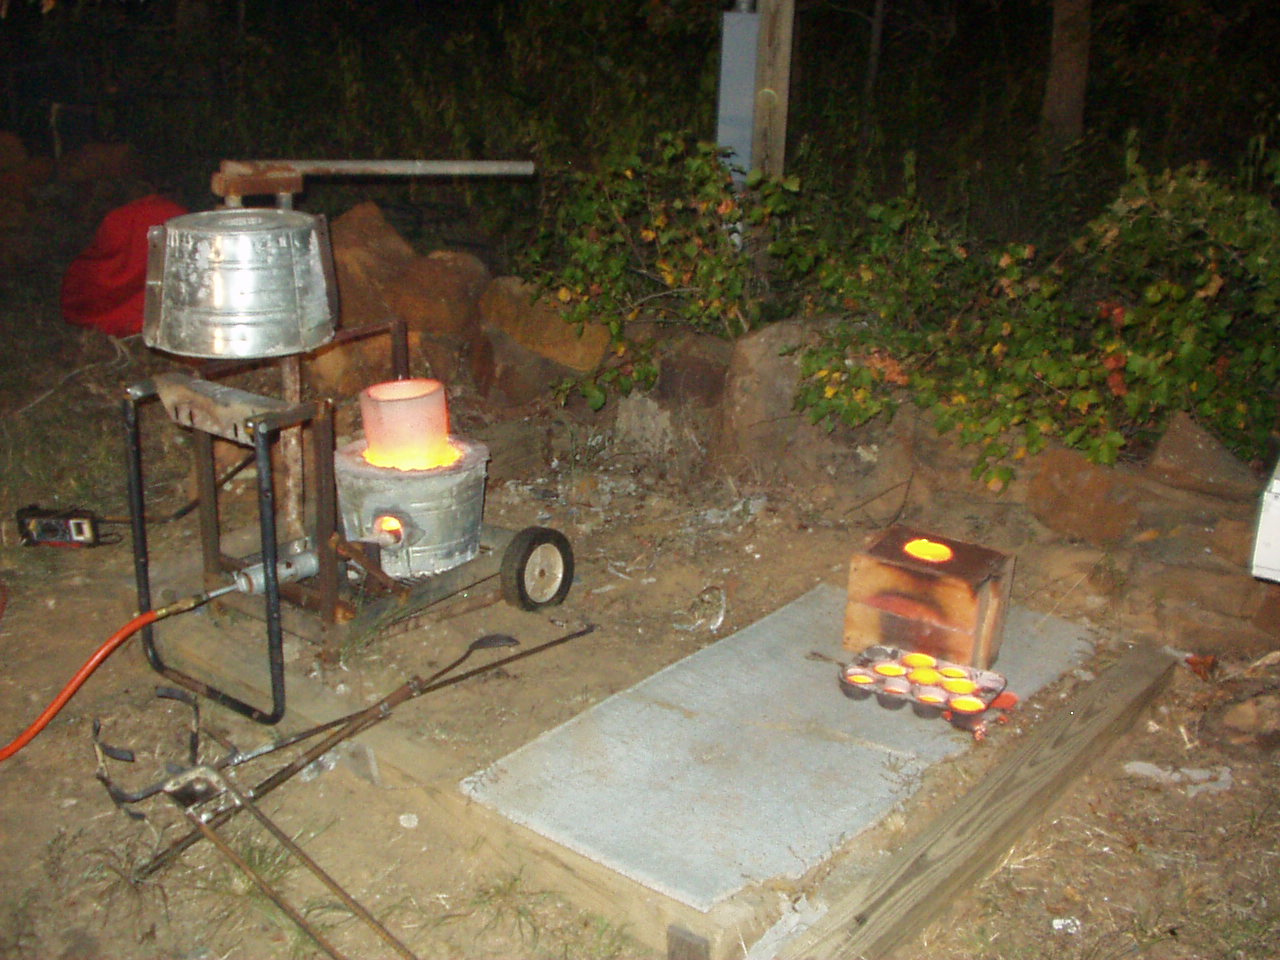
Three shots of me casting the silicon bronze hull number plates for the boat. HOT!
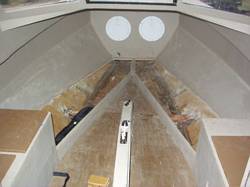
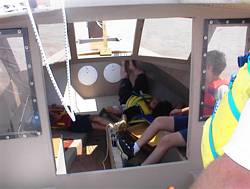
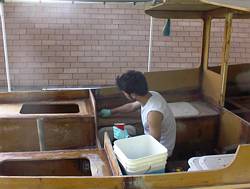
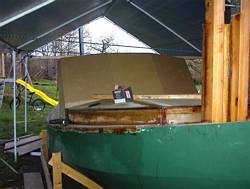
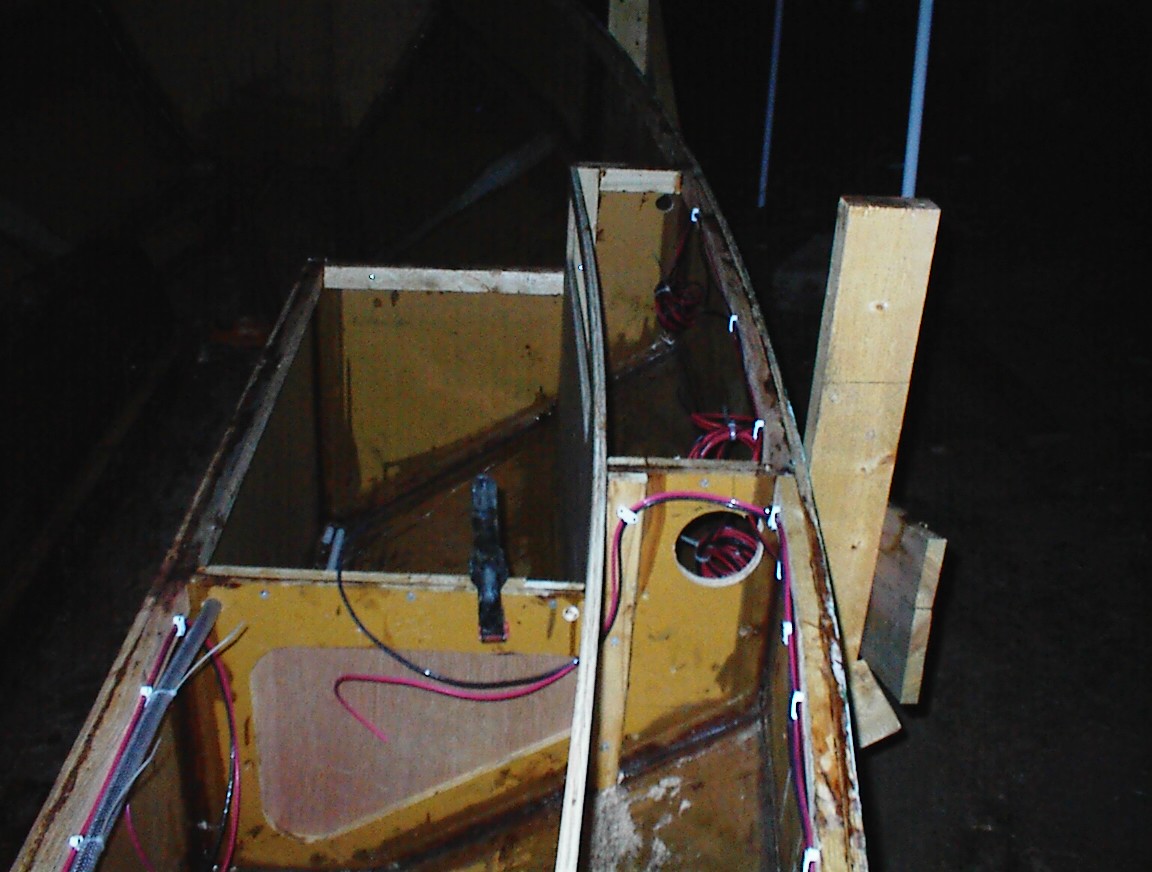
Interior shot of the bunks in place.
Couple of shots from the Conroe fall messabout. (before the camera died of dead batteries and stupidity)