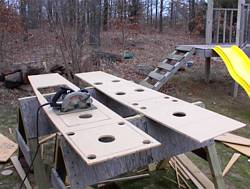
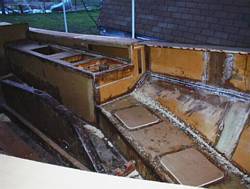
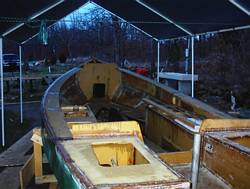
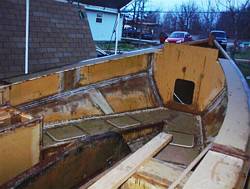
Chebacco News 45

News, questions, and boats for sale.

News:

Good morning Richard,

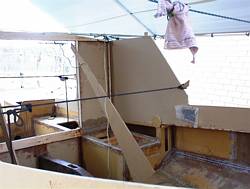
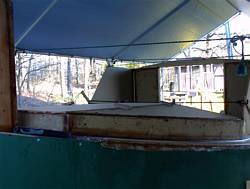
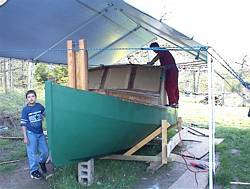
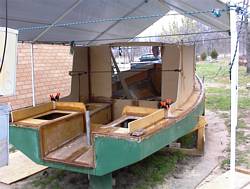
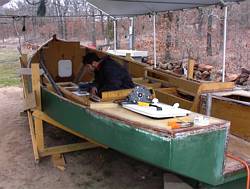
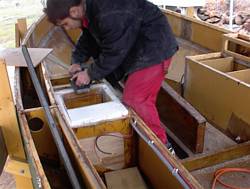
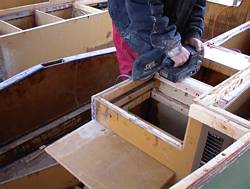
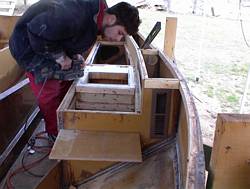
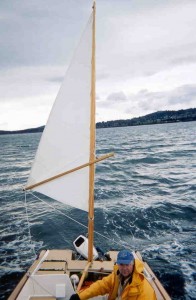
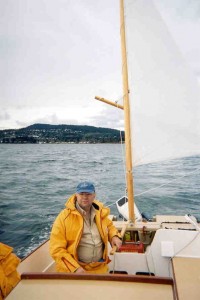
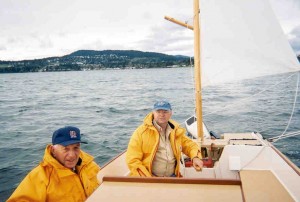
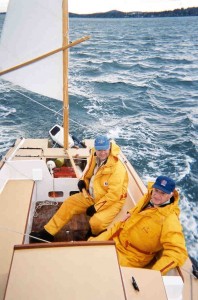
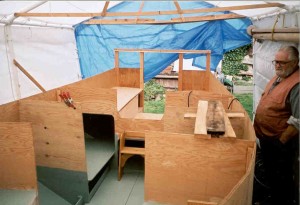
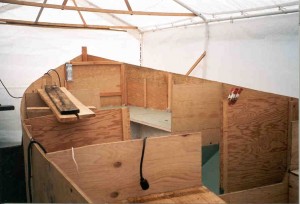
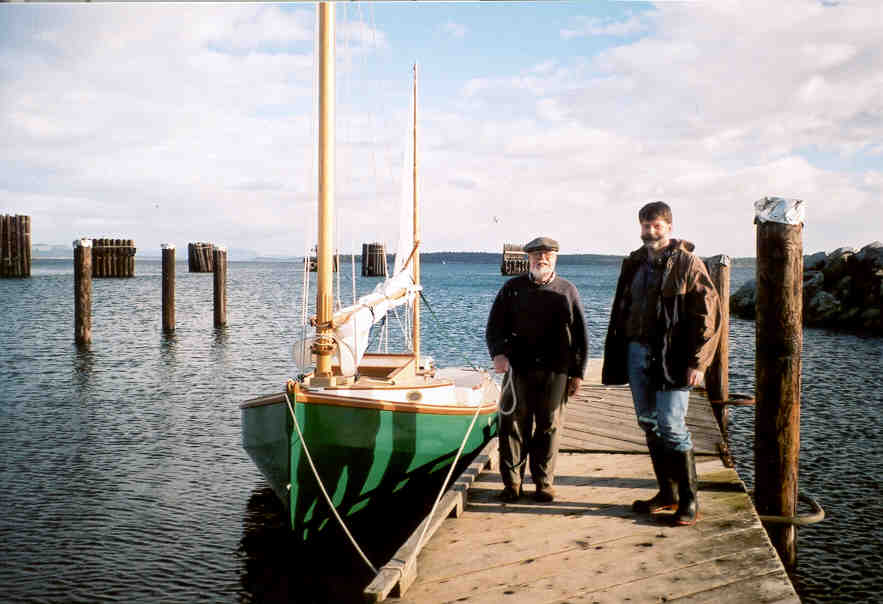
How are things going down in Oklahoma? I have attached a URL that describes the building of “Two Grumpy Old Men”

http://www.adventurequest-usa.com/New_Folder/chebacco.htm

All the best,

Mike Haskell, Founder/CEO
Adventure Quest-USA
8 River Road
Bowdoinham, ME  04008
207-666-8976

Questions:

I have a question that I have been pondering and was wondering if some of your readers could answer, specifically, what are the possibilities of coastal cruising the Chebacco or maybe island hopping in the Keys or Carib?
Thanks,
Hi Richard,

I’d love to have one or more Chebaccos sail into the Sept. Messabout in Kingston, perhaps yours.

Would you post the invitation in your Chebacco Newsletter for me? If so, please post the link to http://www.brucesboats.com as the Messabout figures prominently on the home pages with links to three pages on the event, and multiple pages about the area, navigation, the campground, etc.

Do you know who bought Bob Cushing’s Chebacco Motorsailor? I saw that once, it’s a very nice arrangement. So is the new cruising conversion.

Hope to see you and lots of other Chebacco drivers there.

Bruce Hector

Chebacco’s for sale:

Samantha is for sale.

Details:

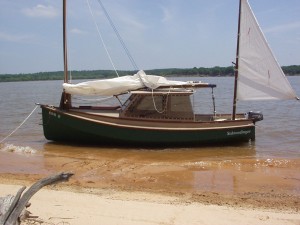
20 foot sheet plywood Chebacco. Built summer of 2002. Sailed from Portland, ME to Beaufort, NC and back since.

This boat is a modified Chebacco – it varies from the design in the following ways: It has a shallow draft keel rather than a centerboard, the cabin is longer, wider and taller allowing a full length double berth and facing settees with a fold-down table. The cockpit is shorter by the amount the cabin is longer. She is gaff-
rigged.

The following equipment is included: Standard Horizon VHF radio, 80 AH deep-cycle battery, 6 hp Tohatsu 4-stroke outboard with alternator, navigation, anchor and cabin lights, 2 anchors with rodes, dock lines and fenders, Ritchey compass, 2 type III and 2 type V PFD,s, safety harness, ABC fire extinguisher, flare kit, and Nymph
dinghy.

She is located in Portland, ME at present and I could possibly deliver her – that would be negotiable.

This has been a very nice boat, but like many of us boatbuilding sailors I want to build another boat (probably some variation of Newfoundlander).

I am not sure what to ask for this boat. The bare boat may be worth $4000 and the equipment listed above is about $2500 new – plus the dinghy. How about $5500 for the whole package? Make an offer – nothing can offend me – the worst that can happen is I would say yes.

Paul Thober, 207 712 0381, leave a message and I will call you back.

Hi Richard,    My Chebacco Motorsailer is for sale   -It was shown in Chebacco news # 17 and 25   , built in 1997  and has had very little use so it looks like new and is available with or without motor and trailer. Price for boat
alone is 7500.00
Thanks, Bob Cushing       rbrtbobcat@aol.com      315-687-6776   located in
Cazenovia, n.y.
How’s it going?  I wanted to let folks know about my decision to sell my Chebacco.  I really love this Catboat but I love my girlfriend more and want to pursue that a while.  The boat is built exactly to Phil’s Specs.  The trailer was purchased new for $1,300 a couple of years ago and the 1997 Force five hp. Outboard was purchased new for $800 as well (it sat on the showroom a long time I guess).  The sails were purchased as a kit from sail-rite, the mainsail being sewn by a professional, and the mizzen sewn by me since it was small and manageable.  I launched this boat for the first time in April of this year and have taken one two week trip and several small day trips so far.  There are a few normal scratches on the hull and the spars but nothing out of the ordinary.  The hull is planked in Douglas Fir Marine plywood and the floors and roof framing are Douglas Fir.  There are a couple of floors made of Southern Yellow Pine and the trim is all White and Red Oak.  The sliding hatch was cold molded and then veneered on the inside and out with White Oak as were the drop boards – no sign of wear on any of these components.  All trim and spar varnish was Epifanes WoodFinish Gloss and it shows.

Bill Samson listed his for 4,500 lbs. Sterling which is approximately $6,500 I think.  I would like to ask $6,500 to start and see what happens.

Thanks Richard.

Pete Respess
Hopewell, VA

Lapstrake Chebacco 20

LOD: 19′ 6″
Beam: 7′ 10″
Draft: 1′ 0″
Sail Area: 176 sq. ft.
(Lots of wonderful pictures here -Ed)

Built by an experienced amateur. Over four thousand hours building time. The best of materials used. Finished with two-part polyurethane. Sprayed by a professional. Bright work finished with Norwegian varnishing oil (between six and eight coats).

Hull is built of 7 ply half-inch marine mahogany plywood; keel is built of same material, laminated to proper thickness.The keel is covered with double thickness of 11 oz. fibreglass cloth saturated with epoxy. 1/16 inch stainless steel was then attached to the bottom of the keel and up the stem as far as 22 inches above the waterline. Outside of boat is covered with 11 or 6 oz. fiberglass cloth which was then saturated with epoxy, then an additional four to five coats to allow for sanding to a mirror finish before painting. Inside has four coats of epoxy.

Spars are solid sitka spruce. Fittings are all top quality such as Harken or custom made of bronze or stainless steel.

Three sails (main, jib, and mizzen.) All lines, sheets and halyards ready to go. None of them ever used.

Custom made trailer with extendable tongue for easy launching. Elaborate supports that fit to cabin and aft cockpit bulkhead to hold spars for long distance trailering.

No O.B. motor. (4 to 5 HP would be suitable.)

The boat was completed Sept.2000 but ill health precluded launching and am selling the boat now for the same reason.

Price $12,500 USD

(See article in Wooden Boat – #107, Pg. 80)

Address:
George Cobb,
186 Gallagher St.,
Shediac, N.B.,
Canada, E4P-1T1

Email: gcobb@nbnet.nb.ca

 ***

Toothless gears and the Zen of boat building.

One day I took a transmission apart and fixed it.

That really doesn’t describe what happened, lets try that again.

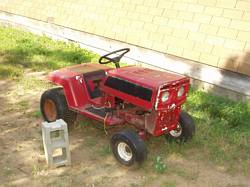
One Saturday afternoon I decided to fix up the old riding lawn mower a friend had given me.

tn_P1010022

This was a freebee, kind of a long-term project, no chance I would get it fixed in time to use it for mowing this year. At the time I was still intimidated by the engine, so I decided to start on the transmission. I was intimidated by the transmission too, but not nearly as much.

The temperature was just on the high side of warm, but the porch I was using as a table was in the shade and there was a gentle breeze blowing.

I start taking the transaxle off, bagging each part in Ziploc, taking my time, using wrenches instead of a socket and ratchet. I’m in no hurry, I have all afternoon to do this, and have no other pending plans.

There’s a young woman in the house watching TV. All is right with the world.

I put the transaxle in an old washtub, and fill it about half full of gasoline through one of the drain holes. After a little sloshing around, I drain the oil and gas into the washtub, to go into the barrel for eventual recycling, or use with an oil burner on the foundry furnace, I haven’t decided yet.

As I carefully and methodically pull apart this device I know nothing about, cleaning each part off before bagging it, I notice the birds are singing in the trees.

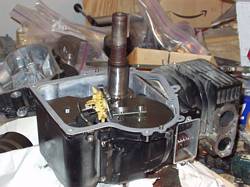
As I get it apart, I discover the reason it isn’t working. Three of the gears in the thing are missing teeth. The main drive gear is completely toothless. Ah, that would cause it not to work.

I finish taking it apart, and bag all the pieces.

Later that evening, I have a flash of brilliance, (hey, it happens occasionally), I Google “lawn mower parts”, and send an email asking for help identifying the transaxle to the top twelve hits. This is a saturday, but I get an immediate response from two of the victims.
One of these respondents had rebuilt “hundreds” of this exact model transmission, tells me what to check, what the rules of thumb are, which parts need replacing, what I can get away with not fixing, how to check this, that, and the other thing. I buy all my parts from him.

A very enjoyable day. Almost like building a boat.

OLYMPUS DIGITAL CAMERA

To misquote Zen, or Ben, or someone, or at least the Kung Fu master from an old western. “Revelation starts with the simple statement, ‘I don’t understand.'”So, that is the toothless gears part. Where does Zen, and boat building come in?

So, I find myself, now and again, working on something I have never worked on before, muttering the infamous words “I don’t understand.”

Then I poke at it and ponder over it till I *DO* understand. The light dawns. How simple!

What I like about building a boat is the problems. Not that I like all problems, mind you. For instance, the solution to the problem “How to get this pretty young woman to fall in love with me?” has always eluded me, and I suspect it always will. No, the problems I like are of the solvable, engineering kind. “How do I build a 20 foot tall mast out of 8 ft long boards?”, or “How do I sand this hull smooth without ending up in the hospital with back problems?”.

As with toothless gears and lawn mowers, the real joy of boat building comes from learning to do something you never thought you could do, that you have always been intimidated by.

I’ve built six boats, from disposable (which lasted 5 years before I gave them away) pirogue canoes, to 20 ft cabin cruisers. I’ve solved most of the engineering problems with building a boat. You know the ones, “How the hell am I going to get it out the door?”, and “How do you flip this huge thing over?”, as well as the construction problems, like “How do you make a round mast out of square
boards?”, etc.

I have moved on to machinery and small engines, which I have always had issues with.

tn_P1010025

Have I given up boat building, has it lost it’s challenge? No, not really. Lets just say I have graduated to the next level. I am having visions of Caspian Sea Monsters and Wings in Ground Effect…

And, now that I have overcome my engine anxiety…

Laters, Chebacco Richard

***

Depoe Bay 2003 – Jamie Orr

The 2003 Depoe Bay Crab Feed and Wooden Boat Show took place on the last weekend of April.  And a fine show it was!

Once again, Dad and I drove down to Oregon, pulling Wayward Lass behind us.  We started Thursday morning, catching the ferry from Vancouver Island then crossing the border at Blaine, Washington.  We stopped there at the Canadian customs office to have them stamp a picture of Wayward Lass, so we wouldn’t have any problems coming home.  Boats with motors under 10 horsepower don’t have to be licensed in Canada, so Wayward Lass has no numbers – this caused a delay in 2002 when the customs agent thought we were boat smugglers and we almost missed the last ferry home!

Our first stop was Seattle, to visit Chuck Merrell.  We met Chuck in 2000 at the informal Bolger boaters gathering at Port Townsend’s Wooden Boat Festival, and have kept in touch since.  We pulled off the freeway near Boeing Field, and followed Chuck’s directions to South Park Marina on the Duwamish Waterway, where he lives and is building Ace, one of his own “barrel boat bachelor pad” designs.  If you’re not familiar with Chuck’s website, go to http://www.boatdesign.com/ for his designs, his Bolger Micro page and other good stuff.

We caught up on the latest news over dinner, and inspected Ace, which is almost finished and looks like a snug home for Chuck, and Dumpster the cat.  Ace will be moored at South Park marina once she’s launched.  We considered spending the night in Seattle, so we could park the boat and trailer safely in the marina yard, but the thought of the morning rush-hour traffic changed our minds.  Instead, Dad and I drove for another hour, stopping just outside Olympia, the state capitol.

Next morning we reached the Columbia River at Portland just after 9:00.  Once across, we abandoned the interstate for the back roads, moving in a more or less south-westerly route through McMinnville to Lincoln City on the coast, just a few miles north of Depoe Bay.  This isn’t the fastest route with all its small towns and winding roads, but it made for an interesting morning.  We stopped for lunch in Lincoln City.  Dad had an excellent “Scottish soup with pieces of lamb”, (where I grew up it was called Scotch broth – is this the latest effect of political correctness?)  I had flatbread, with melted cheese and thinly sliced sausage that left my taste buds tingling.  The Blackfish Café — good place to stop, if you’re passing by!

We arrived at Depoe Bay about 1:30, and after a leisurely rigging-up, Wayward Lass slid into Oregon waters again ,and was left in the first empty berth while we took a look around.  We found that we were among the first exhibitors to arrive, but it didn’t take long before we saw a few familiar faces, and boats, including John Kohnen (Pickle), Terry Lesh (Toto) and John Ewing (Surf and Jon Junior).

By then we were thinking of our stomachs, so we arranged to meet at the Spouting Horn for dinner, and went along to our motel, the Troller’s Lodge, to check in before walking down to the ‘Horn for an evening of good food and better company.

I woke early the next morning, and couldn’t get back to sleep, so just after 6:00 I was down at the boat, pumping out the rainwater.  Between the trip down, and the rain overnight, the floorboards were floating.  Since it was still pretty wet outside, I wasn’t a fanatic about pumping, no mopping up the last drops!  The Coast Guard were awake, too, taking their 47 footer out into the bay.  I heard them come in again after a short time, so maybe it was just a training run.

Back to the Troller’s for a shower, then over to the Whale Watchers Café for breakfast.  Larry Barker joined us here, the three of us had plans to go “outside” for a sail after.  The Coast Guard was allowing boats over 16 feet to go in and out, the lowest restriction we’d seen, to date.

By the time we reached the harbour, the sea wall was alive with boats and boaters.  Depoe Bay is largely a dry land show, with most of the exhibits displayed on the sea wall overlooking the docks, but this year there were quite a few boats in the water as well.  Pat Patteson presented me with my Western Oregon Messabout Society burgee, with its coot emblem.  I’m not sure if the group chose that emblem deliberately, but it fits pretty well, so now Dad and I are officially “old coots”!  We took a few minutes to get the burgee hoisted, then and Dad, Larry and I fired up Honda and took Wayward Lass out of the harbour.

You have to remember that this is the third year we’ve been here, but the first opportunity we’ve had to get out on the ocean.  Depoe Bay doesn’t have a bad bar, as such, but the entrance to the harbour is a narrow dog-leg where the Pacific swell often makes getting in and out problematic, so we used the outboard generously to make sure the waves didn’t push us around.  Once out and clear, we put up the sails, and shut down the motor.

You should also know that there are some nasty reefs on either side of the bay, where the swell piles up and breaks.  We were fully aware of these, so didn’t stray from the safe line between the entrance and the bell buoy that marks the transition to open waters.  The swell was of a size I hadn’t experienced before, we were moving up and down some 10 feet every 13 seconds.  I have to say that I was somewhat intimidated by the combination of the swell and the lurking reefs (we didn’t have a chart).  This, on top of the horror stories we’d had fed to us over the last two shows made the old pulse run a bit faster than usual.  The boat, however, was perfectly at home!

We sailed out to the bell buoy on a close reach, the wind being pretty much from the southwest.  We noticed the swell was more regular and not so steep once we were past the bell buoy, which marks the end of the shallow area, more or less.  Once we tacked, the course back to the entrance was an easy reach, so we took advantage of that and headed in again – not very adventurous, I agree, but okay for a maiden voyage.  Being still very aware of the reefs, we turned into the wind to start the motor while still fairly far out.  Of course, the motor chose this opportunity to be awkward, taking half a dozen pulls to start.  I’ve noticed this before, that it’s slow to restart when it’s cooling down.  When fully warmed, or cool, it only takes one pull – maybe two on a bad day.

But it did start, so the sails came down and we motored back along that line between the bell buoy and the entrance.  Larry watched the back bearing while I watched the entrance – we didn’t always agree on the right heading, but the differences were small enough.  At the entrance it’s best to go in on the back of a wave, to avoid surfing, but with only five horses, it takes more practice than I’ve had.  There wasn’t any danger anyway – I don’t know where the swells went, but by the time they reached the entrance, the waves were small.  Honda pushed us easily through the dog-leg and we were back in the harbour.

Once we were tied up again, it was time to have a proper look at all the other boats, not to mention picking up our free coffee and doughnuts (just for bringing a boat along!) There were all kinds of good boats – a lot of great canoes and sea kayaks, in stitch and glue, cedar strip, and even some wood and canvas beauties.  The wood and canvas folks demonstrated how to steam bend white cedar ribs – made it look as easy as anything.  They also bent some oak stems later with less success, I saw the remains and it looked like they’d been defeated by bad grain in the oak.

Besides the paddling boats, some of my favourites were the Bolger light dories (of course), the 19 foot Bartender, Pat’s PK 20, a rebuilt 1948 Guernsey Falcon and a new dinghy, both lapstrake and built, or rebuilt, by the same exhibitor.  Dan Pence stole the show, though, with his just-finished Light Schooner.  He started by yuloh-ing over from the launch ramp, then dazzled us all sailing around the harbour.  The Light Schooner seemed to accelerate instantly with every puff of wind, and fairly flew along – spinning around on that big dagger board so Dan (ably assisted by his wife) never even hit the dock once!  An incredible boat indeed!

Chuck Gottfried was there with Tabby, his strip built catboat – 17 feet, if I remember rightly.  Chuck is currently building a Chebacco as well, so I must compliment him on his excellent taste in boats!  Unfortunately the Chebacco wasn’t far enough along to bring to Depoe Bay, but should be there next year.

Harvey Golden brought a couple of traditional kayaks, one of them without the skin so we could see how it was lashed together, and he also demonstrated his incredible Eskimo rolling techniques again.  Unfortunately I managed to miss most of this, but after the last time I ran out of superlatives anyway.  Harvey has a great website too, I don’t have the URL but a google search will turn it up for you.

There were other good boats there too, more than I can remember – I’ve been wishing I’d taken some pictures, but fortunately John Kohnen was there with his new digital camera, taking hundreds.  He’s posted a good selection at http://www.boat-links.com/DepoeBay/03/BoatFest-1.html, so go there to see them.

The weather was a bit unsettled on Saturday — one minute it would be bright sunshine, the next, rain would be pouring down, only to stop as suddenly.  However, it didn’t seem to bother anyone much, and by early afternoon it had straightened itself out and stayed sunny the rest of the day.  Which was good, because we were able to sit down in Wayward Lass for a while, and drink some of Chuck Gottfried’s beer.  Chuck introduced his brother Roland, and a few others soon came by.  In the end there were seven or eight of us in the cockpit, enjoying the good life!

Once we were all rested and refreshed, there was just time to check out one or two more boats before going up to Gracie’s B&B for the exhibitors’ reception, where they fed us finger food and a variety of Oregon wines.  Actually, I only sampled the Cabernet, but it was excellent.  A few exhibitors addressed the group, but the star turn was our hostess Gracie, who gave a great talk about Depoe Bay, the boat show, how good the food was at the Sea Hag, and sundry other local subjects.  About 7:00, the B&B folks needed the room back for their paying guests, so the party moved to various restaurants, to consume more food and drink, and continue the Great Boat Debate.

Next morning was dry, and promised a fine, sunny day – not only that, but there were no restrictions in force for the harbour entrance!  At all!  This was a mixed blessing to us, because we had to be on the road before noon, and its always easier to leave when its raining.  However, we looked forward to making the most of the morning.

Things semi-officially kicked off for the day with a lone bagpiper making sure no one overslept, then Dad and I went for another sail.  Except for being sunny, I don’t think things were very much different, but we knew what to expect this time, and were able to enjoy.  The wind was from the southeast, which meant it blew straight from the harbour mouth towards the buoys, giving us a good run out to the second buoy, that marks the 100 foot or 16 fathom (deep) line.  There were several sea lions sunning themselves on this one, they pretty well ignored us as we sailed around them.

We had to beat back directly into the wind, which was fading fast (not the swell though, it carried on going up and down like an elevator).  With the sun right behind the harbour, it was hard to pick out the bell buoy, but binoculars helped.  After a couple of tacks we reached and passed it, but by then there the wind was so weak that it wasn’t worth trying to sail closer in, so we started the motor again – only one pull this time.  We were fairly blasé about the entrance this time, but were surprised by the strength of the current flowing out with the ebb, just like a river.

We went straight to the launch ramp, and got Wayward Lass hauled out and packed up before going around to the sea wall again to say “so long” to the folks.  It was hard to be leaving early on such a nice day, but needs must, and all that, so just after 11:30 we pulled out for home, arriving there some 492 miles and12 hours later.

A great weekend – many thanks to Jack Brown and all his fellow organizers!  See you again next year.

***

A Sunday at the lake.

We pulled into “Bear’s Glen”, small park next to hw 64 bridge. Bit more drive than my usual launching place, worse launching conditions, but it get’s you almost to the bridge so you can sail different parts of the lake. Main reason to have a trailer sailer is to sail in different waters, as we are doing today.

There was  a catamaran, probably a hobbie whatever, setting up in the only nice shaded spot, they had just got the mast up, two guys working on setting it up. “I’ll show them!”, me thinks. We pull up behind them, and with Brian and I working together we had the boat ready in 5 minutes, and pulled around them to launch. 30 minutes later we sail out of sight of the launch ramp, and they still hadn’t launched. Ah, the joys of a Bolger boat.

Tried teaching the boy to sail, and he did eventualy learn to keep the boat more or less going forward. Kind of like a snake goes forward. Though to tell the truth, it took me awhile to learn to hold a steady course in the puffy, unpredictable wind we have here in central Oklahoma, too.

Brian crashes below decks, and I set the boat up for self steering. The most memorable part doing 4 knots or so to windward, exactly parrallel to the shore, using both hands to put on sunscreen, watching the campers 100ft away on the shore. When trimmed right, the boat will adjust it’s coarse perfectly to the wind, head up in the puffs, fall off in the lulls. She sails OK in the light air we had, but Ze boat, Ze REALLY like’d ze wind.

Sailed up to the railroad bridge by Manford, probably about 10 miles, most of it beating to windward.

Ran back in force 3 winds. SWEET. Boat was trying to climb over the bow wave, was doing at least 7 mph. A 10 mile run back to the ramp, at least 20 other sailboats out by now. We are cooking along at just over hull speed, running wing and wing. Now, THIS is sailing!

Sailed up to the beach and had to answer the inevitable “What type of boat is that? Is is new, or old? You BUILT IT?”. At least this time it was a pretty girl asking the questions. I even tried to be friendly!

Yanked the boat out just as it was getting hot. Very nice day at the lake.

***

The Boat – David Lewis

So, this guy has a boat.  Well, he WILL have a boat. Right now he’s got a bunch of boards and screws and glue and stuff.

So, he’s gonna build himself a boat.  But instead he works on playing with the head of this strange female that’s living in his house.  She’s strange – did I mention that?  And he’s not sure how or why she came to be living in his house.  He just knows she’s there and she’s annoying.

So, he’d be building this boat if he weren’t fighting with her or playing with her or studying her or otherwise wishing he could do more to her but knowing that that would just be too strange.

So, when he finally gets tired of her and gets rid of her then he’ll build this boat.  And into it he will put all the strangeness he’s taken from her in his strange games.  And people will look at his boat and wonder.  Some will hate it, think it’s ugly, stupid and downright…bad maybe.  Others will say “cool” and go elsewhere or just shrug their shoulders and turn away.  Some few will stare at it for hours on end, wondering at the strangeness they feel oozing up out of this.  They will be drawn and repulsed at the same time. Depending on their character some will feel the need to possess and sail this boat and will offer large sums of money (which this guy will not accept) and maybe even consider stealing it (bad and dangerous idea).  Others will go home and lie awake at night shuddering at it’s strangeness, nightmares keeping them from rest.

So, someday this guy will build himself a boat.  And, to a very few, it will be known as, That Guy’s Boat.

So, The End.

***

lee

Okie Sailor Thoughts – Captain Lee

The other night I was sitting under the stars sipping some wonderful ale along with a couple of salty sailor types just bsing about life in general and the topic of Oklahoma sailing came up.  “Yes, I’m an Okie”, I said with a bit of proudness to it probably…”I grew up in Oklahoma and that is where I learned to sail”.  My fellow sailors stopped their drink at mid face and stared at me wondering just want kind of sailor I could be then?  “No water in Oklahoma”, they both replied.  Funny they should mention that.  Oklahoma PR states that there is more shoreline in Oklahoma than the East and Gulf Coast combined.  Of course, I added this tidbit of information and again, their drinks stopped half way to their mouths but this time, a different look on their faces as they felt I have now exceeded the boundaries of BS, I have crossed the line so to speak.  “It’s true,” I stated. And I proceeded to qualify my statement telling them of our lakes and river systems, not to mention the fact that Oklahoma has one of the greatest natural resources known to man, and that is wind.  The entire state could maintain itself on solar and wind generated systems if it would.  Unfortunately, it doesn’t.  But, that’s another thought.  With that kind of wind, and lots of water, we have some of the best sailors, some of the best sailing facilities not to mention regional regattas, etc, that any inland state could possibly have.  Again, they were floored, speechless and after a moment or two, I was bombarded with comments, questions, you name it and I found myself defending my stand on the state being the sailing state it is.

Anyone that sails Oklahoma knows what I’m typing about.  Ever sail Lake Hefner on a weekend?  Bumper boats.  Ever sail Tenkiller?  Grand?  Eufaula?  What about Texhoma, Kaw Lake, the Spavinaws?  Kerr-McClellen?  What wonderful sailing opportunities we have in Oklahoma.  What about the 100-mile race on Grand Lake?  That’s one way if memory serves.  The opportunity to sail in Oklahoma is remarkable, the wind ever blowing and rarely light, one can sail most the year.  And yes, maybe it’s a secret that Oklahoma has the shoreline that she has, that natural born sailors flourish there and at any given weekend, no telling how many thousands are actually trimming sail on an Oklahoma lake.  What a place to set sail at.  I miss it.

What I’ve learned from Oklahoma winds will follow me all throughout my sailing career and I make use of the knowledge I gained having learned in Oklahoma.  The winds, the cloud formations, the weather patterns there, all made me a better sailor, a more competent one in that I know how to predict weather patterns now.  I learned that in Oklahoma.  I’m not an ol’ salt per say.  I’m an Oklahoma sailor now taking her knowledge to the Chesapeake where I hopefully one day sail my 41 using my Oklahoma sailor education.  I don’t argue the fact that inland sailors are just as true to sailing as offshore people.  I know better.  I know the differences in heaving to in a storm rather than finding a cove to tuck into.  I’ve done both on an Oklahoma lake.  I’ve ridden out some good swells in the Gulf of Mexico and I’ve also handled some pretty good wave action on an Oklahoma lake where people approached me later on telling me all they saw of me and the boat as they crossed the dam was the boats spreaders.  Now, that’s some big waves out there, right?

What is all this comparison stuff about?  Who cares?  Does it really matter where one learns to sail?  Does it make a person less of a sailor just because they learned inland rather than offshore or in some big estuary?  I mean, really…. Who cares?  The fact that we all sail, we have that common bond, that thread that sailors have, means we are part of a unique lifestyle, a culture all it’s own, be it inland or seaside, who cares?  We all spread the canvass, we all have the same feelings regarding sailing itself or we wouldn’t be sailors.  We aren’t like the rest of the water people that stick a key in and go, that’s all fine and good maybe and requires little thought, little brain power and lots of money to stoke the engines.  We have our own qualities.  We appreciate the finer things that sailing allows us and that’s a fine payoff for taking the time and learning how to sail a boat.  Maybe we are more intune to the weather, the gentle movement of treetops catches our eyes more and we pay more attention to cloud types.  Is it possible that our senses are sharpened and honed more each time we go out under sail in that we pay more attention to wind changes, wind speed?  Are we truly more visual in that we detect the change of water color before the storm, the change of sky color as well?  Where did we learn that from?  Did we learn it from other sailors?  Or did we pick it up naturally as we became sailors ourselves, paying close attention to the elements around us?

Sailing inland offers so many advantages that there are too many to relate but what I’ve noticed is this, without my Oklahoma sailing experiences, there is no way I’d be out here taking on the Chesapeake or the Atlantic eventually.  Without my Oklahoma sailing background I wouldn’t be able to do any offshore racing that I enjoy on the Gulf of Mexico in the fall.  Oklahoma provided me the education I needed in confronting storms and storm sailing and because of that, I don’t panic on the high seas because I’ve already been there, done that, on an Oklahoma lake.

I don’t need to defend my stand on inland as opposed to offshore sailing.  It’s obvious to anyone that can tell the difference, that there really is NO difference in abilities just because one learned inland.  If you’re a sailor, you’re a sailor.  Period.  If you’re the type that sits on the boat and watches everyone else go out and come in, then, you’re not a sailor but maybe a wannabe.  Just don’t enter into the conversation stating that you know this and you know that because you have a 40 footer sitting on the biggest estuary in the world.  Who cares?  I don’t.  What I do care about is the fact that my roots to sailing were formed in Oklahoma.  I have no regrets.  And because of this, I’ll always be an Oklahoma sailor whether I wind up in Fiji or Belize, no matter.  And I am proud that I learned in that state where the wind constantly blows, where the weather is always changeable, the water cool and fresh, no jellies there.  I appreciate an inland sailor fore’ they make better offshore sailors having already experienced heavy stuff, scary stuff and possible catastrophe.  Lakes are minute seas surrounded by boundaries.  What do boundaries do?  Teach us, right?  Then, go learn on a lake before you hit the sea.  It’s an advantage and a good one at that.

Anyone can hold a straight course at sea.  Not just anyone can sail a mean scurvy lake that wants to take you down.  As the saying goes,  “Whenever your preparations for the sea are poor, the sea worms it’s way in and finds the problems”.

Captain Lee Allred
Of the good ship, Mintaka

***

Buodicea’s coming out – Ed Heins

The continuing saga of Boudicea, the Chebacco that would eventually be finished.

Way back in the last century, I bought an upside down Chebacco hull from Burton Blaise up in the wilds of Ontario.  At the time my plan was to spend one, maybe two summers fitting her out in the green mountains of Vermont and trailer sail her during summers in New England.  How times change…..  Two homes, two states and a half decade later I’m proud to say that the old girl is getting close to being wet for the first time.   Instead of the Green Mountains, she’ll be finished in the Blue Ridge Mountains, and instead of New England lakes, she’ll in all probability see more of the Chesapeake bay and maybe even Gulf of Mexico, but all thing being equal I’m thinking that’ll be OK with her.  I know it will be OK with her majesty, my bride of 13 years, as she’ll get another half garage out of the deal.  I’ll get to put a check mark in the finished project box and maybe for a year or so get off the chandlery’s Christmas card list.  But enough of that.

I named her “Boudicea” after the Queen of the Celtic “Icene” tribe from what’s now northern England.  Having  suffered the murder of her husband and rape of her daughters by Roman legions in about 50AD, in a testament to future British womanhood, Boudicea promptly raised an army of some 150,000 and beat Nero’s army like a drum for the next few years.  (My kinda girl.)  When finally surrounded and overwhelmed, she committed suicide rather than suffer capture herself.  A rather tragic tale, but I thought a suitable heroine to name a ship after.

At any rate, Boudicea came out of the shed for the first time sporting most of her paint, some of her trim and spars in the finishing stages.  She’s made from A/C fir ply with a layer of 3 oz glass and epoxy over the topsides and a couple layers of 5 oz glass on the hull/  The trim is red oak and the brightwork is finished with Sikkens Cetol Marine while the deck and hull  is Interlux Brightside, Hatteras Off White and Sapphire Blue respectively.  Bohndell cut what looks to be a great set of sails and with the help of Ebay and a credit card

I’ve almost got the hardware end of the project complete.

Yet to accomplish is a short bowsprit, toe rails, trim along the cabin top, moulding around the mast slot, slot cover,  running rigging, rudder / tiller mounting, and fitting of the centerboard……… I’ll stop now before I depress myself.  Needless to say there’s plenty yet to do.   Nevertheless, I’m thinking I’ll sail her by the end of August.  I may not have electrics and a finished cabin by that time but I think she’ll keep the wet on the outside.  I’ve sent up some pictures of this most recent state of the lady.  Next to come hopefully will be the pictures of Gin & Tonics at the launching ceremony.

Cheers y’all.

Ed Heins

New Market VA

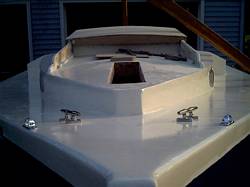
tn_bow tn_cockpit tn_front tn_port_window tn_portside tn_stern

***

Some Pictures – Dave Neder

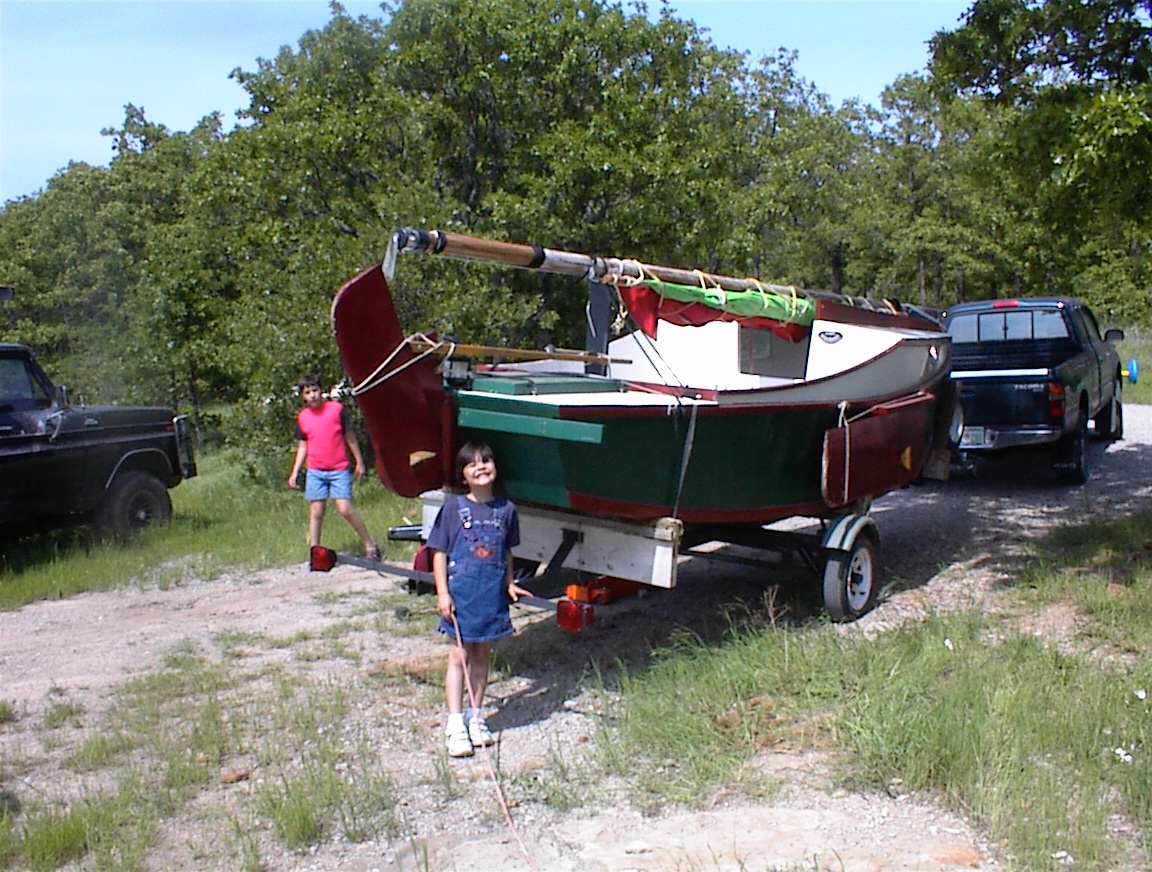
Attached are some photos of the “Mary Beth, too” just prior to moving her out of the garage where she was built and onto a trailer.

The tiller and some of the hardware and rigging were salvaged from a “Lancer 27”.  The hull material is marine Fur Plywood,  Red oak, Ribbon Strip Mahogany plywood and Mahogany lumber were used through out the rest of the boat.

The keel is covered with 5 layers of fiberglass and West epoxy.  The bottom and bilges with three layers of glass and epoxy.  The mahogany
sides 1 layer of 3 oz glass.

The spars are Sitka Spruce.  The Masts and Gaff are hollow.  The mast was built using the “Birds mouth” method of forming eight sides.
Starting with eight sides makes it a lot easier to round the mast.  Also it is very easy to build in the taper for the mast head.

The main boom was made solid for the weight to help hold the main down. The main is loose footed and draws quite well in light air.

Regards
Dave Neder

CABIN_HATCH CRIBBING HATCHES MAST_HEAD TILLER TRAVEL_CRIB

The attached pictures show a few construction details of “Mary Beth,too” Ibuilt assemblies such as the transom, center board house, stem etc. in my basement during the winter months and moved them to the garage and constructed the boat. The guests are my son and his family.
Regards
Dave Neder

CENTERBOARD_HOUSE CTRB_DHOUSE_BLKHD FWD_BULKHEAD GUESTS LOOK_AFT

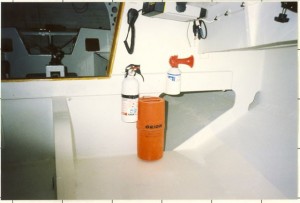
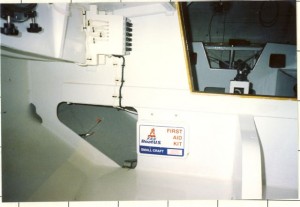
The photo of bulkhead Nr 1 shows the tabernacle posts which are epoxy bonded to the bulkhead and keel. The photos of the aft portion of the cabin show the location of the switch panel and the safety equipment just inside the hatch. The equipment is offset to prevent tripping. Notice the paint with the flat and glossy surface.  The bright paint is one part polyurethane on the floor for wear.  The flat paint is a twenty year alkyd exterior house paint with a fungicide.  I pre-printed all of the bilges, flooring bottoms and insides of the partitions and bulkheads prior to final assembly.

We sailed “Mary-Beth,too”  quite a bit last year. Our sailing has all been on Pewaukee Lake ( 6 miles long by 1 1/2 mile wide) She is very happy on a beam reach, and self-steers when I set the mizzen properly. Heaving to and reefing is easy.  Center the mizzen and she sits nose to the wind. I have run all of the reefing lines to a point at the cabin hatch.  I learned some years ago not to go forward of the cockpit to reef the main during a squall on lake Michigan.

However, I have not even moved the boat out of the garage this year.  I broke a knee cap and put a two month crimp in everything.  August is
still young.

We enjoy the Chebacco web site.  Thanks
Regards
Dave Neder

BULK_HEAD_NR_1 CABIN_AFT_PORT_SIDE CABIN_AFT_STRBD

Chebacco News 40

Intro and more building the CLC

aDSC00008_2Well, I’ve sold my AF2. Entropy retired to a happy home in sunny Arizona. Pays for the outboard on the CLC. Interestingly enough the buyer, according to his friend (who we delivered the boat too), has an occupation of “rich kid”. I think it’s neat that he could afford any boat in the world, and wanted my homemade one!

Looking very much like a boat.

The standard thing that people said when I was building the AF2 was “how are you going to get it out the door?” The standard thing people say about the CLC is “It looks like a boat”. As you can see from the pictures below, it does look like a boat. Just not a sailboat!

Windows, what to do.

I finally decided to go with Plexiglas/acrylic instead of Lexan/polycarbonate. Decided to do my own tinting instead of paying the extra for the tinted acrylic, not sure I saved any money, and in the long run may need to redo all the windows. However, they would be easy to switch out, in that event.

Battery adventures

Well, the money I saved by going with the Sam’s Club golf cart batteries turned out to be not any money at all. I have this bad habit of doing that, I’ll do something to save money, and wind up spending more then if I had just gritted my teeth and did it right to start with. Have to work on that.

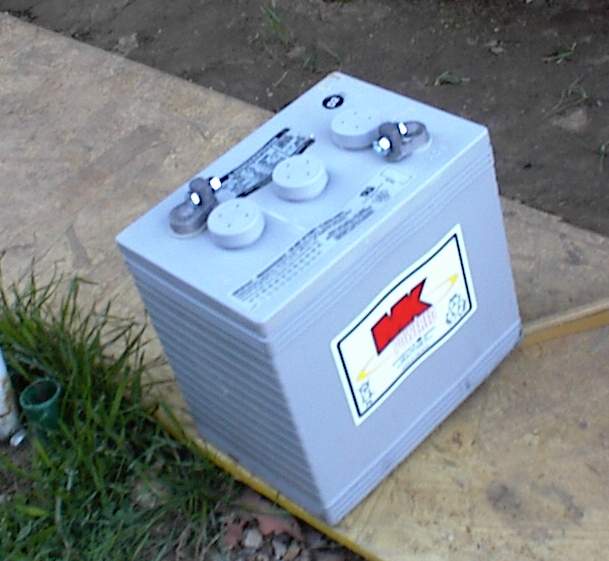
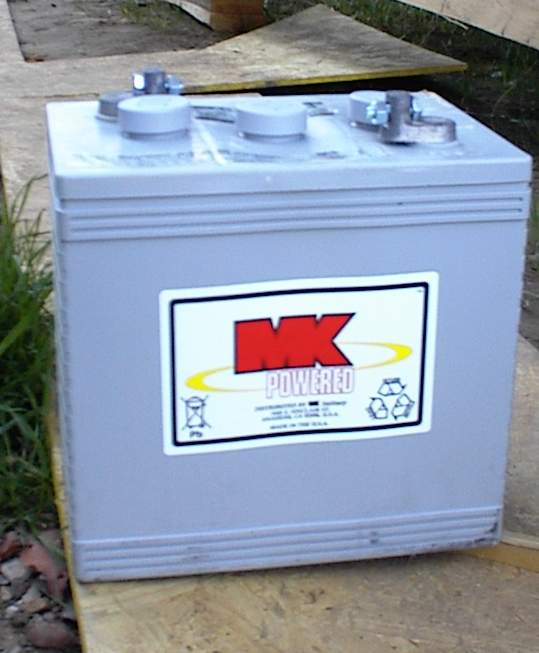
When I was installing the batteries I noticed acid leaking from on of them when I moved it to the boat on the hand truck. Not good for a sailboat (even one that looks like a power boat) that the batteries would leaks when tilted. Decided to get the West Marine version of the golf cart batteries, even though they cost twice as much as the Sam’s batteries, on the theory they wouldn’t leak. Two weeks after I placed the order, West Marine still didn’t have them. Canceled, and paid twice as much again, for MK gel sell batteries with the golf card form factor.

bDSC00004_9 bDSC00005_6The Westco Battery guy said “they probably double stacked them”. Right on the side of the box it said DO NOT DOUBLE STACK. (not really a box, more a cardboard half cover for the batteries)Then, when they came, one of them had a smashed in center cell. With some encouragement http://www.westcobattery.com/ sent a replacement. When it arrived, it was three! I originally had complained because a couple of the bolts were missing. Apparently they sent two new batteries then. Then when I convinced them the cell was smashed too much, they sent a replacement for that. Swapped out the bad one and sent the three back. (on their dime)

Interestingly, the shipping guy was having a cow that I would claim the batteries were damaged. I told him it was between him and WestCo. He put the three batteries on the hand truck to haul them up the driveway, and guess what, only two would fit.  So, he stacks the third one on top. Is that “double stacking?”

bDSC00004_4 bDSC00018
I remember a conversation with a guy who had built a very pretty wood and epoxy boat about the size of the Chebacco. He said he had used 10 gallons of epoxy and I remember asking “why so much?” I hope Larry at Raka likes me; I stopped counting at 30 gallons…boat epoxy, and more epoxy

mast, titebond

tn_mDSC00003_4 tn_mDSC00001_7 tn_mDSC00001_6
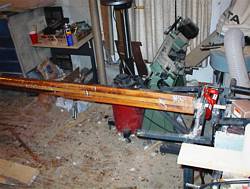
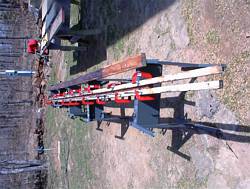
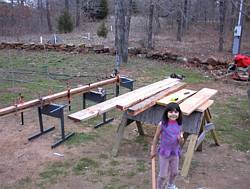
Left hand picture here we are clamping the spacer boards on the mast, Made the mast hollow so the wires for the anchor light would have a place to run. Right show the sanding crew hard at work.Here are some pictures of the mast. On the left I’m using pallet wrap to pull some of the wrinkles out around the transition from square to round. Primitive vacuum bagging, without the vacuum or the bag.

tn_mDSC00001_4 tn_mDSC00003_7 tn_mDSC00001_5

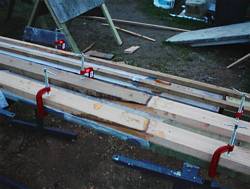
Decided I would laminate the other spars with TiteBond II instead of epoxy, save money, and it’s still stronger than the wood. Need lots of clamping pressure with TiteBond, every “C” clamp I have is in this picture. Someone on Yahoo suggested there might be “creep” problems using TiteBond. Don’t know about that, they aren’t under constant load. Just have to wait and see what happens.tn_mDSC00001_13 tn_mDSC00012_3
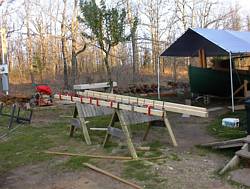
Nice picture of the scarphs for the mast. Bottom of the mast is doug fir, top is red cedar.

Going to redo the gaff hollow ala birds mouth, gaff to plan is a bit heavier than I like. Also, decided the other night to scarph up plywood scraps, so this should be an interesting stick. Then again, I may save that for a latter project, and just use the stick as is for now.
motor, mounting board

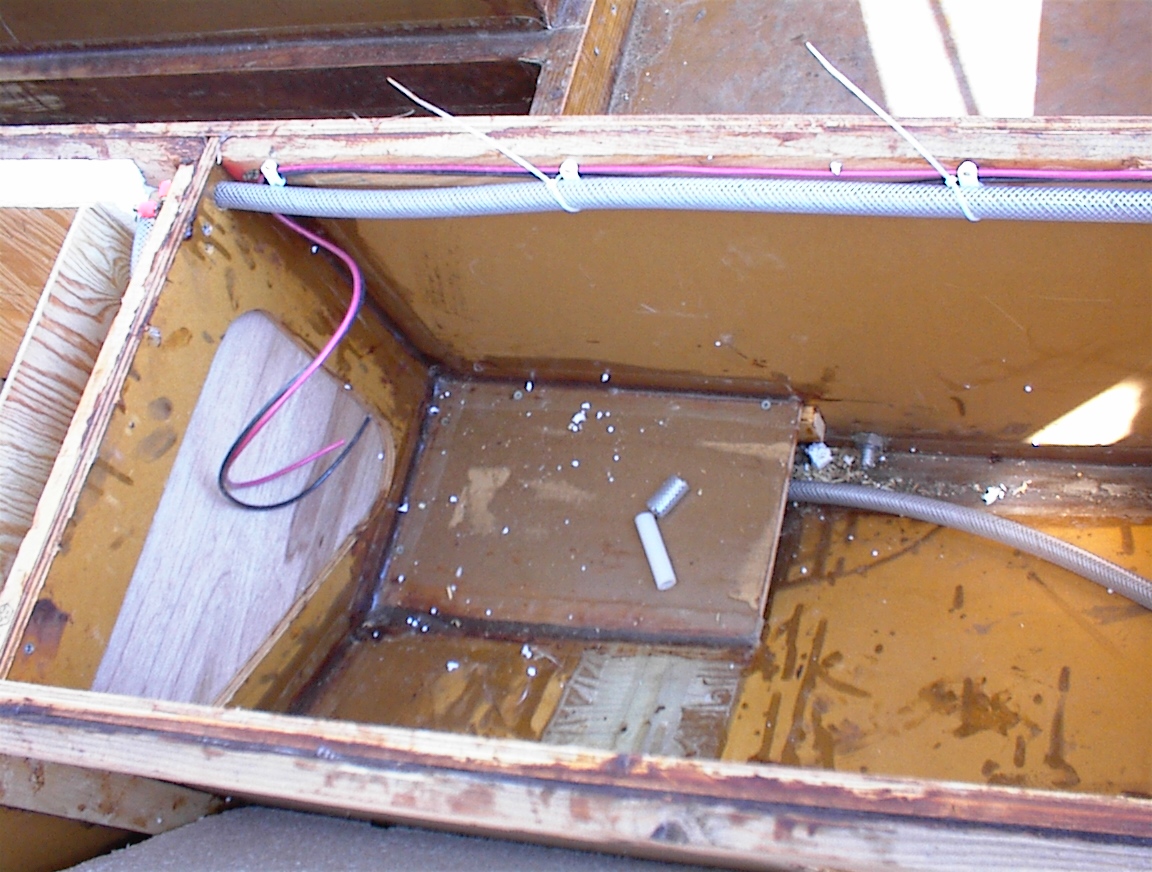
Motor is in, rather heavier than I thought it would be, though it’s probably right to spec. Will worry about installing the alternator kit later. Actually, could have waited to buy the motor, can’t put the motor mounting board on yet ‘cuz it would block easy access for getting into the boat. Made the mounting board out of sheathed plywood instead of oak, will put a 1/4″ aluminum plate for wear resistance. Also, I’m putting wedges under the mounting board on the back of the boat, instead of making mounting brackets ala plans inside the motor well.
Camper Works
Sad to say I had (and am still having) a bad experience buying something online. I bought a porta potti from a place called “Camper Works”. After 4 weeks it still hadn’t showed up. I started sending them emails, which were ignored. I started calling them, and they kept giving excuses. I finally got disgusted and canceled the order, and ordered from a place called “Camper World”. The Thetford 135 from Camper World showed up in a couple of days. Then, a couple of days later, the one from Camper Works showed up! It had been shipped THREE DAYS after I called and canceled the order. I shipped it back, and the guy said he would send a check….
Well, I haven’t gotten a check back. I guess I’m going to have to call Discover Card and do a charge back.
thriftymarine

Had a similar experience with Thrifty Marine. They have such good prices on their Bomar hatches that I ordered some more deck plates from them. A trivial order, $18, but I paid promptly and expected the hatches to be shipped. 6 weeks later they hadn’t been, and emails were not being responded to. Had to call, and kept getting excuses. “I’ll ship them first thing in the morning”.

Finally had to send an email threatening to report them to Paypal for fraud. This got my hatches sent, for some reason. Owner said he would “make it up to me” on my next order. Needed another 10” round hatch for the front, asked how much. He said he would ship it gratis on Wednesday (neat, that would make up for the hassle!), but it’s been three weeks…

I’ve added a warning on the “resources” page, buy from them at your own risk.

Trim

tn_trDSC00003tn_trDSC00004tn_hDSC00003_12
Splurged on the trim for boat, figured if I spent this much time and money on the boat, I would like some trim that looked good. Bought about 12 board feet of Honduras mahogany. Expensive wood, almost as much as teak, could probably have got lots more red oak for the same price. As it is, I’m going to get some mahogany stain and put it on, make it look even redder.

tn_sDSC00009_2 tn_sDSC00008 tn_sDSC00001
Here are some pictures of the berths. I made access holes in the berth tops instead of having the whole top pull out ala plans. Stronger structurally, and looks better I think.


tn_dDSC00013tn_dDSC00015tn_tDSC00014

Here are some picture of the seats going together. Note alcove and ventilation hole.

tn_tDSC00003_14tn_tDSC00004_11tn_tDSC00005_8tn_tDSC00007_6

Some pictures of the tabernacle.

tn_cDSC00001_15 tn_cDSC00004_10 tn_cDSC00009_4

Scraping paint runs, faster than sanding. Laying out cockpit coaming. Note that the only joints on the boat that are not stitch and glue are where I fastened something to a closed compartment and couldn’t access the bottom. This requires a LOT of tape, but I have NO end grain or plywood edges exposed for water to get in.

tn_cDSC00001_12 tn_dDSC00004_3 tn_dDSC00004_13
The forward hatch will be sliding; the rest of the hatches will be hinged. Bought hatch hinges but they don’t work like I expected, and I think I’m going to sell them on Ebay and use treadmill belt and bungee cords for the hatch hinges.More pictures of the coaming going together, some pictures of the deck. To the right, picture of the sliding hatch on the forward deck. Also not to plans, plans showed a narrow hinging hatch.

tn_dDSC00005_2 tn_dDSC00005_3 tn_dDSC00006_2More sanding, and another picture of the forward hatch.

tn_dDSC00006_3 tn_dDSC00007 tn_dDSC00007_7Top hatch being “stich and glued” in with cleats and clamps. Note the profile of the deck on the right. Plans show a rounded curved deck. Decided that a stitch and glue hard chine deck would look better and go with the rest of the boat.

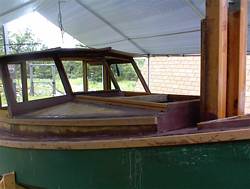
tn_dDSC00009_5 tn_hDSC00001_2 tn_hDSC00003_13Some pictures of the pilot house. Kind of looks like a tank or something, eh?

tn_hDSC00001_14 tn_hDSC00003_11 tn_hDSC00003_12More pictures of the pilot house.

tn_hDSC00004_12 tn_hDSC00005tn_hDSC00004_2

tn_hDSC00005_7 tn_hDSC00005_9 tn_hDSC00006

tn_hDSC00006_6 tn_hDSC00008_5 tn_hDSC00008_6

Note the rag tied to the rope. Only took me about half a dozen times running into the rope to put the rag there. I guess I’m a slow learner.

tn_hDSC00009_6 tn_hDSC00010_6 tn_hDSC00010_7

tn_hDSC00010_8 tn_hDSC00011_3tn_hDSC00012_4

Redhead says it feels “creepy” inside the pilothouse. No windows yet.

tn_hDSC00013_3 tn_iDSC00001_3 tn_iDSC00003_2Side decks give plenty of room for walking. Starting to work on the icebox. Laying out the panels for marking.

tn_iDSC00003_3 tn_iDSC00005_4 tn_iDSC00006_4 tn_iDSC00007_3 tn_iDSC00008_3 tn_iDSC00010_2
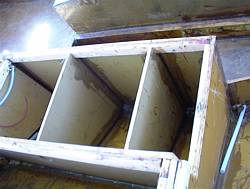
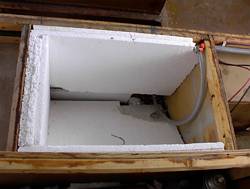
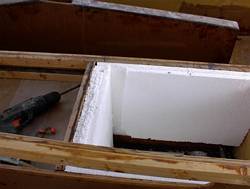
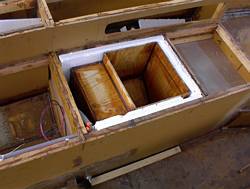
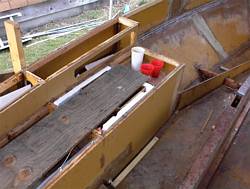
Icebox going in. Offset top so cabin/cockpit bulkhead won’t span the lid. Right I’m foaming the extra spaces out.

tn_iDSC00011tn_iDSC00012_2tn_iDSC00014_2

More icebox work, center picture is the compartment for the potti.

tn_iDSC00015_2tn_iDSC00016tn_iDSC00017

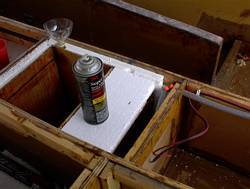
Board holding down the styrofoam, expanding foam, well, expands, so it was trying push the rest of the styrofoam up. Stuck the pieces together with 3M spray adhesive.

tn_vDSC00001_8 tn_vDSC00003_8 tn_vDSC00004_5

My experiments into vacuum bagging. Bagging the aft mast step to make sure the glass sticks down to the wood on all the odd corners. Without bagging I would have hat to do it in several stages, and do a lot of sanding. With bagging I can do it all at once, and only need to scrap off the creases left from the bag.

-Chebacco Richard

***

LED lights, take two:

The other day I received an email from Ken James about LED lights and regulators.

This is nothing strange, every time I write an article on how to do something, someone will pipe up, “you know, there is a better way”.

Which is as it is should to be, I suppose. Peer review and all, certainly makes for a better end product. For instance, talking to various people has convinced me that the best way to power LED’s is though current limiting, and not a fixed voltage regulator. Not to say that the fixed regulator won’t work, but there is an easier way. Or, maybe it isn’t even an easier way, in some circumstances, but it removes the complicated and expensive voltage regulator and replaces it with a cheap IC at the light locations.

Anyway, I had built the prototype (mark 3) LED anchor light the other day using current regulator IC’s from National Semiconductor, some resistors to set the current limit, and some bright white 5.6 candela LED’s from BG Micro.

Then I get this letter from Ken James. “Several years ago, over ten now, I had the idea of using leds for nav lights. Retired from the USN, went sailing a bit, then started building led lights. Been at it ever since. Solved all the problems you have encountered, including many you haven’t discovered yet, from what I read on your web site 😉 . So now I sell the lights, atwww.deepcreekdesign.com.”

Funny the people you meet online.

It was actually the high price of the LED lights at Deep Creek that decided me to make my own!

And you know what, after exchanging 16 or so emails with Ken there, I’ve come to the conclusion I probably didn’t save a whole lot of money making my own lights. But, like homemade boat building, that is not really the point.

For instance, Ken pointed out that with the 20 degree spread of my BG Micro LED’s a boat would have to be hundreds of feet away to see the anchor light. Seems you need a 60 degree vertical spread to be “legal”. Not that I was too concerned with being legal, but I was kind of concerned with getting run into…

So, to make an anchor light with 20 degree 5.6 candela LED’s I would need:

360/20= 18 LED’s to make a circle of light. But, since they need 60 degrees of vertical spread TOO, I would need three rows of the 20 degree LED’s, so I would need 18*3 or FIFTY FOUR of those LED’s (which are showing up everywhere and Ebay for about $2.50 each for some reason). Since I really only need 4.2 candela for 2 mile visibility (Ken’s numbers) I would need (4.2/5.6)*54= 40 of the expensive little buggers. There is $100 in LED’s right there. Plus circuit boards, regulators, etc, I’m just about at what Ken charges for his light!

<sigh>, story of my life.

But wait, he doesn’t use 40 LED’s on his lights, now what is going on here?

Well, firstly Ken uses a “pulse regulated driver”. This means he uses a high efficiency switching regulator, and drives the LED’s with pulses of electricity. This gets more “visibility” with the same power output.

Also, Ken uses surface mount LED’s with an output of .66 candela. You are thinking that this is quite a bit smaller than the 5.6 candelas of the LED’s I was playing with. Well, you must understand that candelas is a measure of brightness, and not total light OUTPUT. His small surface mount LED’s only put out .66 candelas, but they put them out in a fan of light 140×60 degrees.

Let’s see, that is .66 candelas at 140×60, or 5544 candela degrees (is that even a measurement?)

And, 5.6 candelas at 20×20 is 2240 candela degrees.

So, he is using LED’s that are about 2.5 times as efficient as well.

Could I make one using his LED’s? Yes. Nichia sells to the public, but not cheaply. Bought a couple of dozen NSSW440 surface mount white 60×140 LED’s, and used 18 of them for my anchor light. Here is a picture.

Incidentally, if you want to use the surface mount LED’s, you will need a board. I’m considering selling a kit for these lights. If you are interested, email me.

Well, if I can’t save money making my own anchor light, at least I can save money by making my own LED bicolor light then!

Maybe, maybe not. Ken pointed out that if I’m not careful I would have “zone overlap”. That is where the beam from the colored LED’s overlap and from directly in front of the boat people would see a white light… not good. He was even kind enough to mention ways to get around this problem.

I could certainly build a cheap bicolor light. Would it be as good as the professionally hand made ones at Deep Creek? Probably not. Would it be safe to go sailing with? Probably.

Am I going to build my own lights? You are damn straight. Life, like sailing, is not about the destination, but is about the trip. Making my own LED anchor lights has turned out to be very good learning experience. In the process I have made new friends, learned quite a bit about electronics, and added the skill of etching circuit boards to my boat building skills.

If all you are wanting is efficient lights for your boat, you should buy them from Ken. His are well engineered and come with a warranty.

If you want the learning experience of making your own lights, or just want to tinker, you should make your own. Ask me questions, I’ll be happy to help you out.

-Chebacco Richard

***

Hi Richard

No earth shaking events to tell you about, but we had a visit from Bruce Hector on Saturday, and got out for a nice little sail with him.  We managed
some good speeds for a designed waterline of around 18 feet, which other builders might find encouraging — we exceeded the theoretical hull speed
for that waterline by about half a knot, by GPS.  We did that with and against any tide there was, so they were honest numbers.

We also tried out the optional jib, at least to windward, which folks might find of interest.  All the votes aren’t in yet, but it looks like anyone
thinking of sewing up a jib might also think of adding a bowsprit.  I like my Jonesport cleat too much to take it off just yet so I’m going to keep
playing with the jib on other points of sail.

I have a couple of pictures of Bruce on board — there are still a few shots on the roll to use up, but will do that and get them developed by the start
of next week.  No idea how they will turn out — I forgot the camera, so I bought a one-use Kodak.

Cheers,

Jamie

Hi Richard

Finally got these developed.  Only snapshots, but much better than I hoped for with a disposable camera.  Pity the photographer isn’t more skilled.
I’m sending all I have of Bruce, you choose which you want to use.  None of them look too wild, or show any spray flying, because I waited until we were
on a nice stable reach before to using the camera.

So how’s S’s Cat coming along?  I’ve been cleaning up some old epoxy snots inside W.L.’s cabin — they’ve only been there for two and a half years!  I
didn’t attend to them at the time because I wanted to get launched, then there was always some other reason not to fix them.

Been giving some thought to storage for cruising gear, too.  Last year we mostly used the cabin for storage, not sleeping, but I’m trying to keep a
lot of stuff out of the living area by using the space under the seats and up by the mast.  I might add more storage type hammocks under the side decks
too — we have one each side right now, and they’re great for small stuff. I went to great lengths thinking up the perfect galley box for all the
kitchen stuff, but when I made a mock-up of corrugated cardboard, I decided that I preferred the current Rubbermaid bins.  I may still make up a
mini-version to keep thermos flasks and cups to hand but not underfoot.  I guess this (storage) may be one reason why two-footitis is such a common
boater’s disease?

Gotta run,

Jamie

BruceHector1 BruceHector2 LesOrrandBruceHector1 LesOrrandBruceHector2

***

Around James Island

As Randy Wheating noted in the last “Chebacco”, it’s good to see visiting boatbuilders and/or boatnuts from other parts of the world.  This weekend I had a visit from another builder – not a Chebacco builder (yet) but a Micro fan.  I thought it was my duty to point out how he had strayed from the path of righteousness, and how better than to take him out in the One True Boat, a Chebacco?

Bruce Hector, of Kingston Ontario, was visiting family in Vancouver, and caught the early ferry over to Vancouver Island on Saturday, April 6, to say hello and see Wayward Lass.  This ferry lands at Schwartz Bay at the north end of the Saanich Peninsula, only 2 or 3 miles from Sidney, where we often launch.  I drove out with the boat and met him at the Safeway parking lot there, then we picked up my dad, Les, and headed over to the boat launch at Tulista Park.  We rigged up in about half an hour, and left the dock about 9:30 am  with a good south wind, something between 10 and 15 knots, I think.  A small craft warning was posted, but the highest winds forecast were 20 knots, sometime towards evening, so they just barely qualified for the warning.  Once clear of the dock, breakwater and other obstacles to navigation, we put up the sails and let out the sheets to reach eastwards towards Sidney Island at well over 5 knots (motoring, we top out about 5.5 knots).  Once near the island, we decided to turn upwind to make it easier to return, so we tacked and headed back over Sidney Channel.  However, between reaching earlier, and the wind veering round a bit to the west, we couldn’t do much better than go back the way we’d come, even when close-hauled.

Also, the wind had picked up a bit, maybe a steady 15 knots and a bit more in the gusts, so we stopped to put in a reef once we got a bit away from Sidney Island.  The mizzen did its usual job of keeping her head to wind while we tied in a single reef.  Bruce pointed out that the shore was getting pretty close by the time the sail was peaked up again, so we got under way before finishing the reef points – these are mostly to keep things tidy anyway, the tack and clew rings take the strain.

After getting well back to the west, nearly in line with the westward side of James Island, we tacked again and were able to free the sheets slightly as we went into the channel between Sidney and James Islands, on James Island’s eastern side.  Once well into the channel, James Island cut off some of the wind, but we kept moving, if a little slower.  As we approached the south end of James, the wind was maybe 15 knots again.  When we thought we could weather the south end of the island we tacked, but found the wind had gone even farther round to the west, and we couldn’t sail the course we wanted.  While we were discovering this, the wind blew us back onto the starboard tack, so we continued on with that, close-hauled this time.

In what seemed almost no time at all, we were far enough over to turn north again, this time easily aiming for the channel between James Island and the Saanich Peninsula (Vancouver Island).  As we sailed up the channel, the wind became freer, so our beat turned into a reach again, this time on the port tack.  The wind was lighter again, so we took out the reef in the main, and tried putting up the jib.

This is a new sail for Wayward Lass, it’s shown as an option on the sailplan, and this only was its second time out.  I can’t say it’s a great success – in fact, I would say it’s a waste of time trying to sail to windward with it.  Without a headstay, it’s hard to get the leech tight – but even when it’s reasonably tight, the sail is too close to the main.  If the sheet is pulled in enough to stop the sail flapping, the jib backwinds the main.  If the sheet is loosened to where the jib doesn’t spoil the wind for the main, then the jib flaps. Maybe there is a theoretical point where everything works, but we couldn’t find it.  Experiments will continue.

Once we stopped fooling with the jib, and had the full mainsail drawing properly, the GPS hit 6 knots several times, even though what little tide there was, was against us (it had shown just over 6 knots on the southern leg.)  The wind would not have been more than 15 knots (estimated.)

Sidney was coming up fast by now.  It was only around 1:00 pm, but we were all getting a bit cold, so decided to quit while we were still having fun.  The mizzen came into play again, keeping us head to wind while we furled the main – the GPS reported 1.8 knots in reverse at this time!  From the time we stepped off the boat until we were in the van, ready to go, only about 20 or 25 minutes passed.  We drove up to Robin’s Donuts, but couldn’t find parking for the van and trailer close by, so carried on to Dad’s place.

We finished off the last thermos of tea, along with some of Dad’s home-made oatcakes and jam while we talked and looked at Bruce’s boat photos – he owns a houseboat, has built a Nymph, Diablo, Pirogue and most of a Micro so far, not a bad variety at all!  He someday hopes to build a plywood aircraft carrier to accommodate an ultra-light STOL plane — that’ll be one for the album, not to mention the TV news and a few headlines!

What with the early start and very cooperative wind, Bruce was able to get away in time for the 3 o’clock ferry back to the mainland.  I hope he enjoyed his trip to Vancouver Island and around James Island.  That was probably the best sail we’ve had ourselves out of Sidney.  Good wind, (but not too much,) we all had good protection from the spray, lot’s of good food and drink (thanks for the beer and sausage, Bruce!) and the reef lines didn’t get tangled.  What more is there?

Chebacco News 39

Intro and flipping the CLC

A lot has happened since the last issue of Chebacco. I’ve finished the armor for the keel, flipped the boat, and am now working on the inside. Pictures and annotations below.

I had the bright idea (I thought) of offering Chebacco plans for sale on this website. I’ve had a couple of “where can I get these from” requests. I know that PCB&F have been burned by this in the past, so I was going to take my lead from Chuck Lienweber and Jim Michalak, and offer only the convenience of purchasing online, for a small fee and the credit card costs. I would take an order with Paypal, and fax something to PCB&F saying “send plans to so-and-so, check is in the mail). I faxed PCB&F with the idea.

Susanne called me and discussed, at length, this subject. “Why can’t they just send us a check?” seemed to be the gist of it. I did mention that JM’s plans sales have DOUBLED since Chuck started offering them online, but she didn’t seem interested.

Anyway.

There are now 20 boats in the registry. Wonder what the percentage is that aren’t registered? I think it’s traditional in statistics to use the SWAG method and just make up a number. Therefor, I degree that for every 1 boat registered we have 9 boats not registered, making the total number of Chebaccos something like 200…!

I’m hosting a messabout at the local lake here in the muddy waters of Oklahoma. Link to the left.

Jamie has two article in this issue, and I have two as well. Come on guys (and gals?), send in those articles. And pictures, lots of pictures! I understand that not every boat builder is a writer, but a few words and some pictures would be appreciated by all the readers. (Plus, pretty soon you will get tired of the pictures of me building the CLC!)

In this issue, I also have an article on the electronics for the CLC. I’m selling the LED regulator I made for the LED’s on my boat as a kit, so if you are wanting to play around with these super efficient and almost indestructible lights for you boat, you should buy one!

Also in this issue, I’m putting online an Adobe PDF file compiled by Mike Haskell. This is basically the entire Chebacco website, compiled and searchable! It is a 21mb download, so if you have a slow connection you might consider letting Google do your work for you and doing “site:chebacco.com something to search for” at their website. Or, buying the CD from Chuck . No longer available for download from the Chebacco.com site

Anyway, (again)

Here are the boat pictures

1DSC00001_3 1DSC00003_3 1DSC00005_2

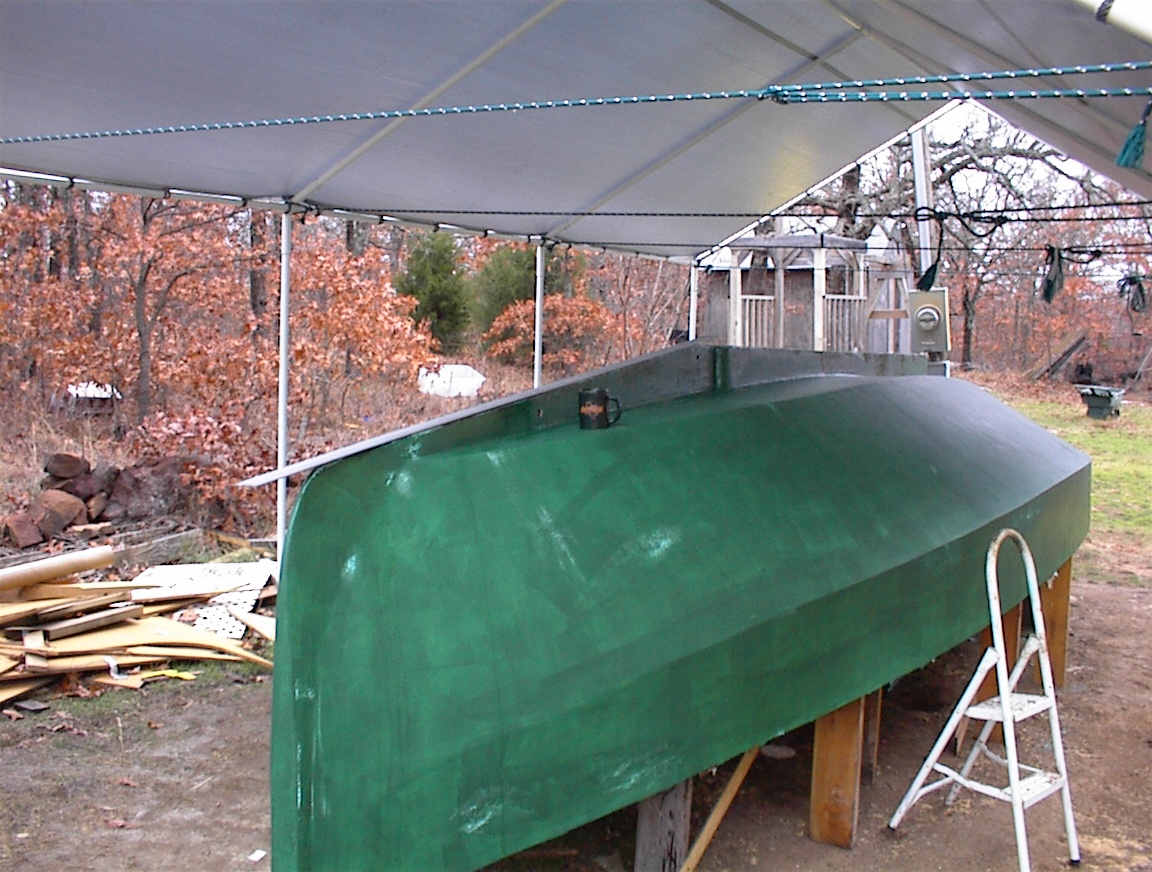
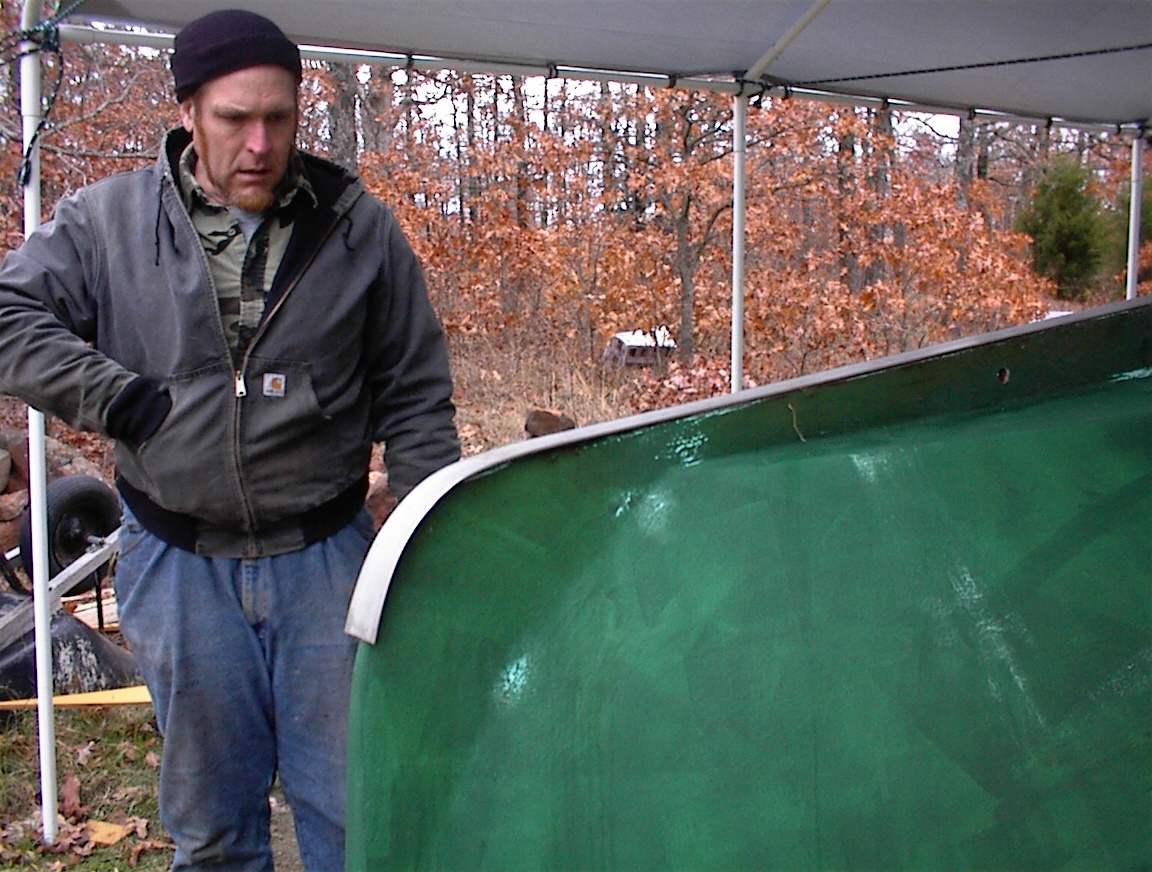
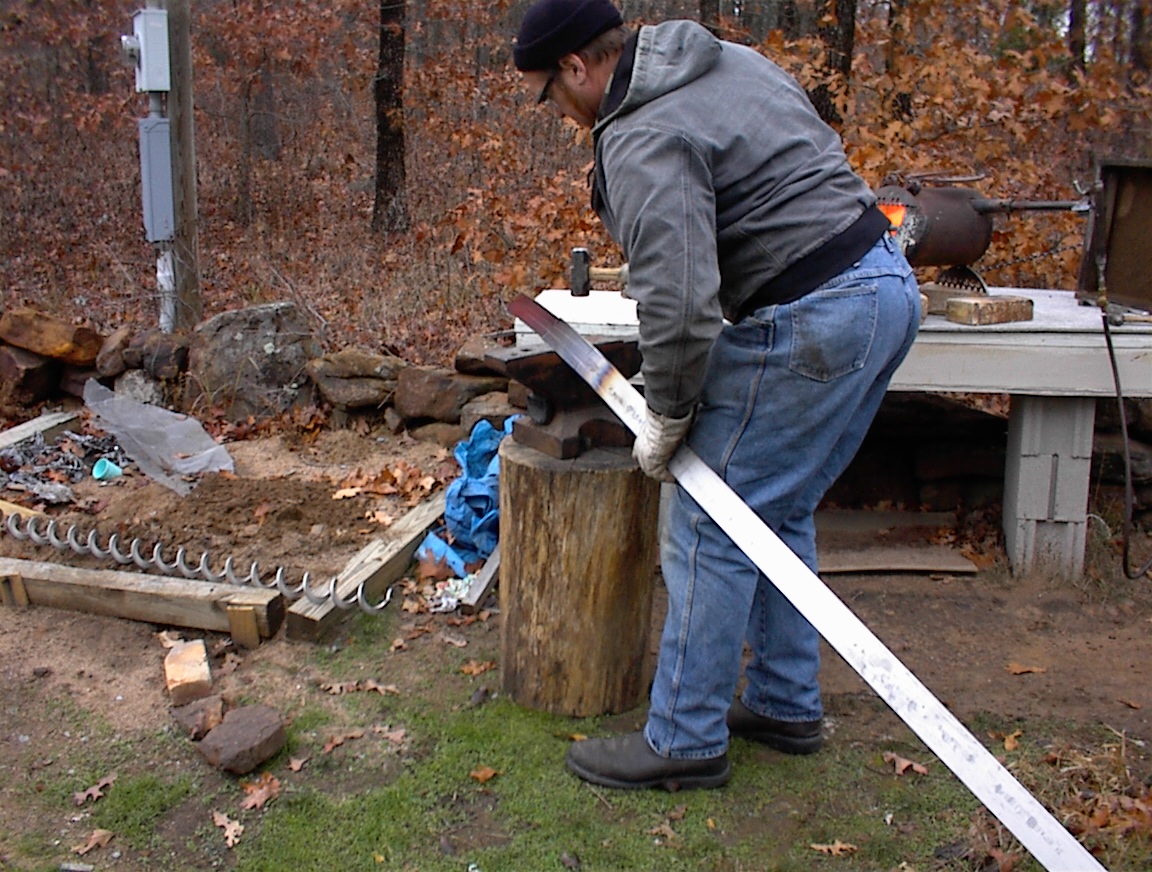
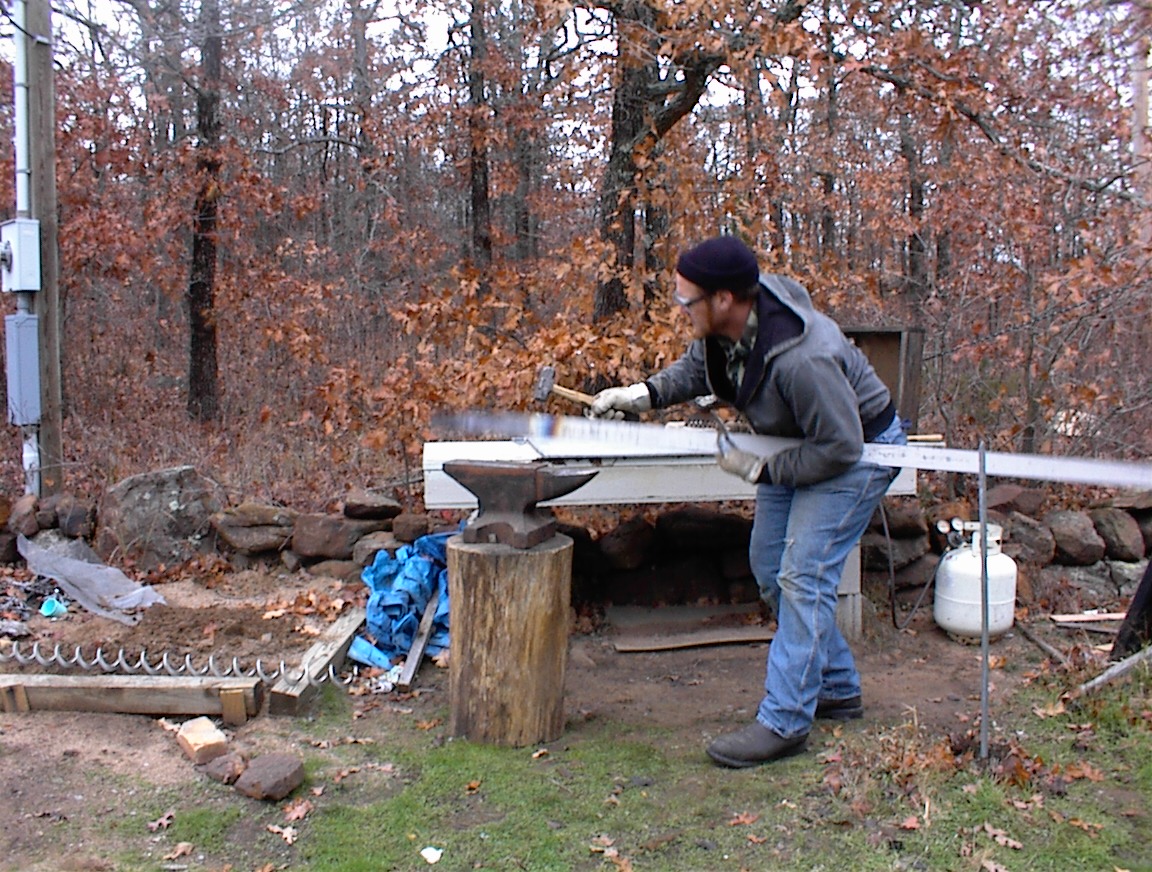
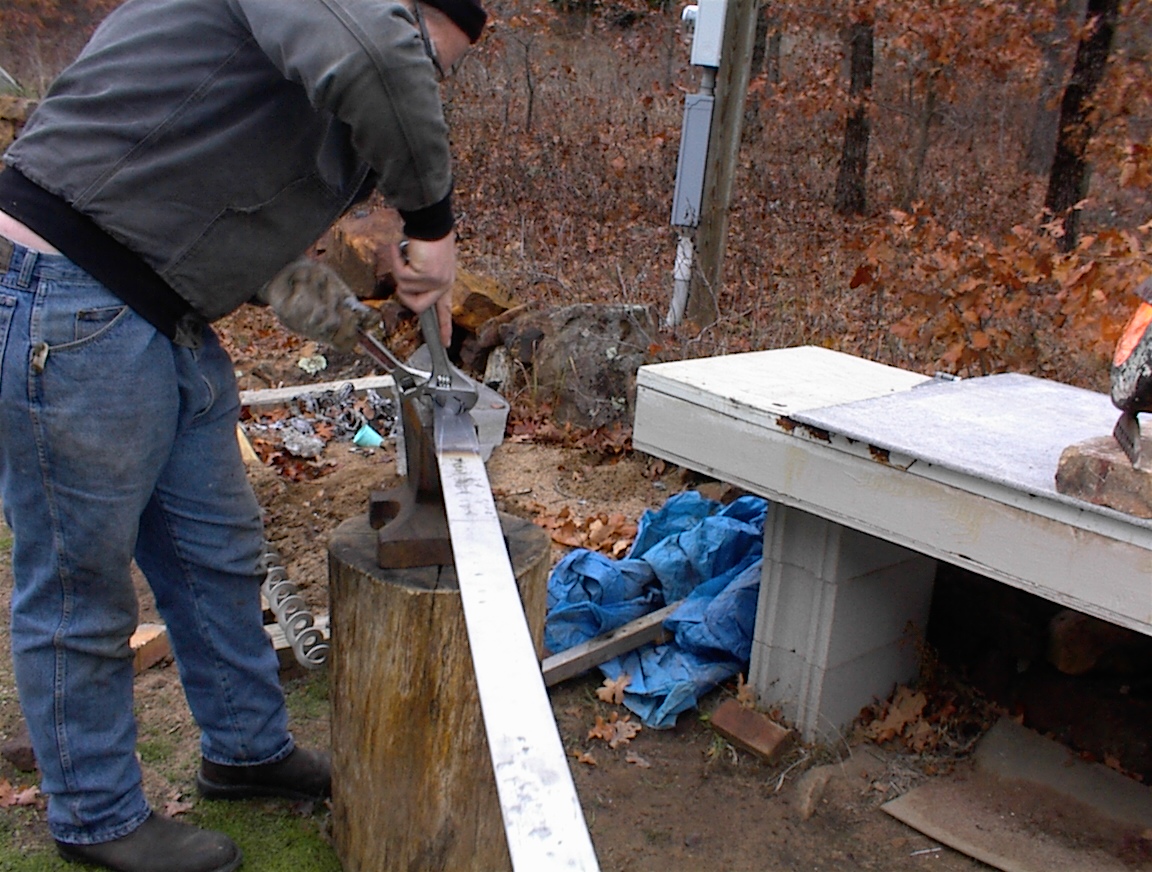
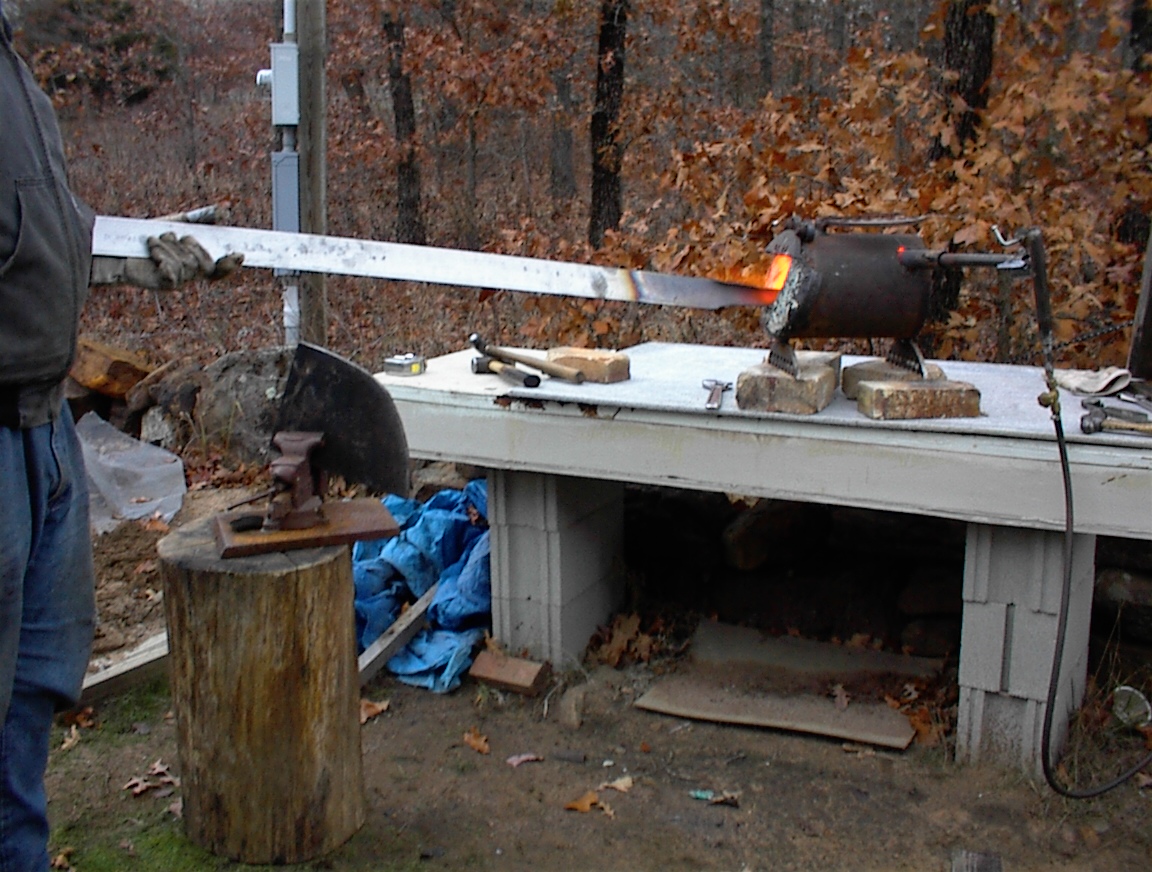
Here is a friend of mine I enlisted to help with the metal work. I wanted the front half of the keel to be armored to take groundings. Mike here has a home forging setup, while I have a home casting setup. Here you see him prepping the 1/8″ stainless steel keel armor for forging.

1DSC00006_2 1DSC00007 1DSC00008_2

I could have just cut it off, but I wanted it to wrap up and around the cutwater, sort of like an icebreaker keel. Here Mike is forming the part that wraps around the cutwater. Note the forge made from a freon can, sitting on my sandbox.

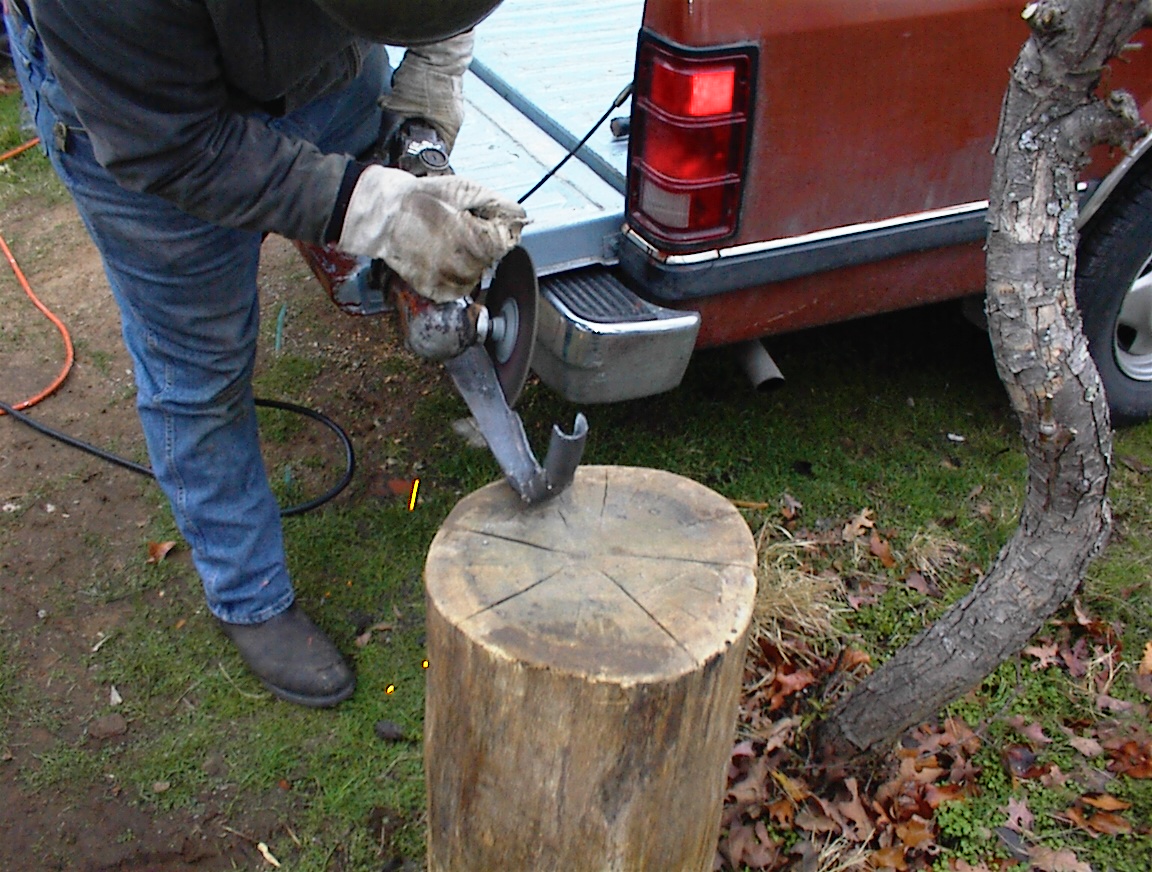
1DSC00009 1DSC00010 1DSC00011Almost done, doing some trimming with Mikes heavy duty grinder, and doing the final fitting to the boat. On the right you see where I have attached the keel strip with a bunch of countersunk stainless screws and lots of epoxy.

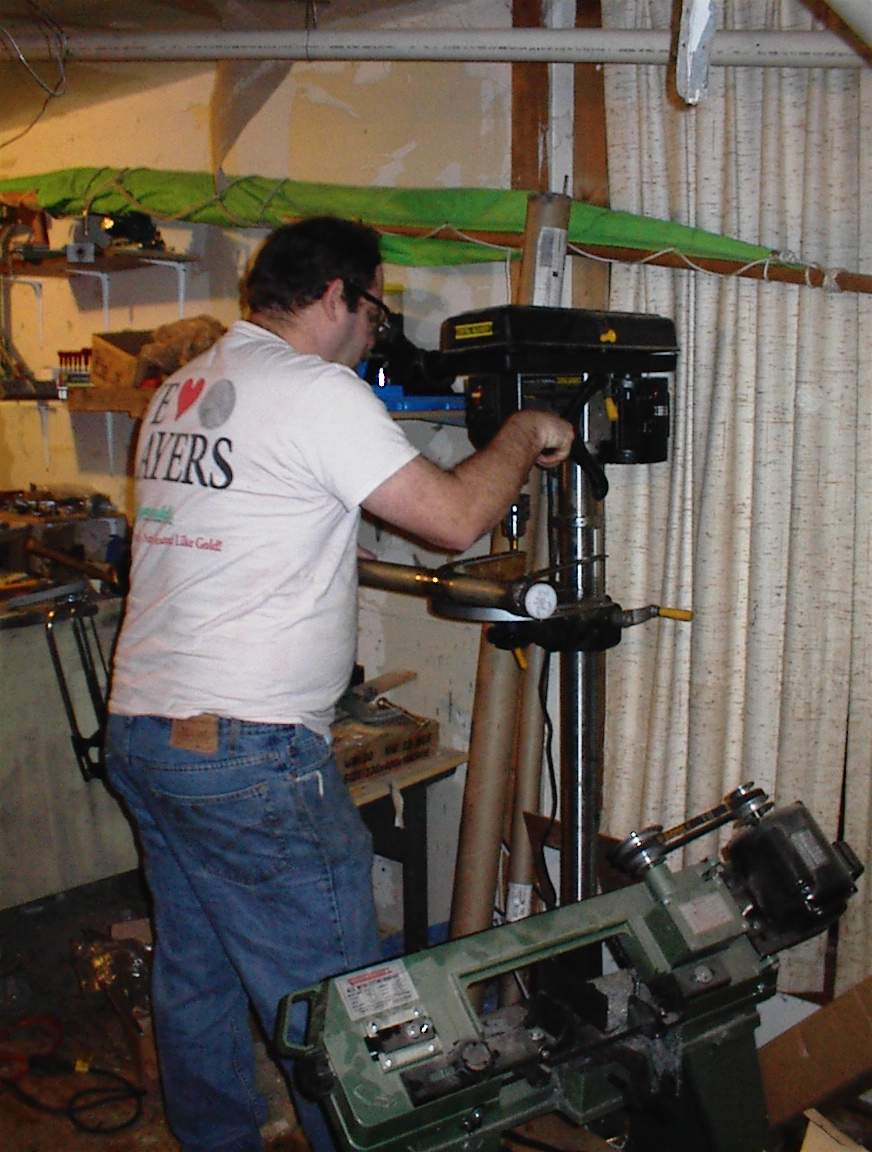
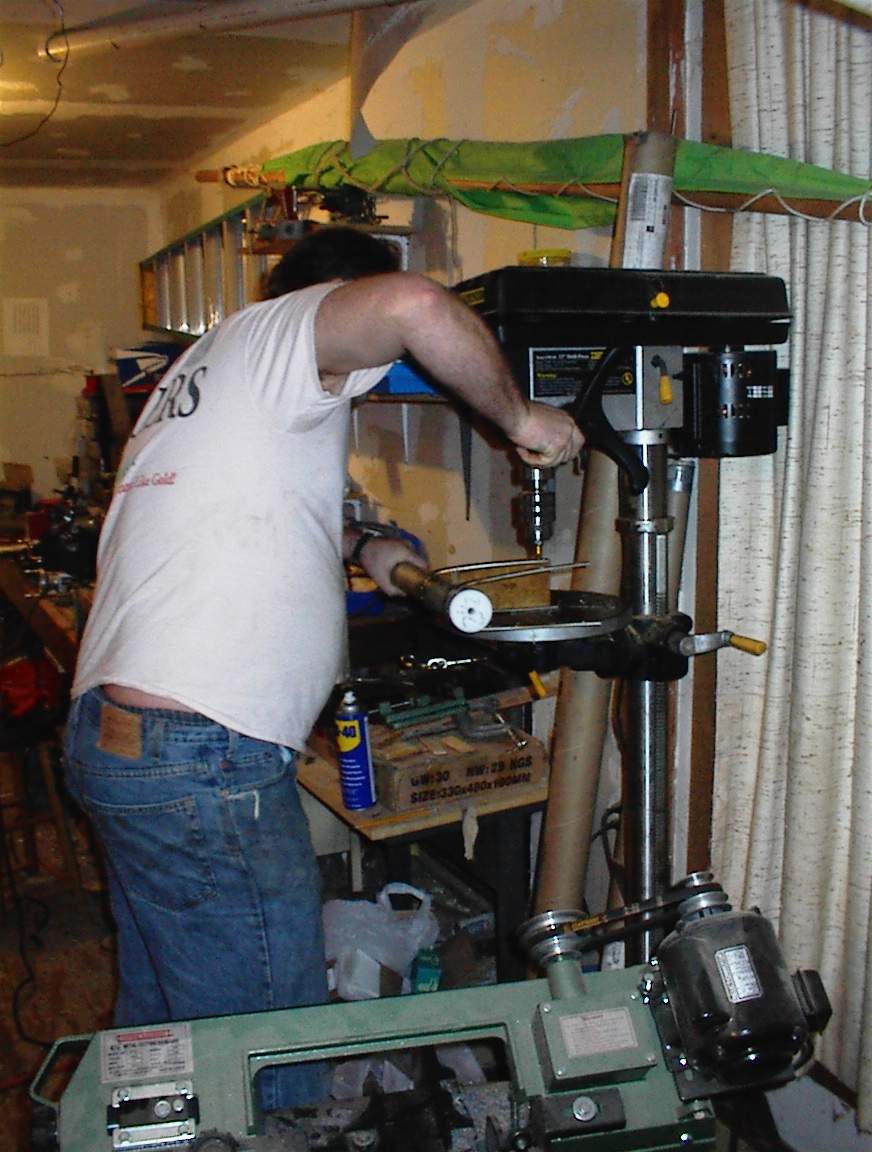
2DSC00001_6 2DSC00003_5 2DSC00004_4Here is me working on the rudder, drilling the holes to attach the stainless to the rudder itself. I made the front of the rudder a bit wide, but some trimming with the flap wheel on the grinder and you can barley notice.

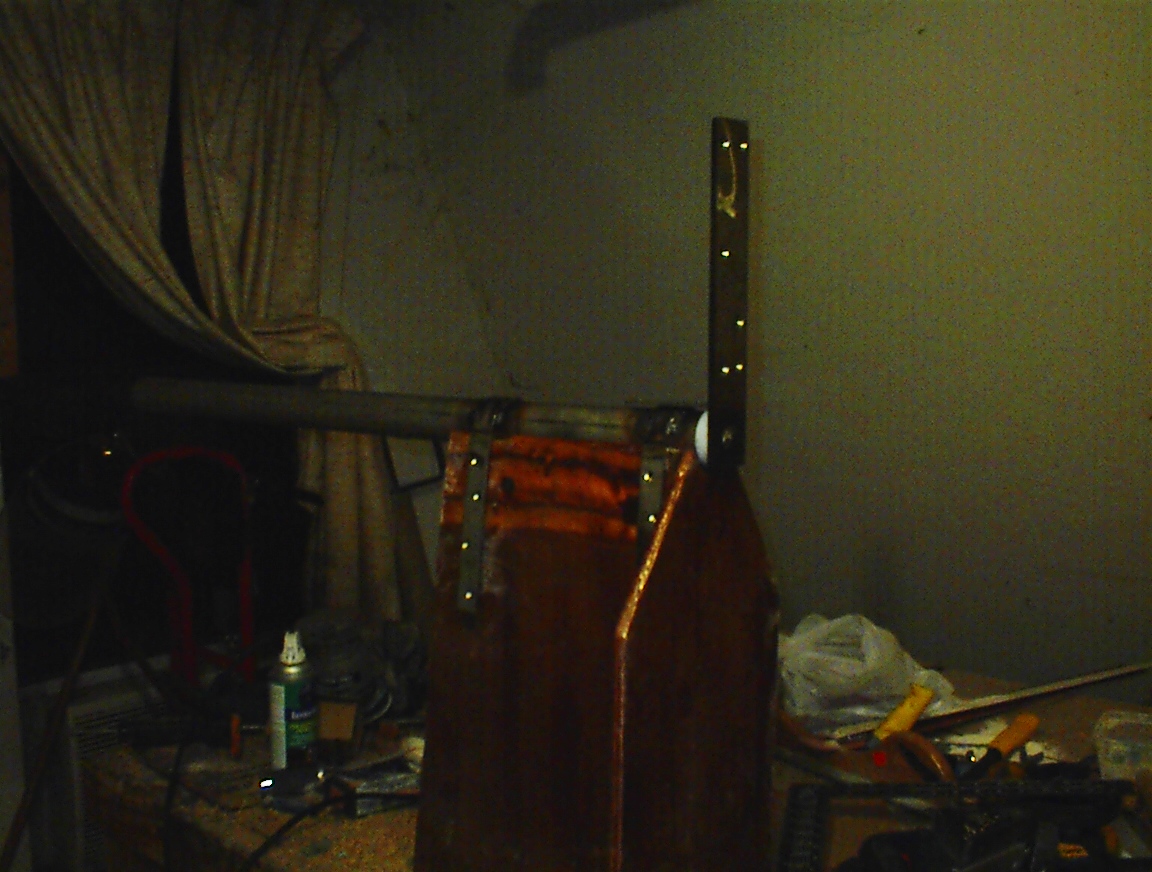
2DSC00005_3 2DSC00007_3 2DSC00009_3Here the rudder is in the middle of the sanding operations, and to the right it is attached to the boat. On the top of the right photo you can see the UHMW bushing that the rudder turns on. Under the top rudder support I’m going to put another bushing, with a flange fitting on the rudder post. I’m hoping the rudder will bear only on the UHMW poly and no on the wood and glass of the hull.

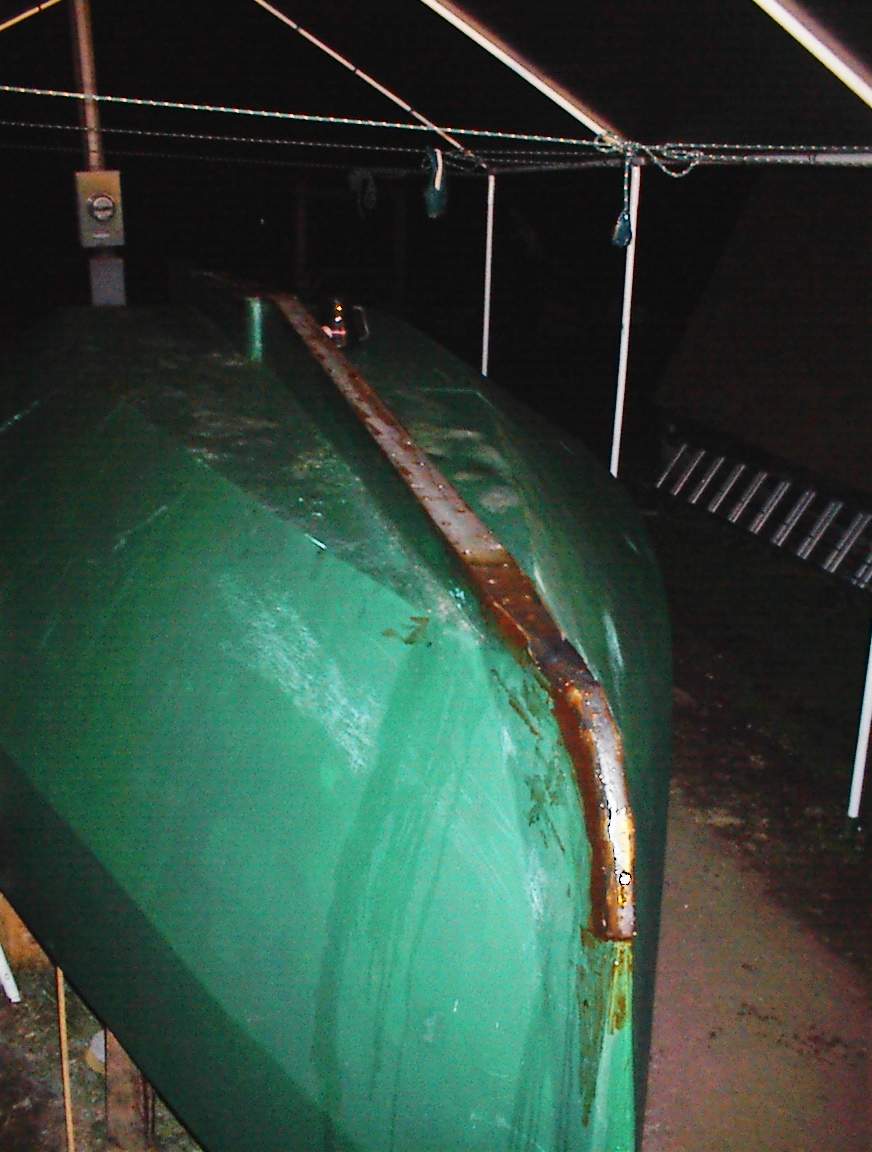
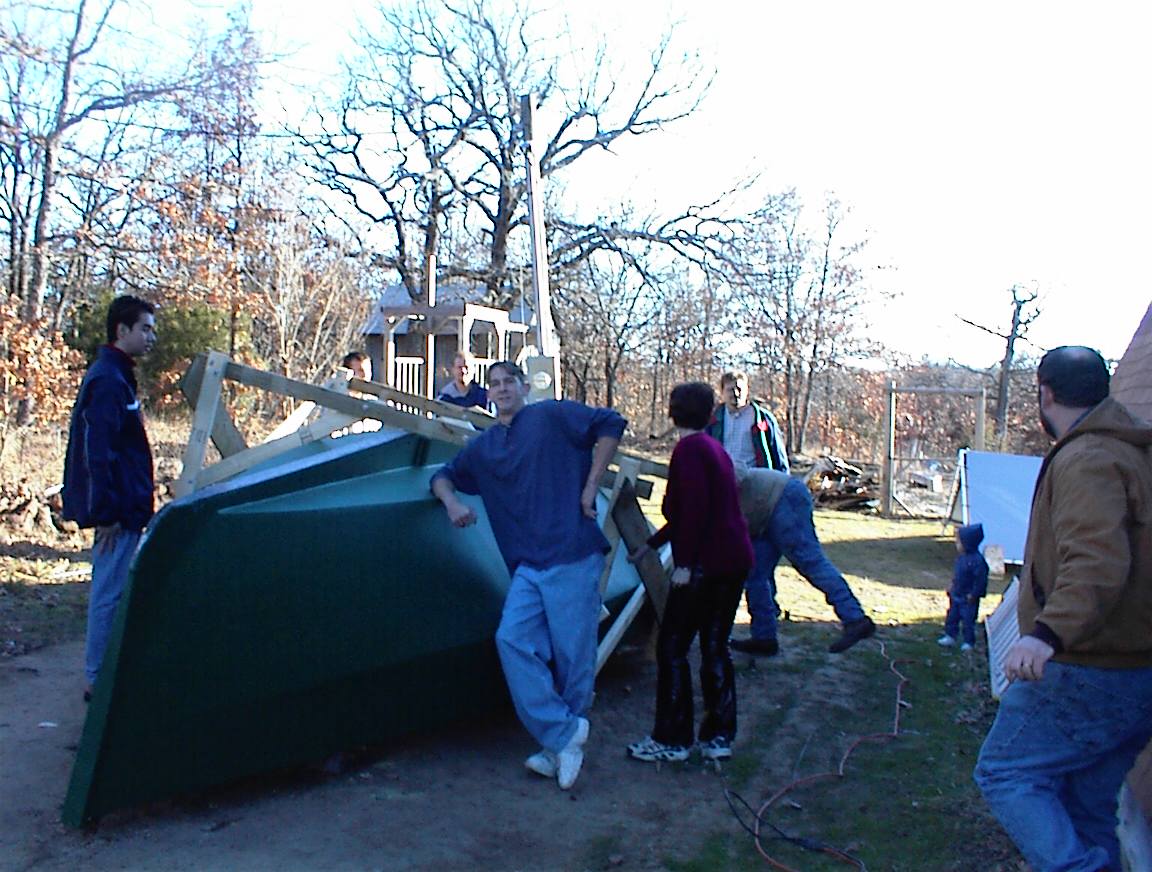
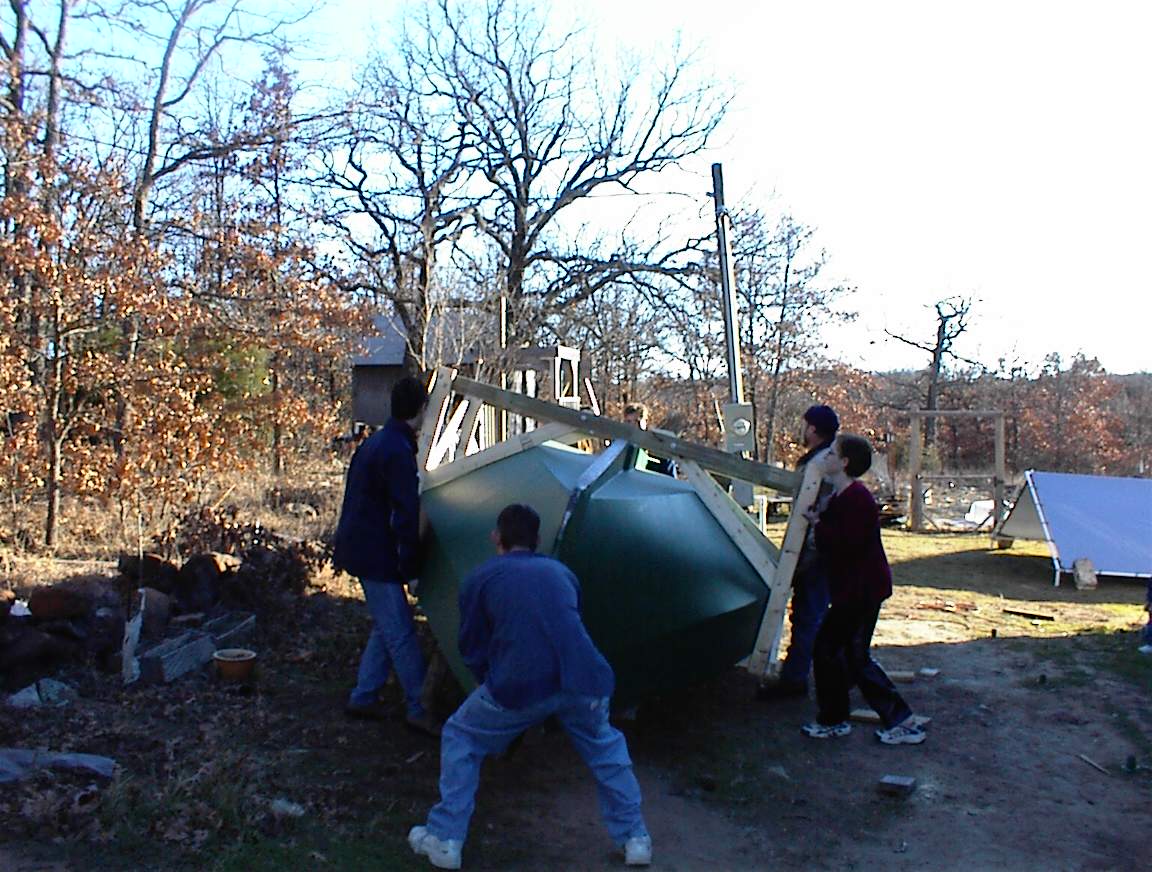
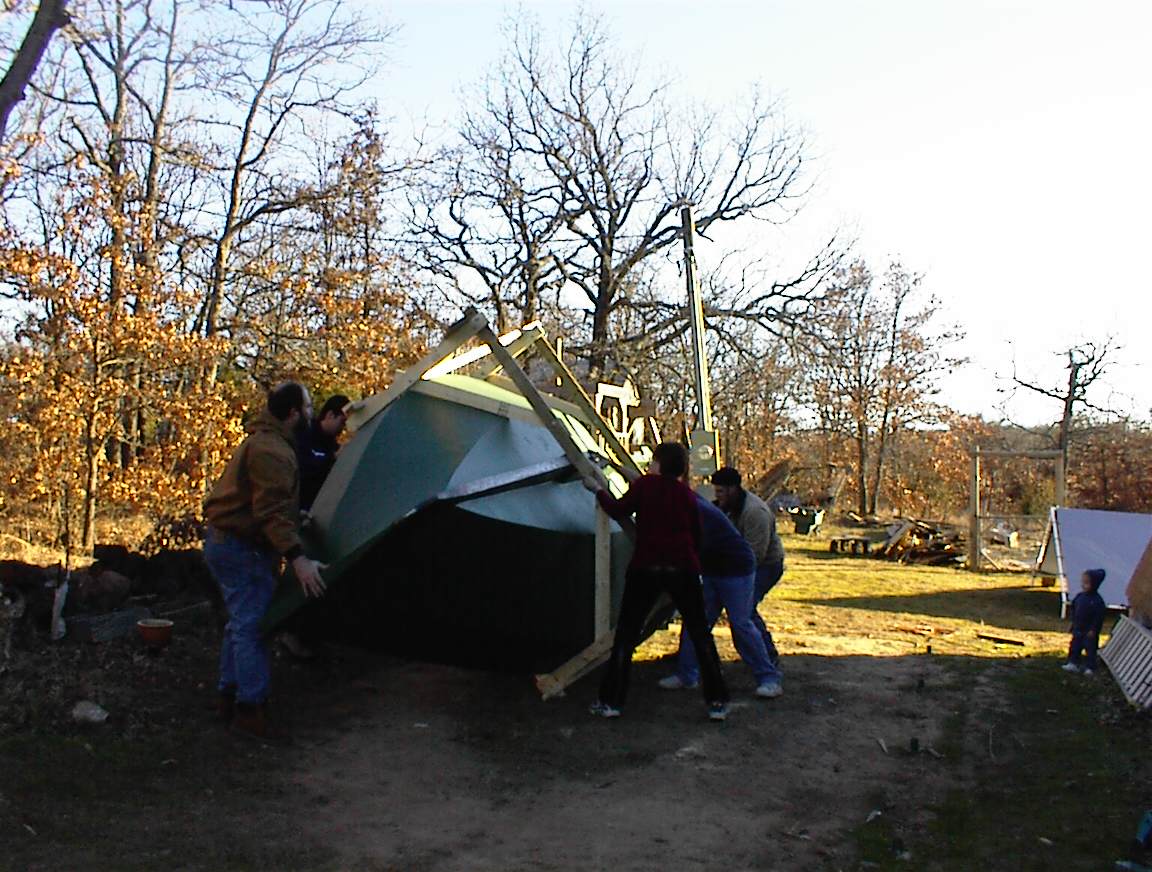
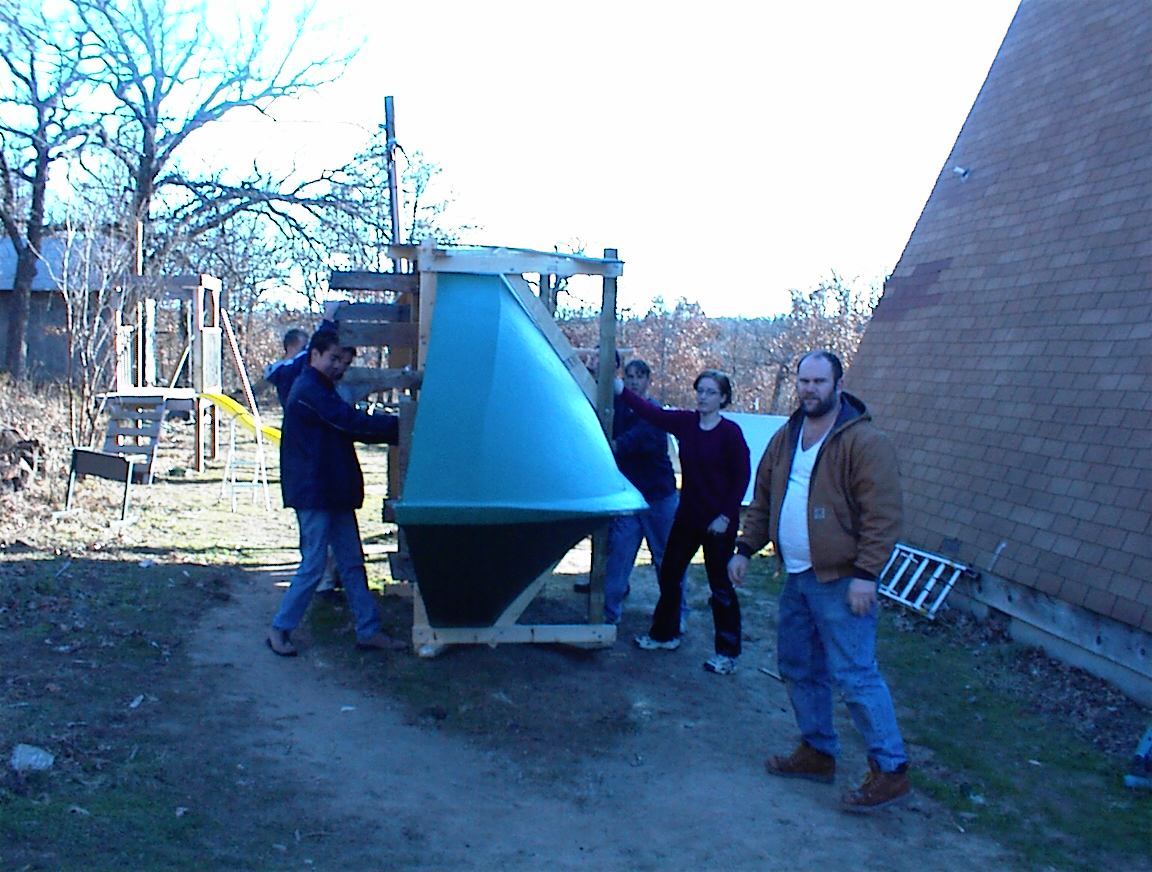
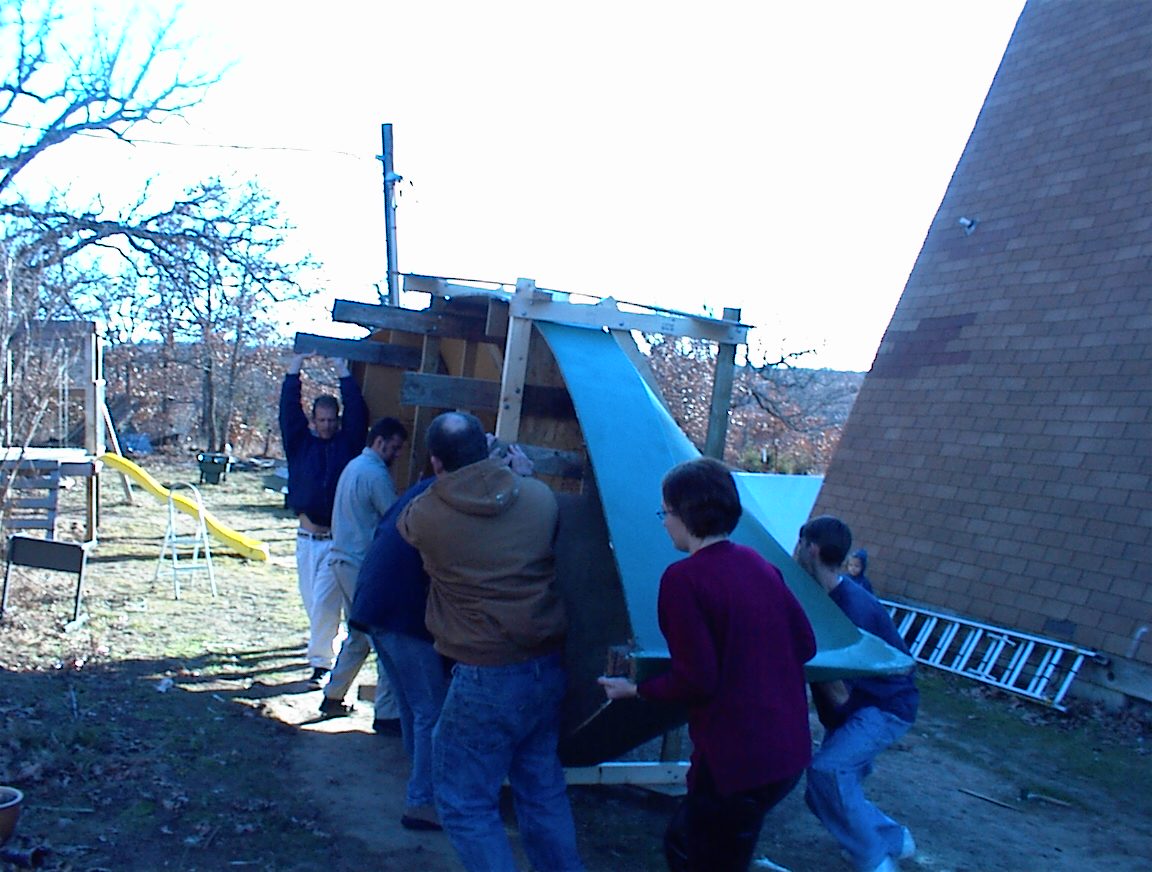
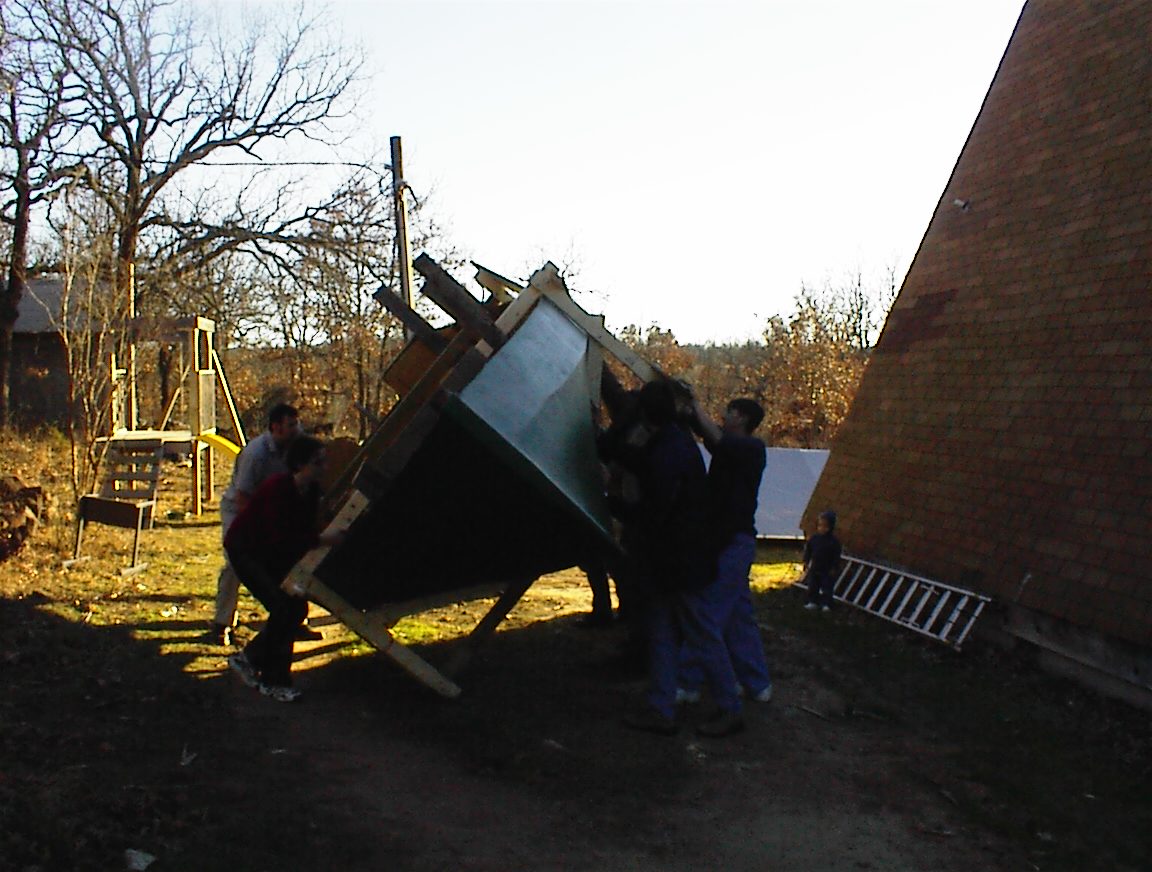
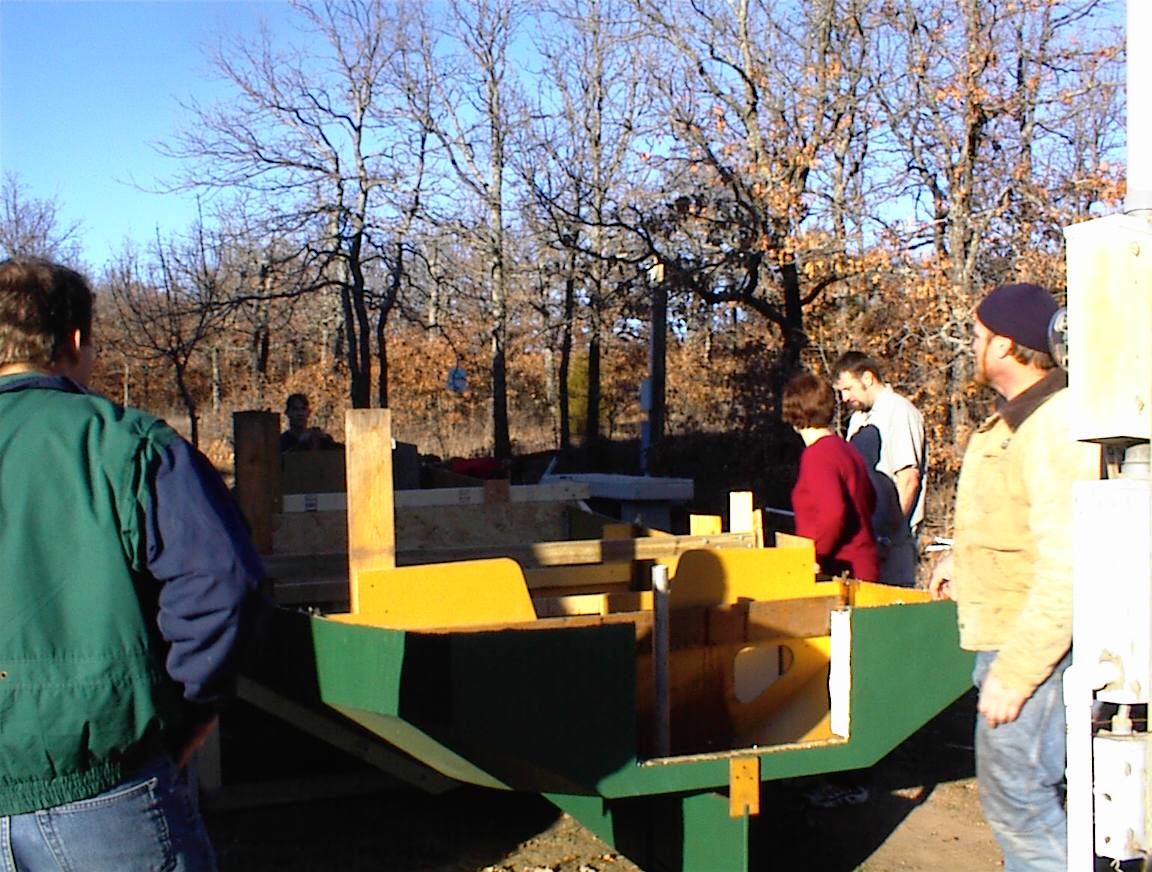
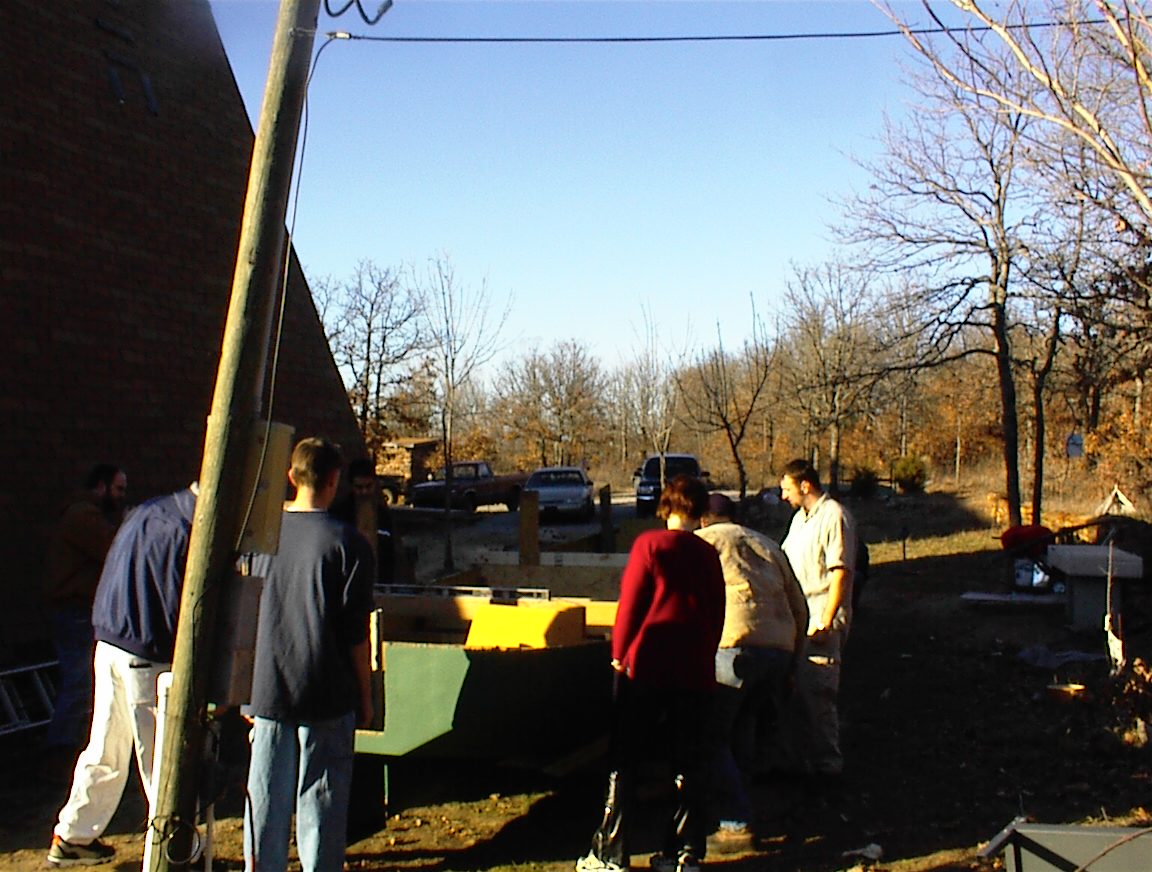
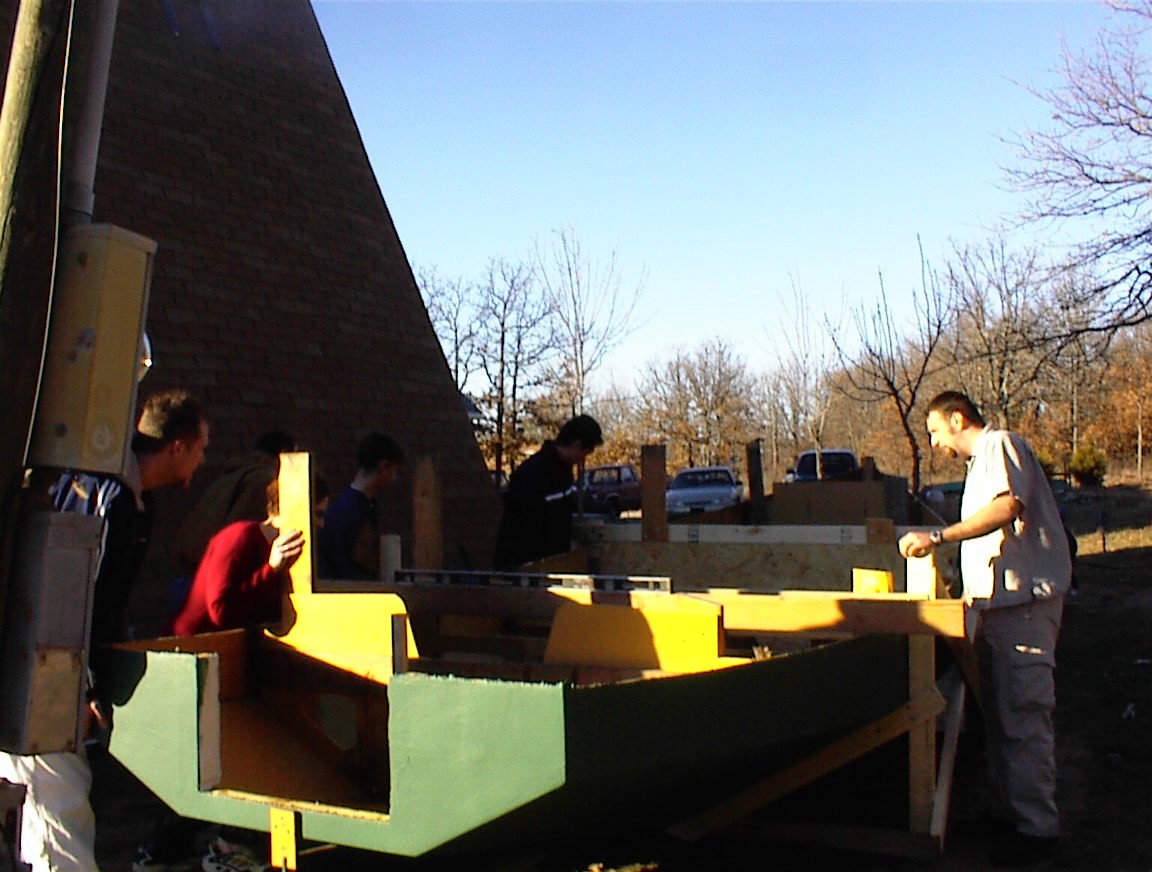
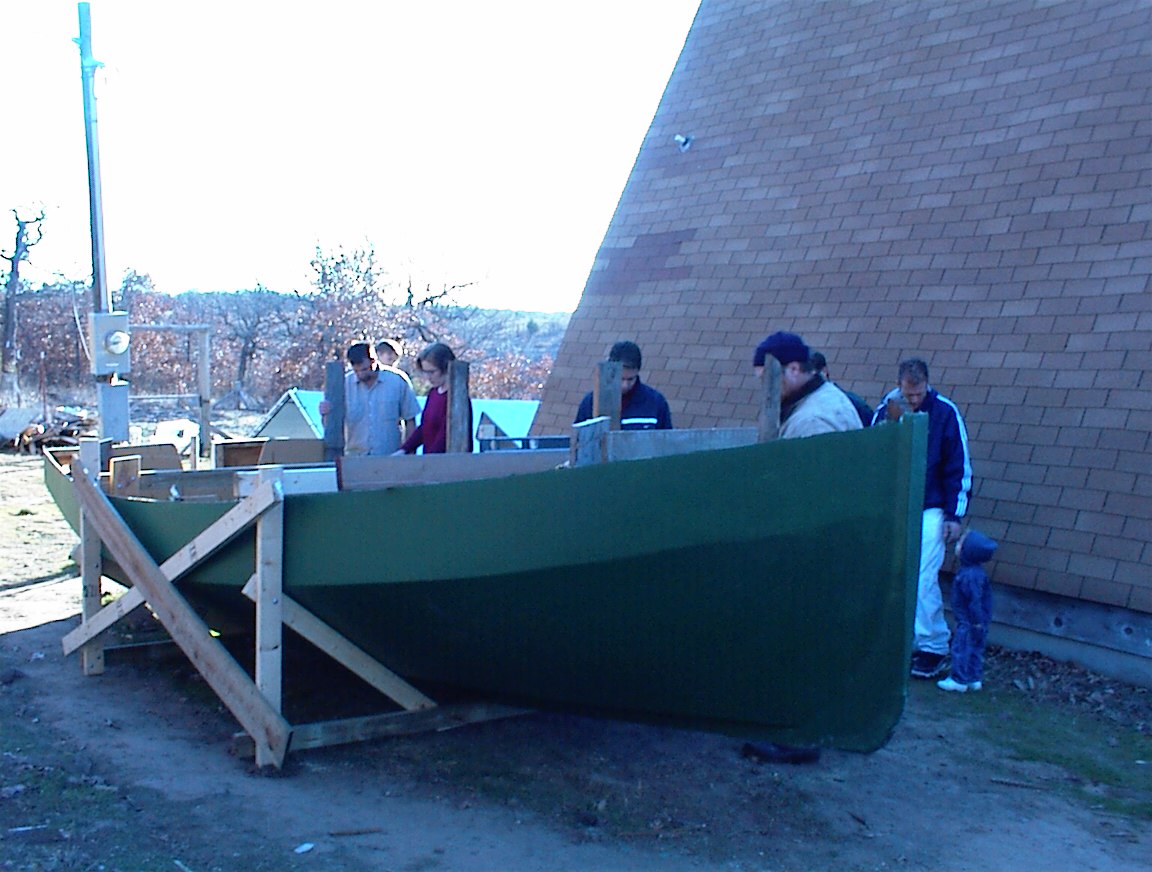
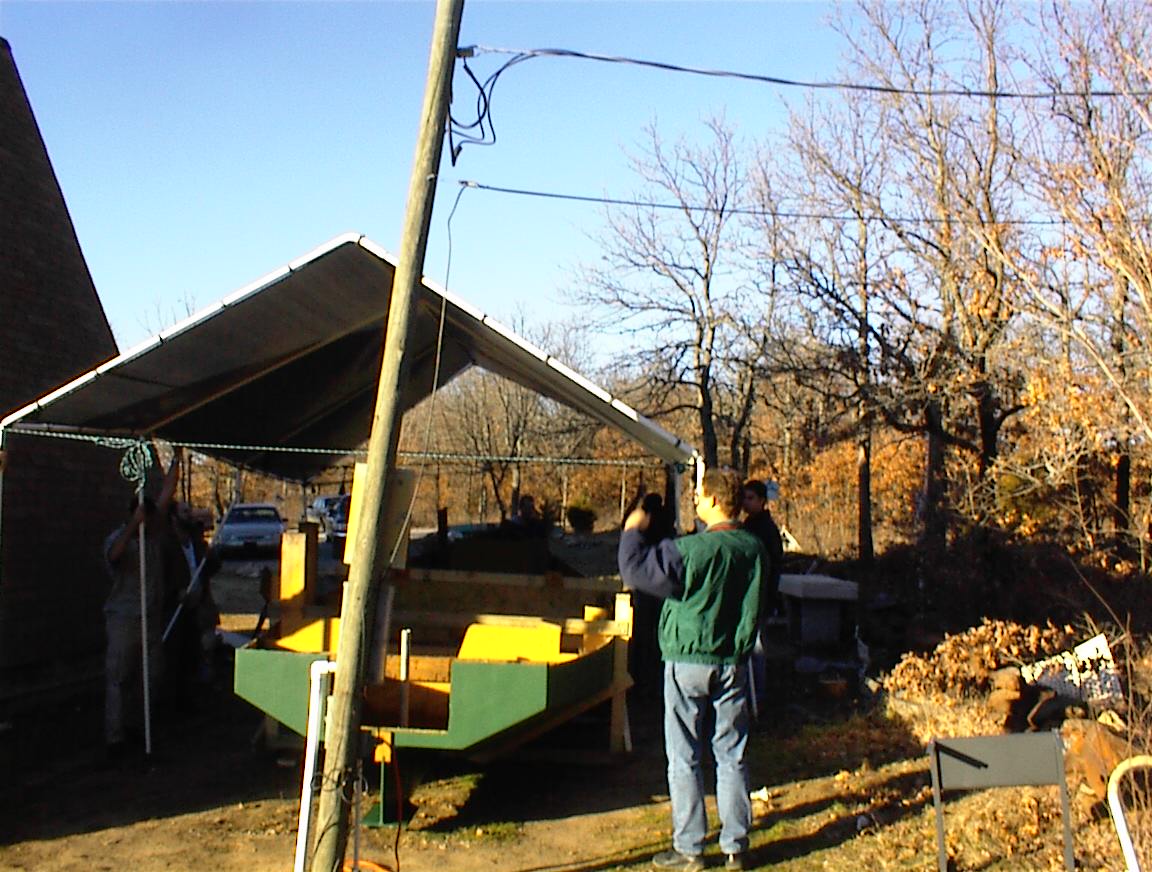
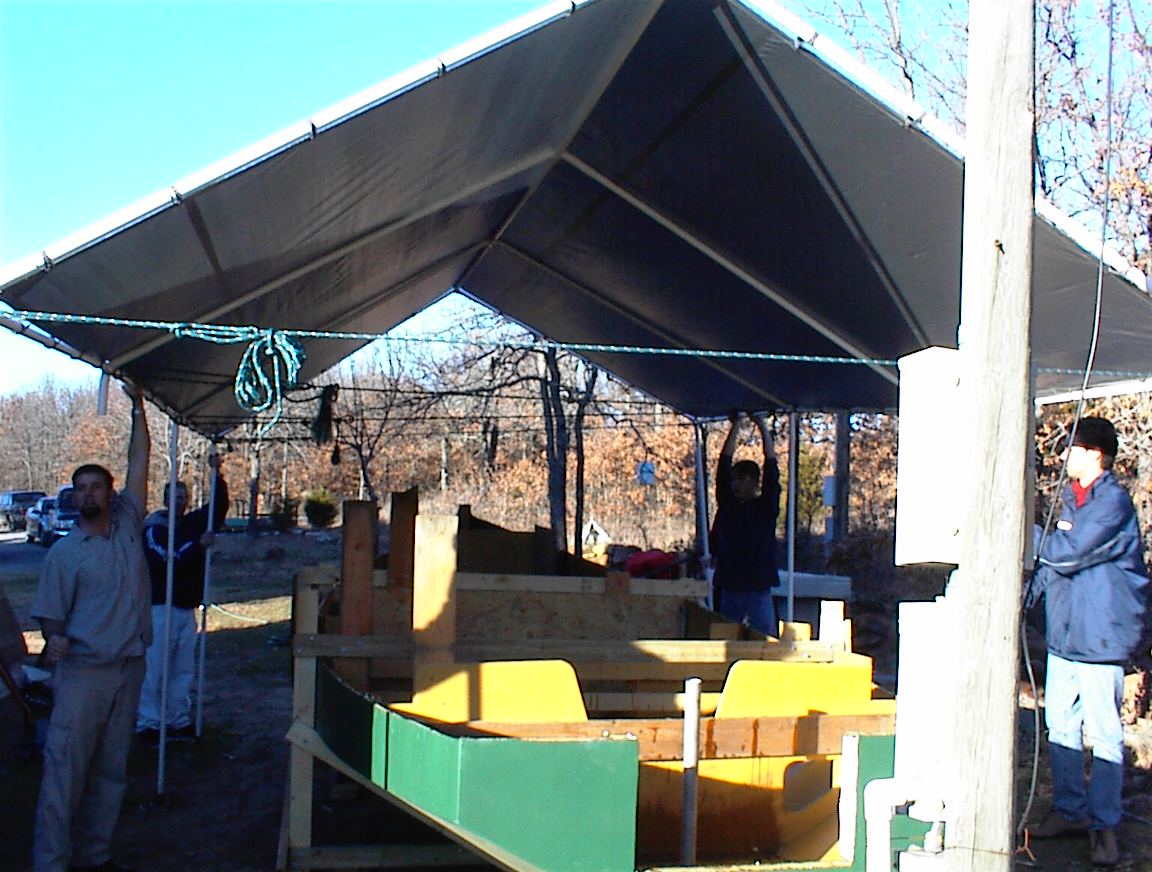
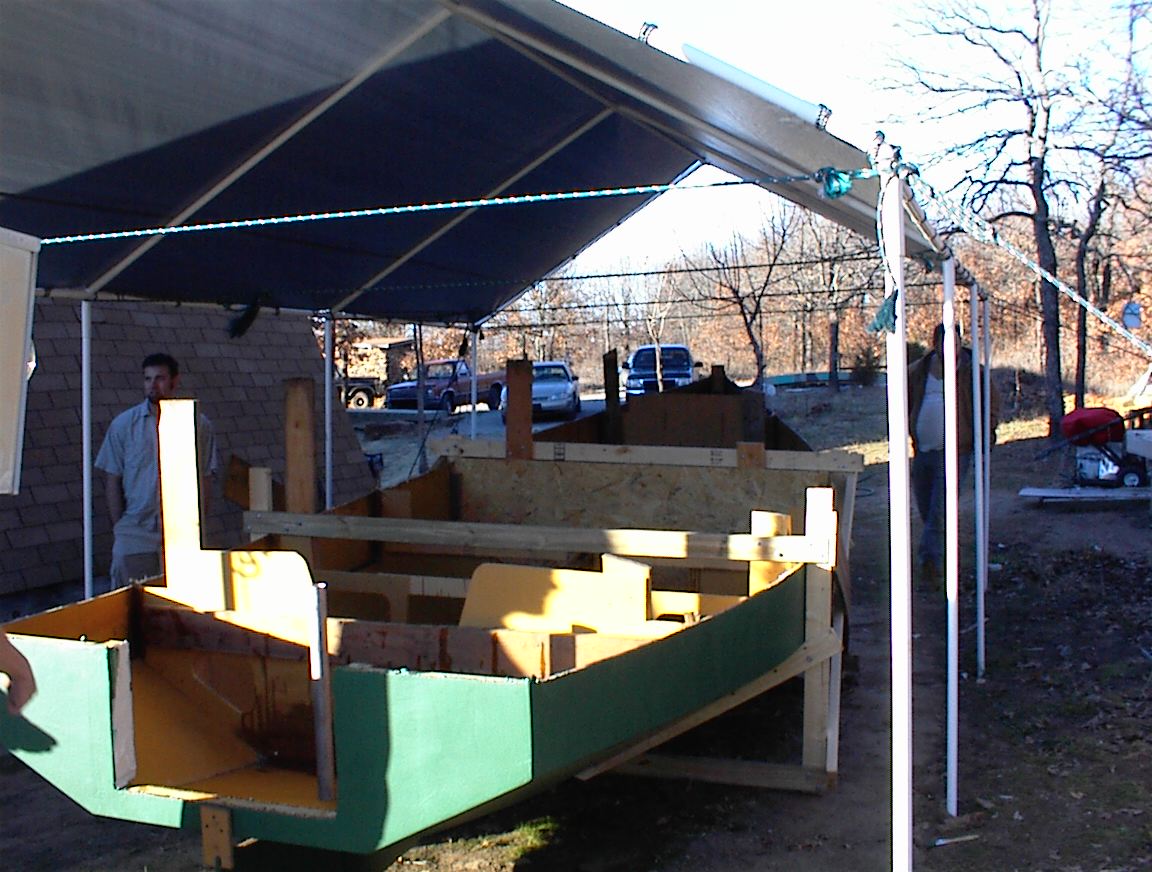
3DSC00004_6 3DSC00005_5 3DSC00006_5Lift, scoot, tip, lift, scoot, tip, etc. I learned from my mistake with turning (and dropping) the last boat. I built a frame around this one, lots of handholds, and with the frame it would sit on the side without being held. Made it into a two part operation.Here we are commencing the turning operation. We jacked up one side, and cut the “building legs” off, then let it down. One of the girls wanted to invite a bunch of friends over for barbecue, and I said it would be ok as long as they helped flip the boat. (We didn’t tell them till they got here. hehehehe) The designated camera person was late comming out with the rest of us, so I didn’t get any pictures of the canopy coming down.

3DSC00007_5 3DSC00008_5 3DSC00009_53DSC00010_33DSC00011_33DSC00012_2Over she goes! Didn’t drop this one. We are adjusting it to be centered on the canopy, and level (at least side to side, I made all the panels square with bulkheads, which are canted a bit. It’s not level front to rear, but that doesn’t affect anything) “NO! Don’t put a block under the rudder!”

Final tuning and adjusting.3DSC00013_2 3DSC00015_2 3DSC00016_2

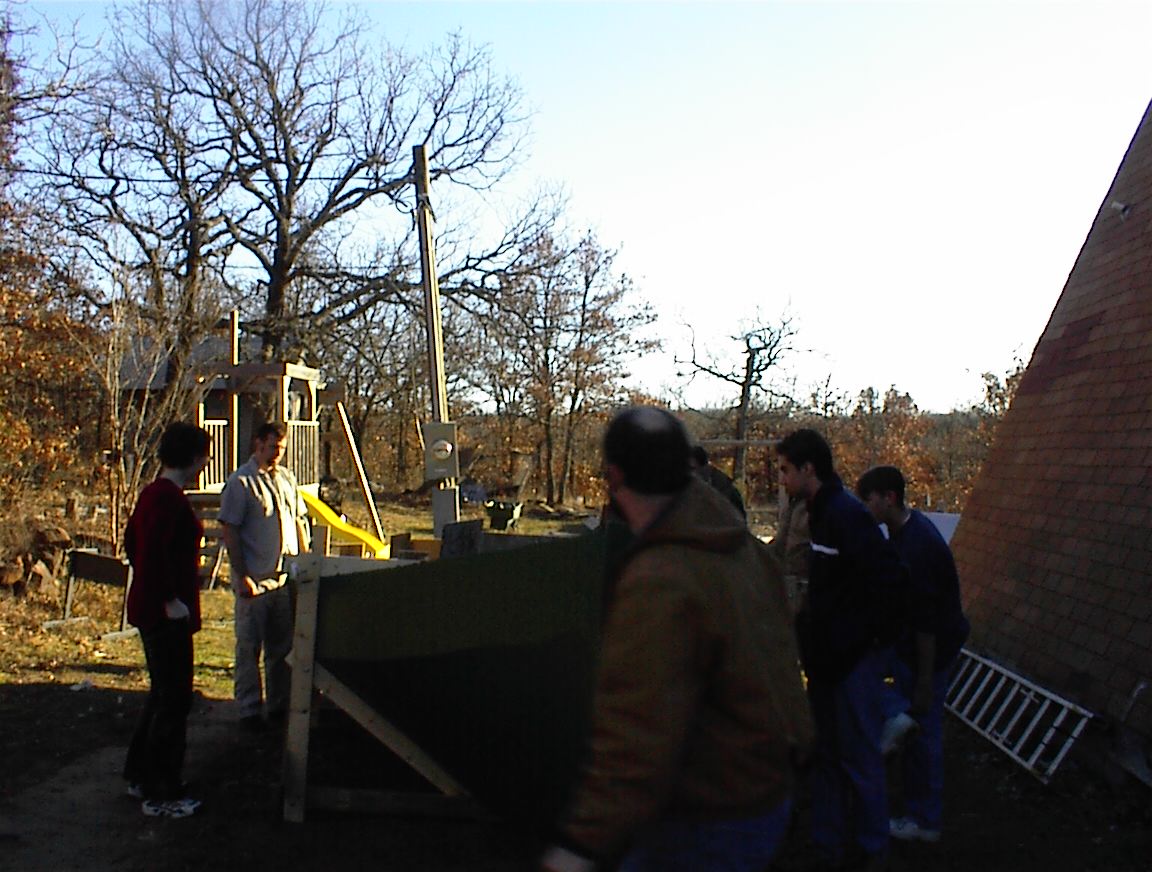
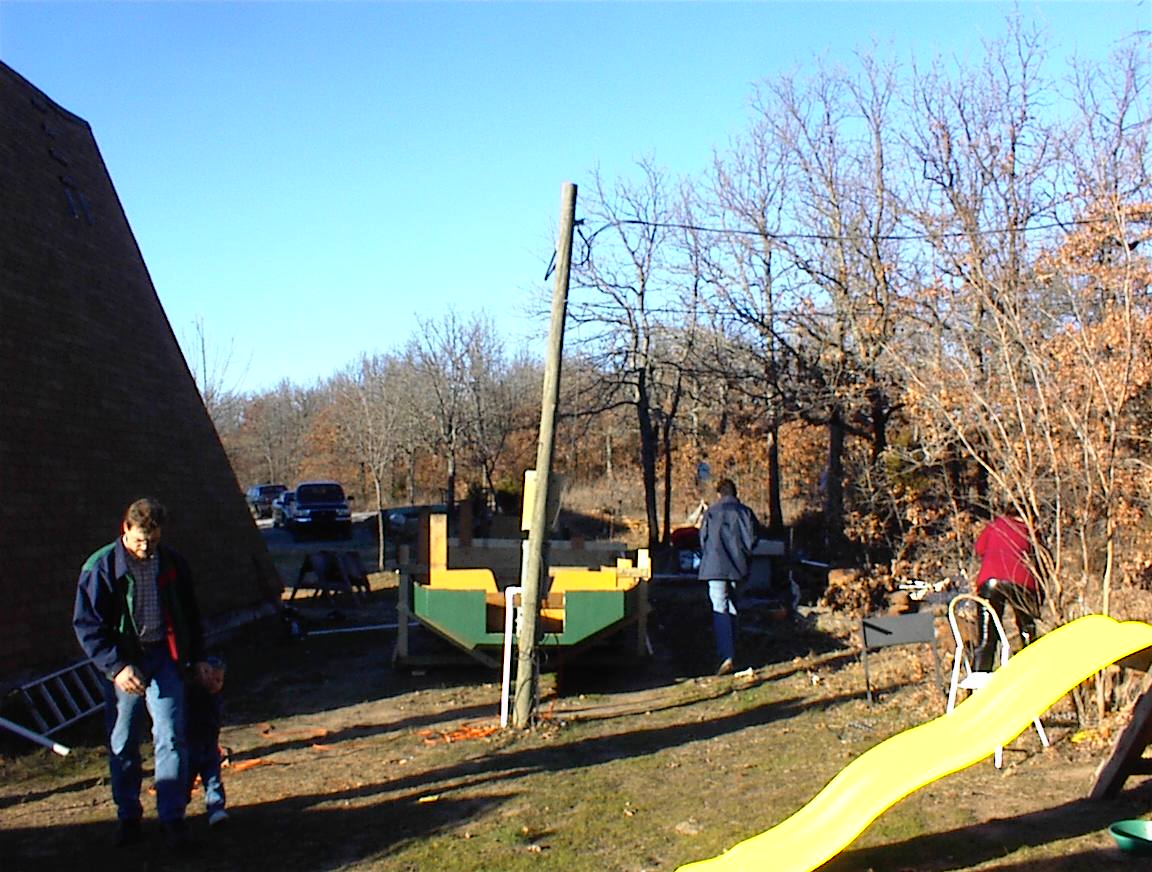
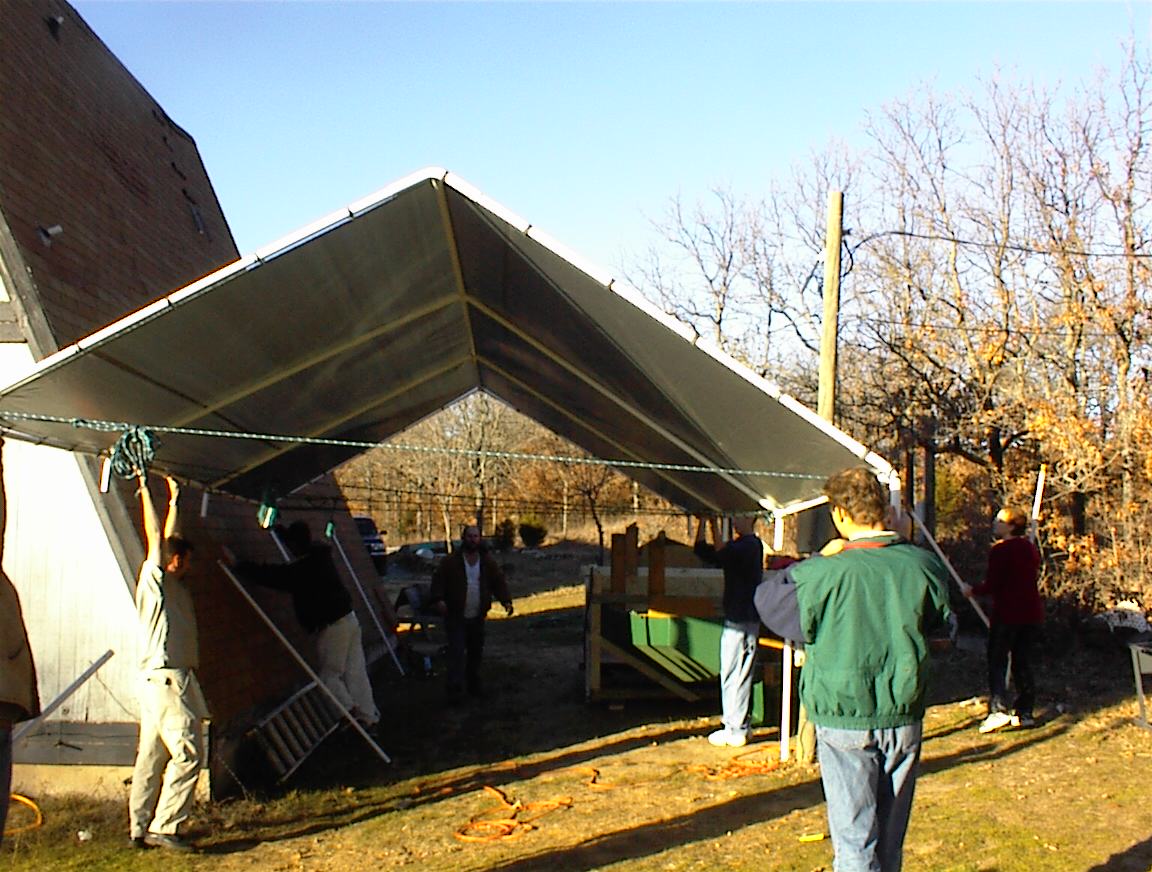
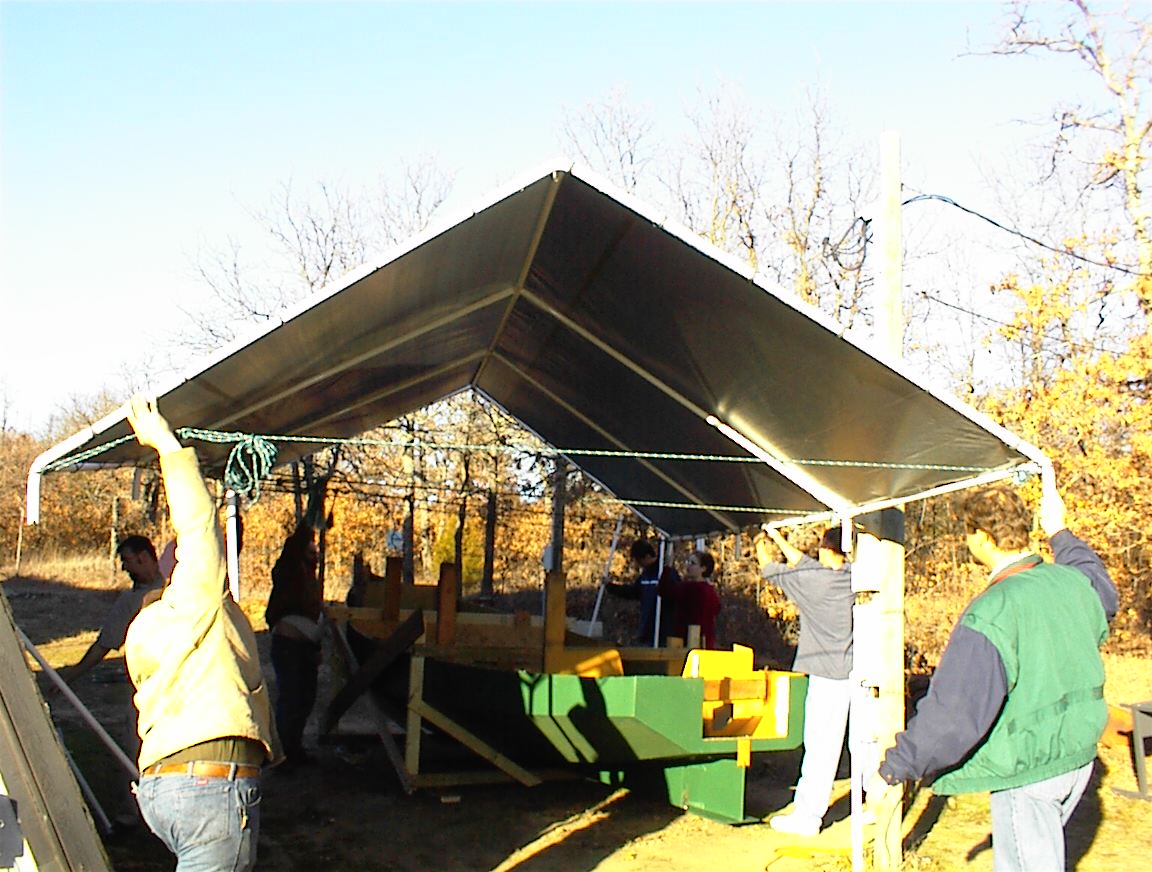
Starting to move the canopy back in. Much to big for one person to carry, but doesn’t weigh much.Turning crew inspecting the boat. Yes, I know the power pole is slanted. It’s been that way as long as I’ve owned the property. Doesn’t seem to cause any problems.

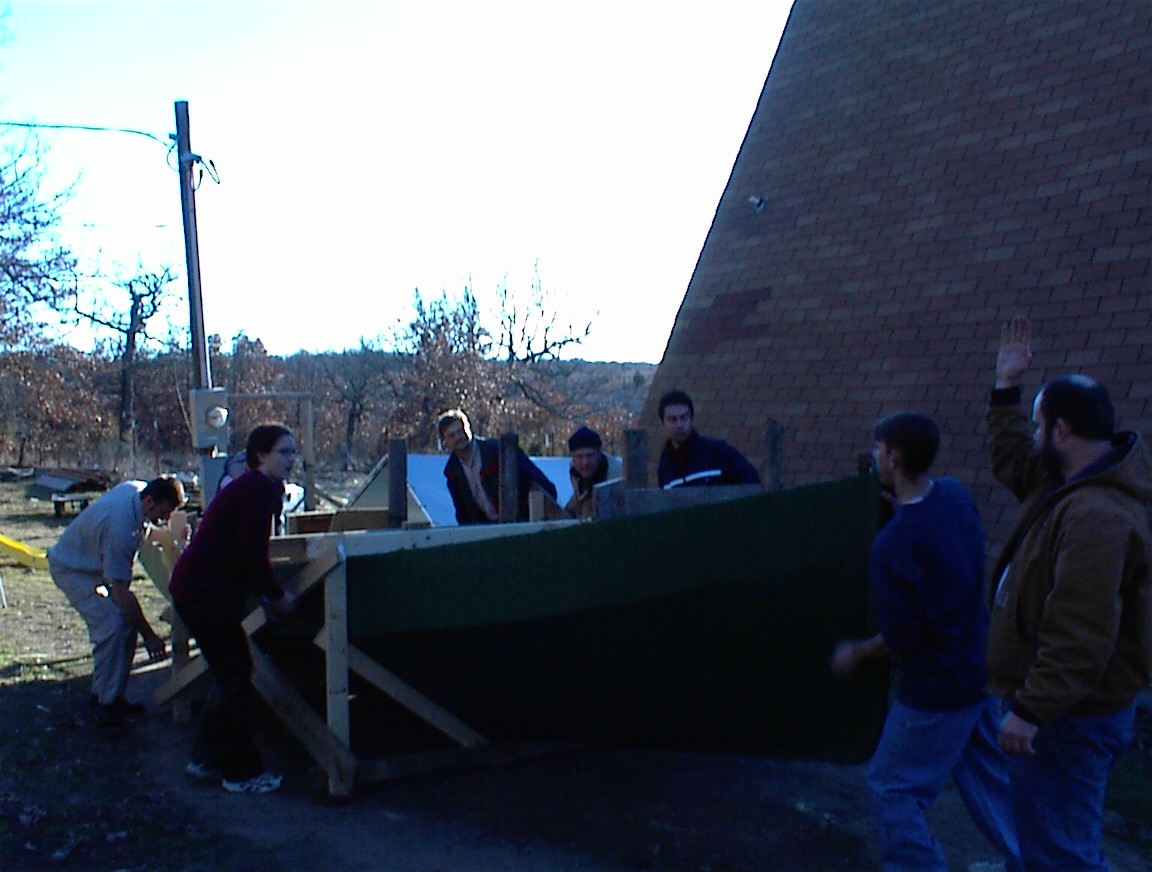
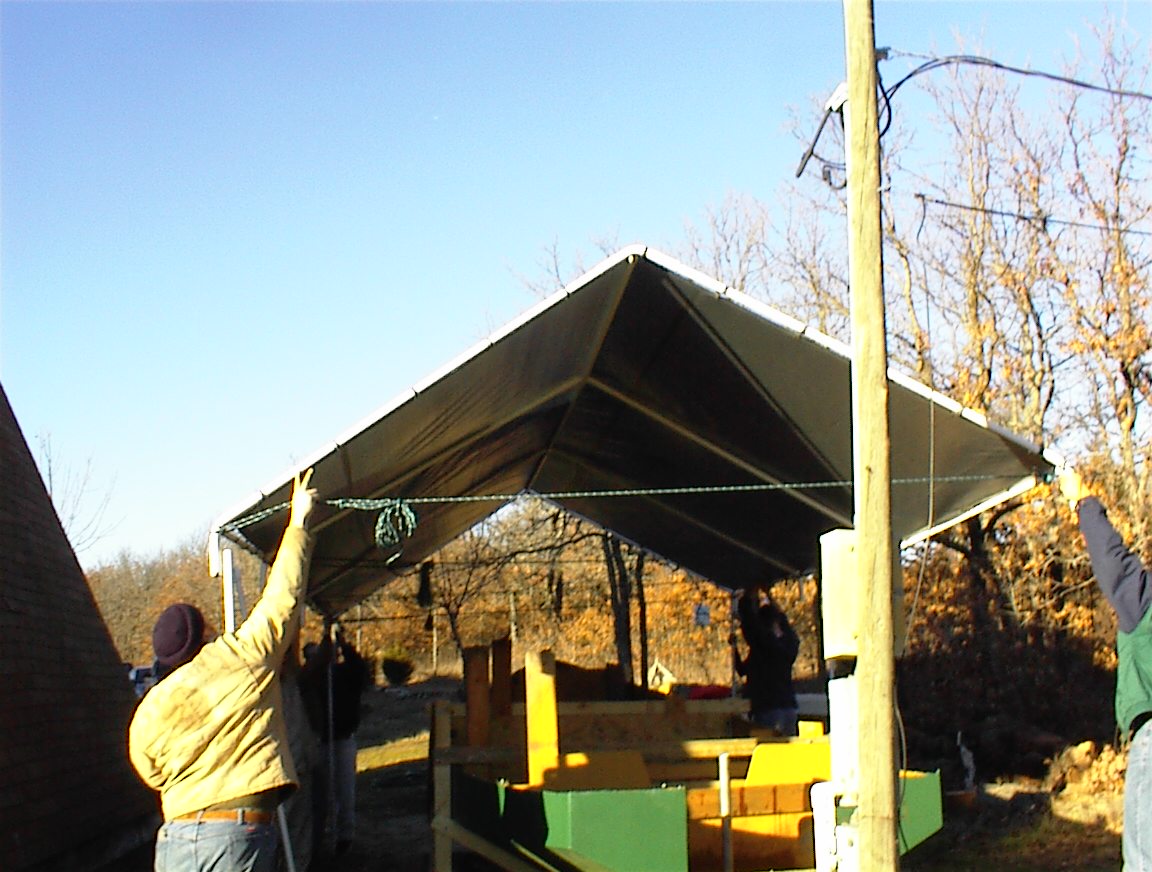
3DSC00021_2 3DSC00023_2 3DSC00024_23DSC00025_23DSC00026_23DSC00027_2Six people hold the canopy, six more insert poles. Makes me glad the girls have so many friends!

3DSC00028_2 3DSC00030_2 3DSC00039Final tweaking, and tie the canopy back down.

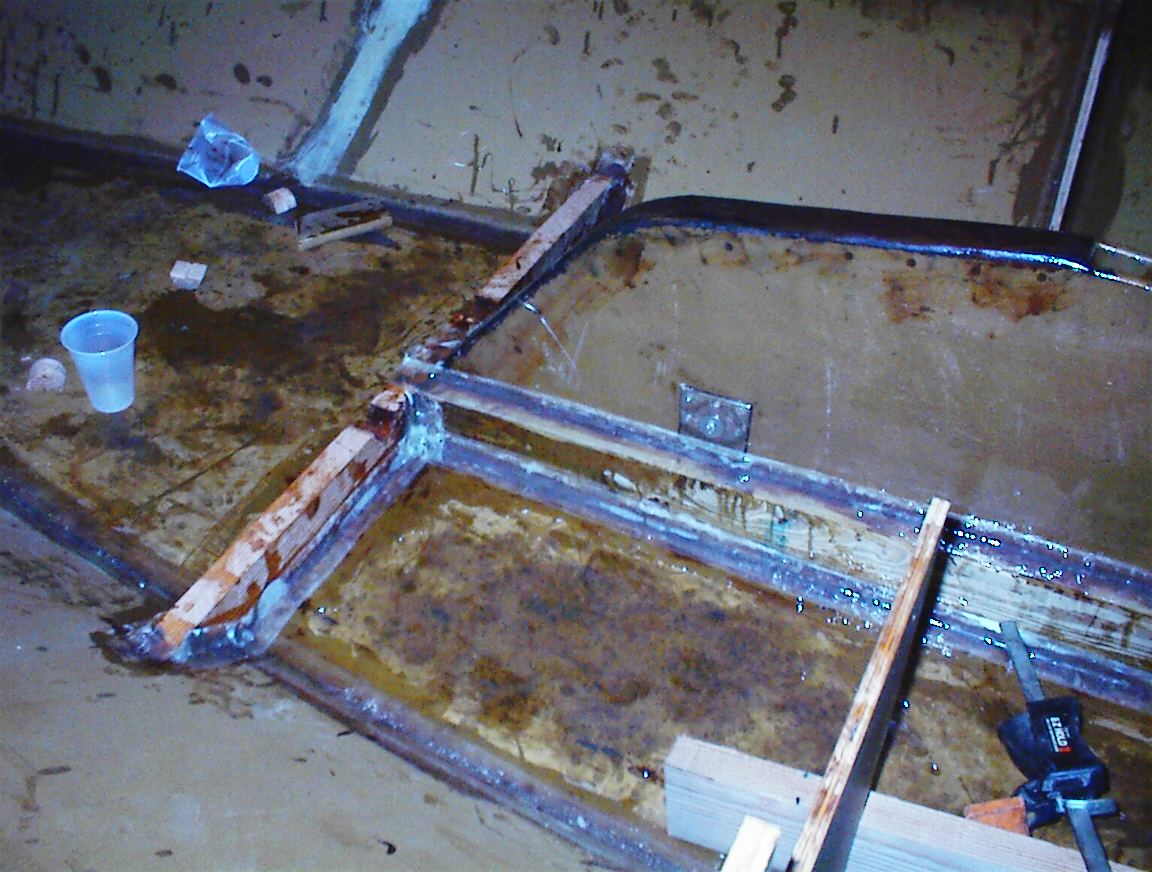
4DSC00001 4DSC00003 4DSC00004The left two are pictures of the centerboard interior bracing. The CLC doesn’t have the bracing on the top of the centerboard case that the regular Chebaccos do. Notice the several layers of tape and generous use of epoxy putty. And, yes, I did cut the drain holes on the wrong side of the board. It will be under the floorboards, and the only issue will be small triangular area between the berths that won’t drain back. But, since the cabin is closed, doesn’t have a bilge pump anyway, and this will be covered by the floor boards, I’m just not worrying about it.

To the right you see the through hole for the rudder, and the aft well substructure. There would have been closed off spaces inside this structure for moisture to gather. The MDO and pressure treated is pretty good stuff, but I cut ventilation holes anyway. I’m putting two small deckplates on the bulkhead in the left of the picture. I know the plans call for this to be open, but I want the added floatation if the cockpit is ever flooded.

4DSC00005 4DSC00008 4DSC00001_2When I was building this section, I really noticed the lack of pictures of this particular construction detail on the web. Hence, you see lots of these pictures here! In the right two photos I have installed the walls to the aft floatation/storage boxes, and the framing for the motor well floor.

4DSC00003_2 4DSC00003_4 5DSC00006In the left photo I’m attaching the sides of the “seats” (which will also be the head ad galley). Attached them to cleats on one side, taped the other, pulled the cleats, and taped the remaining joint.s Center photo is my new power tool. He does a pretty good job, I can turn him loose on something and do something else myself. Very handy to have around, I would suggest you buy one. On the right you can see the framing for the top on the ground tackle compartment. I’m going to cover this over and put a Bomar hatch from Thrifty Marine (see resources) in. Rain and spray proof.

DSC00004 DSC00003 DSC00001Here you see pictures of the storage compartments I’m building. Not on the plans, but in a 20ft boat you can’t have to much storage. The compartment behind the seat will be accessed by opening the seat hatch, opening the deck plate covering the round hole, and reaching through the hole. Not the easiest access, but I’m thinking of storing light dried goods in there, maybe bread, that kind of thing.

The other storage area will be accessed through a hinged door over the galley and behind the head. For light dishes and toiletries, respectively.


You can see the layer of light glass on the bottom of the side of the seat, to protect against standing water in the cockpit.

5DSC00001_4
***HEY, how did that picture get in here? This is the new bed I made the wife for the anniversary. It does show how boat work spills over into regular life. This was built in two halves, out of some of the spare 1/2″ MDO from the boat. Two halves so it would be easy to take into the bedroom. The lip around the top was filleted and glassed, so it would take the strain big people and little cats getting into bed.

Hi again, Richard

The weekend before last, Dad and I took a drive over to Bill McKibben’s place to say hello and see his modified glass-house Chebacco.  It’s going to
be BIG!  He’s going for comfort in the interior, raising the sides a foot over the already higher (I think) designed sides.  When the cabin goes on,
it’ll be big enough for full standing headroom!  There’s a vee berth going into the bows, with a galley along the port side, and a head compartment, I
think.  Also there will be quarter berths under the (shortened) cockpit seats.  Bill thinks more ballast will be needed to offset the added weight
up high, and is considering modifying the keel, and/or carrying inside ballast, maybe extra drinking water in portable containers.  There’s
certainly lots of room.

Picture_No_1

Bill’s braver than most.  The hull is from the Chebacco offsets, so the underwater shape is as designed, but for the topsides he’s working from the
model he made (Chebacco News #33, Feb 01), and the interior is in his head.  He says its all an experiment, but I think he’s pretty well
thought it out.  The model looks good and extra ballast should make it stable.  Beth said she prefers the fast motorsailor, since it will take them
home in a hurry if the weather turns sour, but Bill is quite keen on the new, slower boat.  It’s modelled after something he saw in Desolation Sound,
a power boat hull and cabin converted into a motor-sailor, with davits added for a substantial dinghy as well.  Bill says it combines everything he wants
into a tidy package.  The boat that inspired him was about 25 feet, and Chebacco is only 20, but I don’t think that’s going to stop him.  Including
davits.

Picture_No_2

Bill’s model looks good, so once the ballasting is worked out, the full size motor sailor should turn out well.  I’ve attached some pictures of the
progress to date — unfortunately I couldn’t get far enough away to show the whole boat at once, as it’s under shelter.  The frame at the stern may be
converted into support for the davits, or could be removed, Bill is still pondering that one.

Picture_No_3

Bill’s plans for moving the hull out of the shop may be helpful to someone  else — he is leaving the keel off, so he can put rollers under the hull and
just push it where he wants it.  Then he’ll add the keel once he’s got the boat clear of shop, yard, flowerbeds, and so on.

I hope I haven’t misrepresented anything here — if I’ve got it wrong, Bill, my apologies.

***

Tom_and_Jamie

Hi Richard

I had a visit from fellow Chebacco builder Tom McIllwraith (from Halifax) on January 12.  He had occasion to visit Vancouver, and dropped in on a couple
of wet coast Chebacconists while he was in the area.  On the weekend before, he called on Randy Wheating to check on progress of Randy’s (as yet
un-named) sheet ply Chebacco, then last Saturday he caught the ferry over to see Wayward Lass.  Tom’s not a stranger to Chebacco sailing, having been out a few times with Fraser Howell in his strip built Itchy and Scratchy.

Tom’s done a lot of thinking about modifying his boat to make it slightly less Spartan in accommodation.  As well as angling the coamings for lounging
in the cockpit, he’s thinking about making the cabin wider – in line with the cockpit sides, I think, — and just a bit higher.  He and Randy had a
good discussion – here’s what Randy had to say:

“I spent a couple of pleasant hours on a rainy Sunday afternoon with Tom in the boat “shop”.

It never fails to give me a neat feeling to meet a kindred spirit, from across the Straight, country or world that has laid awake at night or
pretended to be attentive at a meeting while puzzling over some obscure Chebacco detail in his mind.  It is really a pretty small club when you
think of it.

Tom and I swapped many ideas and modifications until the moment of truth when we each confessed to our biggest “oops”.  That is, a mistake that
has passed the point of correction.”

(I’m not including any “oopses” here – I’m sure every boat’s got one or two, but when 99.9% of people look at a boat, they see only the big picture, not
the details.  Good thing, too. — Jamie)

I have to agree with Randy about the kindred spirit part.  Since I got involved in building and sailing Wayward Lass I’ve met a whole raft of
interesting people, and have learned a lot from them as well as enjoying the chat.  The internet and this newsletter are great tools for this, of course,
but the personal visit is still king.

Tom and I hoped to go for a sail, but when we took a look at the Strait of Juan de Fuca, just after he arrived at the bus depot, it was a mass of big
whitecaps – no way!  The marine forecast was still showing gale warnings, although things were supposed to ease later.

We headed to my place, and had a solid session of boat talk, climbing around Wayward Lass.  After that, and a bite of lunch, I phoned my dad up in
Sidney, about 15 miles north and around the corner from the Strait.  He obligingly went for a short walk, and phoned back saying that it didn’t look
too bad, the racers were out and he hadn’t seen any reefs in their sails. So we hooked on the trailer and drove to Tulista Park in Sidney, my
favourite launch ramp.  Dad came out to see us off, and for Tom’s benefit, I timed the rigging-up, from stepping out of the van to getting back in for
the launch.

Rigging up took 28 minutes on this occasion, a bit over the average, but not a whole lot.  I’ve only once come close to 15 minutes, when I’d put
everything away properly the time before.  This time, we started with a disorganized collection of ropes and sticks.  I’d only laced on the mizzen a
couple of nights before, not very well as we found, and all the ropes were just dropped in the after lockers.

Honda started on the second pull, and after an interesting 180 between the pilings, thanks to the wind, we headed out.  The wind was pretty well from
the west, straight off the shore, so we put up the sails right away and shut down the motor.  I’d put them away with a reef still tied in on Boxing Day,
and we left that in.  Because we would have to beat back to the ramp, we took a quick turn to windward, just to see how strong the wind really was –
no problem, the single reef was enough, maybe 20 knots of wind, but not much wave action because of the wind blowing away from the land.

We headed easterly, towards Sidney Island, with its mile long spit and friendly lagoon, on the other side of Sidney Channel.  The mizzen wasn’t
very helpful while running – with a strong wind it tends to push the stern around.  However, I kept it up because it helps us heave-to so nicely.

After a while, we became aware that the wind was picking up.  The way home was now patterned with white, and looked quite different.  We turned to
windward again — and gave up any thought of going all the way to the spit. We’d have had a very long beat home if we’d gone on.  Wayward Lass was
sailing well, but going against the waves threw up some heavy spray.  Tom got into the Cruiser suit, but not before he soaked up some of that spray.
Going to windward in these conditions, I was glad to have a second body for ballast – he kept the worst of the spray off me, too!

It was wet, but we made good progress.  However, after a long tack to that brought us near the shore, but still quite a ways north of the ramp, there
were a couple of very strong gusts.  These challenged our favourite designer’s assertion that nothing short of “hurricane force winds or heavily
breaking seas” will tip a Chebacco.  Rather than chance becoming the first Chebacco ever to capsize, I let the mainsheet run free, and we hove to for
the second reef.  The only other sailboat in sight at the time was a biggish one (40 feet?), and it was reefed down too.

Tom must have wondered if I really knew what I was doing.  The reef lines (pendants?) for the second reef were still in the cabin.  I got them out,
and tied the tack down quickly enough.  However, to get the foot tight enough it was necessary to rig the clew reef line properly, from boom to
reef ring back to boom then pull it tight to the cleat.  Meanwhile we were sailing merrily backwards at about 3 knots, away from our destination.  I’m
not entirely sure why, but every time I was about to tie off the end of the clew reef line, after all that leading here and there, the bows would swing
off the wind and the boom would fly out to the side.  I eventually got the reef tied, but it was a real circus there for a few minutes.  I think the
mizzen luff and snotter weren’t tight enough, as the wind was making bags in the sail – also I had to pull the boom inboard to run the clew line through
the ring, rather than letting the boom fly loose.  Bottom line is have your reefing lines rigged before you need them!

Wayward Lass was fine again with the two reefs in.  I estimated the wind at 25 to 30 knots at this point, no idea what the gusts reached.  Take this all
with a grain of salt if you want, it’s only a guess.  The waves were much less than they would have been if the wind hadn’t been off the land, since
they couldn’t build up on such a short fetch.  I poured Tom a cup of tea and put it down beside him (he was steering now) but it promptly went into the
bilge.  Tom very nicely said he was too occupied to drink it anyway.  I poured a cup for myself, but it was full of salt spray almost immediately,
so I gave it up too.  Not too long after, I suggested that we’d had all the fun we could take for the day, and since it would take quite a while to work
our way up to the ramp, we might start motoring.  Good old Honda started again without complaint, and it was down sails and home.

Tom assured me he’d enjoyed the afternoon (I hope you weren’t just being polite, Tom.)  I enjoyed it myself, despite feeling like an idiot at times –
out of practice and very disorganized.  Another time we’ll suit up completely at the start, and rig all the reefing lines too.  Oh, yes, and I
won’t leave cups of tea unattended!  Still, it’s got me all fired up again, and I’m planning some more sailing as soon as we stabilize a couple of new
projects at work.

I see I’ve got a bit carried away talking about the sailing (again! – call it a character flaw.)  I really meant to concentrate on Tom’s visit,
because, as Randy pointed out, it’s great to see Chebacconists from other parts of the country (world?).  It was fine meeting you, Tom, and I hope
anyone else coming out this way will call, and maybe we’ll get them out for a quick one too.

Tom, I also hope you’ll will write up your building experiences and tell us about what modifications you decide on, and let us see some pictures.  The
world can’t have too many Chebaccos!

Jamie Orr

***

There once was a man, who spent much more money than he should have, to have LED lights on his boat. This is the same man who decided he HAD TO HAVE a CNC router, built one from scratch, then used it twice.
Anyway, for no particular reasons, other than I thought it would be cool, and I wouldn’t have to worry about leaving the anchor light on all night, I decided I MUST HAVE lights on my boat that were based the new, ultra efficient, bright white LED’s.
I bought my LED’s mainly from http://www.bgmicro.com/, They run, according to the spec sheet from Nichia, at 3.6-4v and output 5600 mcd (mili candela, whatever that is) in a 20 degree fan.
I had originally planned to have eight of the lights, masthead, forward red, forward green, aft, two cabin lights, and two reading lights. Also, I had planed to run 12v to the lights, and do the voltage conversion there. Red and Green lights would be using red and green LED’s.
I read everything I could find on LED flashlights, and LED lights. There is a lot of information on the ‘Net on the subject. A lot of it worthless. One site recommends using a 7812 voltage regulator and three of the LED’s in series (so each gets 4v). Bought eight of these, the next day someone pointed out that the specs for this regulator require the input be about 3v over the output voltage. I.E., I couldn’t run it off a 12v batt and get a consistent 12v out of the regulator.
So, I had the bright idea of using the 7808, which puts out 8v, and having TWO of the LED’s in series. When the eight of these arrived I wired one up on the breadboard and presto, I had light! Wired eight of the LED’s up, and left them on. When they say “bright white” they mean it, had eight spots behind my eyes for hours before I decided I needed to wear shades to play with these things.
I left the 8 LED’s running and had supper. Afterwards, I discovered that THREE of the things had burned out!. What the BLEEP!?!
Some carefull checking determined that with the two in series, the voltage drop over one would be, say 3.9v, and the drop over the other would be, say, 4.1 v.
So, I figured I needed to drive the blasted things with EXACTLY 3.6v. There is a problem with this, this is apparently an odd voltage, there is no “78036” or whatever. So, I decided to make my own variable voltage supply, one for each light, and go to town. Bought, again, eight, LM317’s, and associated resistors and whatnot. Wrote a spreadsheet to calculate the values for the resistors so I could have the thing put out 3.6v. Wired it up. Plugged LED’s in and they were DIM! A little checking and it turned out that any kind of load on the thing and the voltage would drop…. Net research showed other people having the same issue, but couldn’t find a solution. Still a mystery there.
Time to step back and think about this. Maybe I should just have one voltage regulator, and wire 3.6 v to the switches, and out to the lights. I could do some kind of current regulator, but I wanted the simplicity of running the same voltage out to whatever light I wanted, and just hooking up as many LED there as I needed. Dug and dug and dug. Found a national semiconductor manufacturer who has a wonderful website with all kinds of information on it. They sell an IC that looked like, with a little work, it would make a wonderful regulator for the boat! (about this time I’m thanking someone for the VoTech electronics I took as a kid, back in the day)
A little soldering, a magnifying headset, some tweezers. Presto, one central, efficient, source of 3.6 volts for the LED’s lights on my boat!
BTW, I’m selling a kit to put these together. Kit price is $75, follow instructions at the “store” link to the left.
The kit uses a surface mount board the manufacture sells, with all the regulator components on it. The board comes from them fixed at 12v, and I use a magnifying headset, tweezers, and a pointy soldering iron to change it to work as a variable voltage source, to get 3.6v for the LED’s. The kit includes an etched board to mount the manufactures board on (as a daughter board) and all the hardware needed. I’ve removed the 2.7k itty bitty surface mount resistor and connected a wire to go to the variable resistor on the “mother” board.
DSC00005 DSC00006 DSC00007
As you can see in the pictures, I’m using a nice fancy, bulkhead mount enclosure. Got this, and lots of other neat stuff fromhttp://www.allelectronics.com. Give them a look see, they have neat stuff!
After all this, I discovered that the bright red LED’s I was going to use for the red bow light wouldn’t work at 3.6v. They go dim and get hot.<sigh> I guess I’m putting white LED’s in the colored fixture.
tn_1DSC00006_2 tn_1DSC00007_2 tn_1DSC00008_2
Here are some pictures of the masthead light with and without the cover. I bought the Series 25 fixtures from Boaters World, the price was reasonable, and I wouldn’t have to make them.
PCB&F writes (what does it say when you start referring to people by their initials?). The designer of the Chebacco light cruiser, Susanne Altenburger’s (who just denied that the Chebacco was “her” boat, in a rather LONG phone call), writes that you should use “two 6V deep-cycle batteries capable of around 215 Ah at 12V”. Now, were am I going to find those things? Nothing in the marine stores, nor in the auto shops. Can’t buy them online, the shipping would kill me. Walking through Sam’s club one day, but what do I see on the way out but a 6V, deep-cycle, 215 Ah, GOLF CART battery! Yippee! And, the things only cost $45 each. Nonstandard size, though. Will have to make my own box for them.
 3DSC00009
A 32watt, flexible, solar panel will top off the batts, and keep them topped off when the boat is in storage mode. I could have saved quite a bit and went with a hard panel, especially as it is going to be mounted on to of the cabin and there is no danger of it being walked on. However, the hard panel were looking awful heavy. 33lbs for some of them! So, I decided I needed the flexible, light weight ones.
There is a story here, these things were going for around $300 on ebay, and everywhere I saw them. Caught one on ebay with a buy-it-now for $240. GOT IT. Hurrah! Saved money!
Then, I was discussing solar panels with my friend Chuck, and he said he got his from here: http://www.solar-electric.com/.
Guess what, they had my panel too. FOR $187!!! AHHHG!
Then, when writing this article, I looked again and found the flexible panels at the above URL for $296. Huh? Read the description for the $187 panels. It appears that these are basically the flexible ones, in a frame. Same technology, but added weight of an aluminum frame and a galvanized steel backing! They weigh 10.6 lb, where the flexible one weights 4.7 lb. So, for an extra $53 I purchased a reduction of 5.9lb in the weight of the panel. Will it make a difference? Maybe, maybe not. But, any weight I can save above the CG counts!
Will put a clear window in the tarp that goes over the boat so the batts charge in when the boat is in storage, as soon as I figure out a cheap way to do this. May use the storm window sealing kits from the Home Despot or something.
Anyway, a 6.5 amp SunSaver charge controller will make sure I don’t overcharge the batteries, and I’ll get the 5amp alternator option when I get the motor.
2DSC00001 2DSC00003 2DSC00005_2
I had originally planned to run conduit for the electrics, but as you can see in the picture, I didn’t. I decided they would take up two much space, and instead ran the wires as shown. I was carefull to pre-run any wires that would be in closed compartments.
Here you can also see the plumbing for the bilge pumps and the drain for the built in icebox. I went from the pumps directly to 1/2 flexible tubing, to try to minimize the drain back when the pump is off. The bulkhead and there’ll fittings I made myself, from scratch!
Nice to have your own homemade foundry and machine shop!
***

(So, I guess only people in Australia can build 25ft Chebaccos… Looking good Simon! -Ed)

G’day Richard , a couple of pics of the boat .

Cheers Simon.

MuddyMay01 MuddyProfileMay01