2011 “World” Pudleduck – Richard Spelling
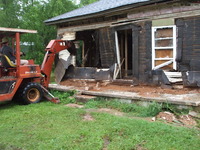
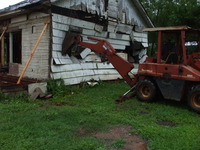
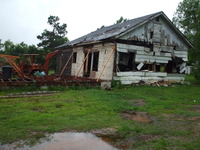
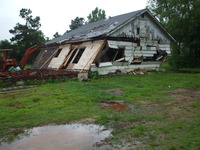
Sorry, it has been quite a while since I have updated this site. You see I kind of get obsessed with things. I was building a house for me and the kids to live in. Then a tornado came and blew it away. So then I was re-building a house to live in…

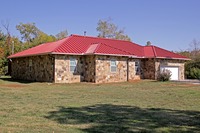 other things and picking up the pieces. (both literally and figuratively)
The only time I have had the boat out was a couple of weekenders to Eufala, which I write about in this issue.
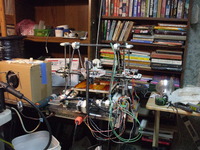
Other than that, my current obsession is the 3D printer I built.
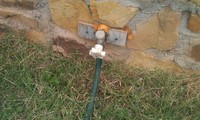
It’s a Self Replicating Rapid Prototype Machine, a 3D Cartesian Robot using Fused Deposition Modeling. I call it “Bob”. To the right is the faucet handle I printed to replace the one that was busted by the tornado when it scraped the well house off to ground level.
Also, my tractor had the good graces to die right in front of the shop, and to wait till after I used it to push the remanents of the old house down… so I had to fix my tractor so I could get the boat out… 🙂
Oh, yeah, and I’m Divorcing the wife I re-married. My “re-wife” as a friend calls her. I think I have learned my lesson this time.
Only misshap on the trip this year was that the exit off the turnpike was right after the toll booths. I mean like 25 feet. I was in the far left lane so I could use my pike pass, and there was NO WAY I could have made that turn. Oh, well. GPS sent me on a different route this year than it did last year. I have ignored it before to my peril, so I followed it’s instructions this time. Last year I almost blew a trailer tire. The second one, both from Pep Boys. Granted I am running them right at the load limit. I was able to put on the spare and limp to a tire place, who had real load rated trailer tires to sell me, so that worked out.
Well, also when I was getting the boat ready, I discovered the motor wasn’t pumping water out the tell-tale. I took it apart and just flipped over the impeller wheel for now, after greasing it up with a fancy teflon based greese. The fun part was the six hours I spent trying to get the bleeping lower end to fit back on. I finally gave up and went to bed. In the morning I got up, spun the shifter lever around 180 degrees, and it it went on like it was designed that way. Go figure.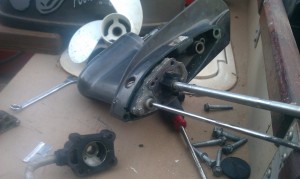
|
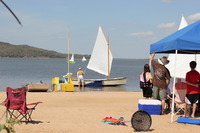
The messabout was held again at the Monies place at lake Eufuala. Better organized this year, with the tents in the back and even lined up. The Monies provide free food, but myself and others chip in cash to cover their expenses. Hopefully they do not take too much of a hit on the food costs. |
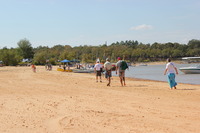
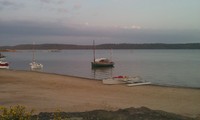
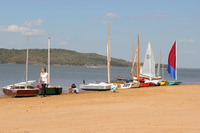
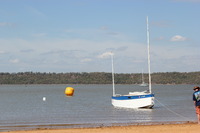
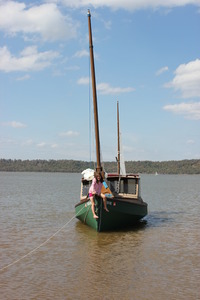
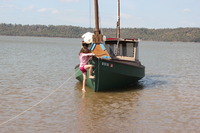
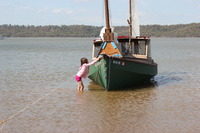
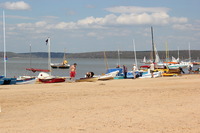
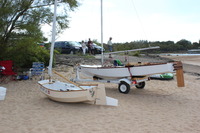
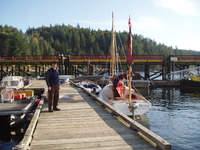
I could barely squeeze the truck and trailer through all the cars, and someone told me the ramp was un-usable, so I had to go to the state park down the road and launch. I walked up from the beach, where there was a LOT of boats, on friday night, just after dark. Beached the boat way on the end by a Micro that looked vaguely familiar.
Walked up to the Monies place and there were people on a loudspeaker. How weird. Jim Michalak and two others were speaking about plywood… and it looked like they were selling raffle tickets. And t-shirts. Unfortuantly, these were WHITE t-shires. I have no businsess owning white t-shirts… They finished talking, and we all went to get food. Talked to Jim and responded that I had built a 3d-printer when he asked what was up… All the old friends were there, except Chuck
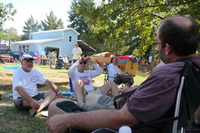
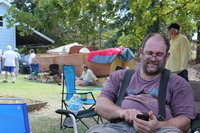
Visiting with friends, Mia (ex-step grand daughter) make a new friend or two, I check email on my smartphone.
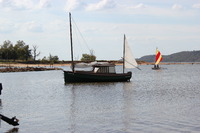
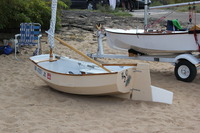
This was the second annual “world” puddle duck gathering. Very reasonably held in October when it’s not so bleeping hot outside. Puddle Ducks are small square boat, a racing “class” boat, but interestingly only the hull lines are fixed, everything else is alowed to be changed. This basically lets you play designer as well as race your boat. Very Interesting, but not interesting enough for me to want to make one and race… lol
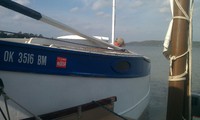
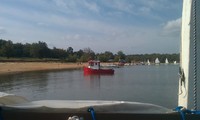
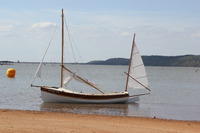
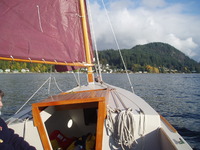
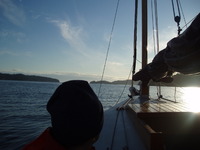
Next day they had various events, which I ignored. Funny how I can drive hundreds of mile to meet friends and boat builders, then be unsociable… 🙂 I went sailing back to the ramp to pick up the things I had printed to show Jim et. al. Water level was much lower this year than last, with the dangerous hidden stumps at least sticking out of the water this year! Interesting that they were all about the same height. I assume oxygen lets them rot above the water line. I tried to avoid the stumps and the racing course.
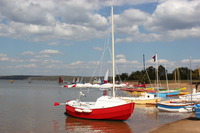
Lots of boats.
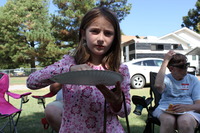
Kids swiming. Daughter playing disaffected teenager.
***
Rigging – Skip Pahl
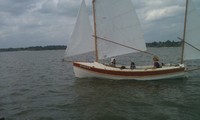
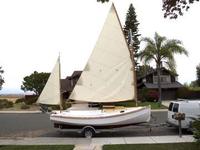
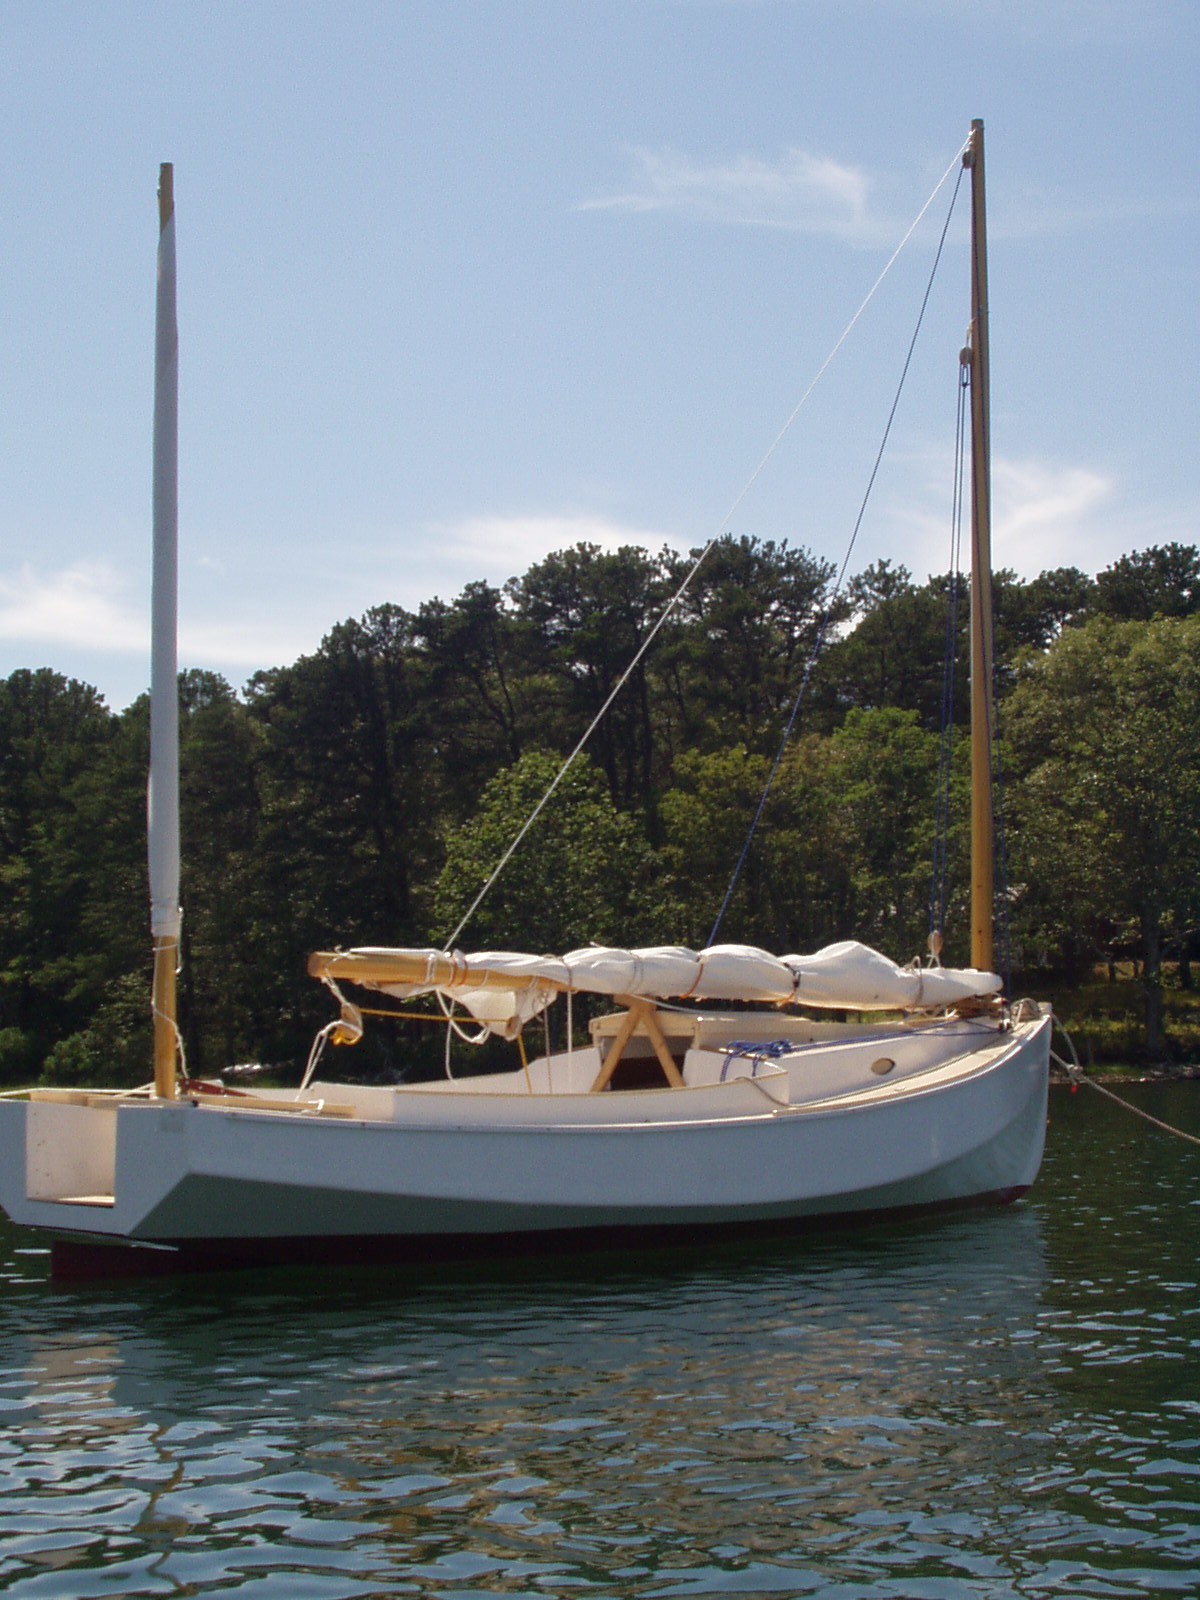
Hi Richard, Happy to send you some stuff. Here’s s shot of her on the day I finished the rigging.
***
Chebacco 25 Downunder – Andrew Yen
Hi Richard,
I built my first rowboat on a dare from my pre-school aged son (see: http://www.boatbuilder.com.au/images/stories/mag/smiggy.pdf ). Then my second son wanted to out-do his brother so I built him a sail-boat (a Bolger Cartopper). By then the boat building and the sailing bugs had bitten!
My dilemma was that I have three young adventurous children and my largest boat was an older 15′ trailer-sailer. I needed a bigger boat, a versatile trailerable boat with a shallow draft, occasional accommodation for five, easy to sail, good looking – and I wanted to build it. Over years of study I kept coming back to the Chebacco design. I like the look of the lapstrake version. But I had reservations about 20′. While much bigger than my current trailer-sailer I wondered if a growing family of five would find it too cramped.
This logically lead to a serious study of the Chebacco 25.
There were a number of down sides:
- As far as I can tell only one has been built and that one was highly modified.
- Phil wasn’t going to be around to give advice.
- The design had not grown and progressed like the 20′ version has over the years.
But on the up side it was light for its size, small enough to tow behind my 4WD but with generous cockpit accommodation. And it was attractive. It has that Chebacco lineage.
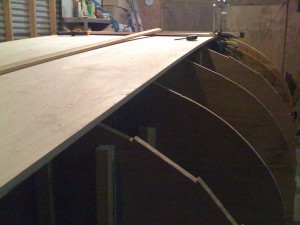
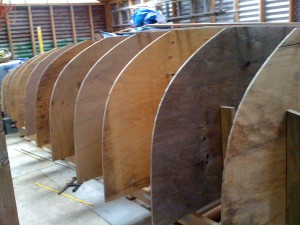
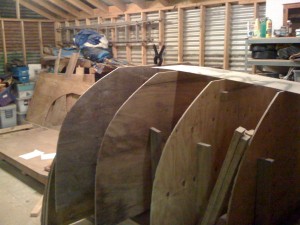
Six months ago I started using the offsets in Boats With An Open Mind to mark and cut out the moulds from some scrap ply I had. Cost so far $0.
Then I made a building frame from left over timber from a construction project my company was working on. Cost so far $0.
Then I put it all together and it started looking like it might be a boat some day. Cost so far $0.
I had a decision to make – my investment so far had been about two months of evenings in the shed. This is the point where I was going to have to spend money. Susanne Altenburger wrote to me offering plans and building details as I was pondering whether to commit or not. She suggested that I could adapt the lessons learnt on the Chebacco 20 to the Chebacco 25 and gave me some clues as to how.
That did it. I realized that I had been committed since I first saw the design in BWAOM.
I have now scarfed the bottom and fitted a modified sternpost/rudder-stock housing. This rudder stock housing will accommodate a version of the Chebacco RD’s balanced rudder design (see Ben Ho’s description on Chebacco.com).
Iain Oughtred’s book on plywood clinker construction has been very helpful as I work out how all the part will fit together. Attached are some photos. Sorry that it is hard to stand back and take good photos when there is the frame of a 25′ boat in you 28′ shed! I will keep you updated as I make progress, or you can follow progress on a website my mate has started putting together http://sites.google.com/site/warrandytewoodenboat/Warrandyte-Wooden-Boats
Regards,
Andrew Yen Victoria, Australia
***
MY CHEBACCO AFTER LAUNCHING – Unknown author
(The hole in the bottom of the boat)
Launching went well and the mast was easily stepped using the mast slot. She floated well and looked good.
Then, WATER! But not where I wanted it: When my friend Pete and I sailed her away from the dock for the first time, water started coming up the rudder shaft and making its way down toward the cockpit. We didn’t notice it at first because we were enjoying the quiet sail and looking at the sail to check the shape and so on.
When I built the after-deck/rudder post support I epoxied one side but left the other side open so that I could check what I was doing when I installed the rudder shaft. I had drilled a hole to accommodate a two inch post as shown in the plans and built the rudder post box support to that size shaft but obtained and used a solid brass shaft a little more than one inch in diameter. Then when I installed the last side of the rudder post box I was not careful in sealing it- I figured I would like access to check on things. So while the rudder shaft surroundings were rugged they were not waterproof.
Pete and I removed the mizzen mast and partner, then the “after deck” and removed the side of the after deck support. I applied 5200 caulking as much as possible and had trouble free sailing after that. Until…
I borrowed a 5 hp outboard and mounted it so I could see if it would be enough to push the Chebacco against the wind and tide. Alas, the weight of the motor lowered the waterline at the rudder post hole and the forward motion of the boat combined to bring water aboard at such a rate that I had to pump continually while we motored back to the mooring. So the 5200 didn’t solve the problem completely. I was surprised at the amount of water that came aboard.
When Hurricane Ophelia threatened heavy rain I chose to haul the boat rather than worry about the rain settling the boat low enough to bring more water aboard.
Back on land I removed, again, the mizzen partner, the after deck, and pried off the still removable side. I know water molecules are very small, and there are lots of them (says Avogadro), but I was amazed by the flow of water into the boat.
I removed the rudder completely and studied the box that enclosed the rudder post. There were no obvious voids.
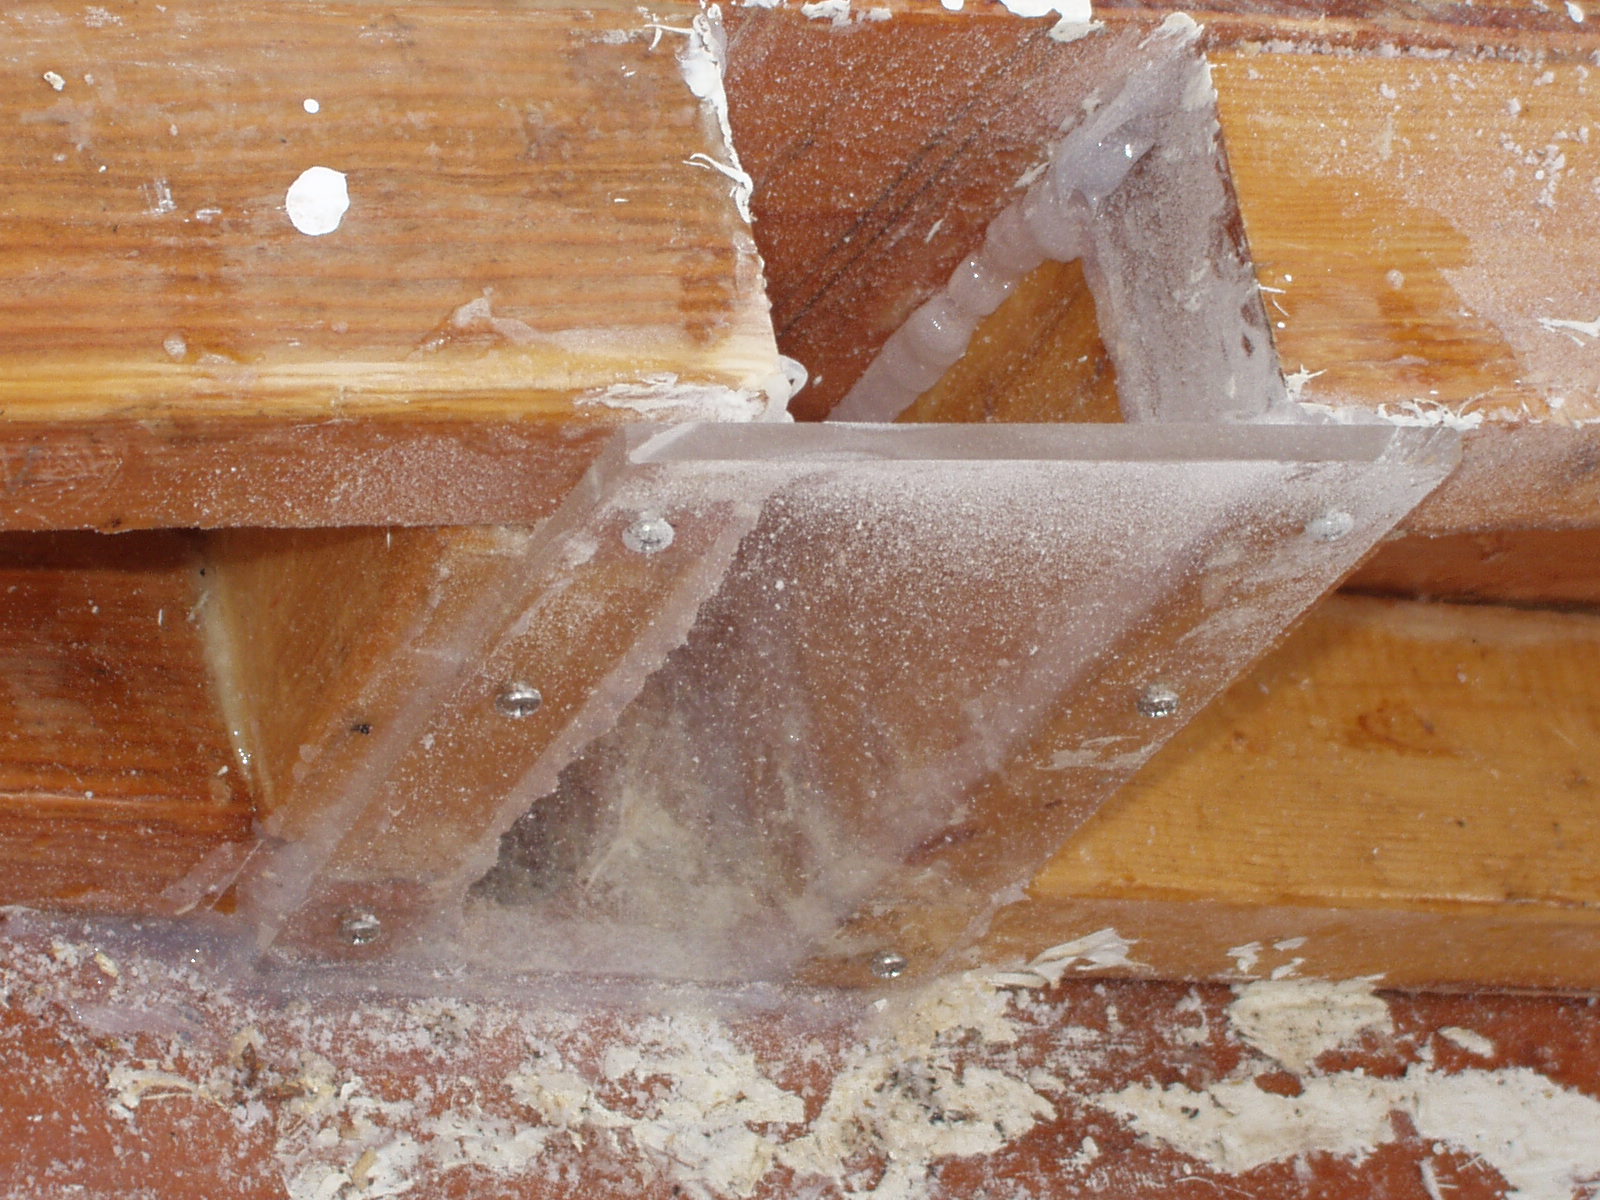
I temporarily stuck a piece of thin transparent acrylic over the rudder post box with some sticky window caulking stuff and covered the hole in the bottom of the boat making, in effect, a small but columnar aquarium. When I filled it with water the water level quickly dropped, leaking around the caulking.
I found a thicker piece of Plexiglas, bought a tube of 100% silicone caulking and scraped the gunk from experiment number one. I drilled six holes to screw the plexi to the frame, applied the silicone as carefully as possible and attached the plastic with screws. I waited overnight. I dumped more water into my tall thin aquarium-like rudder box and it seemed that I was in business. So it’s winter now in New England and in the Spring I’ll do another check. My current plan is to leave the Plexiglass in place since the rest of the after deck support is very strong. It is very ugly to look at because I used 5200 while the boat was still in the water and I got it all over the place. Also my woodworking skills are workboat level at best. This whole area is covered, though, by the afterdeck.
Moral: seal that rudder box well.
She was in the water for only about three weeks and I never fully tested her but I had a list of things to attend to. (I used the few days after launching to make a list of adjustments.) She sails nicely in next to zero wind but I have not yet sailed her with a reef. She has a neutral helm in light wind but rounded up quickly in small gusts. I don’t know how much weather helm she’ll have and won’t know till next spring because I hauled her two days before hurricane Ophelia was scheduled to perhaps dump rain on us.
***
Notes on making the mast for my Chebacco. – another unknown author
I’m sure many will find fault with what I’ve done but I had a good time with this project.
I needed stock for a nineteen foot mast, four inches around. Some others have had access to good stock from old buildings (or perhaps even trees!) but I did not.
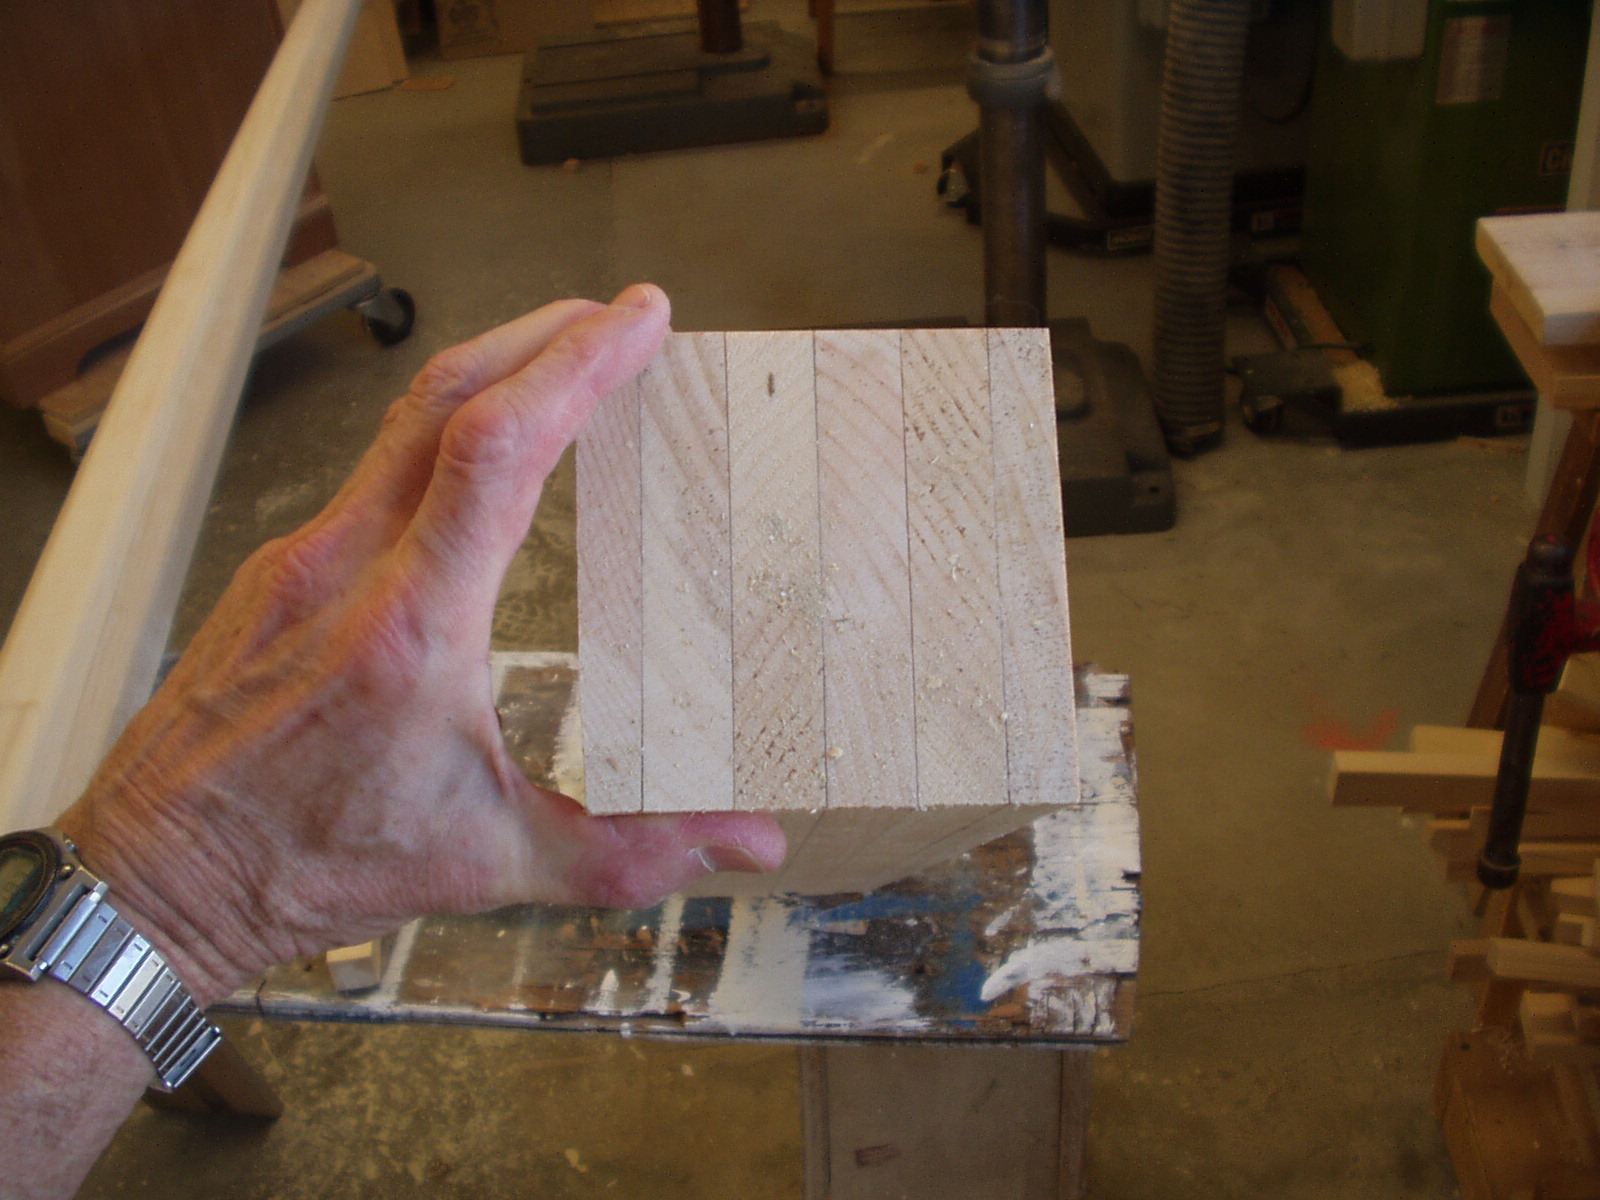
I probably should have explored using construction staging planks but it was too late, I had already purchased clear pine at the suggestion of the guy who was helping me with the project. I sanded bevels for scarfs, imperfectly, (I had considered using a plane but thought I could sand them better- now I’m not so sure). I glued the scarfs with epoxy to get enough length – I made six long planks out of twelve shorter ones. I then epoxied three sets of two, and finally epoxied the pairs together to make the full blank.
I had access to a very large floor-model power planer so we planed the blank square. It looked great!
It was quite straight and smooth.
The plans showed a taper for the last few feet of the mast so marks were made on all sides of the blank. Then a straight edge was used to mark the taper on all sides. I was a little afraid to use a power planer at first, so a hand-held plane was used to remove stock on the first side. This was a real workout, even with a sharp tool, but it was quite satisfying. However, I tried a hand held power planer on the remaining sides and found that I could control the removal quite well and the results were probably better with the power tool. Once the taper was cut on all sides, both ends, the stock was ready for 8 siding.
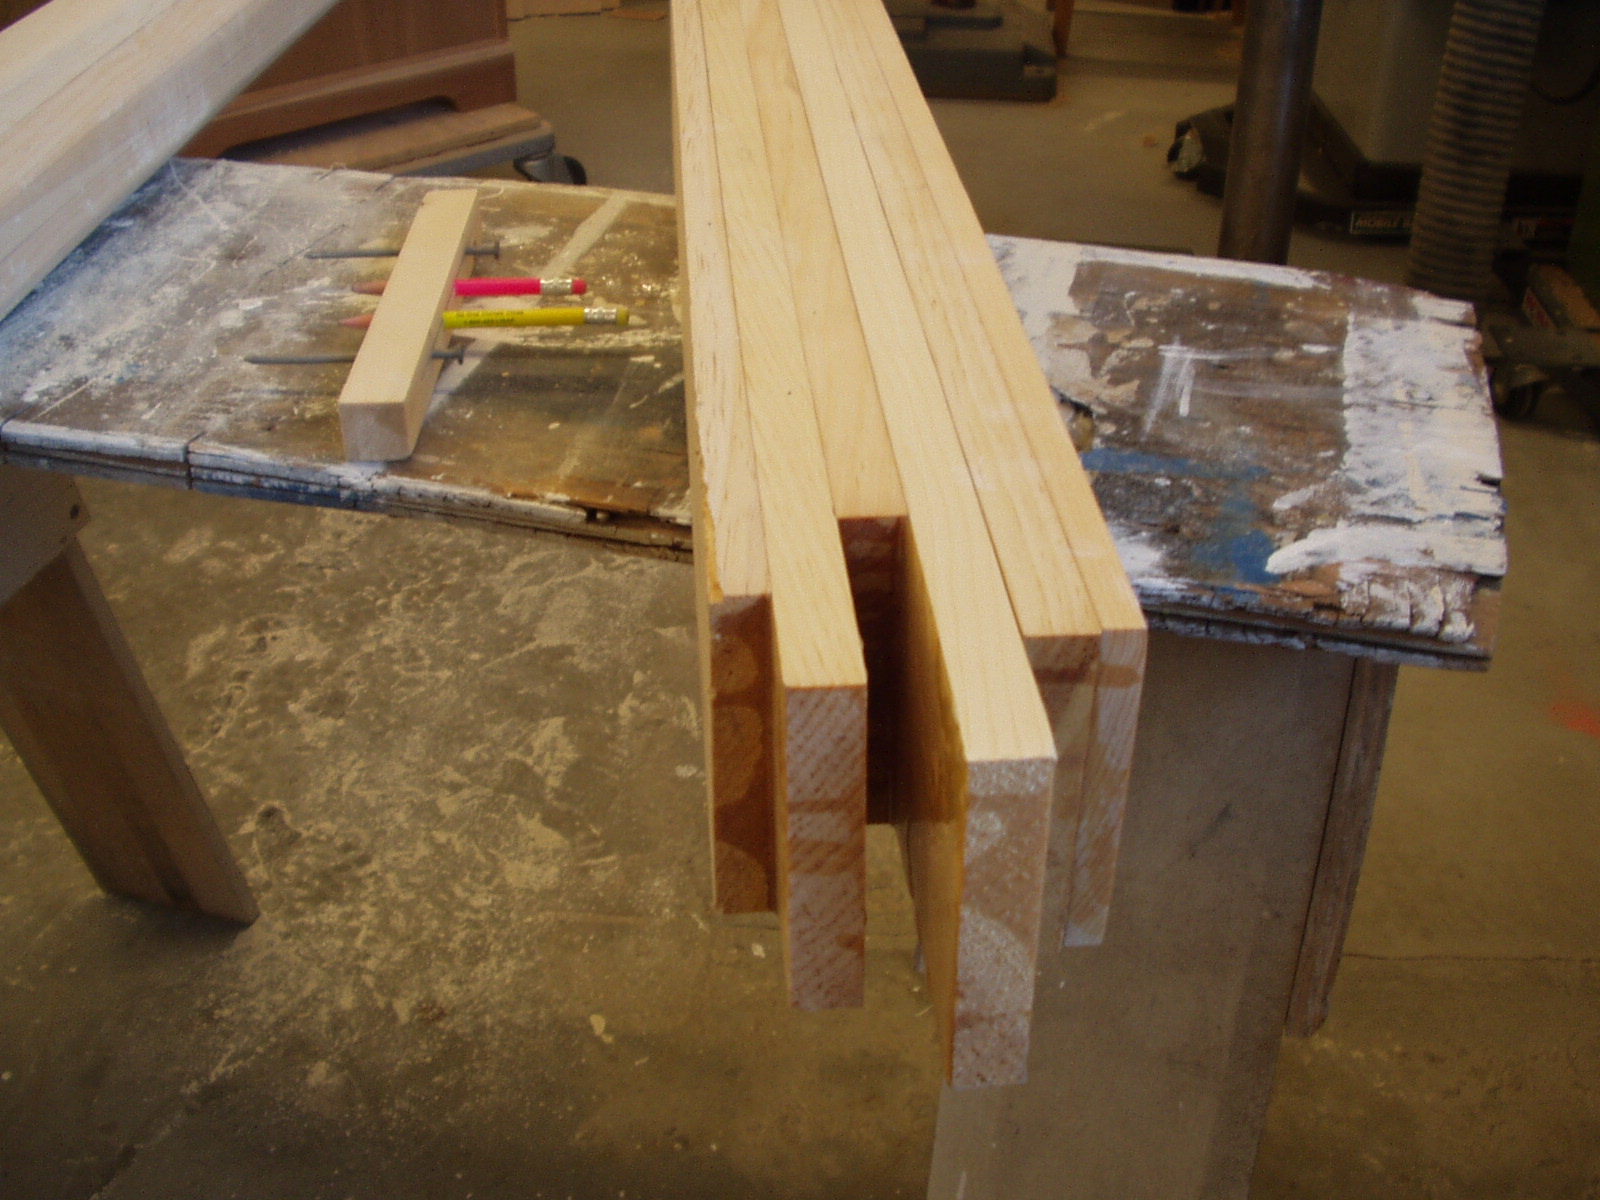
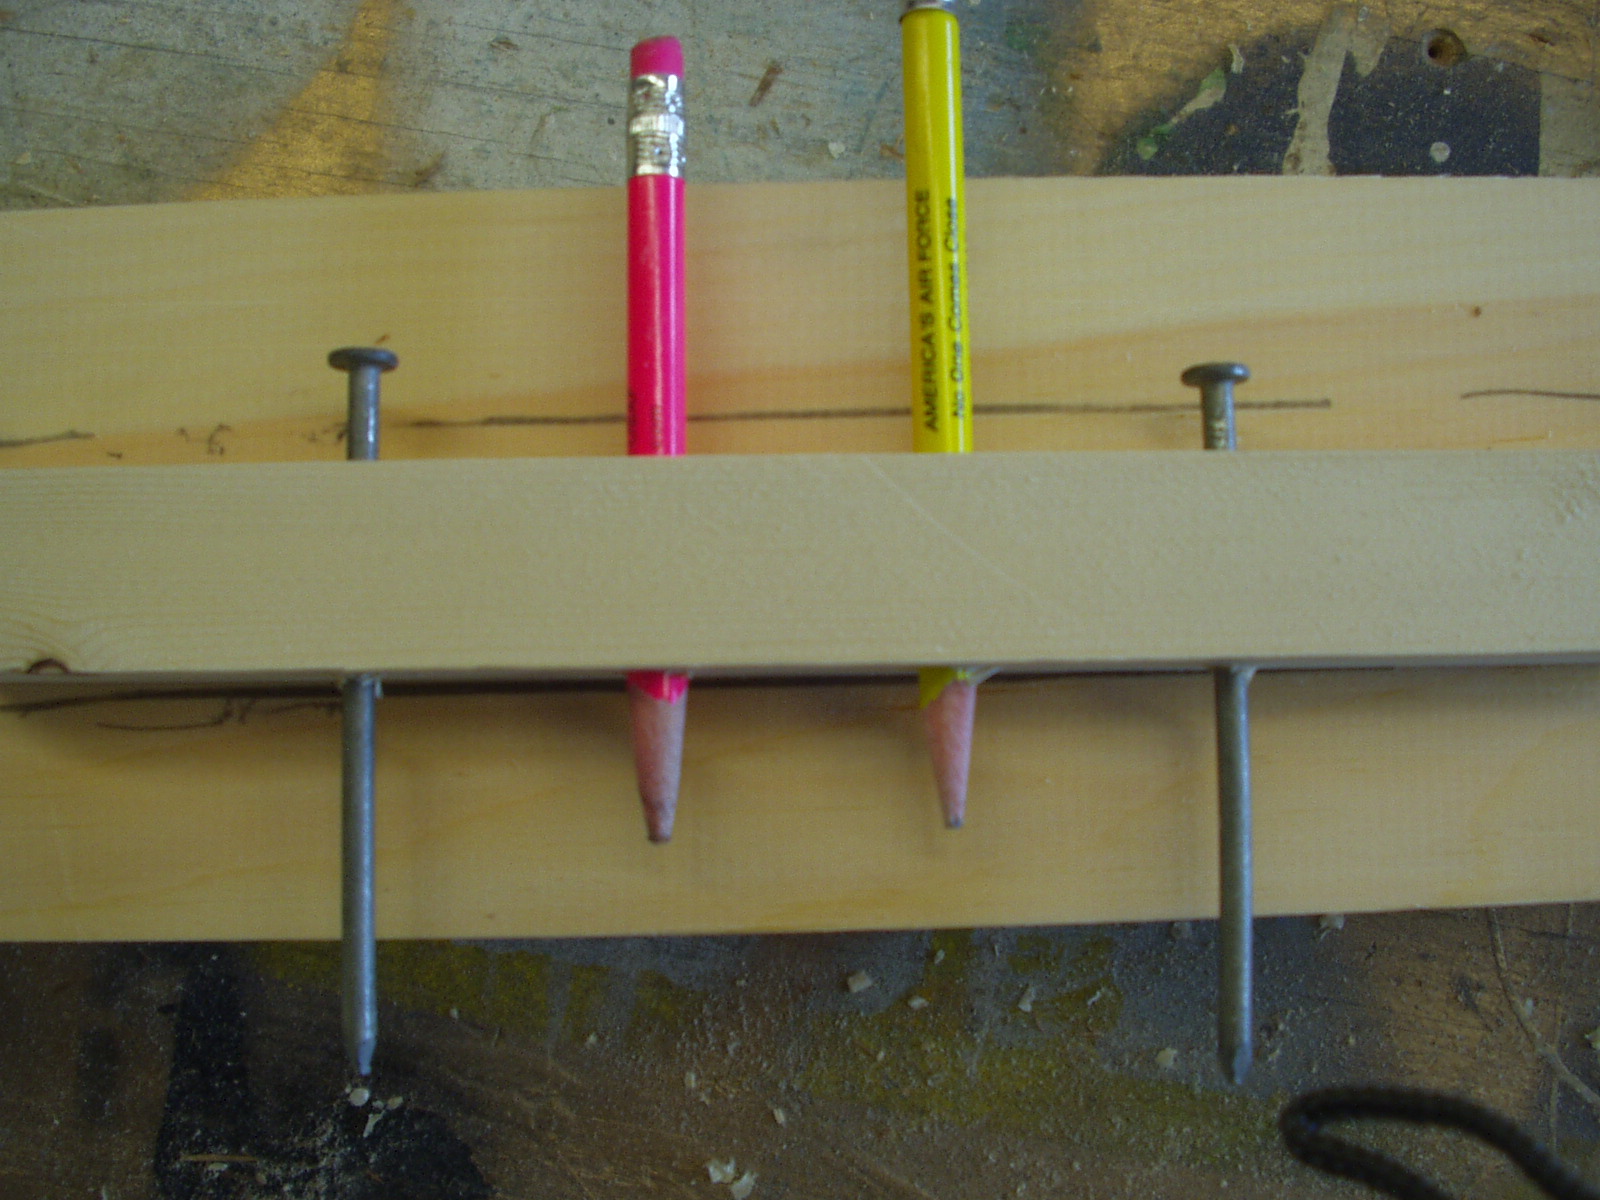
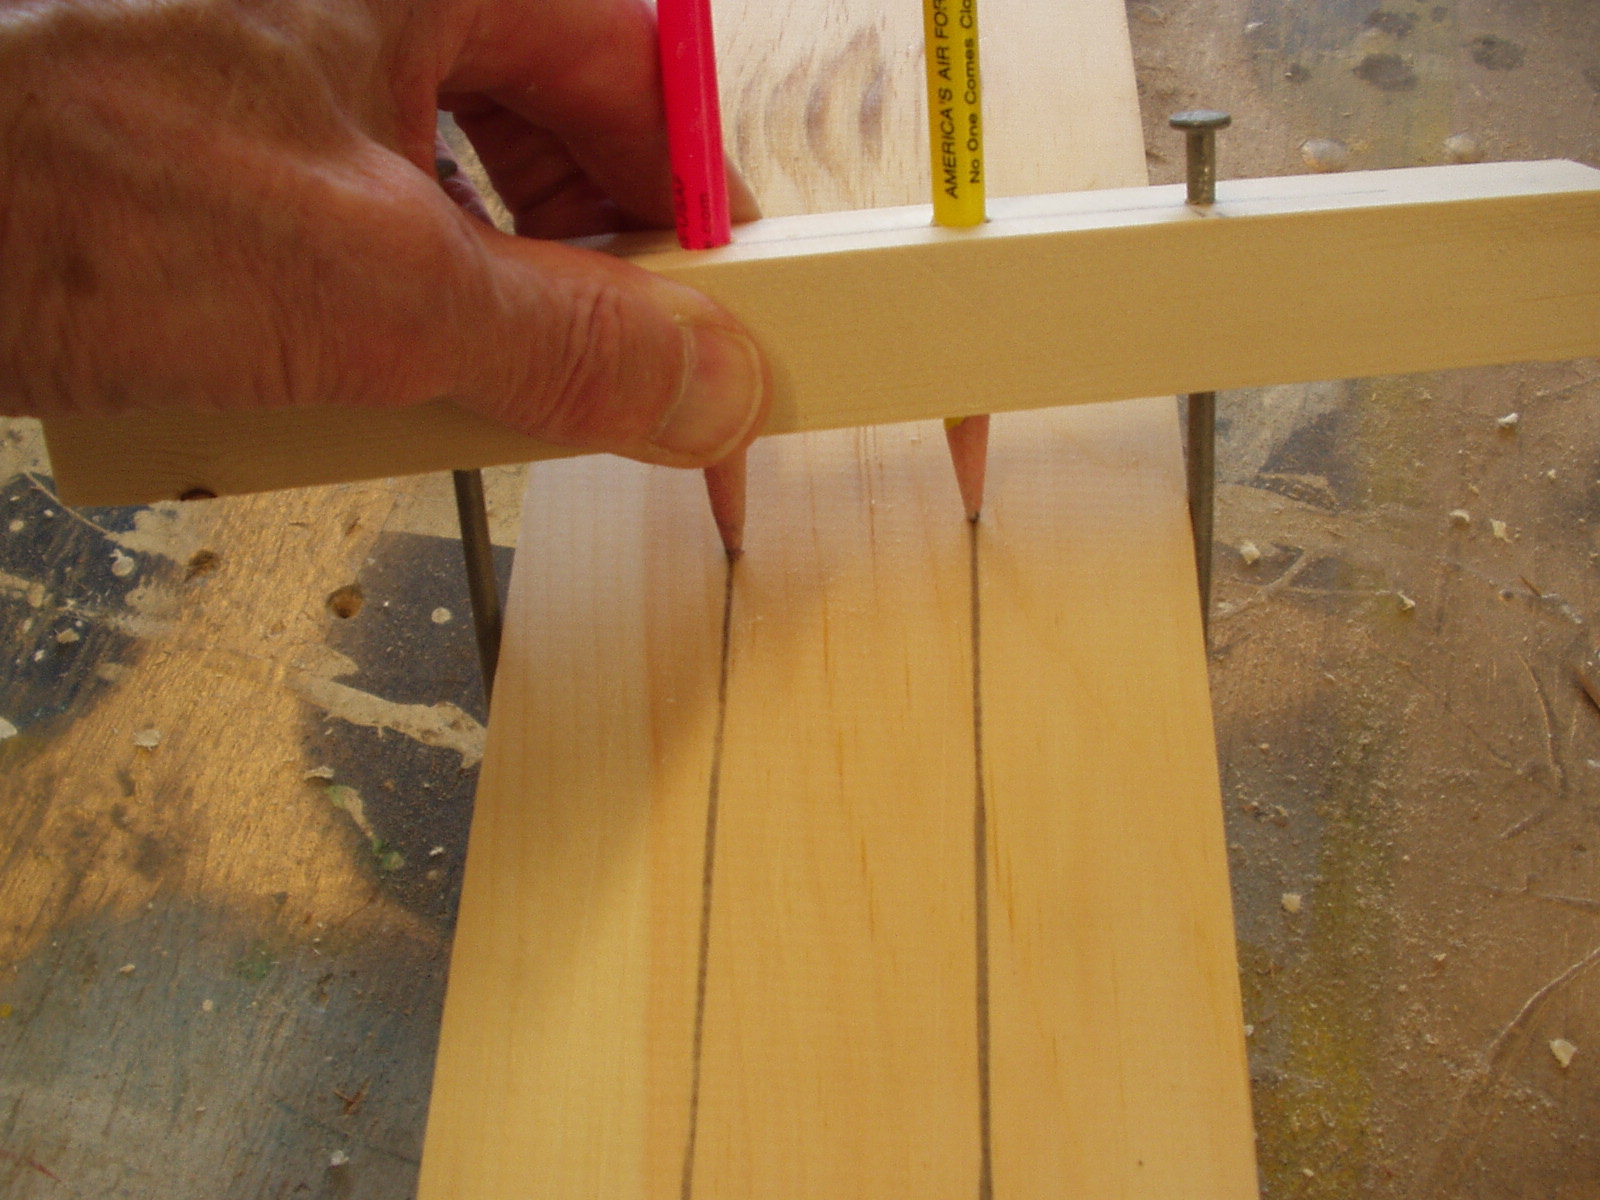
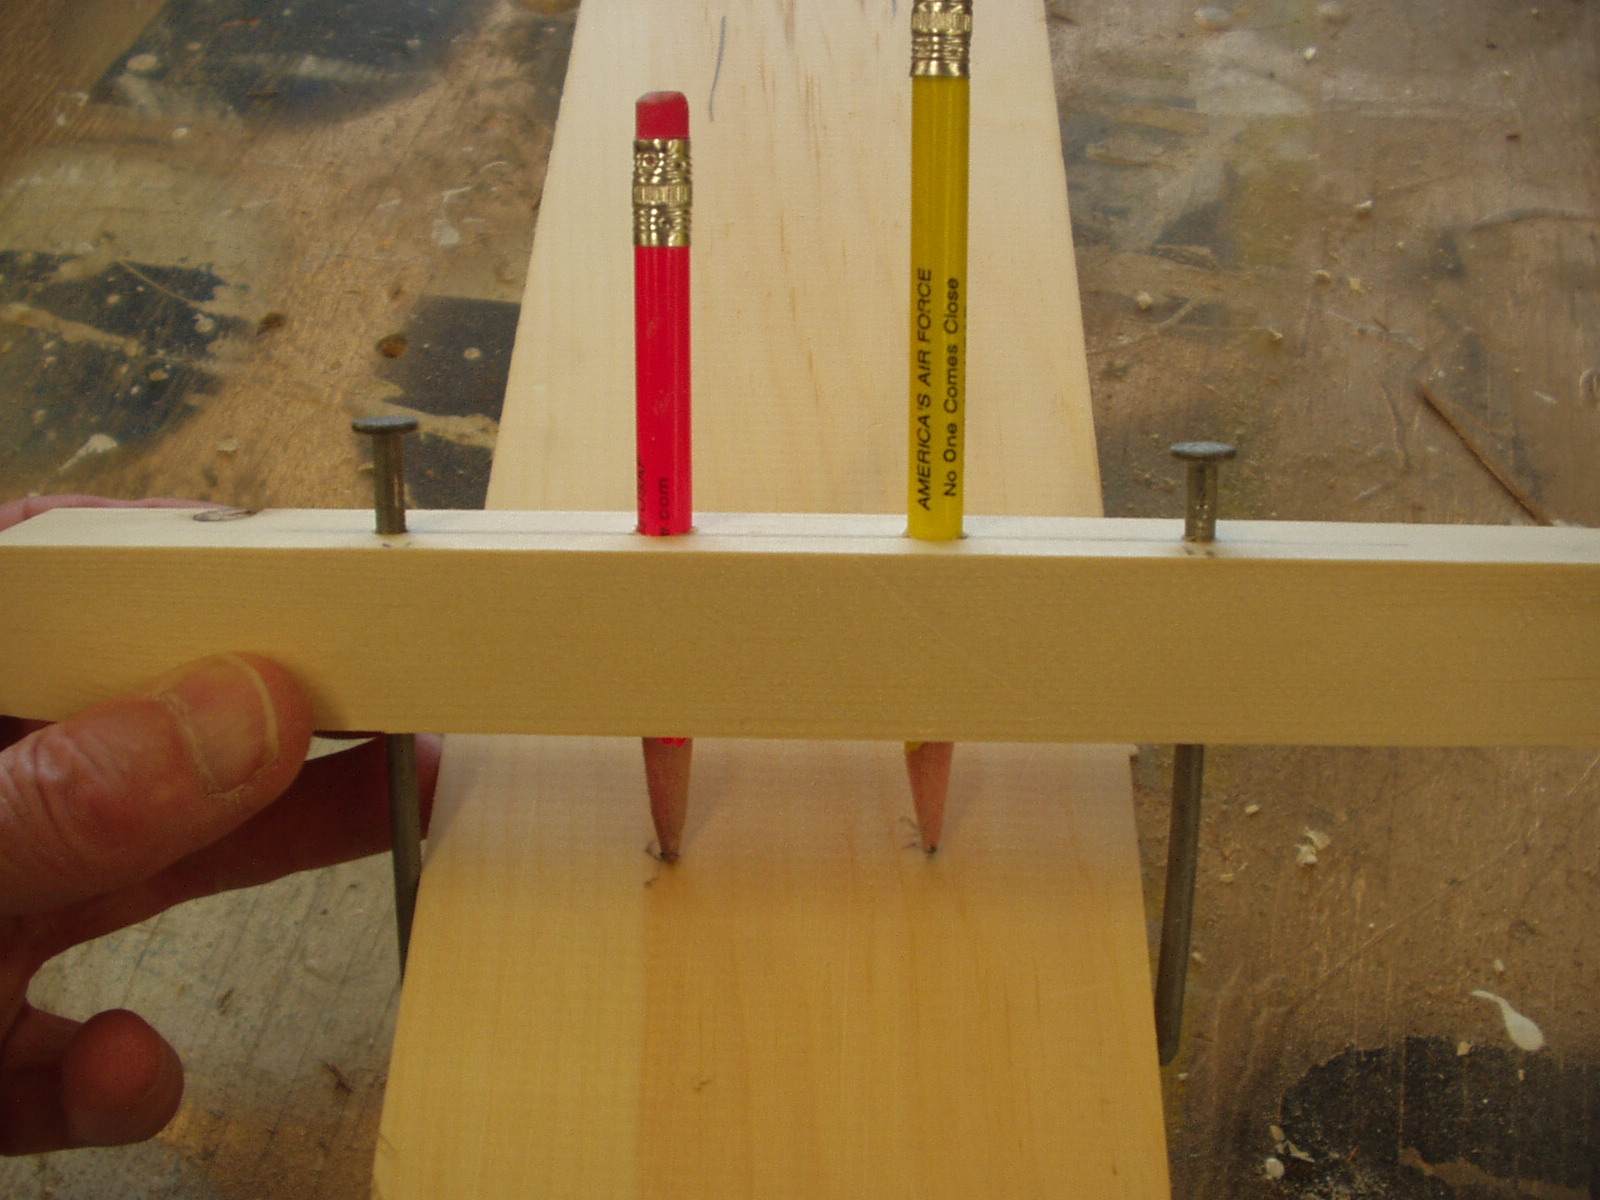
The jig for 8 siding is easy to make. I cut a stick about an inch square from a scrap of 2×4. (I wanted enough thickness to hold the pencils without wobbling). I drilled holes for nails positioned at the outer edge of the mast blank. The holes were slightly smaller than the nails to grip them tightly. I then divided the distance between the nails (distance between the sides of the mast) into thirds and drilled holes to grip two pencils 1/3 and 2/3 of the distance between the nail holes (nails not inserted yet). I hammered in the nails which extend down the sides of the mast blank. I pushed the pencils into the jig so that the tips showed enough to make marks.
The jig moves along the blank, and when the blank tapers toward the tip the jig slides along at an angle and continues to make nice even divisions.
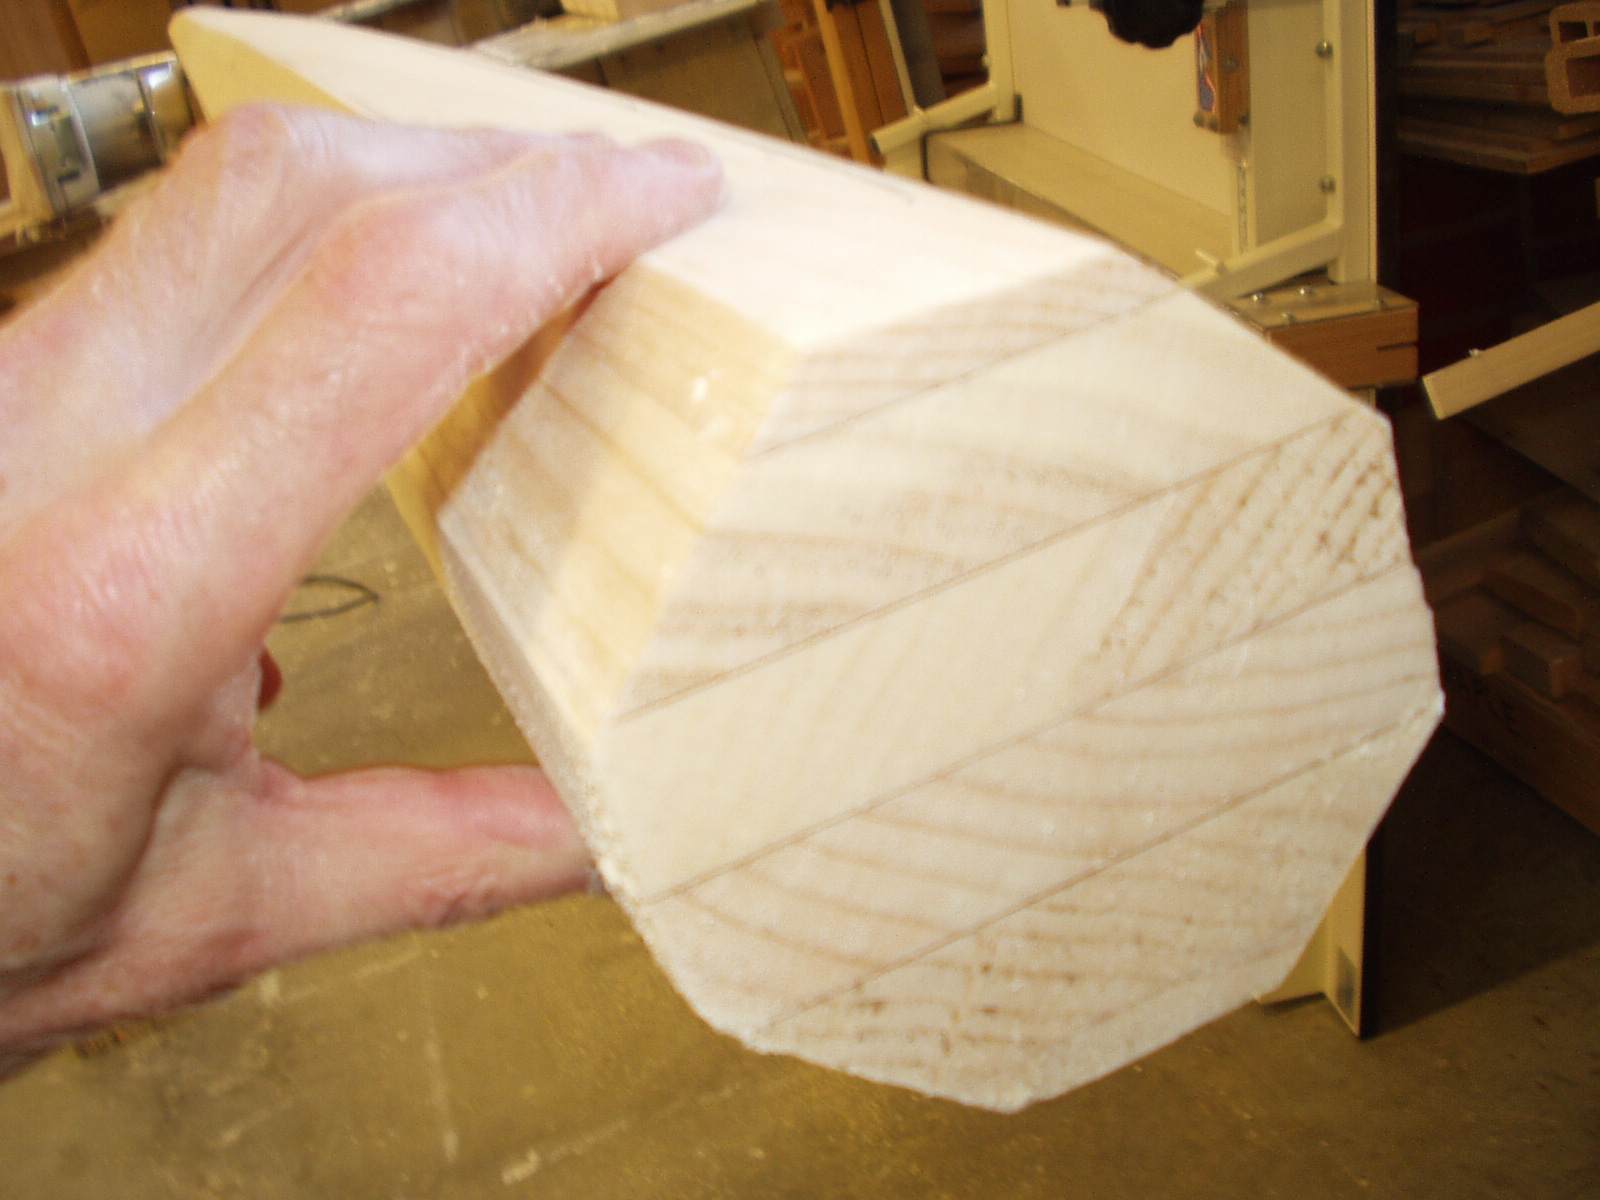
The hand held power plane was again used to remove the four corners down to the marks. Again I found the tool quite easy to control and I was able to get reasonably close to the marks. I was very happy because it looked like a mast (to me anyway). I decided I liked the hard sided look so I am not going to 16 sides and round. I’m just going to soften the hard edges leave it as is.

