Intro and more building the CLC
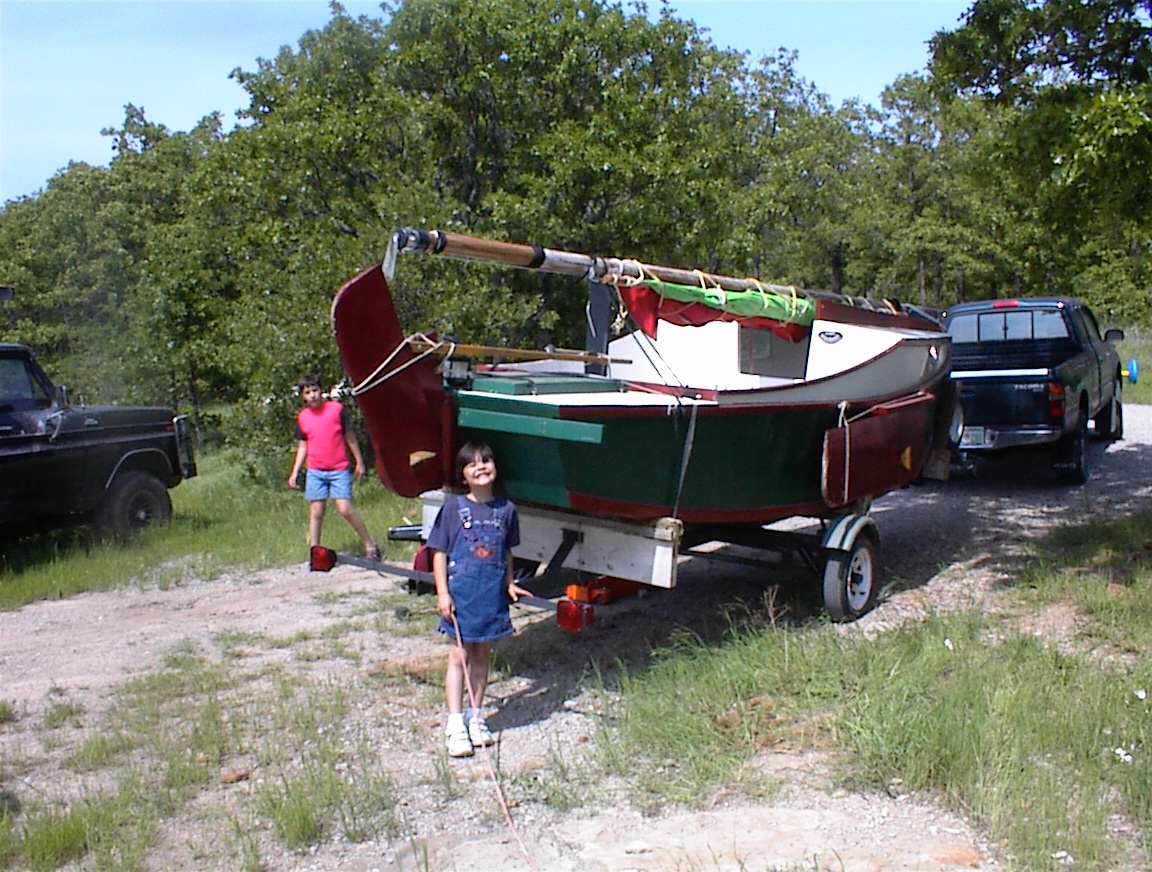 Well, I’ve sold my AF2. Entropy retired to a happy home in sunny Arizona. Pays for the outboard on the CLC. Interestingly enough the buyer, according to his friend (who we delivered the boat too), has an occupation of “rich kid”. I think it’s neat that he could afford any boat in the world, and wanted my homemade one!
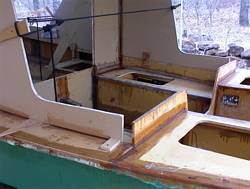
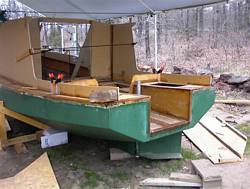
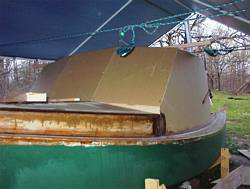
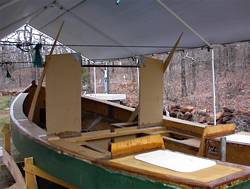
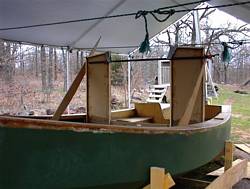
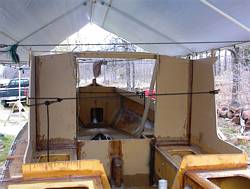
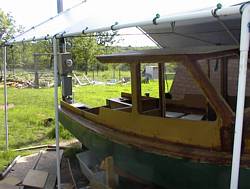
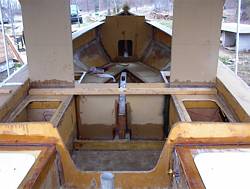
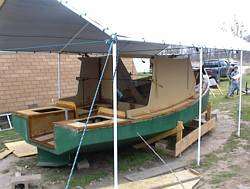
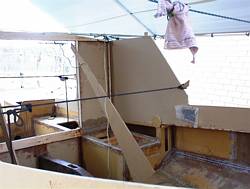
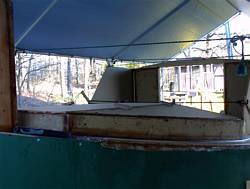
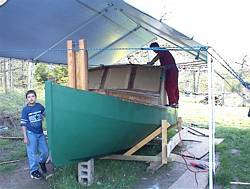
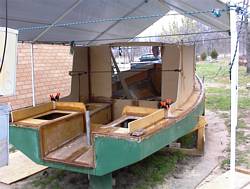
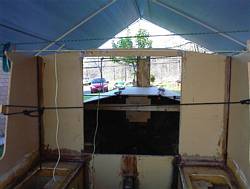
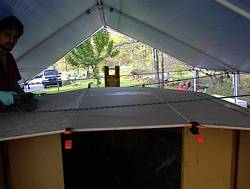
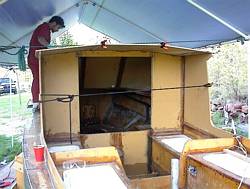
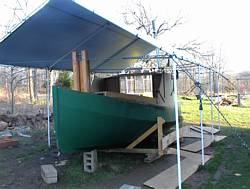
Looking very much like a boat.
The standard thing that people said when I was building the AF2 was “how are you going to get it out the door?” The standard thing people say about the CLC is “It looks like a boat”. As you can see from the pictures below, it does look like a boat. Just not a sailboat!
Windows, what to do.
I finally decided to go with Plexiglas/acrylic instead of Lexan/polycarbonate. Decided to do my own tinting instead of paying the extra for the tinted acrylic, not sure I saved any money, and in the long run may need to redo all the windows. However, they would be easy to switch out, in that event.
Battery adventures
Well, the money I saved by going with the Sam’s Club golf cart batteries turned out to be not any money at all. I have this bad habit of doing that, I’ll do something to save money, and wind up spending more then if I had just gritted my teeth and did it right to start with. Have to work on that.
When I was installing the batteries I noticed acid leaking from on of them when I moved it to the boat on the hand truck. Not good for a sailboat (even one that looks like a power boat) that the batteries would leaks when tilted. Decided to get the West Marine version of the golf cart batteries, even though they cost twice as much as the Sam’s batteries, on the theory they wouldn’t leak. Two weeks after I placed the order, West Marine still didn’t have them. Canceled, and paid twice as much again, for MK gel sell batteries with the golf card form factor.
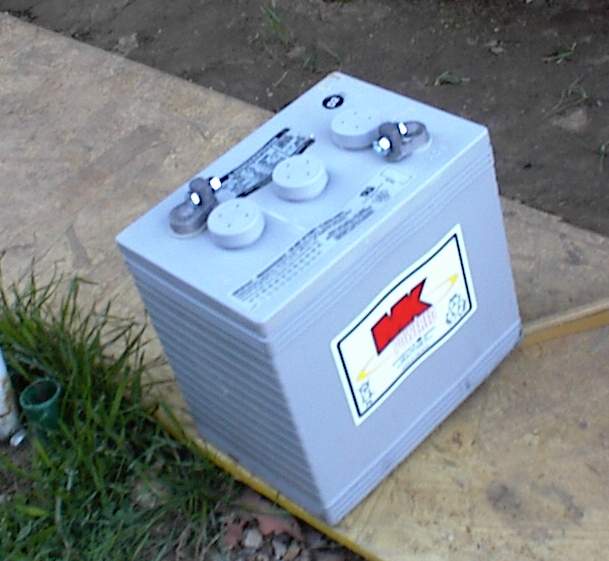
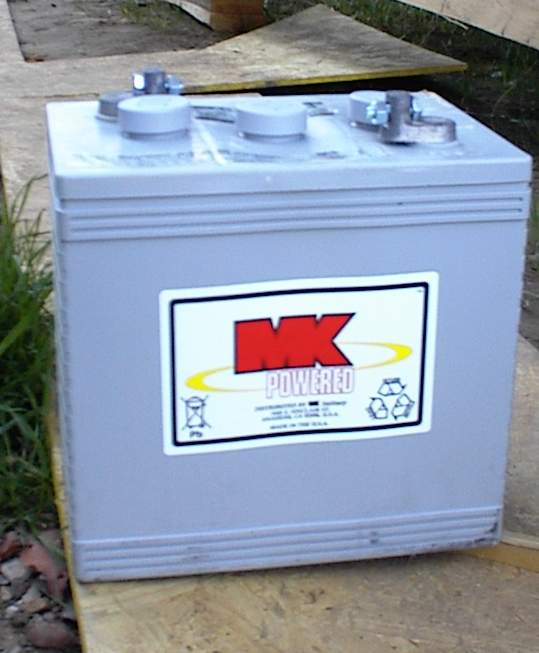 The Westco Battery guy said “they probably double stacked them”. Right on the side of the box it said DO NOT DOUBLE STACK. (not really a box, more a cardboard half cover for the batteries)Then, when they came, one of them had a smashed in center cell. With some encouragement http://www.westcobattery.com/ sent a replacement. When it arrived, it was three! I originally had complained because a couple of the bolts were missing. Apparently they sent two new batteries then. Then when I convinced them the cell was smashed too much, they sent a replacement for that. Swapped out the bad one and sent the three back. (on their dime)
Interestingly, the shipping guy was having a cow that I would claim the batteries were damaged. I told him it was between him and WestCo. He put the three batteries on the hand truck to haul them up the driveway, and guess what, only two would fit. So, he stacks the third one on top. Is that “double stacking?”
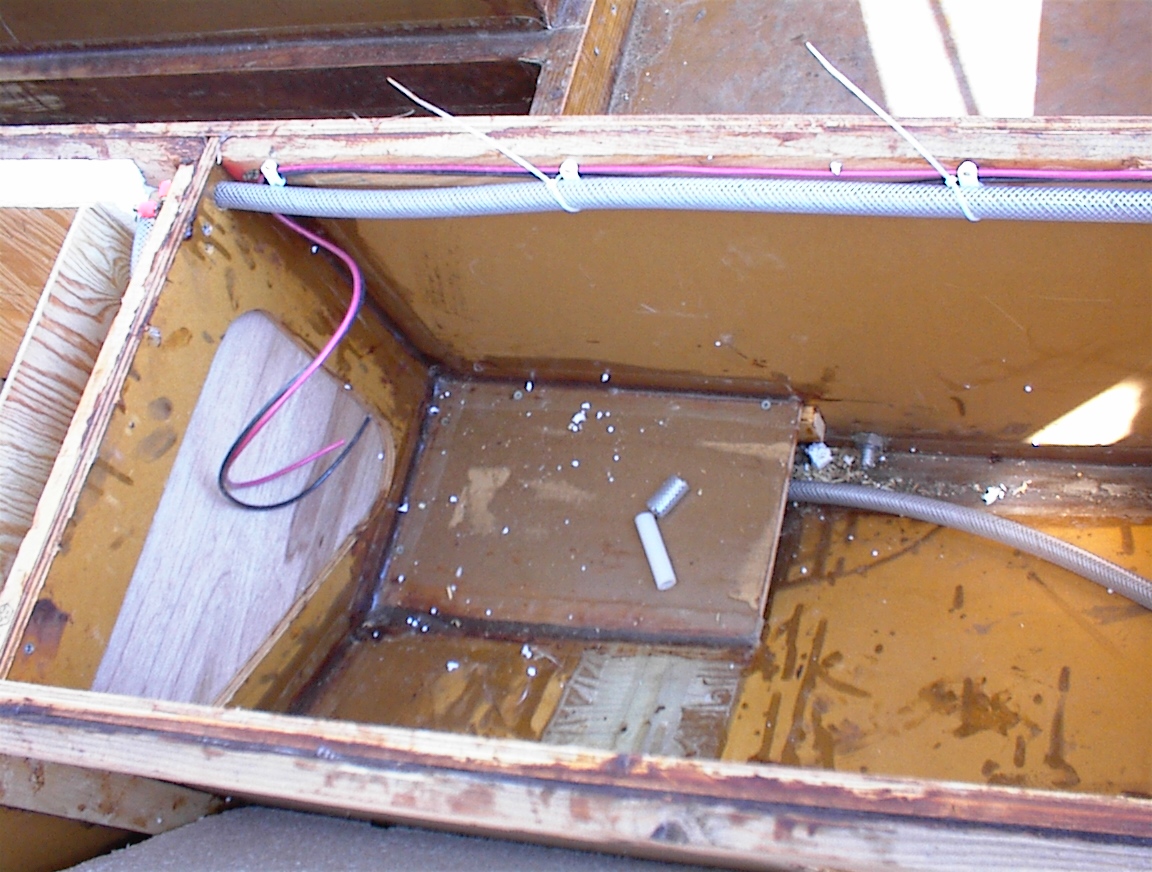

I remember a conversation with a guy who had built a very pretty wood and epoxy boat about the size of the Chebacco. He said he had used 10 gallons of epoxy and I remember asking “why so much?” I hope Larry at Raka likes me; I stopped counting at 30 gallons…boat epoxy, and more epoxy
mast, titebond
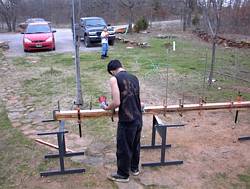
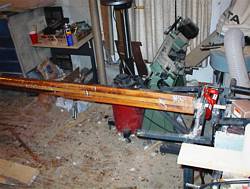
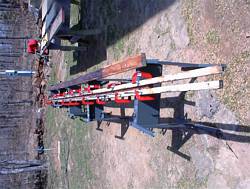
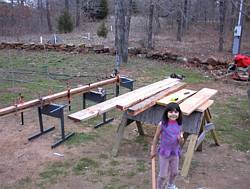
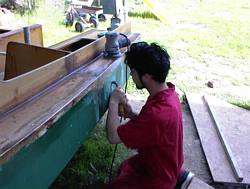
Left hand picture here we are clamping the spacer boards on the mast, Made the mast hollow so the wires for the anchor light would have a place to run. Right show the sanding crew hard at work.Here are some pictures of the mast. On the left I’m using pallet wrap to pull some of the wrinkles out around the transition from square to round. Primitive vacuum bagging, without the vacuum or the bag.
Decided I would laminate the other spars with TiteBond II instead of epoxy, save money, and it’s still stronger than the wood. Need lots of clamping pressure with TiteBond, every “C” clamp I have is in this picture. Someone on Yahoo suggested there might be “creep” problems using TiteBond. Don’t know about that, they aren’t under constant load. Just have to wait and see what happens.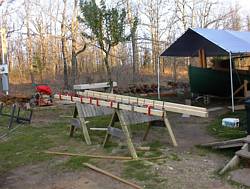
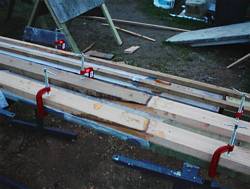
Nice picture of the scarphs for the mast. Bottom of the mast is doug fir, top is red cedar.
Going to redo the gaff hollow ala birds mouth, gaff to plan is a bit heavier than I like. Also, decided the other night to scarph up plywood scraps, so this should be an interesting stick. Then again, I may save that for a latter project, and just use the stick as is for now.
motor, mounting board
Motor is in, rather heavier than I thought it would be, though it’s probably right to spec. Will worry about installing the alternator kit later. Actually, could have waited to buy the motor, can’t put the motor mounting board on yet ‘cuz it would block easy access for getting into the boat. Made the mounting board out of sheathed plywood instead of oak, will put a 1/4″ aluminum plate for wear resistance. Also, I’m putting wedges under the mounting board on the back of the boat, instead of making mounting brackets ala plans inside the motor well.
Camper Works
Sad to say I had (and am still having) a bad experience buying something online. I bought a porta potti from a place called “Camper Works”. After 4 weeks it still hadn’t showed up. I started sending them emails, which were ignored. I started calling them, and they kept giving excuses. I finally got disgusted and canceled the order, and ordered from a place called “Camper World”. The Thetford 135 from Camper World showed up in a couple of days. Then, a couple of days later, the one from Camper Works showed up! It had been shipped THREE DAYS after I called and canceled the order. I shipped it back, and the guy said he would send a check….
Well, I haven’t gotten a check back. I guess I’m going to have to call Discover Card and do a charge back.
thriftymarine
Had a similar experience with Thrifty Marine. They have such good prices on their Bomar hatches that I ordered some more deck plates from them. A trivial order, $18, but I paid promptly and expected the hatches to be shipped. 6 weeks later they hadn’t been, and emails were not being responded to. Had to call, and kept getting excuses. “I’ll ship them first thing in the morning”.
Finally had to send an email threatening to report them to Paypal for fraud. This got my hatches sent, for some reason. Owner said he would “make it up to me” on my next order. Needed another 10” round hatch for the front, asked how much. He said he would ship it gratis on Wednesday (neat, that would make up for the hassle!), but it’s been three weeks…
I’ve added a warning on the “resources” page, buy from them at your own risk.
Trim
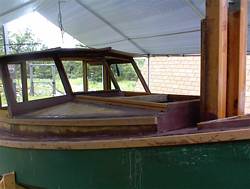
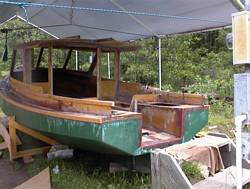
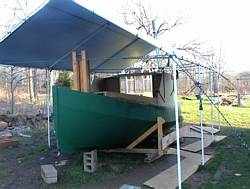
Splurged on the trim for boat, figured if I spent this much time and money on the boat, I would like some trim that looked good. Bought about 12 board feet of Honduras mahogany. Expensive wood, almost as much as teak, could probably have got lots more red oak for the same price. As it is, I’m going to get some mahogany stain and put it on, make it look even redder.
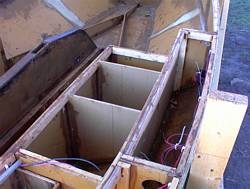
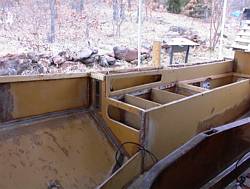
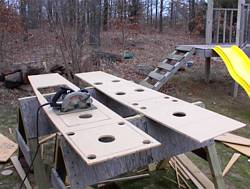
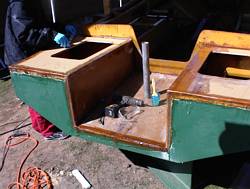
Here are some pictures of the berths. I made access holes in the berth tops instead of having the whole top pull out ala plans. Stronger structurally, and looks better I think.
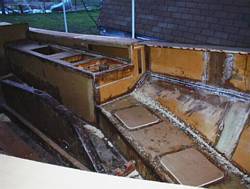
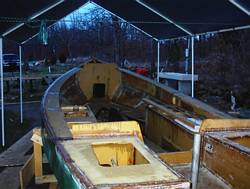
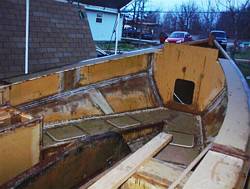
Here are some picture of the seats going together. Note alcove and ventilation hole.
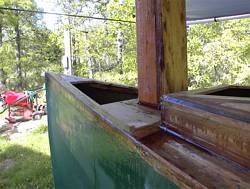
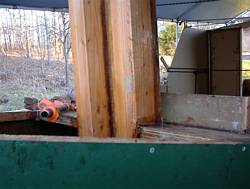
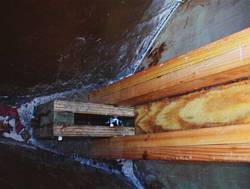
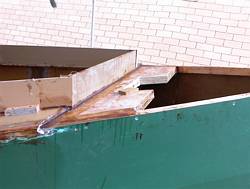
Some pictures of the tabernacle.
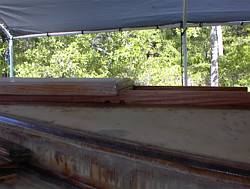
Scraping paint runs, faster than sanding. Laying out cockpit coaming. Note that the only joints on the boat that are not stitch and glue are where I fastened something to a closed compartment and couldn’t access the bottom. This requires a LOT of tape, but I have NO end grain or plywood edges exposed for water to get in.

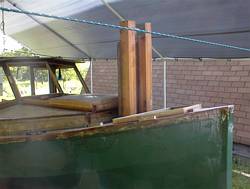
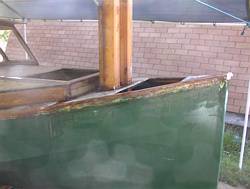
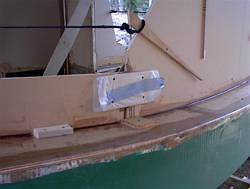
The forward hatch will be sliding; the rest of the hatches will be hinged. Bought hatch hinges but they don’t work like I expected, and I think I’m going to sell them on Ebay and use treadmill belt and bungee cords for the hatch hinges.More pictures of the coaming going together, some pictures of the deck. To the right, picture of the sliding hatch on the forward deck. Also not to plans, plans showed a narrow hinging hatch.
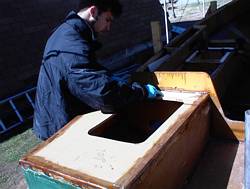
 More sanding, and another picture of the forward hatch.
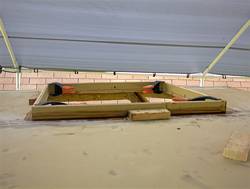
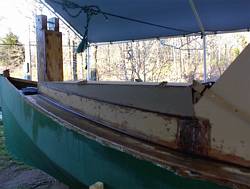 Top hatch being “stich and glued” in with cleats and clamps. Note the profile of the deck on the right. Plans show a rounded curved deck. Decided that a stitch and glue hard chine deck would look better and go with the rest of the boat.
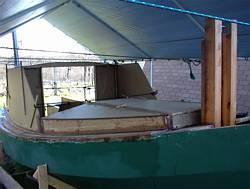
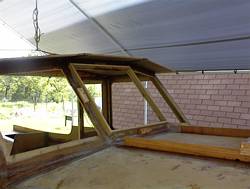
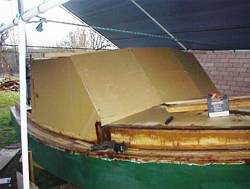 Some pictures of the pilot house. Kind of looks like a tank or something, eh?
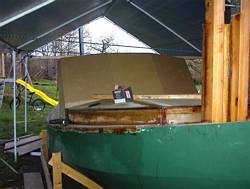
 More pictures of the pilot house.
Note the rag tied to the rope. Only took me about half a dozen times running into the rope to put the rag there. I guess I’m a slow learner.
Redhead says it feels “creepy” inside the pilothouse. No windows yet.


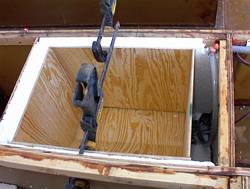 Side decks give plenty of room for walking. Starting to work on the icebox. Laying out the panels for marking.
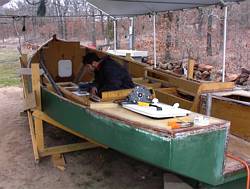
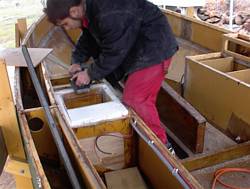
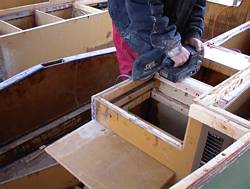
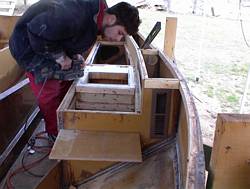
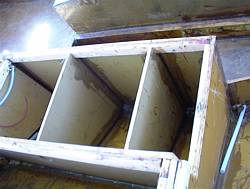
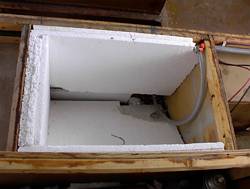
Icebox going in. Offset top so cabin/cockpit bulkhead won’t span the lid. Right I’m foaming the extra spaces out.
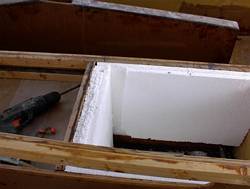
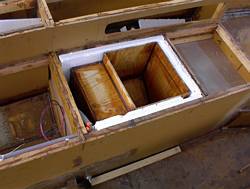
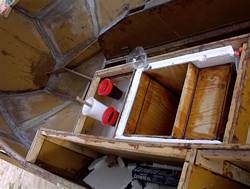
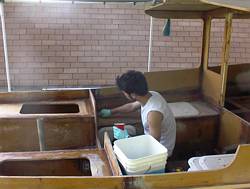
More icebox work, center picture is the compartment for the potti.
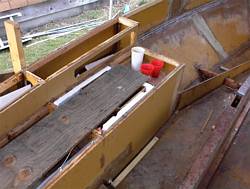
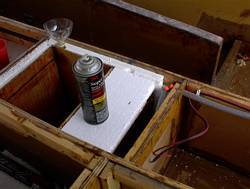
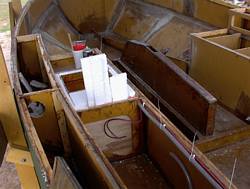
Board holding down the styrofoam, expanding foam, well, expands, so it was trying push the rest of the styrofoam up. Stuck the pieces together with 3M spray adhesive.
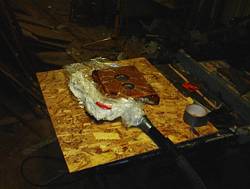
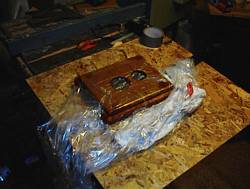
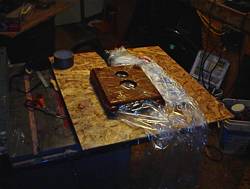
My experiments into vacuum bagging. Bagging the aft mast step to make sure the glass sticks down to the wood on all the odd corners. Without bagging I would have hat to do it in several stages, and do a lot of sanding. With bagging I can do it all at once, and only need to scrap off the creases left from the bag.
-Chebacco Richard
***
LED lights, take two:
The other day I received an email from Ken James about LED lights and regulators.
This is nothing strange, every time I write an article on how to do something, someone will pipe up, “you know, there is a better way”.
Which is as it is should to be, I suppose. Peer review and all, certainly makes for a better end product. For instance, talking to various people has convinced me that the best way to power LED’s is though current limiting, and not a fixed voltage regulator. Not to say that the fixed regulator won’t work, but there is an easier way. Or, maybe it isn’t even an easier way, in some circumstances, but it removes the complicated and expensive voltage regulator and replaces it with a cheap IC at the light locations.
Anyway, I had built the prototype (mark 3) LED anchor light the other day using current regulator IC’s from National Semiconductor, some resistors to set the current limit, and some bright white 5.6 candela LED’s from BG Micro.
Then I get this letter from Ken James. “Several years ago, over ten now, I had the idea of using leds for nav lights. Retired from the USN, went sailing a bit, then started building led lights. Been at it ever since. Solved all the problems you have encountered, including many you haven’t discovered yet, from what I read on your web site 😉 . So now I sell the lights, atwww.deepcreekdesign.com.”
Funny the people you meet online.
It was actually the high price of the LED lights at Deep Creek that decided me to make my own!
And you know what, after exchanging 16 or so emails with Ken there, I’ve come to the conclusion I probably didn’t save a whole lot of money making my own lights. But, like homemade boat building, that is not really the point.
For instance, Ken pointed out that with the 20 degree spread of my BG Micro LED’s a boat would have to be hundreds of feet away to see the anchor light. Seems you need a 60 degree vertical spread to be “legal”. Not that I was too concerned with being legal, but I was kind of concerned with getting run into…
So, to make an anchor light with 20 degree 5.6 candela LED’s I would need:
360/20= 18 LED’s to make a circle of light. But, since they need 60 degrees of vertical spread TOO, I would need three rows of the 20 degree LED’s, so I would need 18*3 or FIFTY FOUR of those LED’s (which are showing up everywhere and Ebay for about $2.50 each for some reason). Since I really only need 4.2 candela for 2 mile visibility (Ken’s numbers) I would need (4.2/5.6)*54= 40 of the expensive little buggers. There is $100 in LED’s right there. Plus circuit boards, regulators, etc, I’m just about at what Ken charges for his light!
<sigh>, story of my life.
But wait, he doesn’t use 40 LED’s on his lights, now what is going on here?
Well, firstly Ken uses a “pulse regulated driver”. This means he uses a high efficiency switching regulator, and drives the LED’s with pulses of electricity. This gets more “visibility” with the same power output.
Also, Ken uses surface mount LED’s with an output of .66 candela. You are thinking that this is quite a bit smaller than the 5.6 candelas of the LED’s I was playing with. Well, you must understand that candelas is a measure of brightness, and not total light OUTPUT. His small surface mount LED’s only put out .66 candelas, but they put them out in a fan of light 140×60 degrees.
Let’s see, that is .66 candelas at 140×60, or 5544 candela degrees (is that even a measurement?)
And, 5.6 candelas at 20×20 is 2240 candela degrees.
So, he is using LED’s that are about 2.5 times as efficient as well.
Could I make one using his LED’s? Yes. Nichia sells to the public, but not cheaply. Bought a couple of dozen NSSW440 surface mount white 60×140 LED’s, and used 18 of them for my anchor light. Here is a picture.
Incidentally, if you want to use the surface mount LED’s, you will need a board. I’m considering selling a kit for these lights. If you are interested, email me.
Well, if I can’t save money making my own anchor light, at least I can save money by making my own LED bicolor light then!
Maybe, maybe not. Ken pointed out that if I’m not careful I would have “zone overlap”. That is where the beam from the colored LED’s overlap and from directly in front of the boat people would see a white light… not good. He was even kind enough to mention ways to get around this problem.
I could certainly build a cheap bicolor light. Would it be as good as the professionally hand made ones at Deep Creek? Probably not. Would it be safe to go sailing with? Probably.
Am I going to build my own lights? You are damn straight. Life, like sailing, is not about the destination, but is about the trip. Making my own LED anchor lights has turned out to be very good learning experience. In the process I have made new friends, learned quite a bit about electronics, and added the skill of etching circuit boards to my boat building skills.
If all you are wanting is efficient lights for your boat, you should buy them from Ken. His are well engineered and come with a warranty.
If you want the learning experience of making your own lights, or just want to tinker, you should make your own. Ask me questions, I’ll be happy to help you out.
-Chebacco Richard
***
Hi Richard
No earth shaking events to tell you about, but we had a visit from Bruce Hector on Saturday, and got out for a nice little sail with him. We managed
some good speeds for a designed waterline of around 18 feet, which other builders might find encouraging — we exceeded the theoretical hull speed
for that waterline by about half a knot, by GPS. We did that with and against any tide there was, so they were honest numbers.
We also tried out the optional jib, at least to windward, which folks might find of interest. All the votes aren’t in yet, but it looks like anyone
thinking of sewing up a jib might also think of adding a bowsprit. I like my Jonesport cleat too much to take it off just yet so I’m going to keep
playing with the jib on other points of sail.
I have a couple of pictures of Bruce on board — there are still a few shots on the roll to use up, but will do that and get them developed by the start
of next week. No idea how they will turn out — I forgot the camera, so I bought a one-use Kodak.
Cheers,
Jamie
Hi Richard
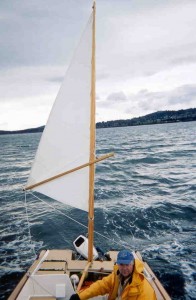
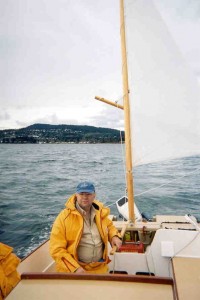
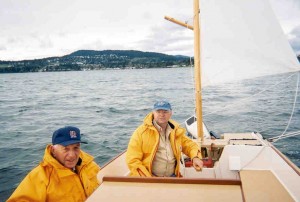
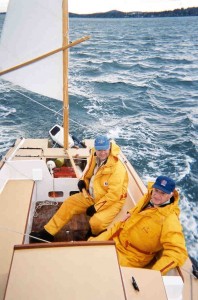
Finally got these developed. Only snapshots, but much better than I hoped for with a disposable camera. Pity the photographer isn’t more skilled.
I’m sending all I have of Bruce, you choose which you want to use. None of them look too wild, or show any spray flying, because I waited until we were
on a nice stable reach before to using the camera.
So how’s S’s Cat coming along? I’ve been cleaning up some old epoxy snots inside W.L.’s cabin — they’ve only been there for two and a half years! I
didn’t attend to them at the time because I wanted to get launched, then there was always some other reason not to fix them.
Been giving some thought to storage for cruising gear, too. Last year we mostly used the cabin for storage, not sleeping, but I’m trying to keep a
lot of stuff out of the living area by using the space under the seats and up by the mast. I might add more storage type hammocks under the side decks
too — we have one each side right now, and they’re great for small stuff. I went to great lengths thinking up the perfect galley box for all the
kitchen stuff, but when I made a mock-up of corrugated cardboard, I decided that I preferred the current Rubbermaid bins. I may still make up a
mini-version to keep thermos flasks and cups to hand but not underfoot. I guess this (storage) may be one reason why two-footitis is such a common
boater’s disease?
Gotta run,
Jamie
***
Around James Island
As Randy Wheating noted in the last “Chebacco”, it’s good to see visiting boatbuilders and/or boatnuts from other parts of the world. This weekend I had a visit from another builder – not a Chebacco builder (yet) but a Micro fan. I thought it was my duty to point out how he had strayed from the path of righteousness, and how better than to take him out in the One True Boat, a Chebacco?
Bruce Hector, of Kingston Ontario, was visiting family in Vancouver, and caught the early ferry over to Vancouver Island on Saturday, April 6, to say hello and see Wayward Lass. This ferry lands at Schwartz Bay at the north end of the Saanich Peninsula, only 2 or 3 miles from Sidney, where we often launch. I drove out with the boat and met him at the Safeway parking lot there, then we picked up my dad, Les, and headed over to the boat launch at Tulista Park. We rigged up in about half an hour, and left the dock about 9:30 am with a good south wind, something between 10 and 15 knots, I think. A small craft warning was posted, but the highest winds forecast were 20 knots, sometime towards evening, so they just barely qualified for the warning. Once clear of the dock, breakwater and other obstacles to navigation, we put up the sails and let out the sheets to reach eastwards towards Sidney Island at well over 5 knots (motoring, we top out about 5.5 knots). Once near the island, we decided to turn upwind to make it easier to return, so we tacked and headed back over Sidney Channel. However, between reaching earlier, and the wind veering round a bit to the west, we couldn’t do much better than go back the way we’d come, even when close-hauled.
Also, the wind had picked up a bit, maybe a steady 15 knots and a bit more in the gusts, so we stopped to put in a reef once we got a bit away from Sidney Island. The mizzen did its usual job of keeping her head to wind while we tied in a single reef. Bruce pointed out that the shore was getting pretty close by the time the sail was peaked up again, so we got under way before finishing the reef points – these are mostly to keep things tidy anyway, the tack and clew rings take the strain.
After getting well back to the west, nearly in line with the westward side of James Island, we tacked again and were able to free the sheets slightly as we went into the channel between Sidney and James Islands, on James Island’s eastern side. Once well into the channel, James Island cut off some of the wind, but we kept moving, if a little slower. As we approached the south end of James, the wind was maybe 15 knots again. When we thought we could weather the south end of the island we tacked, but found the wind had gone even farther round to the west, and we couldn’t sail the course we wanted. While we were discovering this, the wind blew us back onto the starboard tack, so we continued on with that, close-hauled this time.
In what seemed almost no time at all, we were far enough over to turn north again, this time easily aiming for the channel between James Island and the Saanich Peninsula (Vancouver Island). As we sailed up the channel, the wind became freer, so our beat turned into a reach again, this time on the port tack. The wind was lighter again, so we took out the reef in the main, and tried putting up the jib.
This is a new sail for Wayward Lass, it’s shown as an option on the sailplan, and this only was its second time out. I can’t say it’s a great success – in fact, I would say it’s a waste of time trying to sail to windward with it. Without a headstay, it’s hard to get the leech tight – but even when it’s reasonably tight, the sail is too close to the main. If the sheet is pulled in enough to stop the sail flapping, the jib backwinds the main. If the sheet is loosened to where the jib doesn’t spoil the wind for the main, then the jib flaps. Maybe there is a theoretical point where everything works, but we couldn’t find it. Experiments will continue.
Once we stopped fooling with the jib, and had the full mainsail drawing properly, the GPS hit 6 knots several times, even though what little tide there was, was against us (it had shown just over 6 knots on the southern leg.) The wind would not have been more than 15 knots (estimated.)
Sidney was coming up fast by now. It was only around 1:00 pm, but we were all getting a bit cold, so decided to quit while we were still having fun. The mizzen came into play again, keeping us head to wind while we furled the main – the GPS reported 1.8 knots in reverse at this time! From the time we stepped off the boat until we were in the van, ready to go, only about 20 or 25 minutes passed. We drove up to Robin’s Donuts, but couldn’t find parking for the van and trailer close by, so carried on to Dad’s place.
We finished off the last thermos of tea, along with some of Dad’s home-made oatcakes and jam while we talked and looked at Bruce’s boat photos – he owns a houseboat, has built a Nymph, Diablo, Pirogue and most of a Micro so far, not a bad variety at all! He someday hopes to build a plywood aircraft carrier to accommodate an ultra-light STOL plane — that’ll be one for the album, not to mention the TV news and a few headlines!
What with the early start and very cooperative wind, Bruce was able to get away in time for the 3 o’clock ferry back to the mainland. I hope he enjoyed his trip to Vancouver Island and around James Island. That was probably the best sail we’ve had ourselves out of Sidney. Good wind, (but not too much,) we all had good protection from the spray, lot’s of good food and drink (thanks for the beer and sausage, Bruce!) and the reef lines didn’t get tangled. What more is there?

